Cute Crochet Knitted Baby Bonnet From the Bluey Character! 🌸🌱🐶 Tierno Gorro De Bebé Tejido A Crochet Del Personaje Bluey!! 🌸✨🍃By Danhyelita24
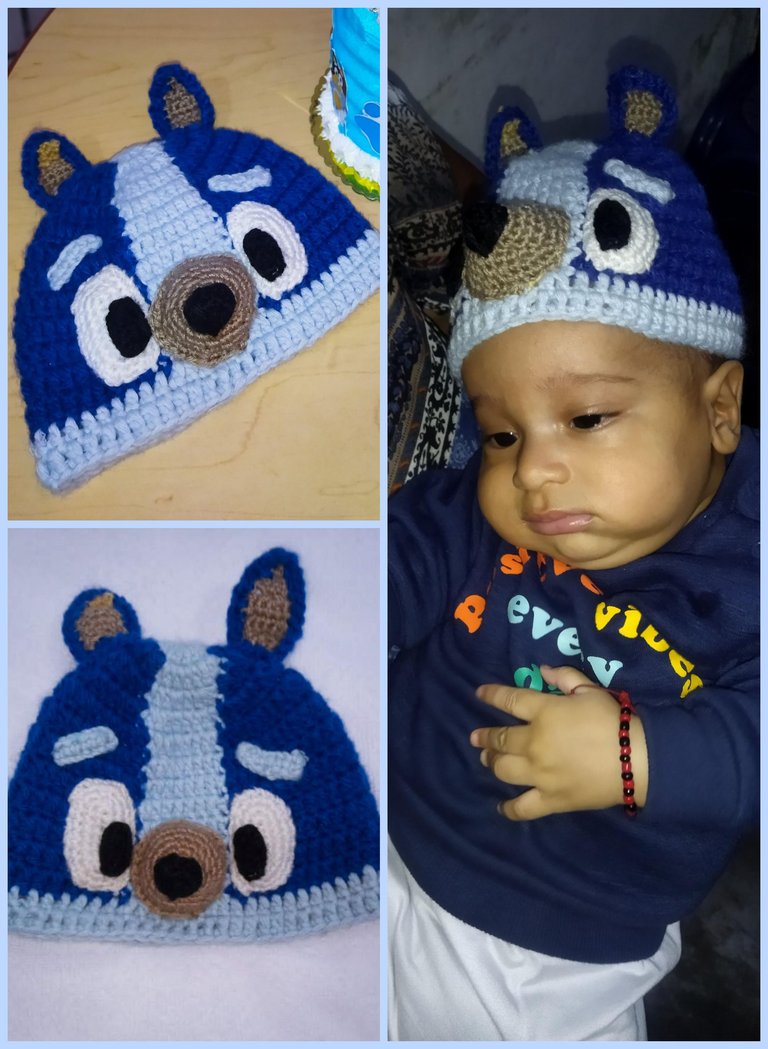
Hola hola amigos!! Si eres fanático de la serie de televisión Bluey y te gustó el maravilloso arte del crochet hoy te invito a ver este bonito tutorial de cómo elaborar un hermoso gorro para bebe con la imagen de este singular personaje.
Aproveche la oportunidad ya que estoy en modo tía emocionada, ya que en la familia estamos muy emocionados y contentos por la llegada del pequeño Camilo y a pesar del poco tiempo que tengo para las manualidades no dude en tenerle este pequeño pero significativo detalle.
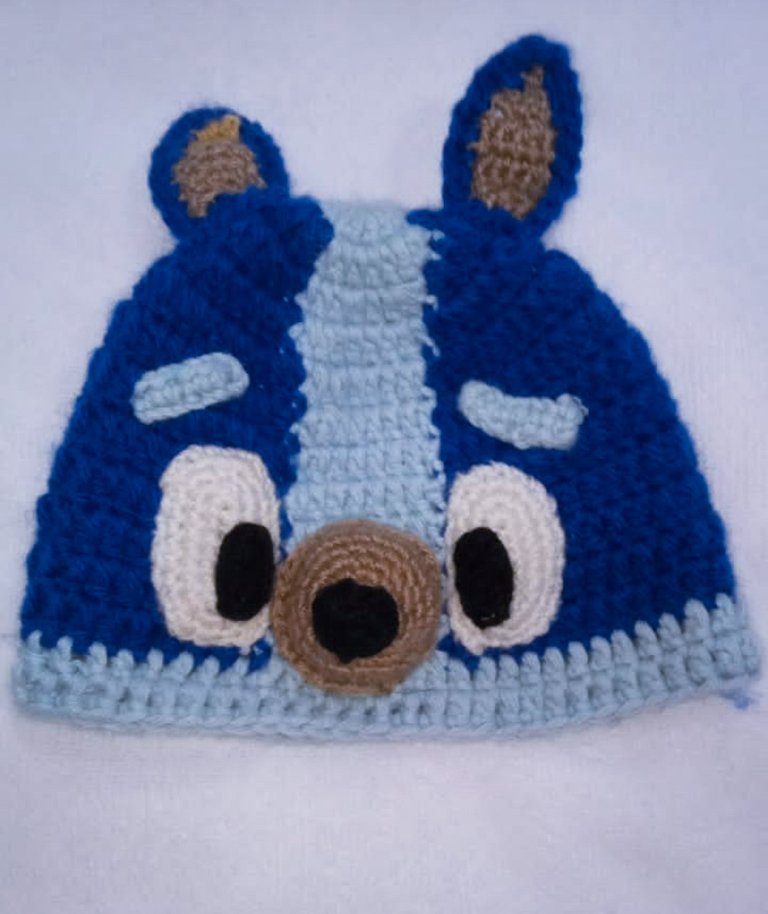
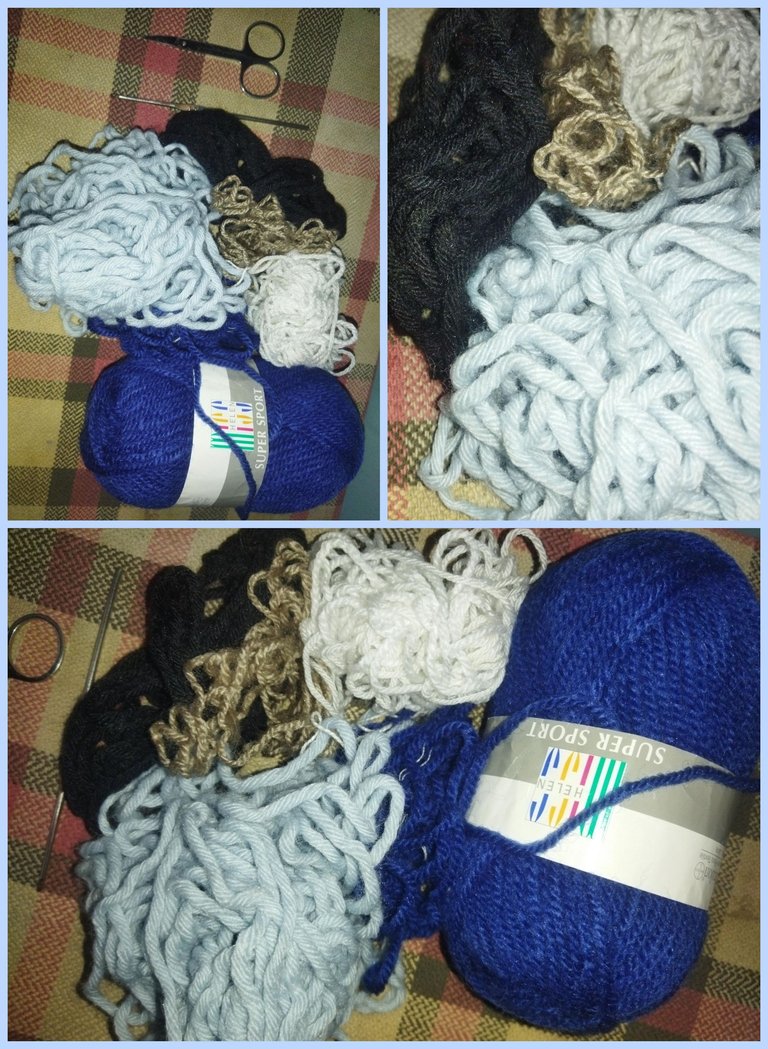
Los materiales utilizados fueron hilo de lana en tonos azul rey, azul celeste, negro, naranja, marrón claro y blanco.
The eleventh and twelfth rows are all in light blue and we close with a slipped stitch.
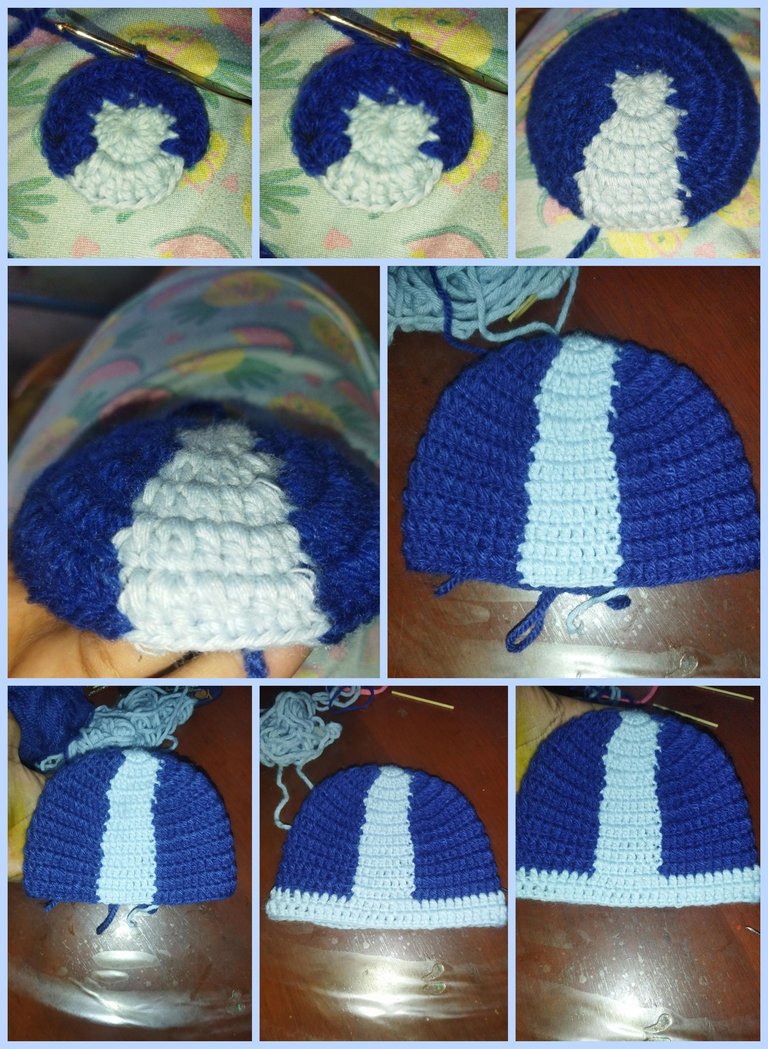
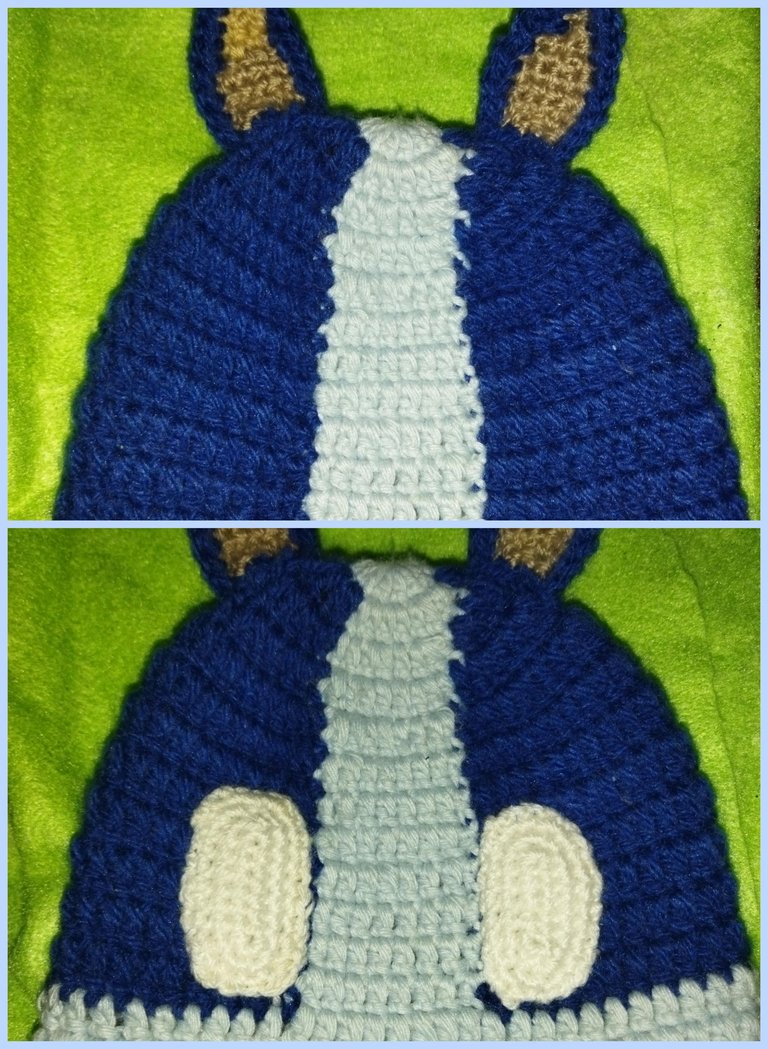
El patrón de este gorro fue sumamente sencillo, comenzamos como anillo mágico de 13 puntos alto en el tono azul celeste y culminamos con un punto deslizado. Y cambiamos al color azul rey tejiendo cuatro aumentos, cambiamos al azul rey con cuatro aumentos y cerramos con punto deslizado. A partir de la tercera vuelta vamos a realizar la secuencia de un aumento un punto alto y nos vamos a guiar por la estructura de colores, para que nos quede el diseño del personaje a medida que vamos haciendo vueltas vamos aumentando la cantidad de puntos, es decir dos puntos un aumento, la próxima vuelta tres puntos un aumento y así sucesivamente hasta llegar al ancho deseado , luego tejemos un punto en cada punto por ocho vueltas, para darle el largo y al llegar a la vuelta número diez, nos deberían quedar veintiséis puntos altos en tono azul rey, ocho puntos altos en tono azul celeste y culminamos con veintiséis puntos en azul rey. Las vueltas once y doce la vamos a realizar todas en color azul celeste y cerramos con un punto deslizado.
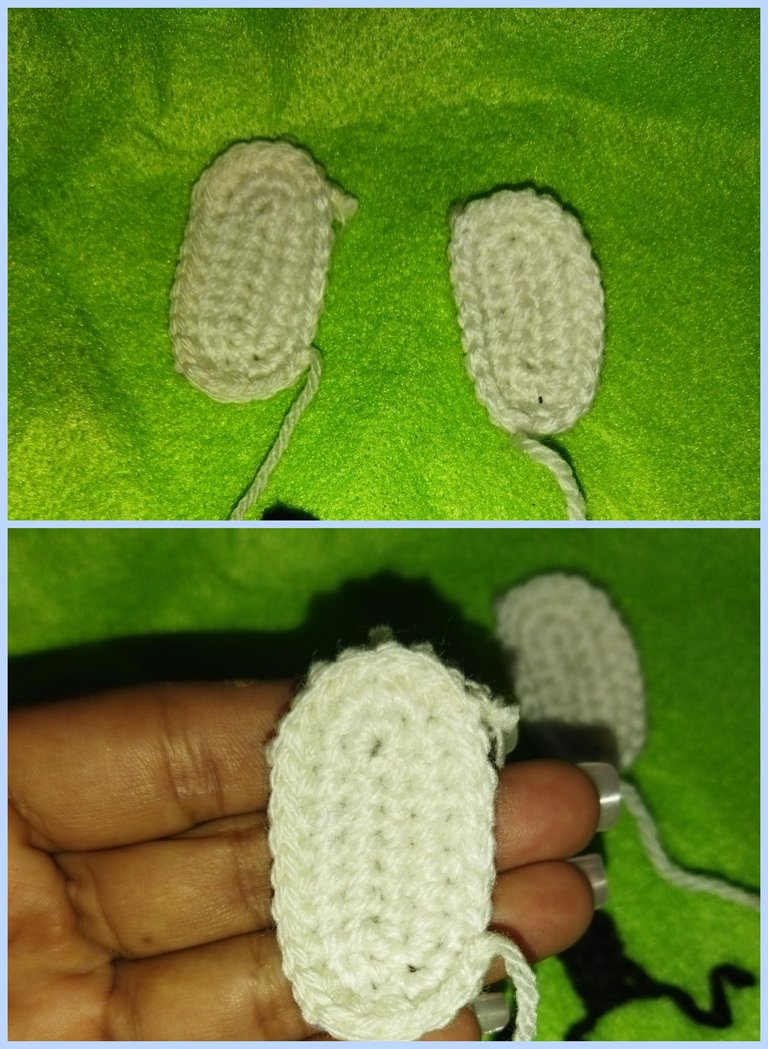
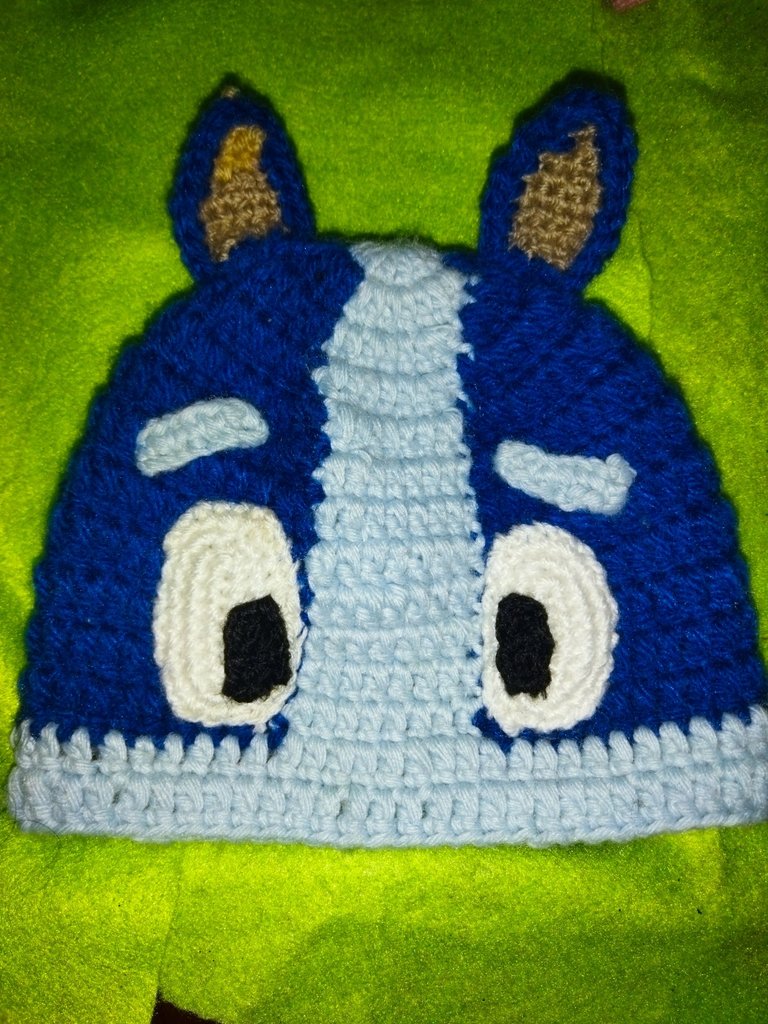
Para los ojos hacemos dos piezas en color blanco iniciando con siete cadenas y la bordeamos por ambos lados con puntos altos hasta cerrar.
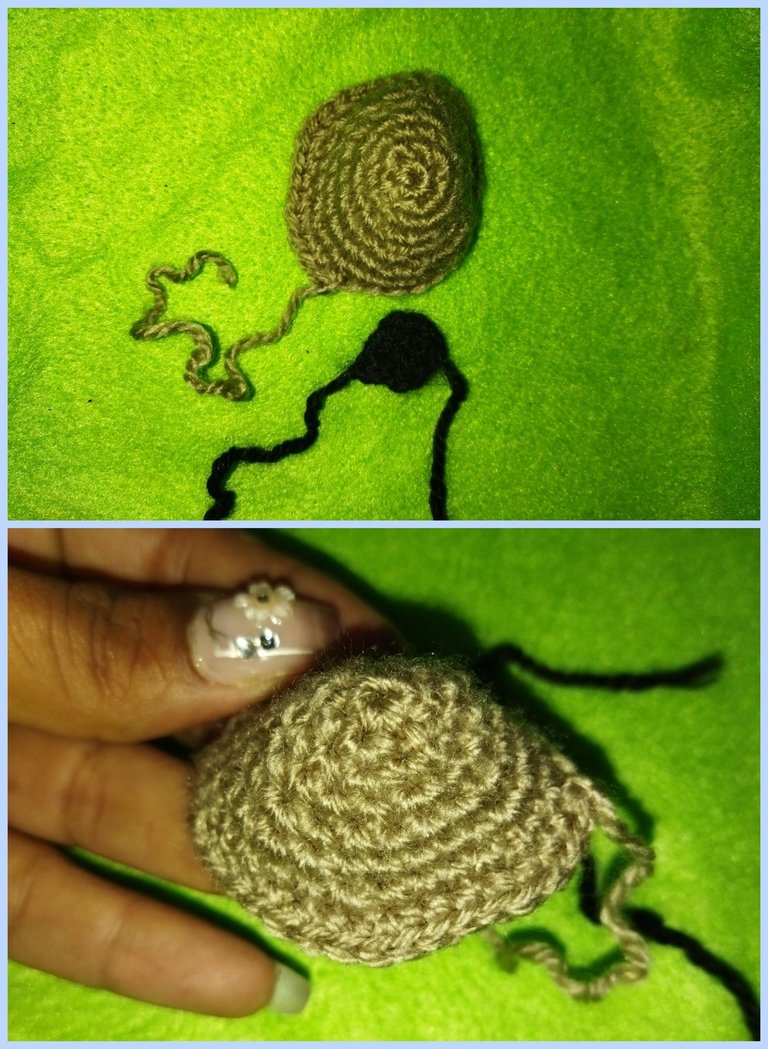
La nariz la realizamos tejiendo cinco puntos altos, una disminución en el próximo punto, subimos con una cadena, giramos, tejemos en puntos bajo para darle mayor forma de triángulo.
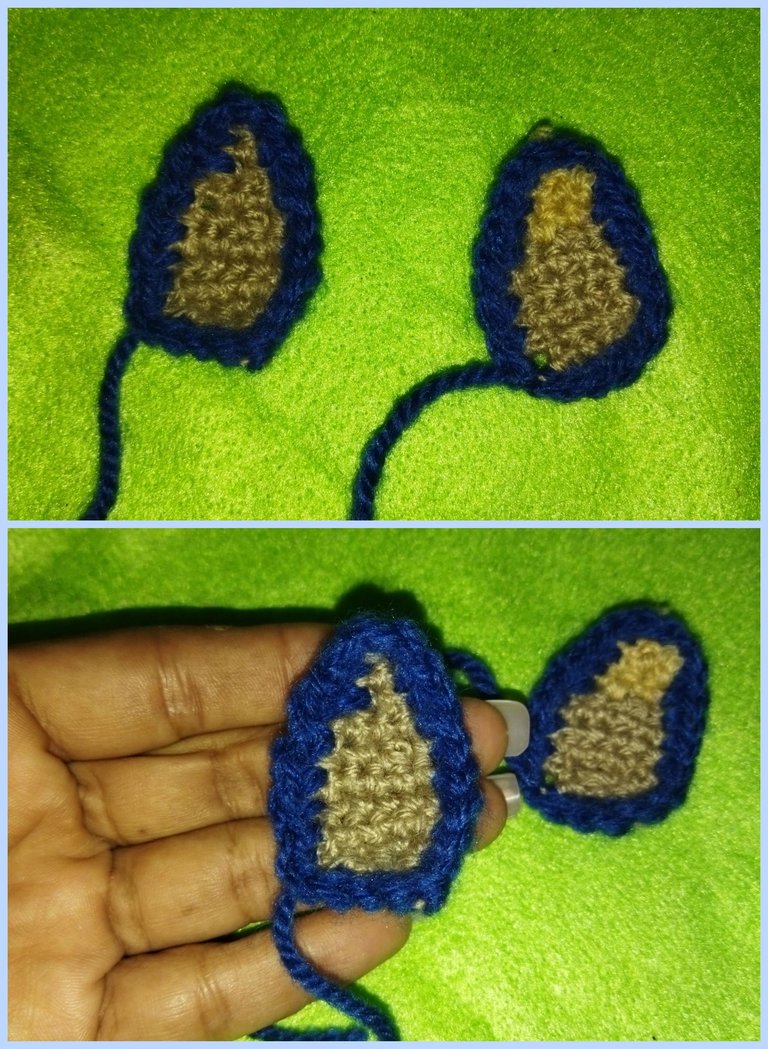
Tejemos dos piezas iguales para las orejas en forma de triangular,comenzado el color beige,haciendo cinco cadenas giramos y tejemos un punto bajo una disminución, cadena al aire giramos y tejemos un punto sobre cada puntos por tres vueltas, tejemos una cadena y hacemos un punto una disminución, cadena al aire un punto sobre cada punto, cadena al aire dos disminuciones, cadena un punto sobre cada punto y bordeamos por todo el alrededor con puntos deslizados, en hilo color azul rey.
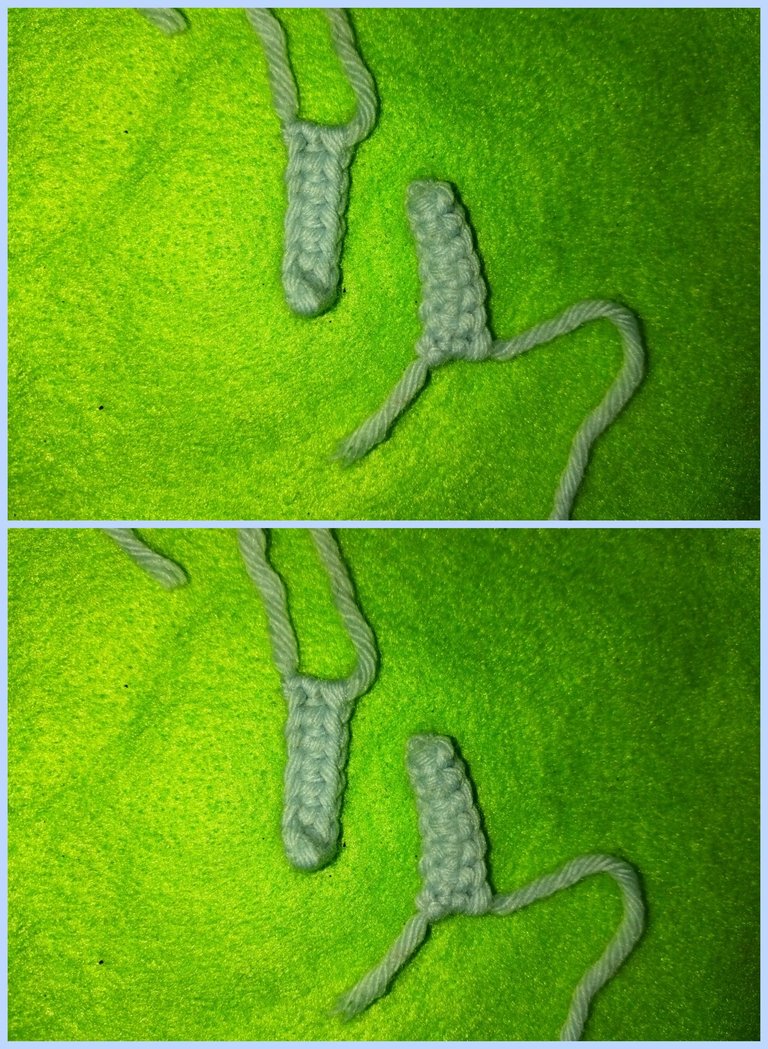
Para las cejas tejemos siete cadenas y luego siete puntos altos en tono azul celeste.
Ya teniendo culminadas todas las piezas, solo nos faltaría ensamblar comenzando con las orejas de manera que queden parejas en relacion al diseño frontal, luego pegamos el hocico, los ojos y las cejas, teniendo cuidado y dándole esos toques personales que le vamos a ir dando para que queden prolijos y delicado.
Esperando que haya Sido de todo su agrado, me despido hasta una nueva oportunidad deseándoles éxitos y bendiciones Saludos!!
Todas las imágenes son de mi propiedad tomadas con Redmi 9 y editadas con la aplicación Photoshop exprés para Android.
Hay que precioso, adoré este gorro, le queda súper lindo 😍
Gracias @yale95reyra ☺️
Mi hija ama bluey es de los mejores dibujos
@dobro2020 a mi me encanta gracias por el apoyo!!
Que bonito te quedó ! Bluey está siendo toda una sensación jeje los niños lo aman
Si amiga gracias 😊
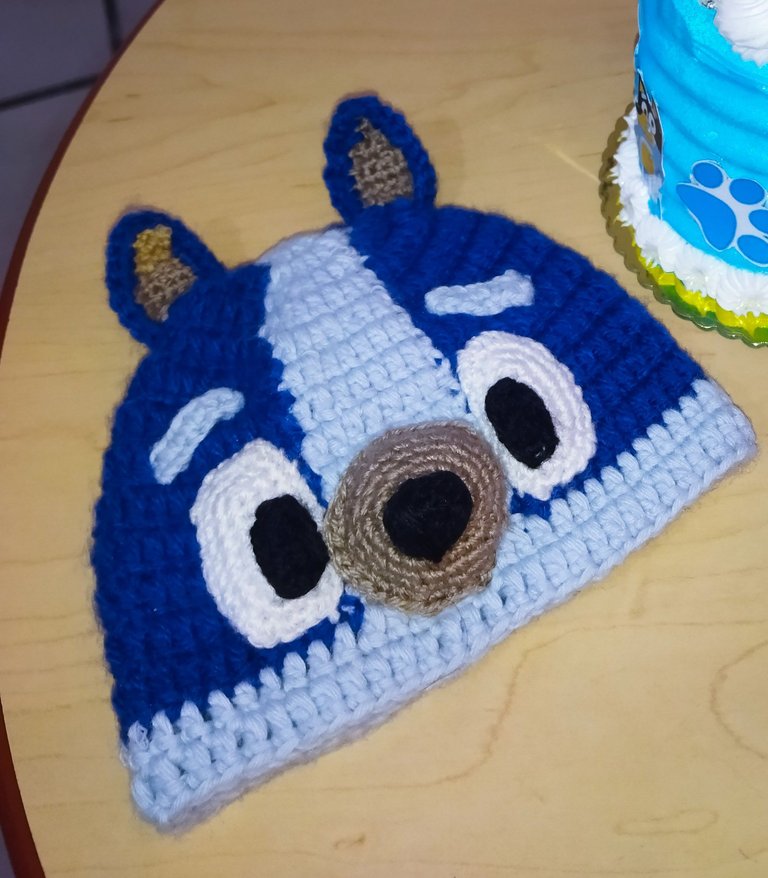
El pequeño Camilo está guapísimo con su nuevo gorro.
Los bebés pequeños siempre traen alegría y felicidad a la familia, bienvenida querida por tu trabajo creativo.
Gracias @bimpcy ☺️☺️
Te ha quedado muy tierno tu manualidad amiga, muchas gracias por compartir.
Escrito por lionsaturbix / Written by lionsaturbix
¡¡¡Buen trabajo!!! Gracias por publicar tu excelente contenido en Hive Diy.
Gracias @hive-130560