Crochet Capibara With Toad Bag🍂✨Capibara A crochet Con Bolso De Sapito 🍁🌟 By Danhyelita24
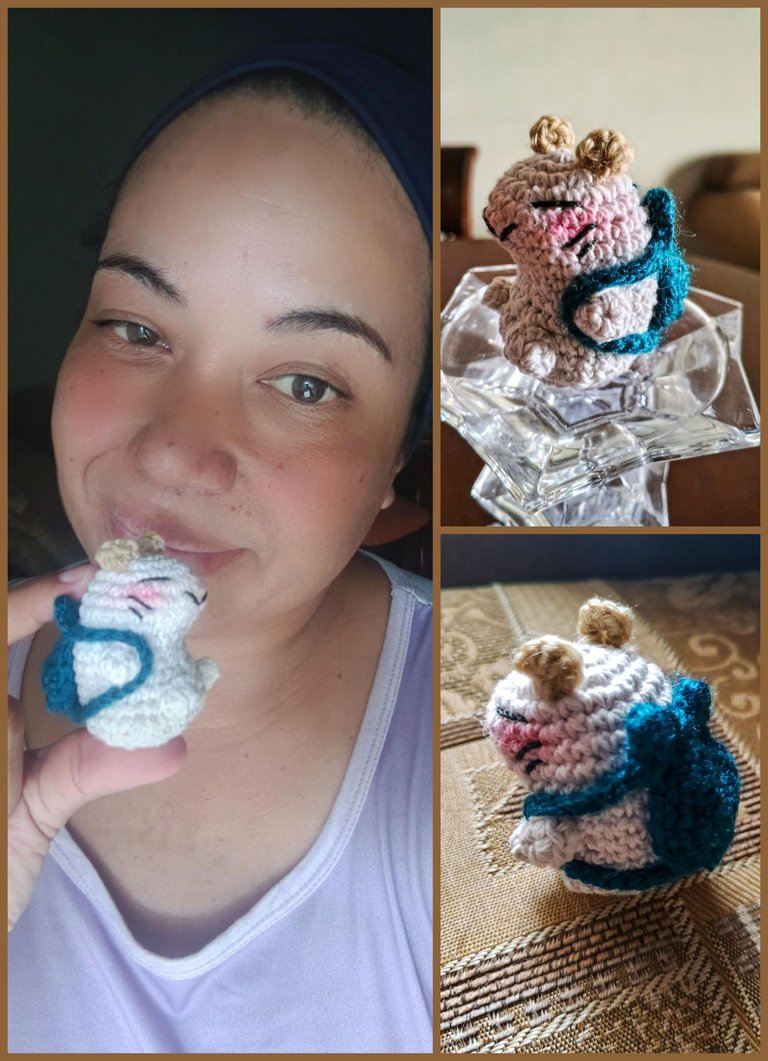
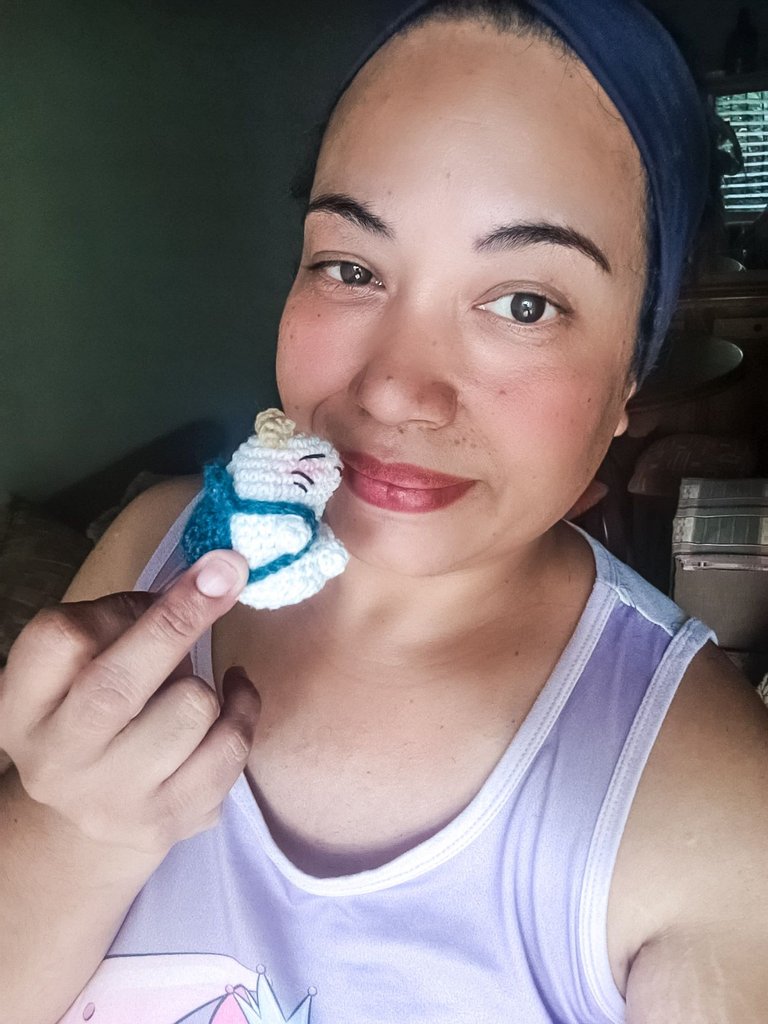
Hello hello how are you dear and appreciated friends and all users of this wonderful network today I want to share with you a nice craft that I made on the occasion of giving an original gift to a very special loved one and what better than to show it with a manual work done by ourselves is a nice and funny crochet knitted capybara.
Hola hola qué tal queridos y apreciados amigos y todos los usuarios de esta maravillosa red hoy día quiero compartir con ustedes una bonita manualidad que realicé en ocasión de dar un original obsequio a un ser querido muy especial y qué mejor que demostrárselo con un trabajo manual realizado por nosotros mismos se trata de un simpático y gracioso capibara tejido a crochet.
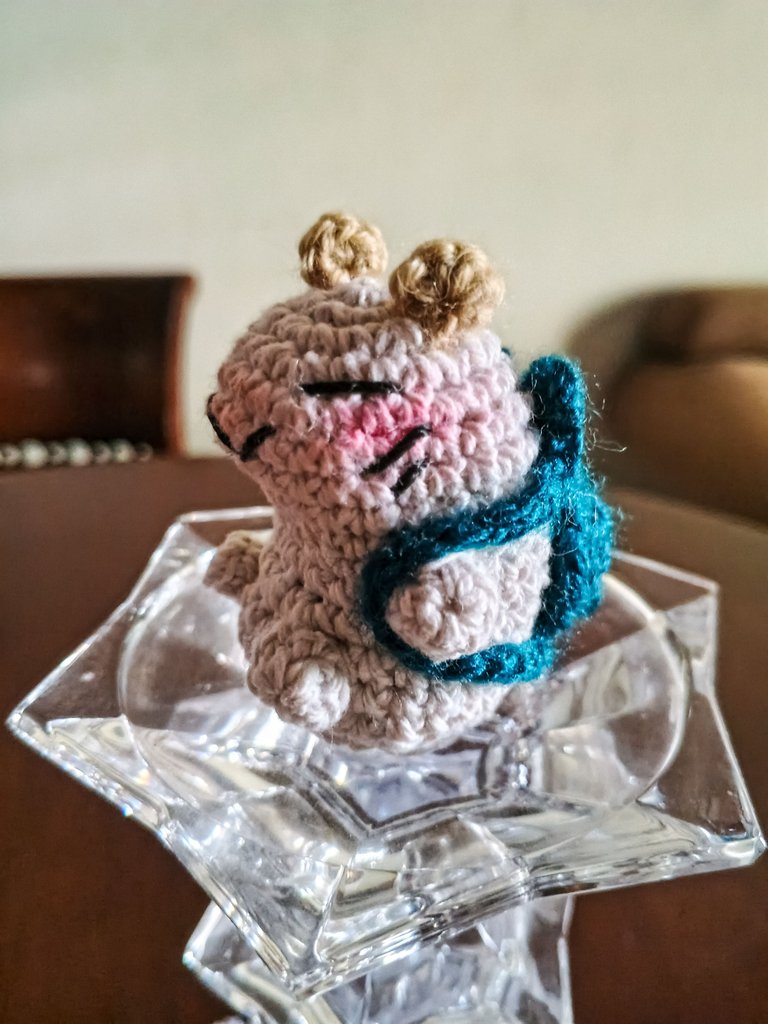
The materials used were and cotton in white tone milk brown bear and black embroidery stuffing hypoallergenic wool thread in green tone a 3 mm needle and a wool needle.
Los materiales utilizados fueron y los de algodón en tono blanco leche marrón oso y lo de bordar negro relleno hipoalergénico hilo de lana en tono verde una aguja de 3 mm y una aguja lanera.
Its elaboration was extremely simple and very fast which makes it ideal to give as a gift to several people since it allows to make it in series and with different themes, in my particular case I wanted to make it with a toad backpack.
Su elaboración fue sumamente sencilla y muy rápida lo que lo hace ideal para obsequiar a varias personas ya que permite realizarlo en serie y con distintas temáticas en mi caso particular quise realizarlo con una mochila de sapo.
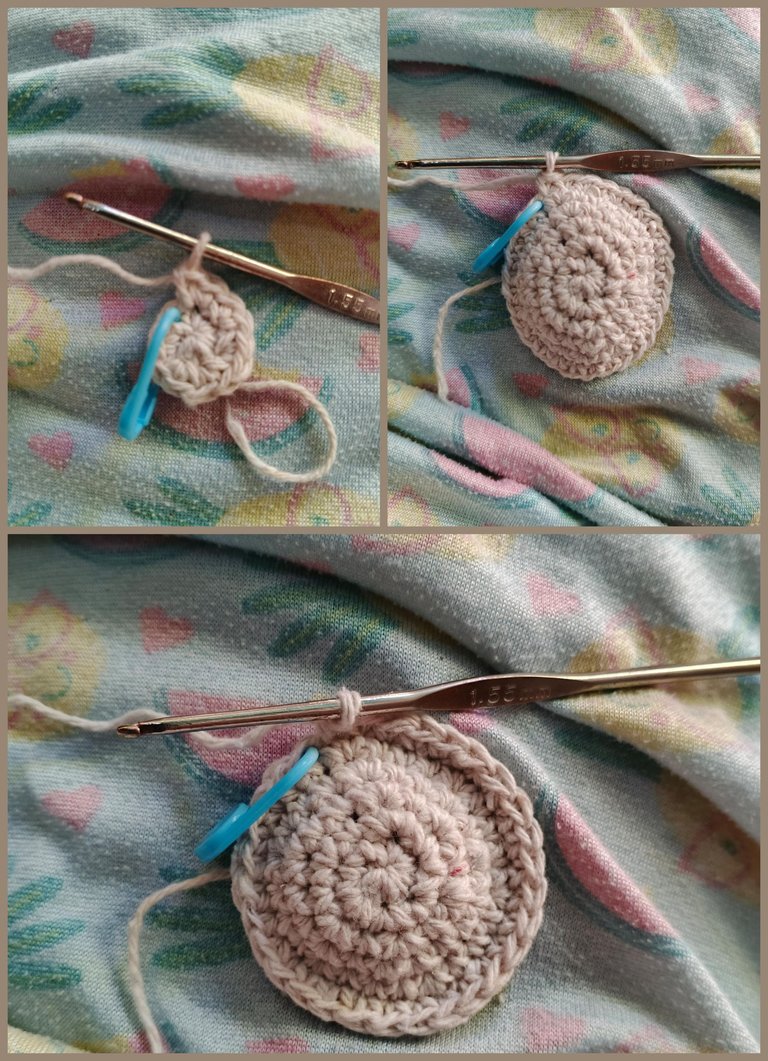
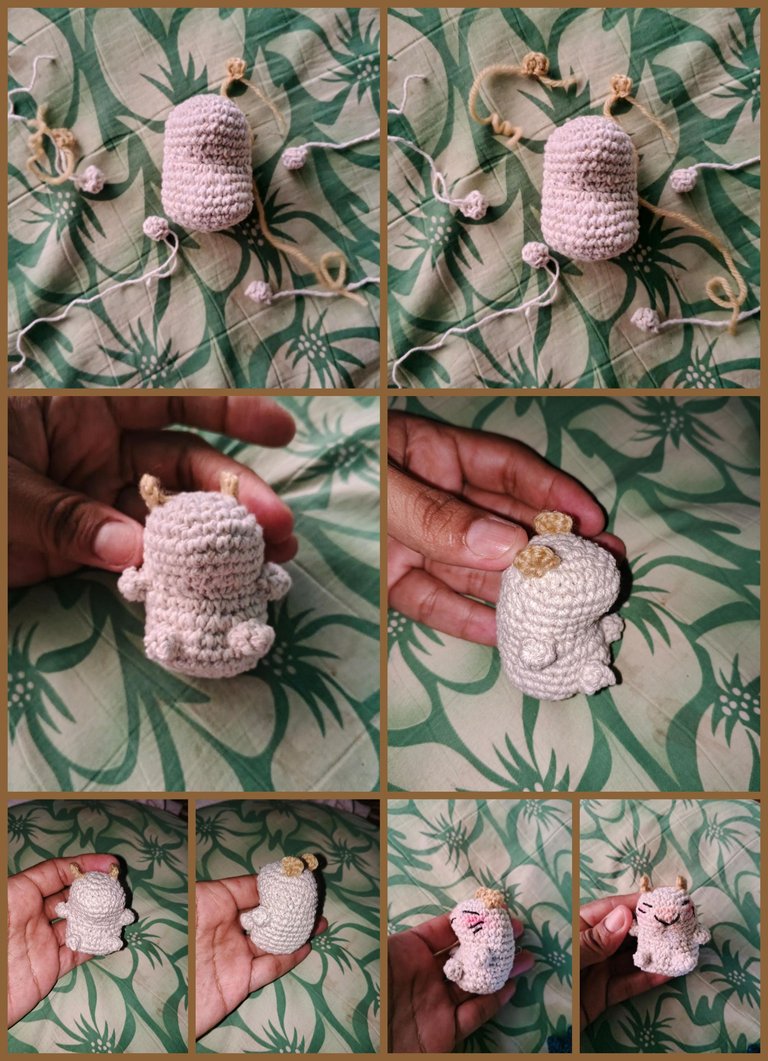
For its elaboration the piece of the head and the body is only one and we are going to start making a magic ring of 6 single crochet stitches, for the next round we will make an increase for each stitch, until we obtain a total of 12 single crochet stitches, the next round we will make the sequence of one single crochet stitch one increase, then we will make two single crochet stitches one increase, the next round we will make it with three single crochets and one increase until we have a total of 30 single crochets, the rounds 6, 7 and 8 we will repeat one stitch on each stitch of the 30 stitches previously made.
Para su elaboración la pieza de la cabeza y el cuerpo es una sola y vamos a comenzar realizando un anillo mágico de 6 puntos bajos, para la próxima vuelta realizamos un aumento por cada punto, hasta obtener un total de 12 puntos bajos, la próxima vuelta vamos a realizar la secuencia de un punto bajo un aumento, luego realizamos dos puntos bajos un aumento, la próxima vuelta la vamos a realizar con tres puntos bajos y un aumento hasta tener un total de 30 puntos bajos, las vueltas 6, 7 y 8 vamos a repetir un punto sobre cada punto de los 30 realizados anteriormente.
In row number 9 we are going to make 7 single crochets three decreases in a row and 17 single crochets to obtain a total of 27 single crochets. Row number 10 we will knit six single crochet three decreases in a row and 15 single crochet stitches to obtain a total of 24 single crochet stitches.
For row number 11 we are going to knit the sequence of five single crochets three increases in a row and 15 single crochets for a total of 27 single crochets.
For row number 11 we are going to knit the sequence of five single crochets three increases in a row and 15 single crochets for a total of 27 single crochets.
En la vuelta número 9 vamos a hacer 7 puntos bajos tres disminuciones seguidas y 17 puntos bajos hasta obtener un total de 27 puntos bajos. La vuelta número 10 vamos a realizar seis puntos bajos tres disminuciones seguidas y 15 puntos bajos obteniendo así la totalidad de 24 puntos bajos. Para la vuelta número 11 vamos a tejer la secuencia de cinco puntos bajos tres aumentos seguidos y 15 puntos bajos para un total de 27 puntos.
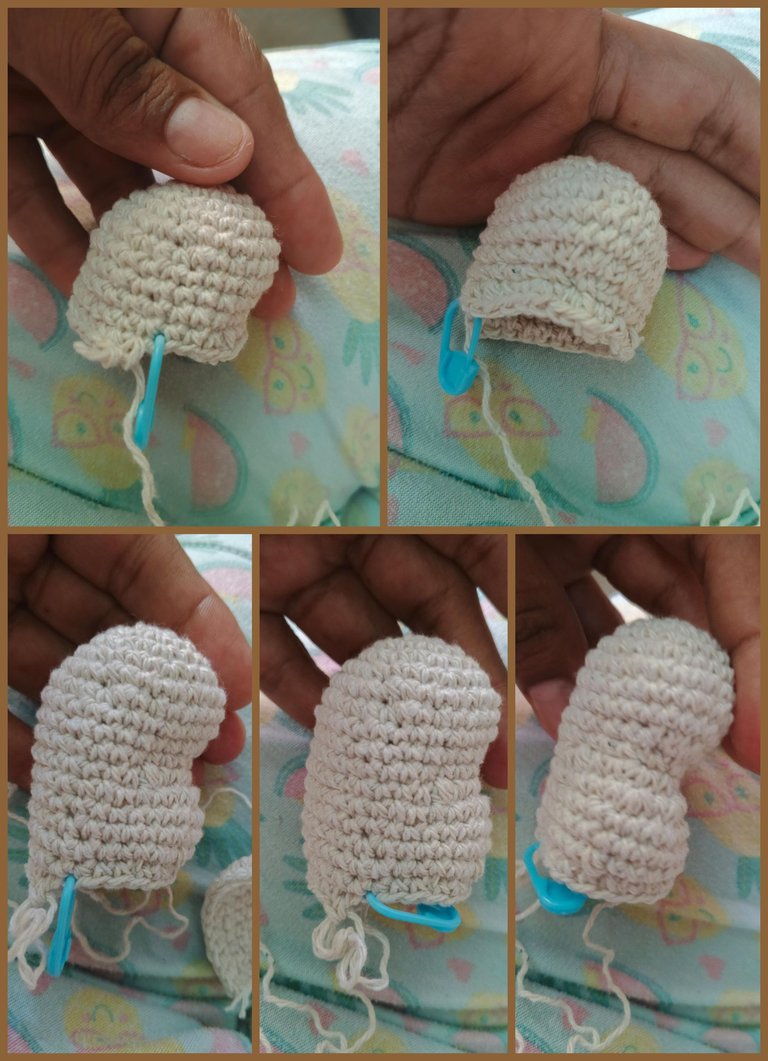
Row number 12 we are going to cast on 6 single crochet stitches, repeat three times the sequence of one stitch and one increases and finish with 15 single crochets for a total of 30 single crochets. What we are going to repeat for 3 additional rows, that is, rows number 13, 14 and 15 we repeat the same 30 single crochet stitches.
La vuelta número 12 vamos a realizar 6 puntos bajos repetimos tres veces la secuencia de un punto y un aumentos y finalizamos con 15 puntos bajos para un total de 30 puntos bajos. Qué vamos a repetir por 3 vueltas adicionales es decir la vuelta número 13, 14 y 15 repetimos los mismos 30 puntos bajos.
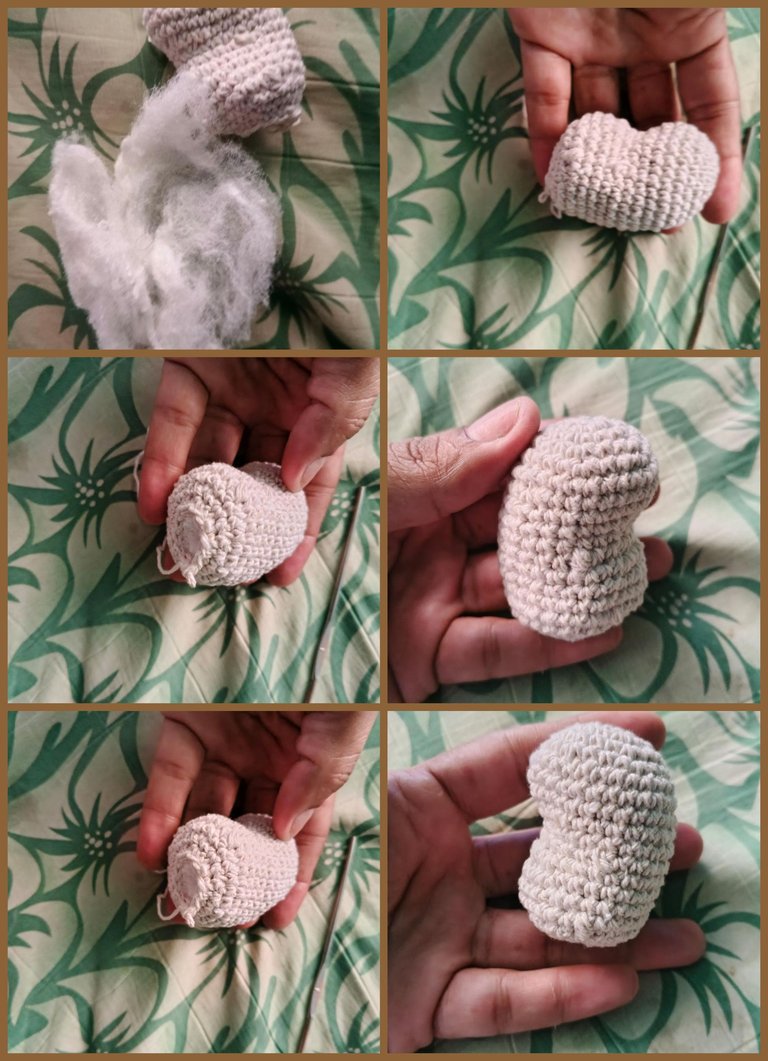
From this point we are going to work with the decreases, starting with the sequence of three single decrease stitches, for the whole round, in the next round, we are going to make the sequence of two single decrease stitches and then we make a single decrease stitch, we take advantage of this point to fill in the structure of the capybara and then we make six decreases to close completely. And in this way we have already completed the base body of our cute little friend.
A partir de este punto vamos a trabajar con las disminuciones, comenzando con la secuencia de tres puntos bajos una disminución, por toda la vuelta, en la próxima, vamos a realizar la secuencia de dos puntos bajos una disminución y luego realizamos un punto bajo una disminución, aprovechamos en este punto de rellenar la estructura del capibara y luego realizamos seis disminuciones para cerrar completamente. Y de esta forma ya tenemos culminada el cuerpo base de nuestro bonito amiguito.
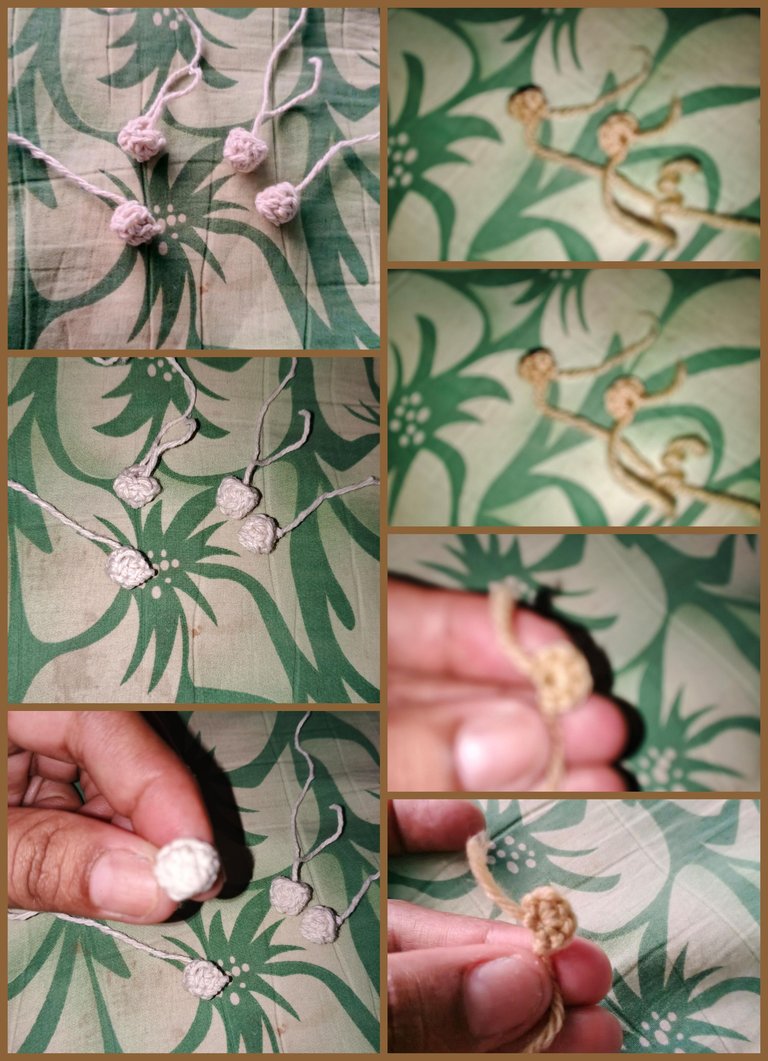
For the ears we are going to take a bear brown tone and we are going to cast on a magic ring of 6 single crochet stitches repeating the same operation twice and closing with slip stitch.
Para las orejitas vamos a tomar un tono marrón oso y vamos a levantar un anillo mágico de 6 puntos bajos repitiendo la misma operación dos veces cerramos con punto deslizado.
For the upper and lower legs we will cast on a magic ring where we will cast on six single crochet stitches for two consecutive rows and close with slip stitch.
Para las patas superiores e inferiores vamos a levantar un anillo mágico donde vamos a montar seis puntos bajos por dos vueltas seguidas y cerramos con punto deslizado.
the structure of the toad bag, we are going to take a green tone and make a magic ring of 6 low stitches for the first round, in the second round we make an increase for each low stitch until we obtain a total of 12 stitches, then we make the sequence of one low stitch one increase and then we are going to make a triple increase leaving four slipped stitches we make another triple increase and we knit around 23 chains from end to end thus culminating the shape of our toad bag.
En la estructura del bolso sapo, vamos a tomar un tono verde y realizamos un anillo mágico de 6 puntos bajos para la primera vuelta, en la segunda vuelta realizamos un aumento por cada punto bajo hasta obtener un total de 12 puntos, luego realizamos la secuencia de un punto bajo un aumento y luego vamos a realizar un aumento triple dejando cuatro puntos deslizados realizamos otro aumentos triple y tejemos alrededor de 23 cadenas de extremo a extremo culminando así la forma de nuestro bolso sapito.
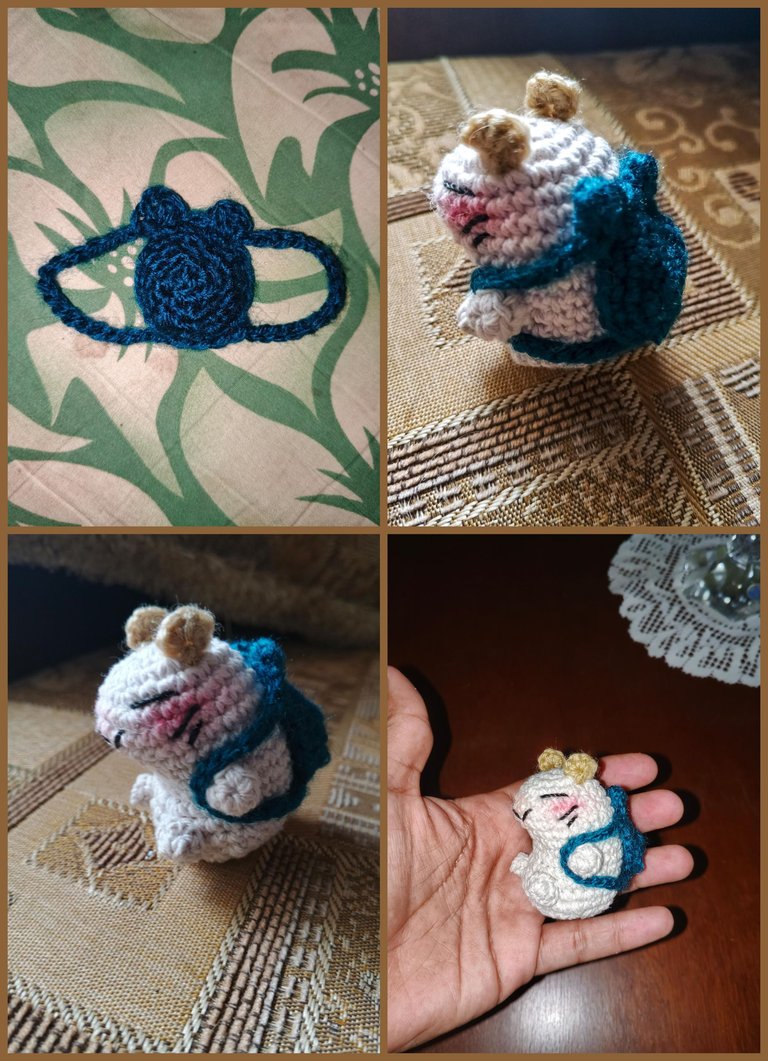
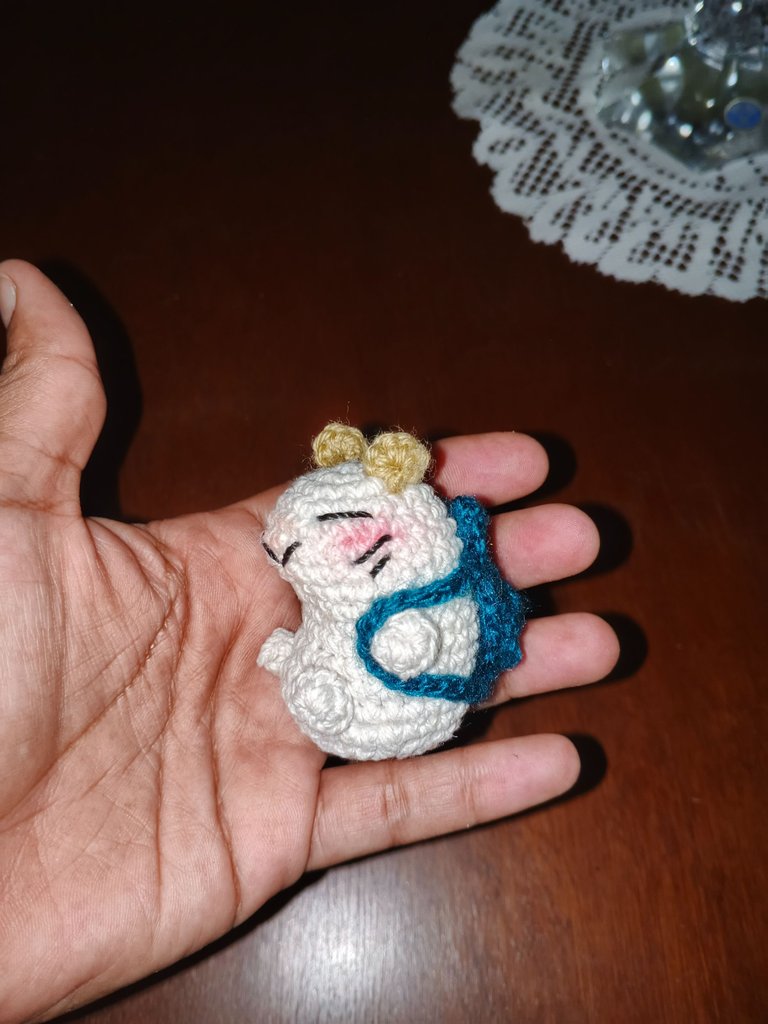
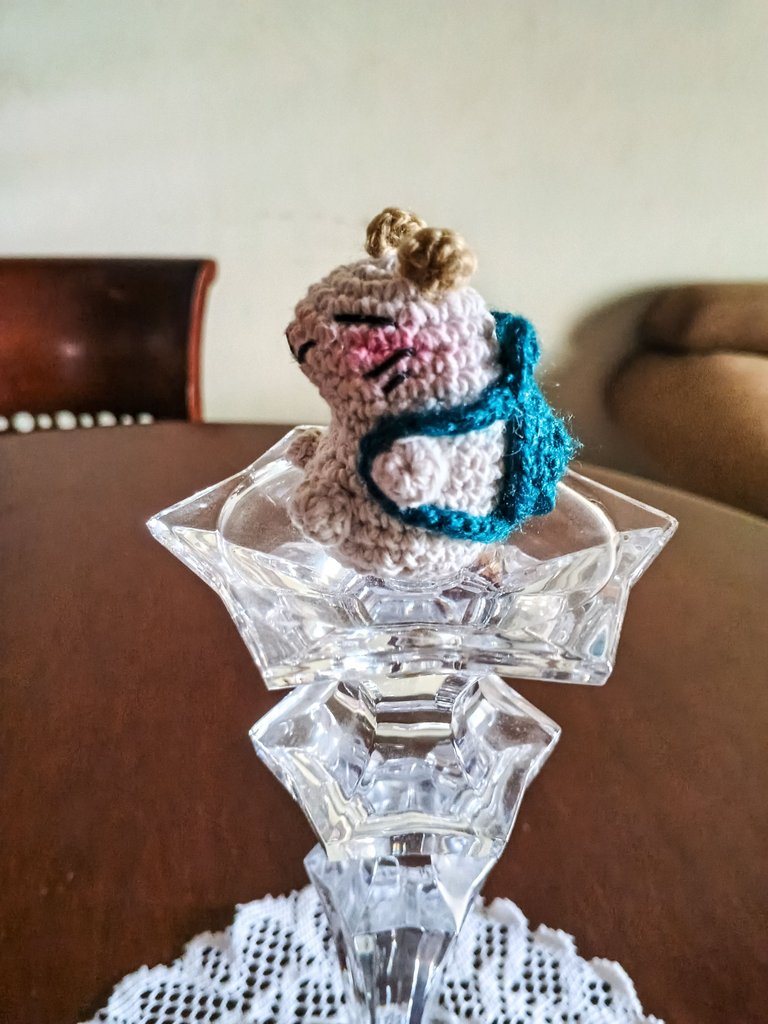
Already having all the pieces, we only have to assemble it by placing the little legs, the little ears and making the details of the face, with black thread we will make a V shape for the mouth and some little stripes as the eyes and two small stripes on both sides as if they were the whiskers, decorate with a little pink color on both cheeks and ready we have completed this beautiful and cute capybara with his little toad bag.
Ya teniendo todas las piezas, solo nos quedaría ensamblarla colocando las patitas, las orejitas y realizando los detalles del rostro, con hilo negro vamos a hacer en forma de una V para la boca y unas rayitas como los ojos y dos rayitas pequeñas en ambos laterales como si fueran los bigotes, decoramos con un poco de color rosa en ambas mejillas y listo ya tenemos culminado este bello y simpático capibara con su bolso de sapito.
I hope you liked it and I hope you are motivated to make it because it is very easy and I am sure it will be an ideal gift for any occasion. I wish you many blessings and success until the next time.
Espero que haya sido de todo su agrado y se motiven a realizarlo ya que es sumamente fácil y estoy segura que será un regalo ideal para cualquier ocasión. Me despido hasta una nueva oportunidad les deseo muchísimas bendiciones y éxitos hasta la próxima.
0
0
0.000
Pero que cosita tan bella, Dios bendiga tus manos.
Gracias 🫂😘
Saludos @danhyelita24 y Feliz Año 2025. Este Capibara es para derretirse de amor, lo quiero. Es uno de mis animales preferidos y también de muchos otros animales incluso peligrosos que conviven con él sin hacerle daño. Imposible no amarlo.
Gracias por tan bonito mensaje 😘
¡Felicidades! Esta publicación obtuvo upvote y fue compartido por @la-colmena, un proyecto de Curación Manual para la comunidad hispana de Hive que cuenta con el respaldo de @curie.
Si te gusta el trabajo que hacemos, te invitamos a darle tu voto a este comentario y a votar como testigo por La Colmena.
Si quieres saber más sobre nuestro proyecto, te invitamos a acompañarnos en nuestro servidor de Discord.
Gracias @la-colmena 😊
Amé el rubor de sus cachetes, le da el toque distinto, muy buen tutorial ✌️✨️
Muchas gracias @septymahija ☺️ me encanto tu comentario 🙂
¡Es todo tierno! Amo los peluchitos pequeños, aunque no sé si crochet cuente como peluche.
PD: es un chigüirito albino, qué bonito toque le dio el blush en las mejillas, da la sensación de que son más regordetas jiji.
Hola @celely que gusto ☺️. Y si el tono quedó un poco claro pero igual de coqueto🥰
Te quedó hermoso!!! 🥰 Me encanta este personaje. Gracias por compartir tu proceso creativo.
!discovery 45
This post was shared and voted inside the discord by the curators team of discovery-it
Join our Community and follow our Curation Trail
Discovery-it is also a Witness, vote for us here
Delegate to us for passive income. Check our 80% fee-back Program
Que tierno, me encanta 🥹
Congratulations, your post has been curated by @dsc-r2cornell. You can use the tag #R2cornell. Also, find us on Discord
Felicitaciones, su publicación ha sido votada por @ dsc-r2cornell. Puedes usar el tag #R2cornell. También, nos puedes encontrar en Discord
Hola amiga excelente trabajo. Es toda una obra de arte trabajar eso. SALUDOS
I agree that the best way to show love is to give time, and when we make a craft we leave a little bit of life time in what we do so it is really a beautiful detail. In my case if I tried this I have no doubt that it would take me much longer, but seriously, I love to see the process and the final result is extremely beautiful and beautiful.