❗❕❗TUTORIAL🎨Decoupage of the perpetual calendar🎨My new life in Germany🖤🤗
Hello to everyone who reads my blog! 🖤🤗
I have already told you that we decided to break up with Mr. S. He was just on a flight. It was a difficult moment for me when I realized that all my loved ones were far away, I was left alone in Germany. His relatives said I could stay with them. I agreed, but on the condition that I would rent a room from them.
By the time I was waiting for an answer from the Integration Courses, the day was coming when the courses would begin.

To distract myself, I remembered about my best medicine for loneliness and sadness. This is art! I love creating with my own hands.
When we went to Holland, we went to a big flea market (I talked about it). And there I bought myself some items that I wanted to remake for something new and give a new life.
Among these items was a perpetual calendar. And one spring day I decided to redo it.

It was a wooden calendar, just gray (no photos left, sorry).
The materials I bought: 🎨
- acrylic paint (purple, white);
- napkins;
- glue;
- craquelure varnish;
- glossy varnish;
- brushes.

In the beginning, I painted everything with purple acrylic paint and let everything dry. Then I painted everything with craquelure and gave it a little grip on the surface. And she covered everything with a white, thin layer (the main thing is to paint everything with a soft brush and a thin layer of paint. I add some water).

Then, when everything dried up. It's time for decoupage.
I bought ordinary napkins and removed the bottom paper layer of the napkin (usually they have two layers) and carefully tore out the pictures (the main thing is not to cut with scissors).
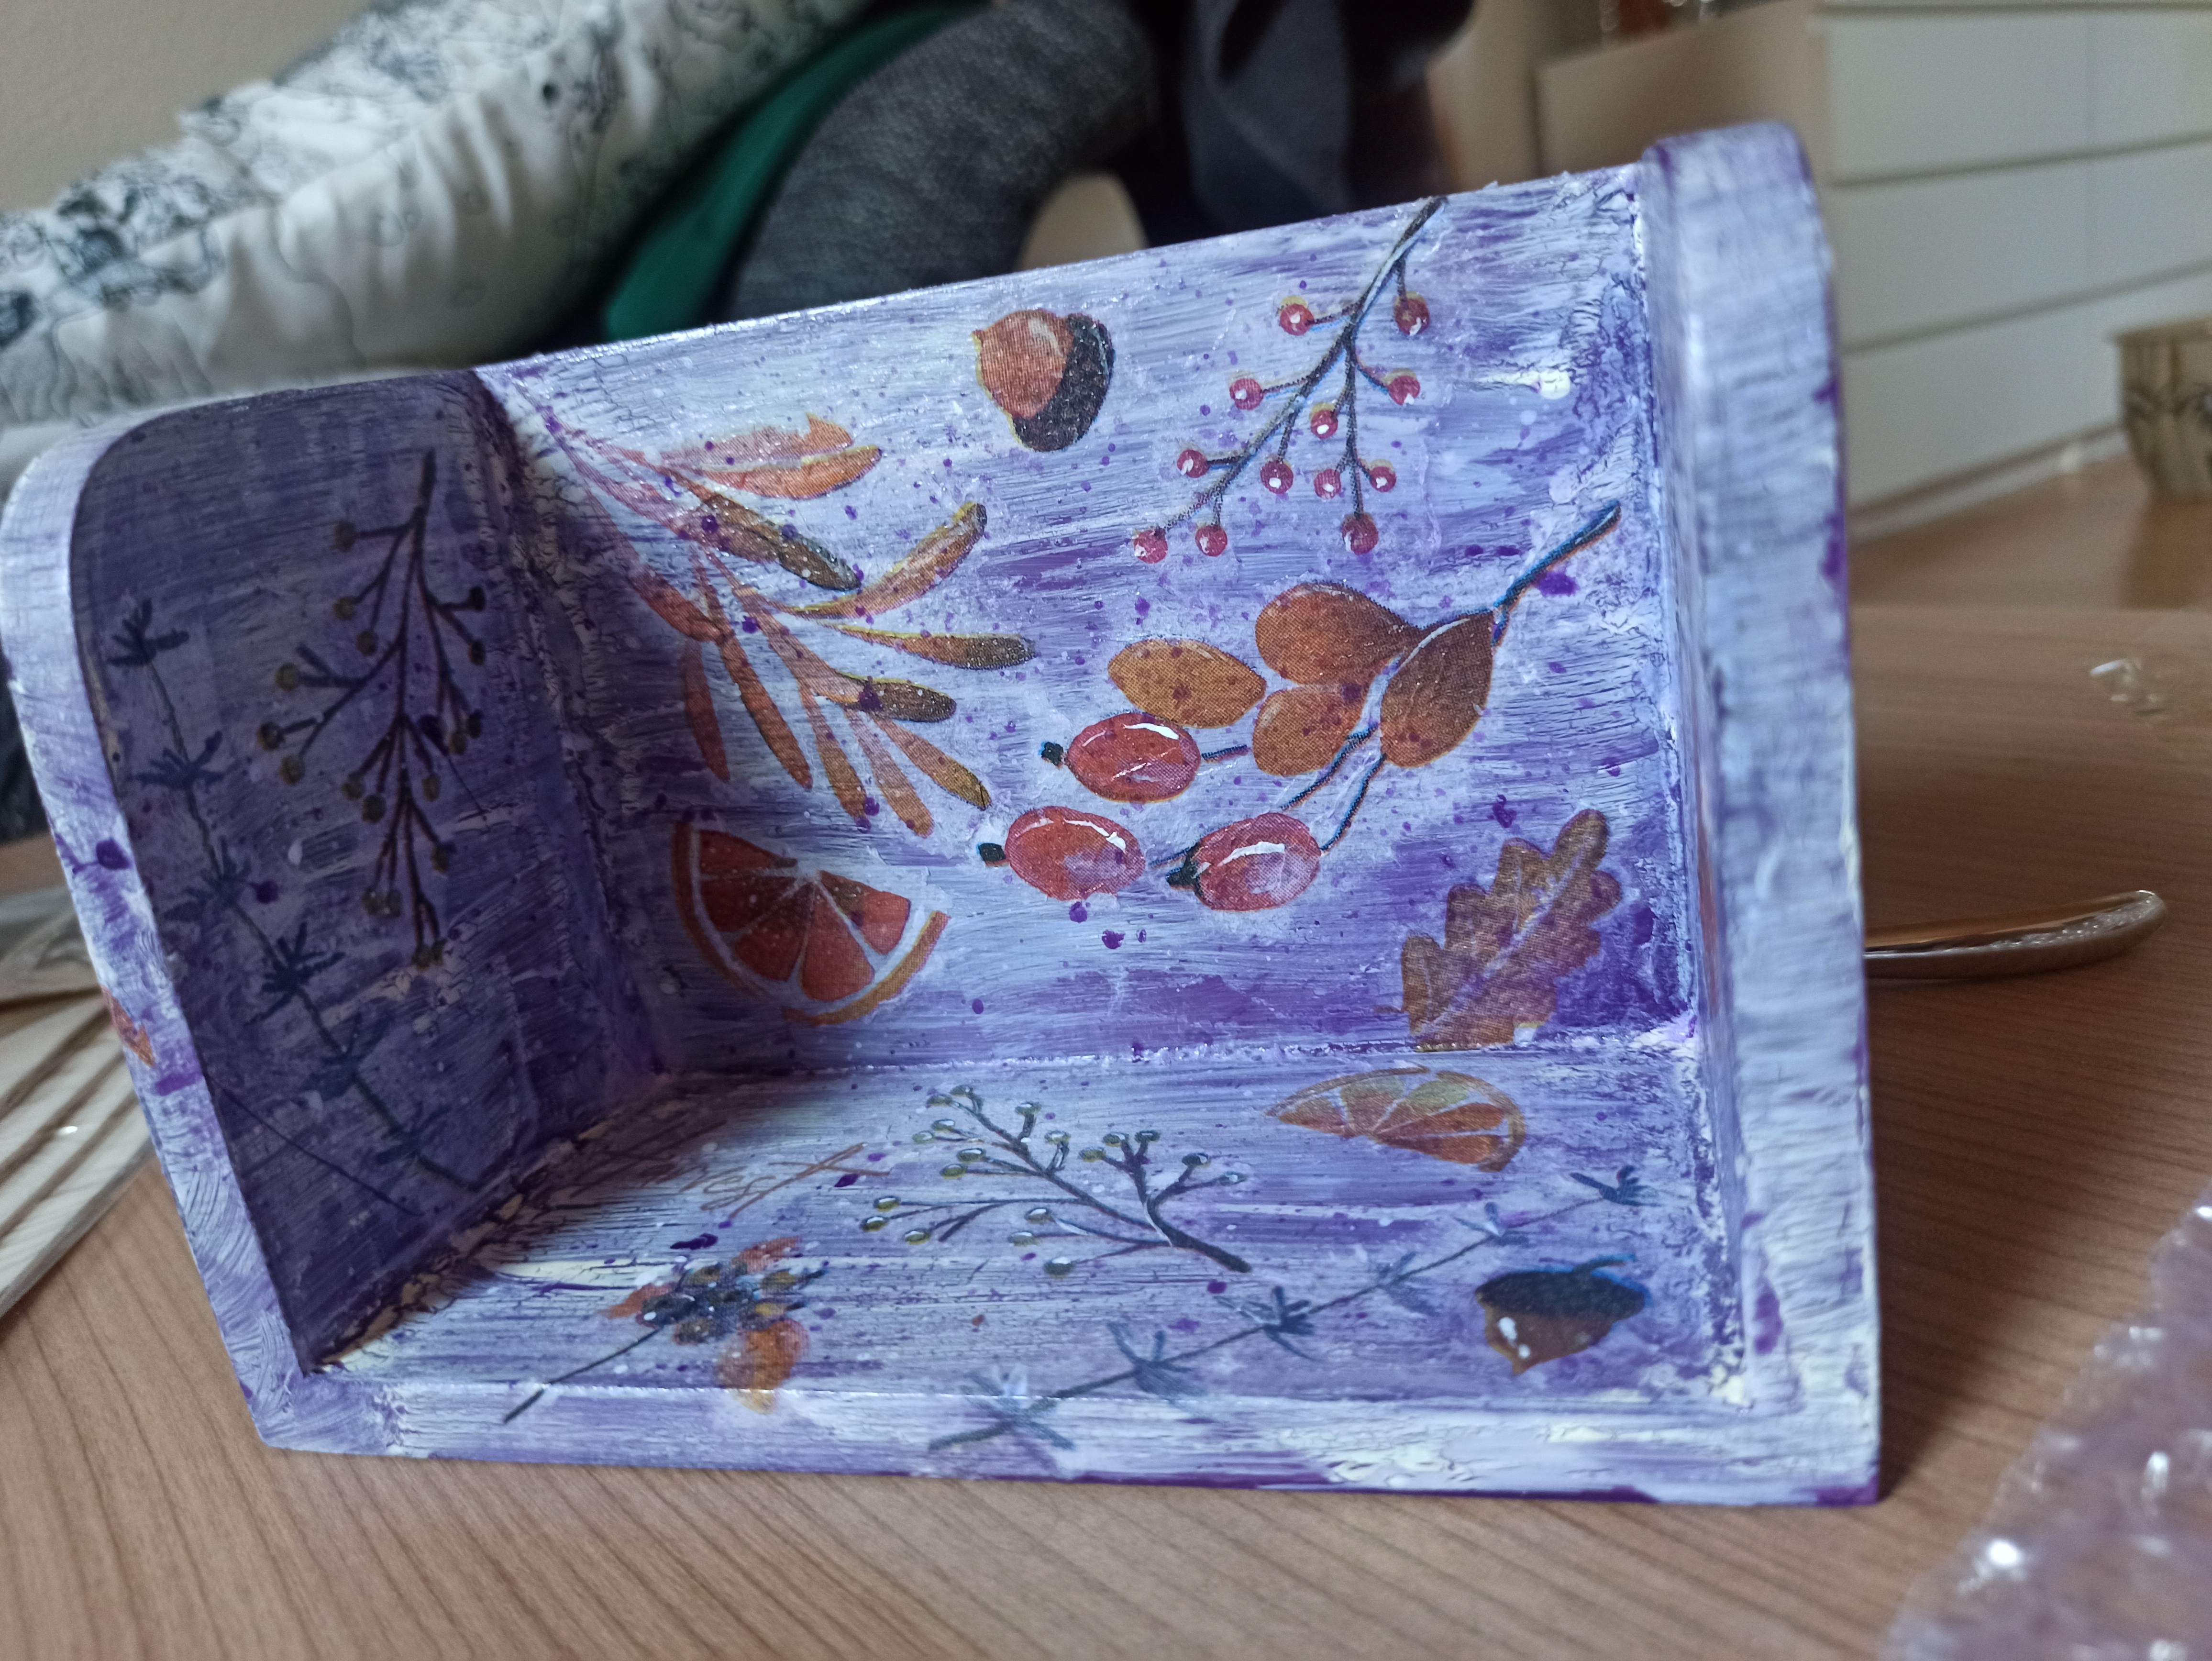
Then I leaned the picture to the right places, smoothed the pictures on the surface with wet fingers and covered everything with ordinary glue, which is sold in all stores with endtavars.
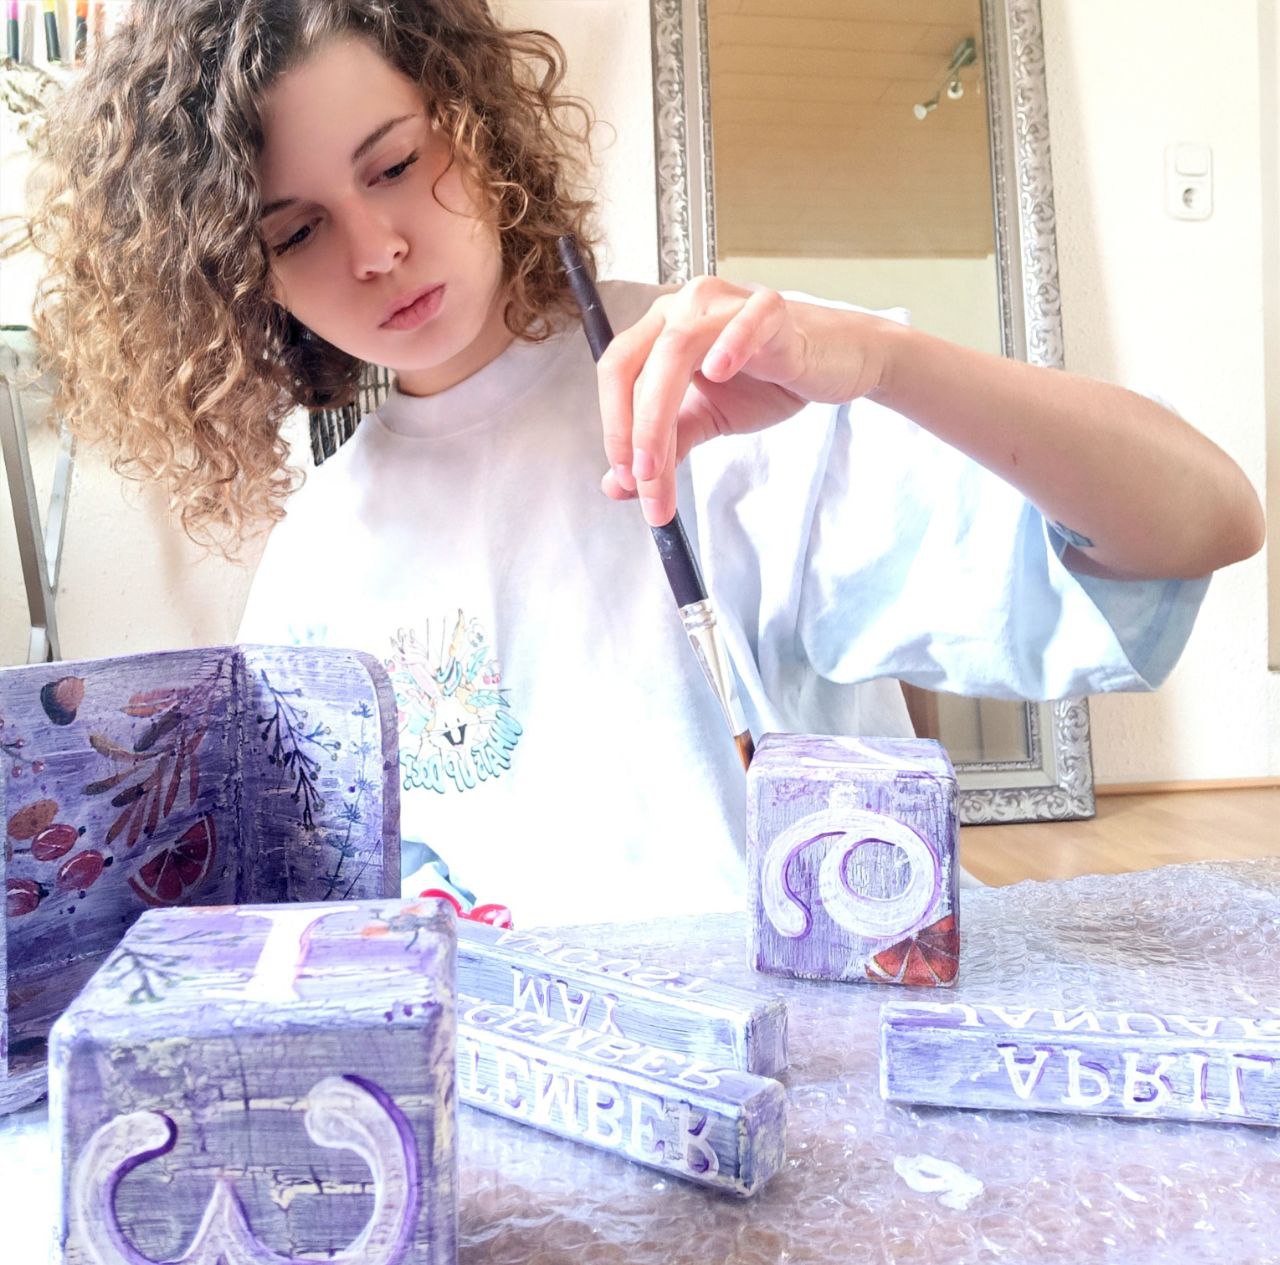
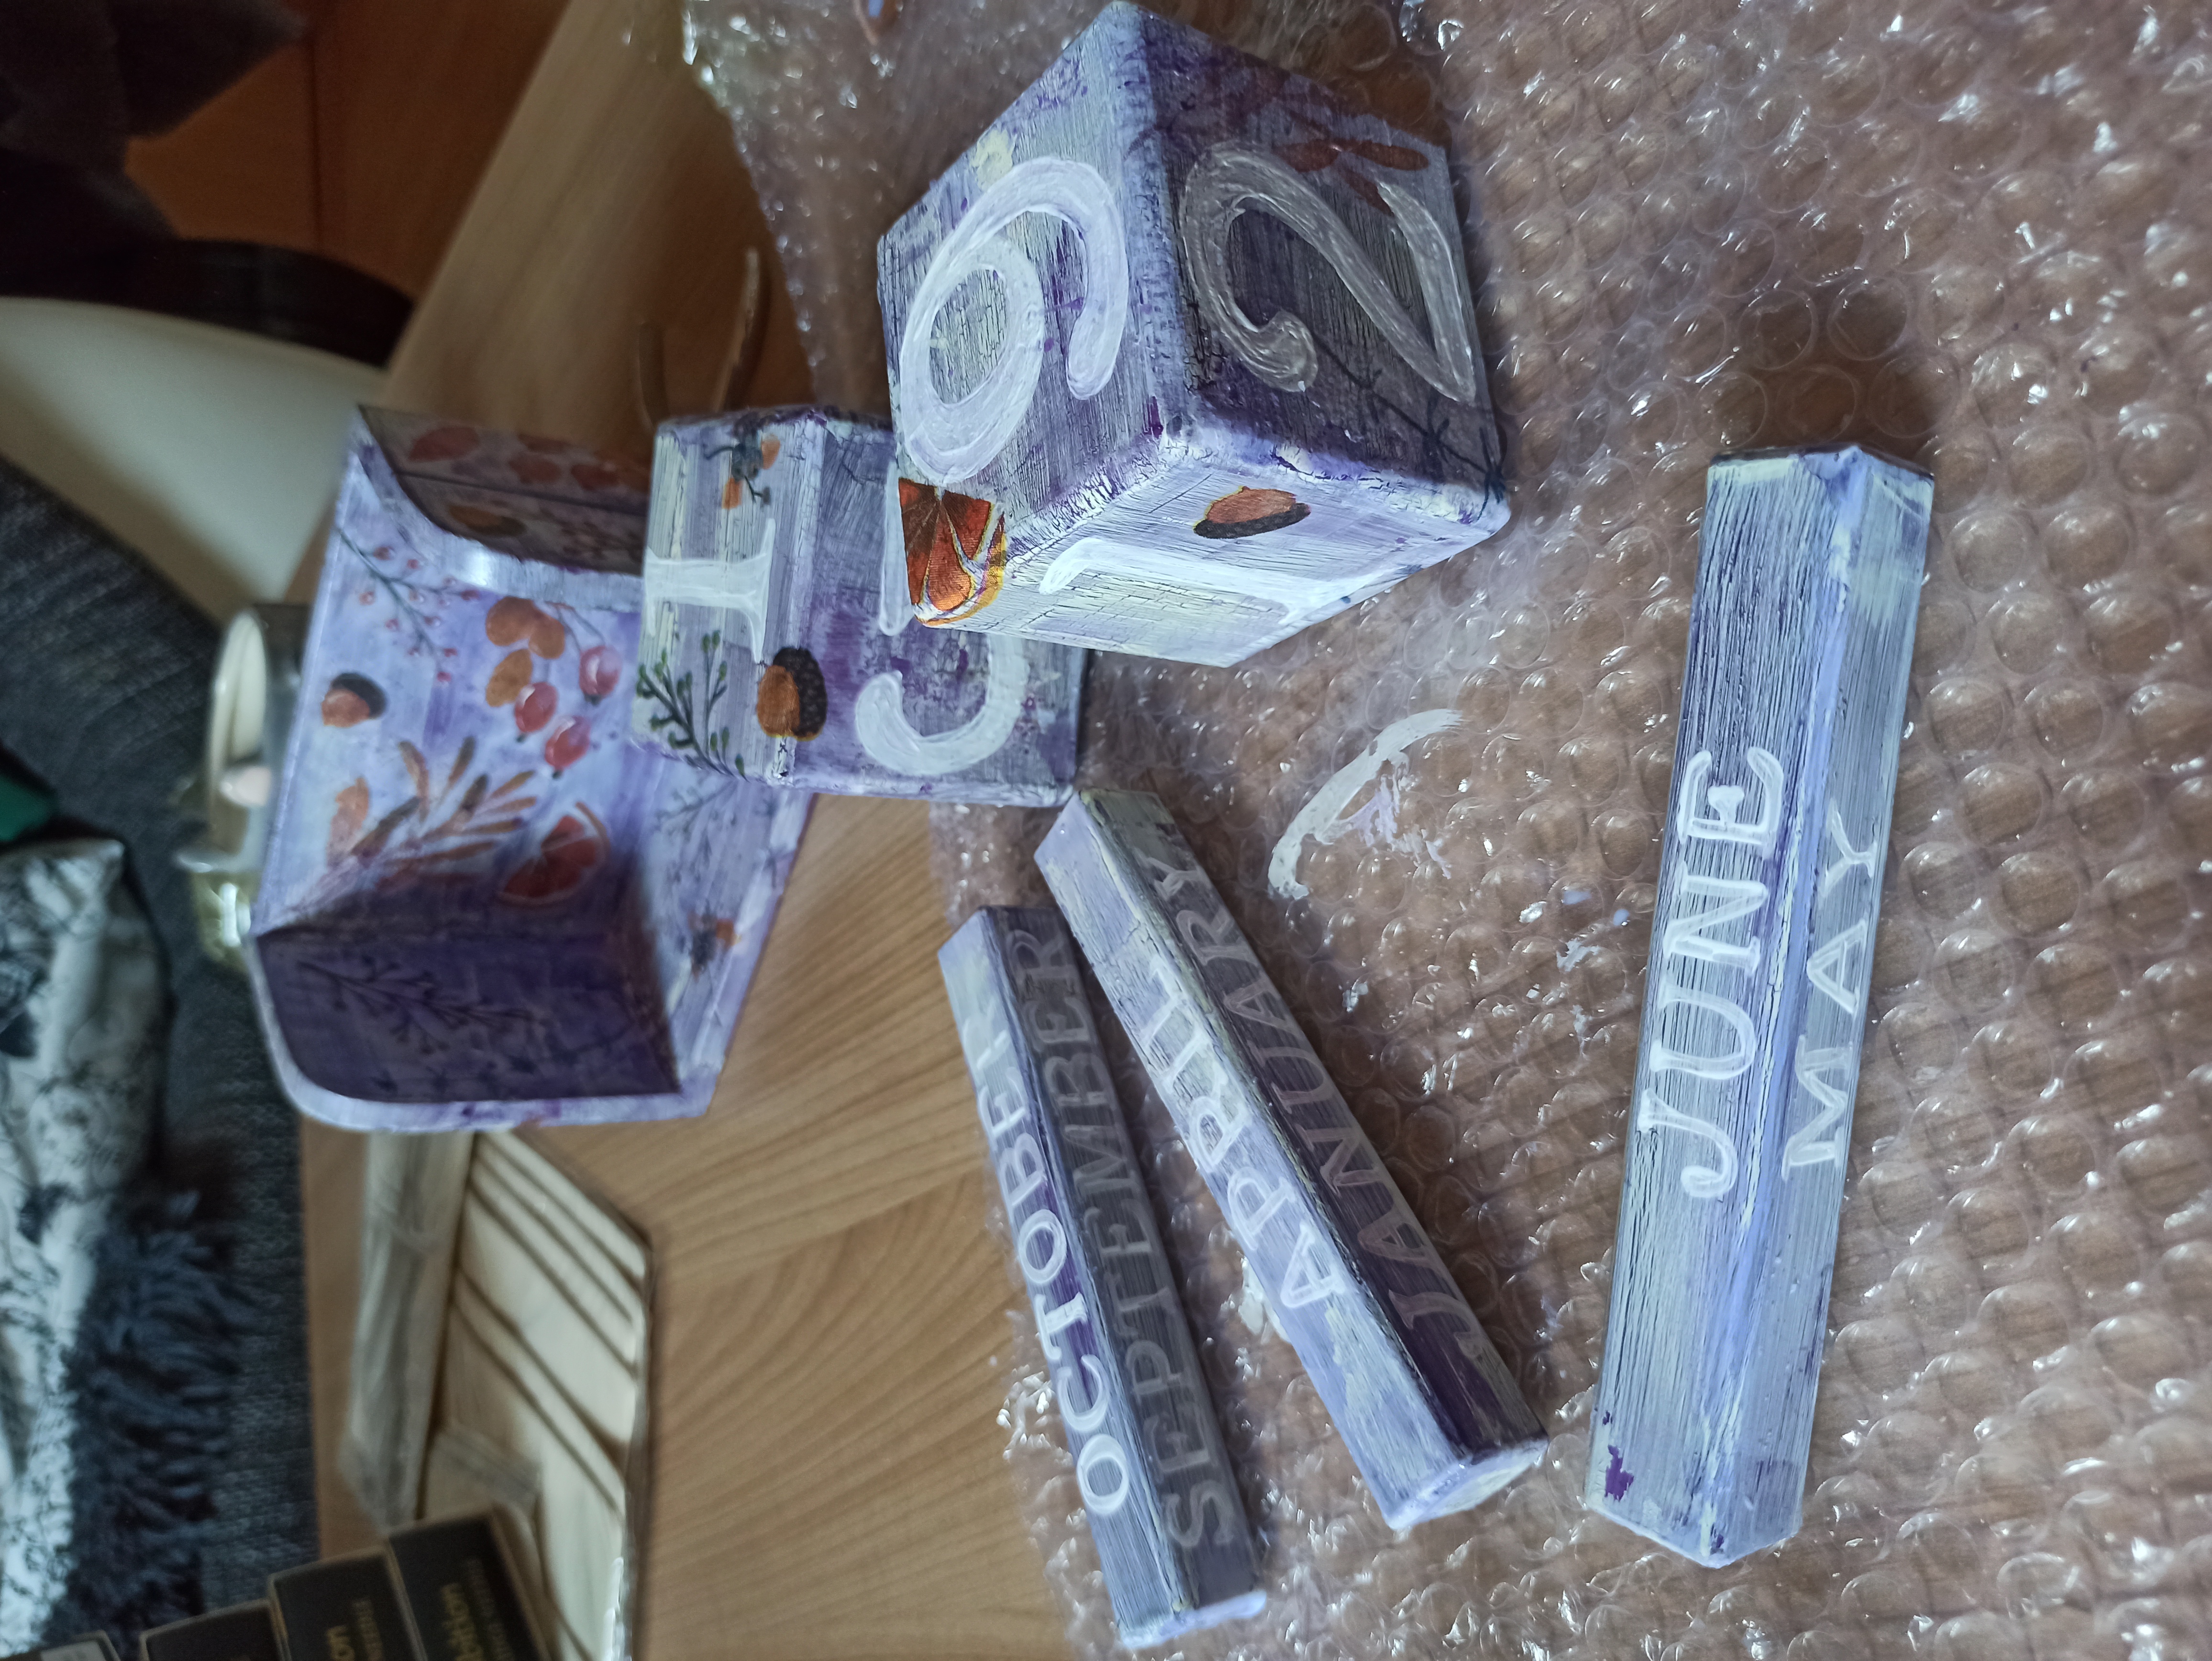
And in the end I just had to varnish everything.
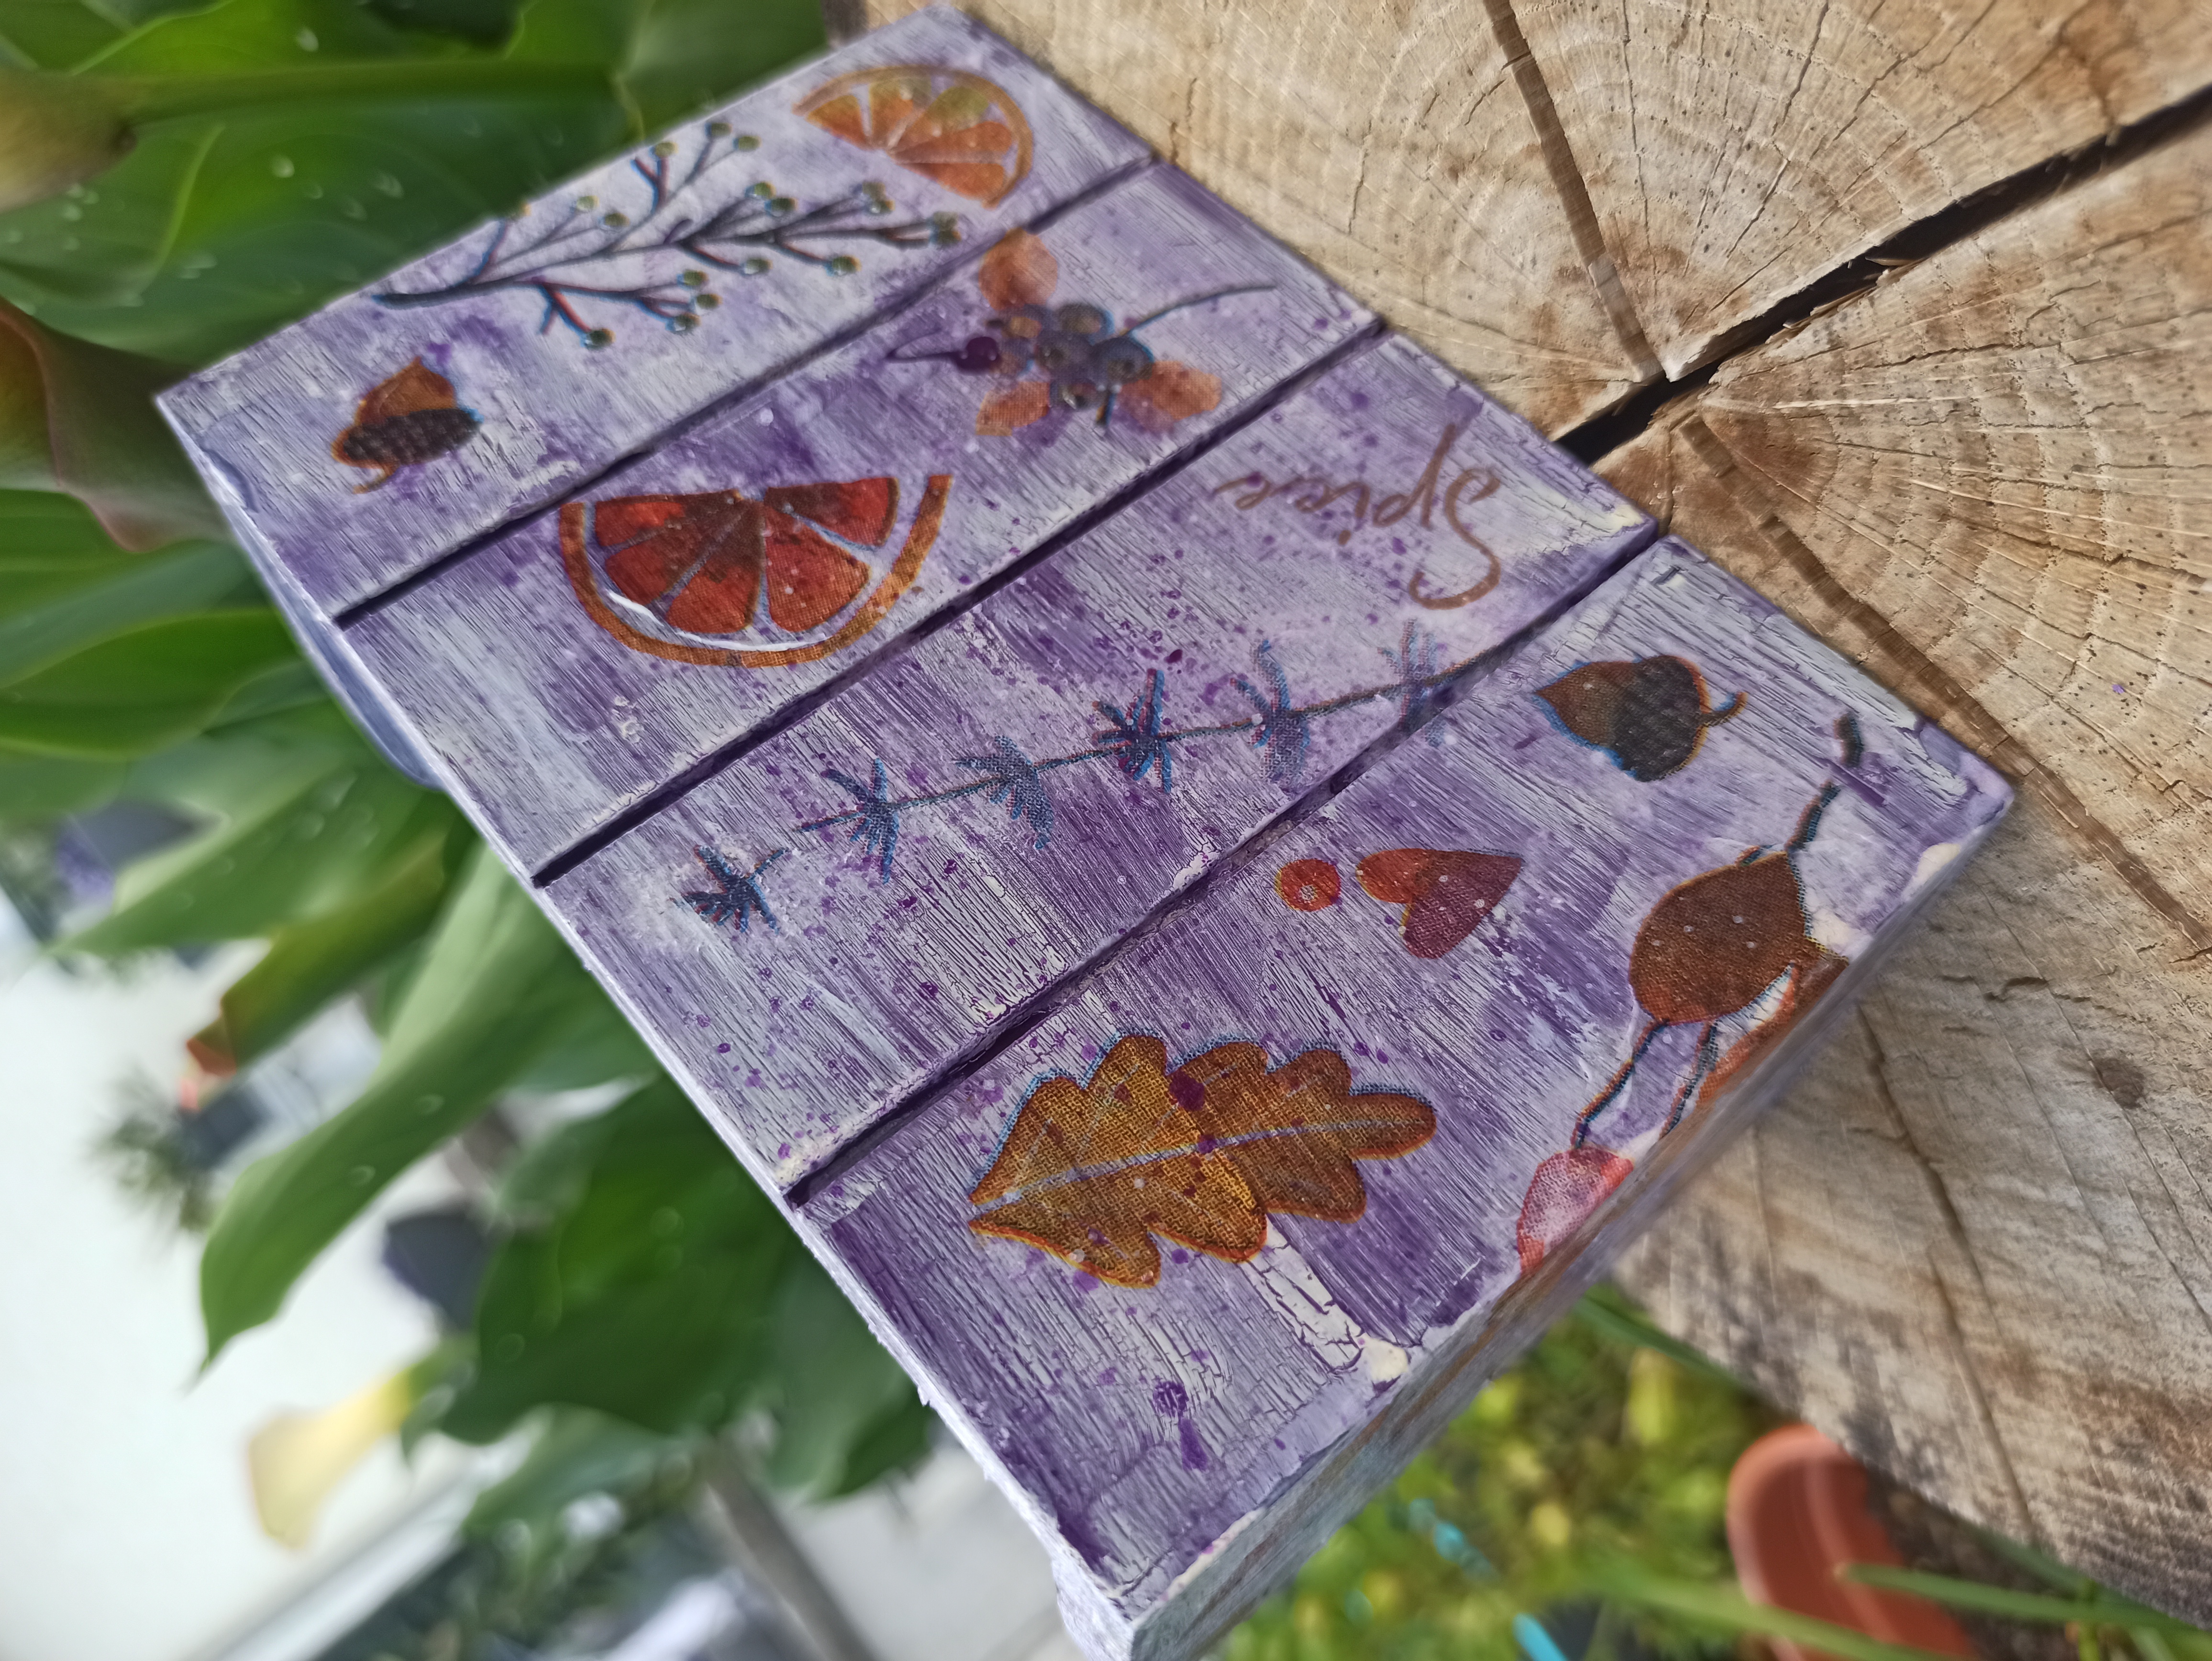
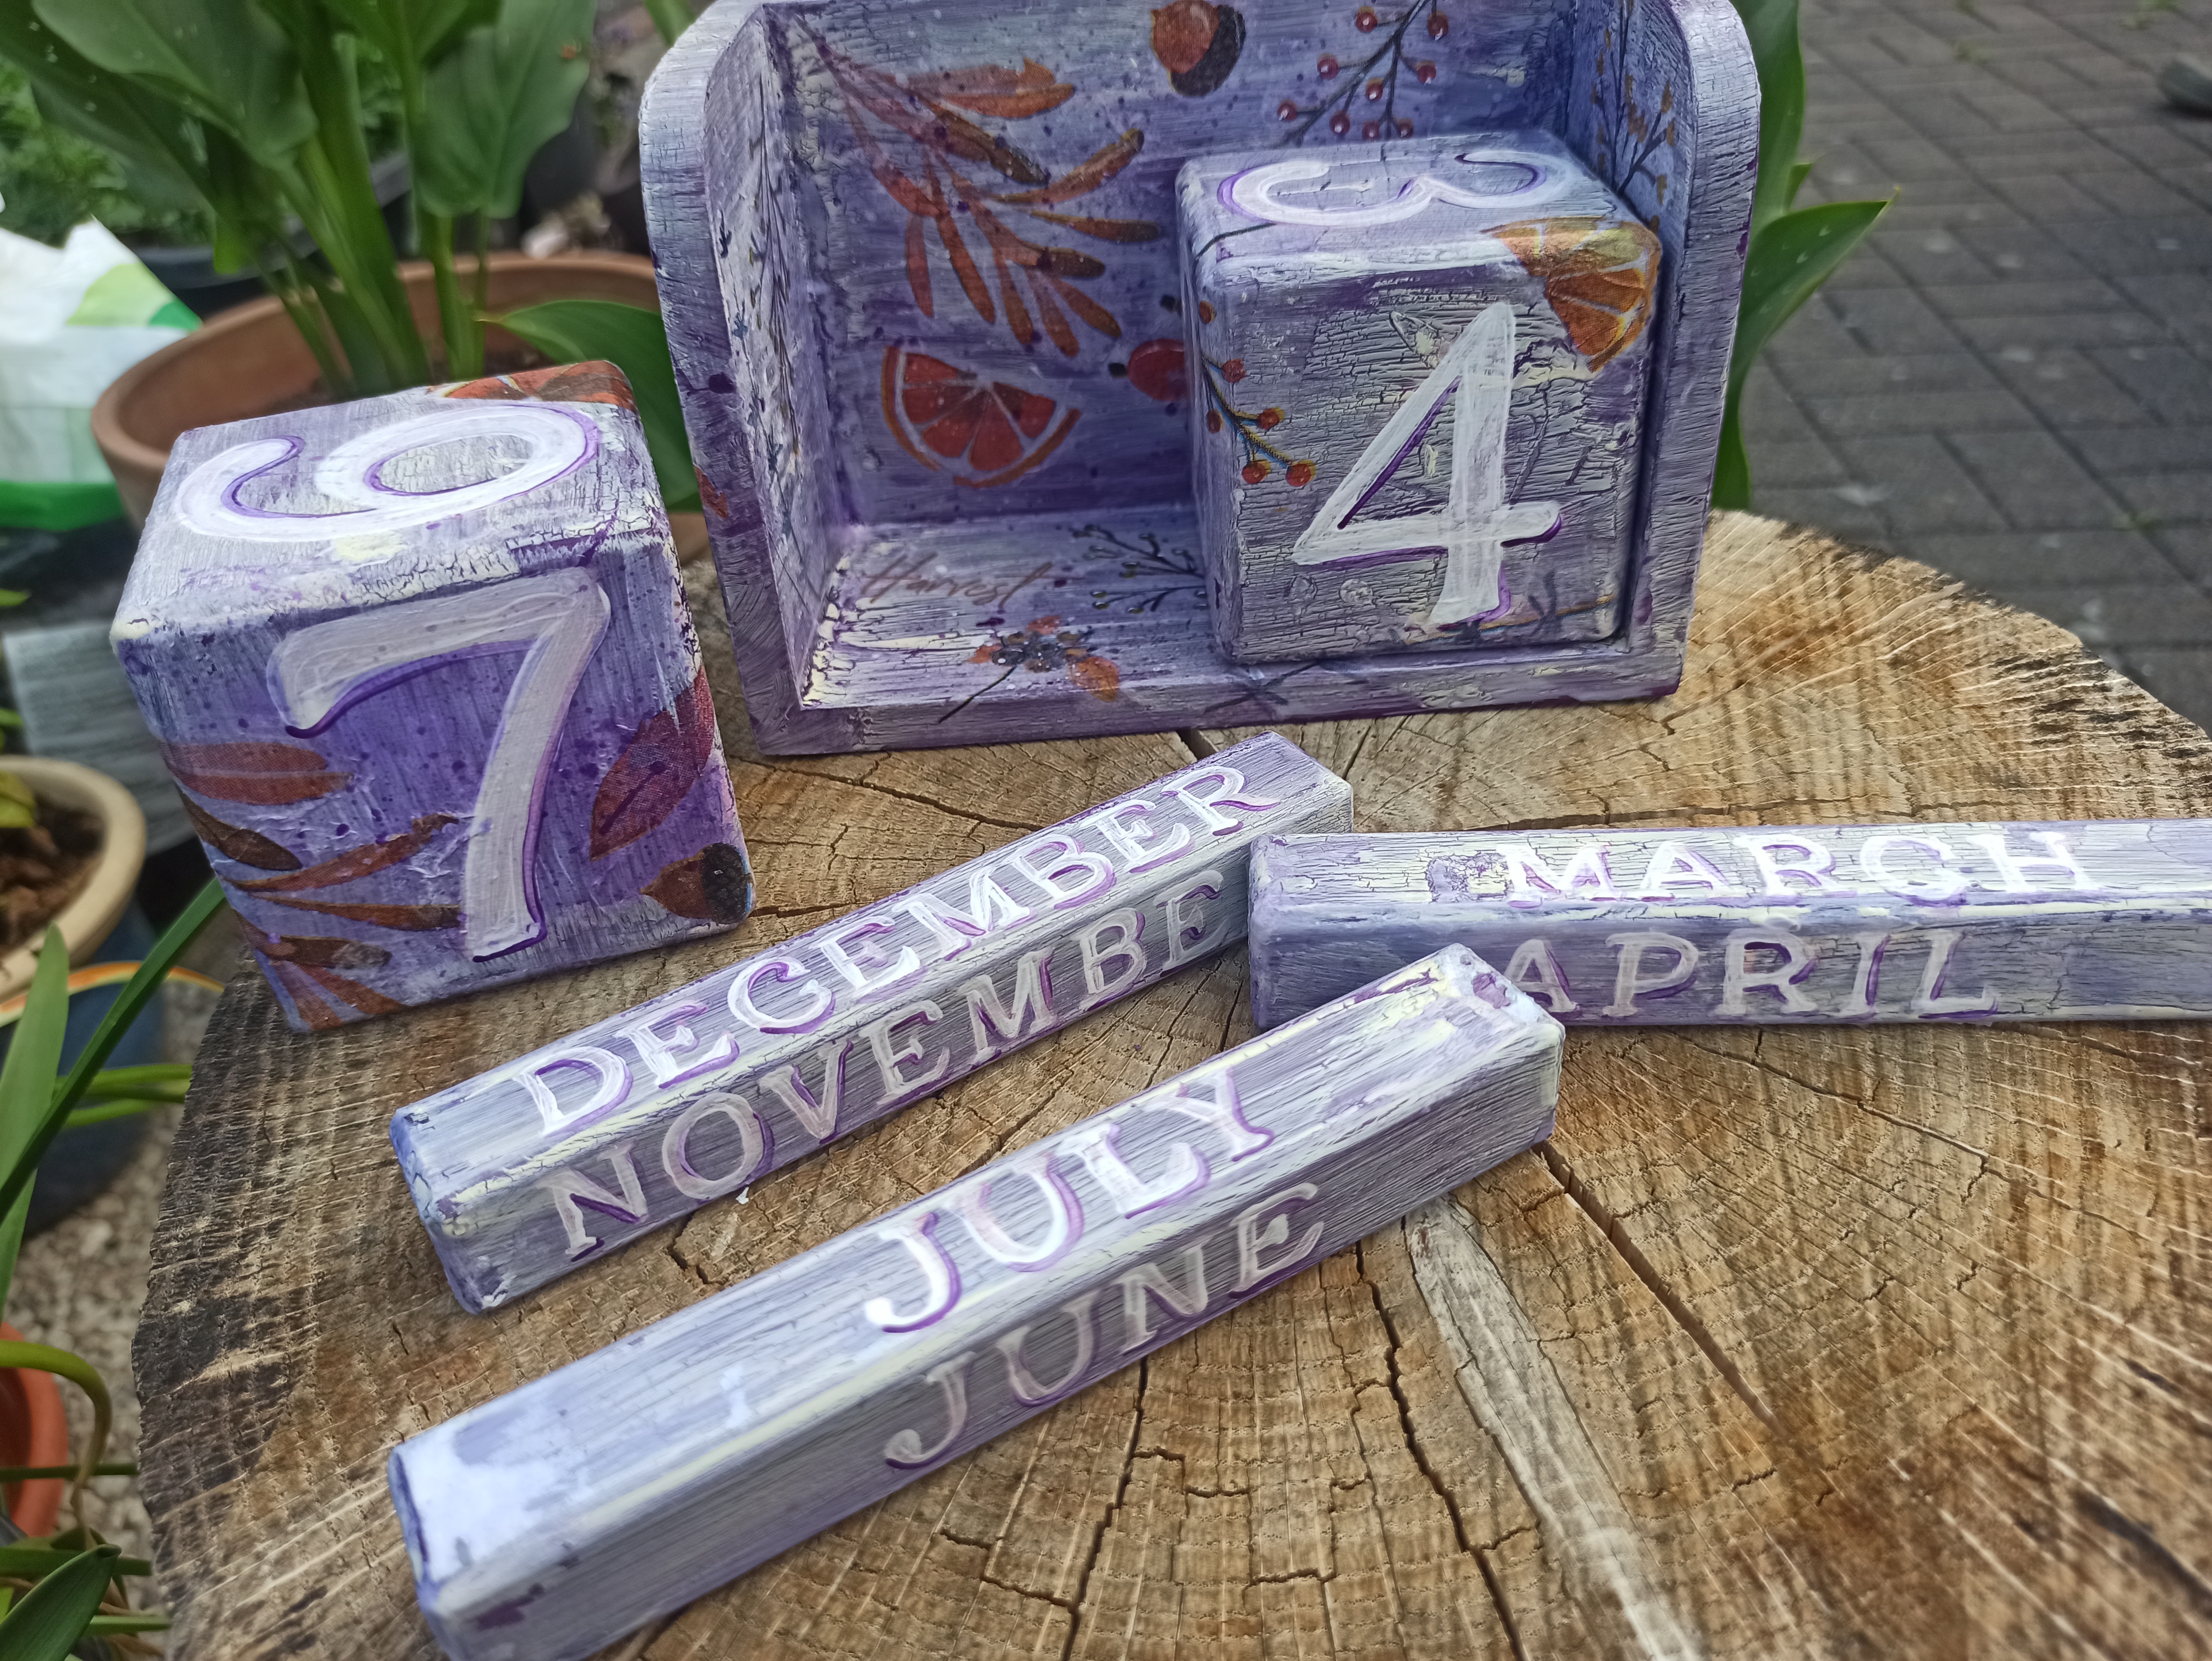
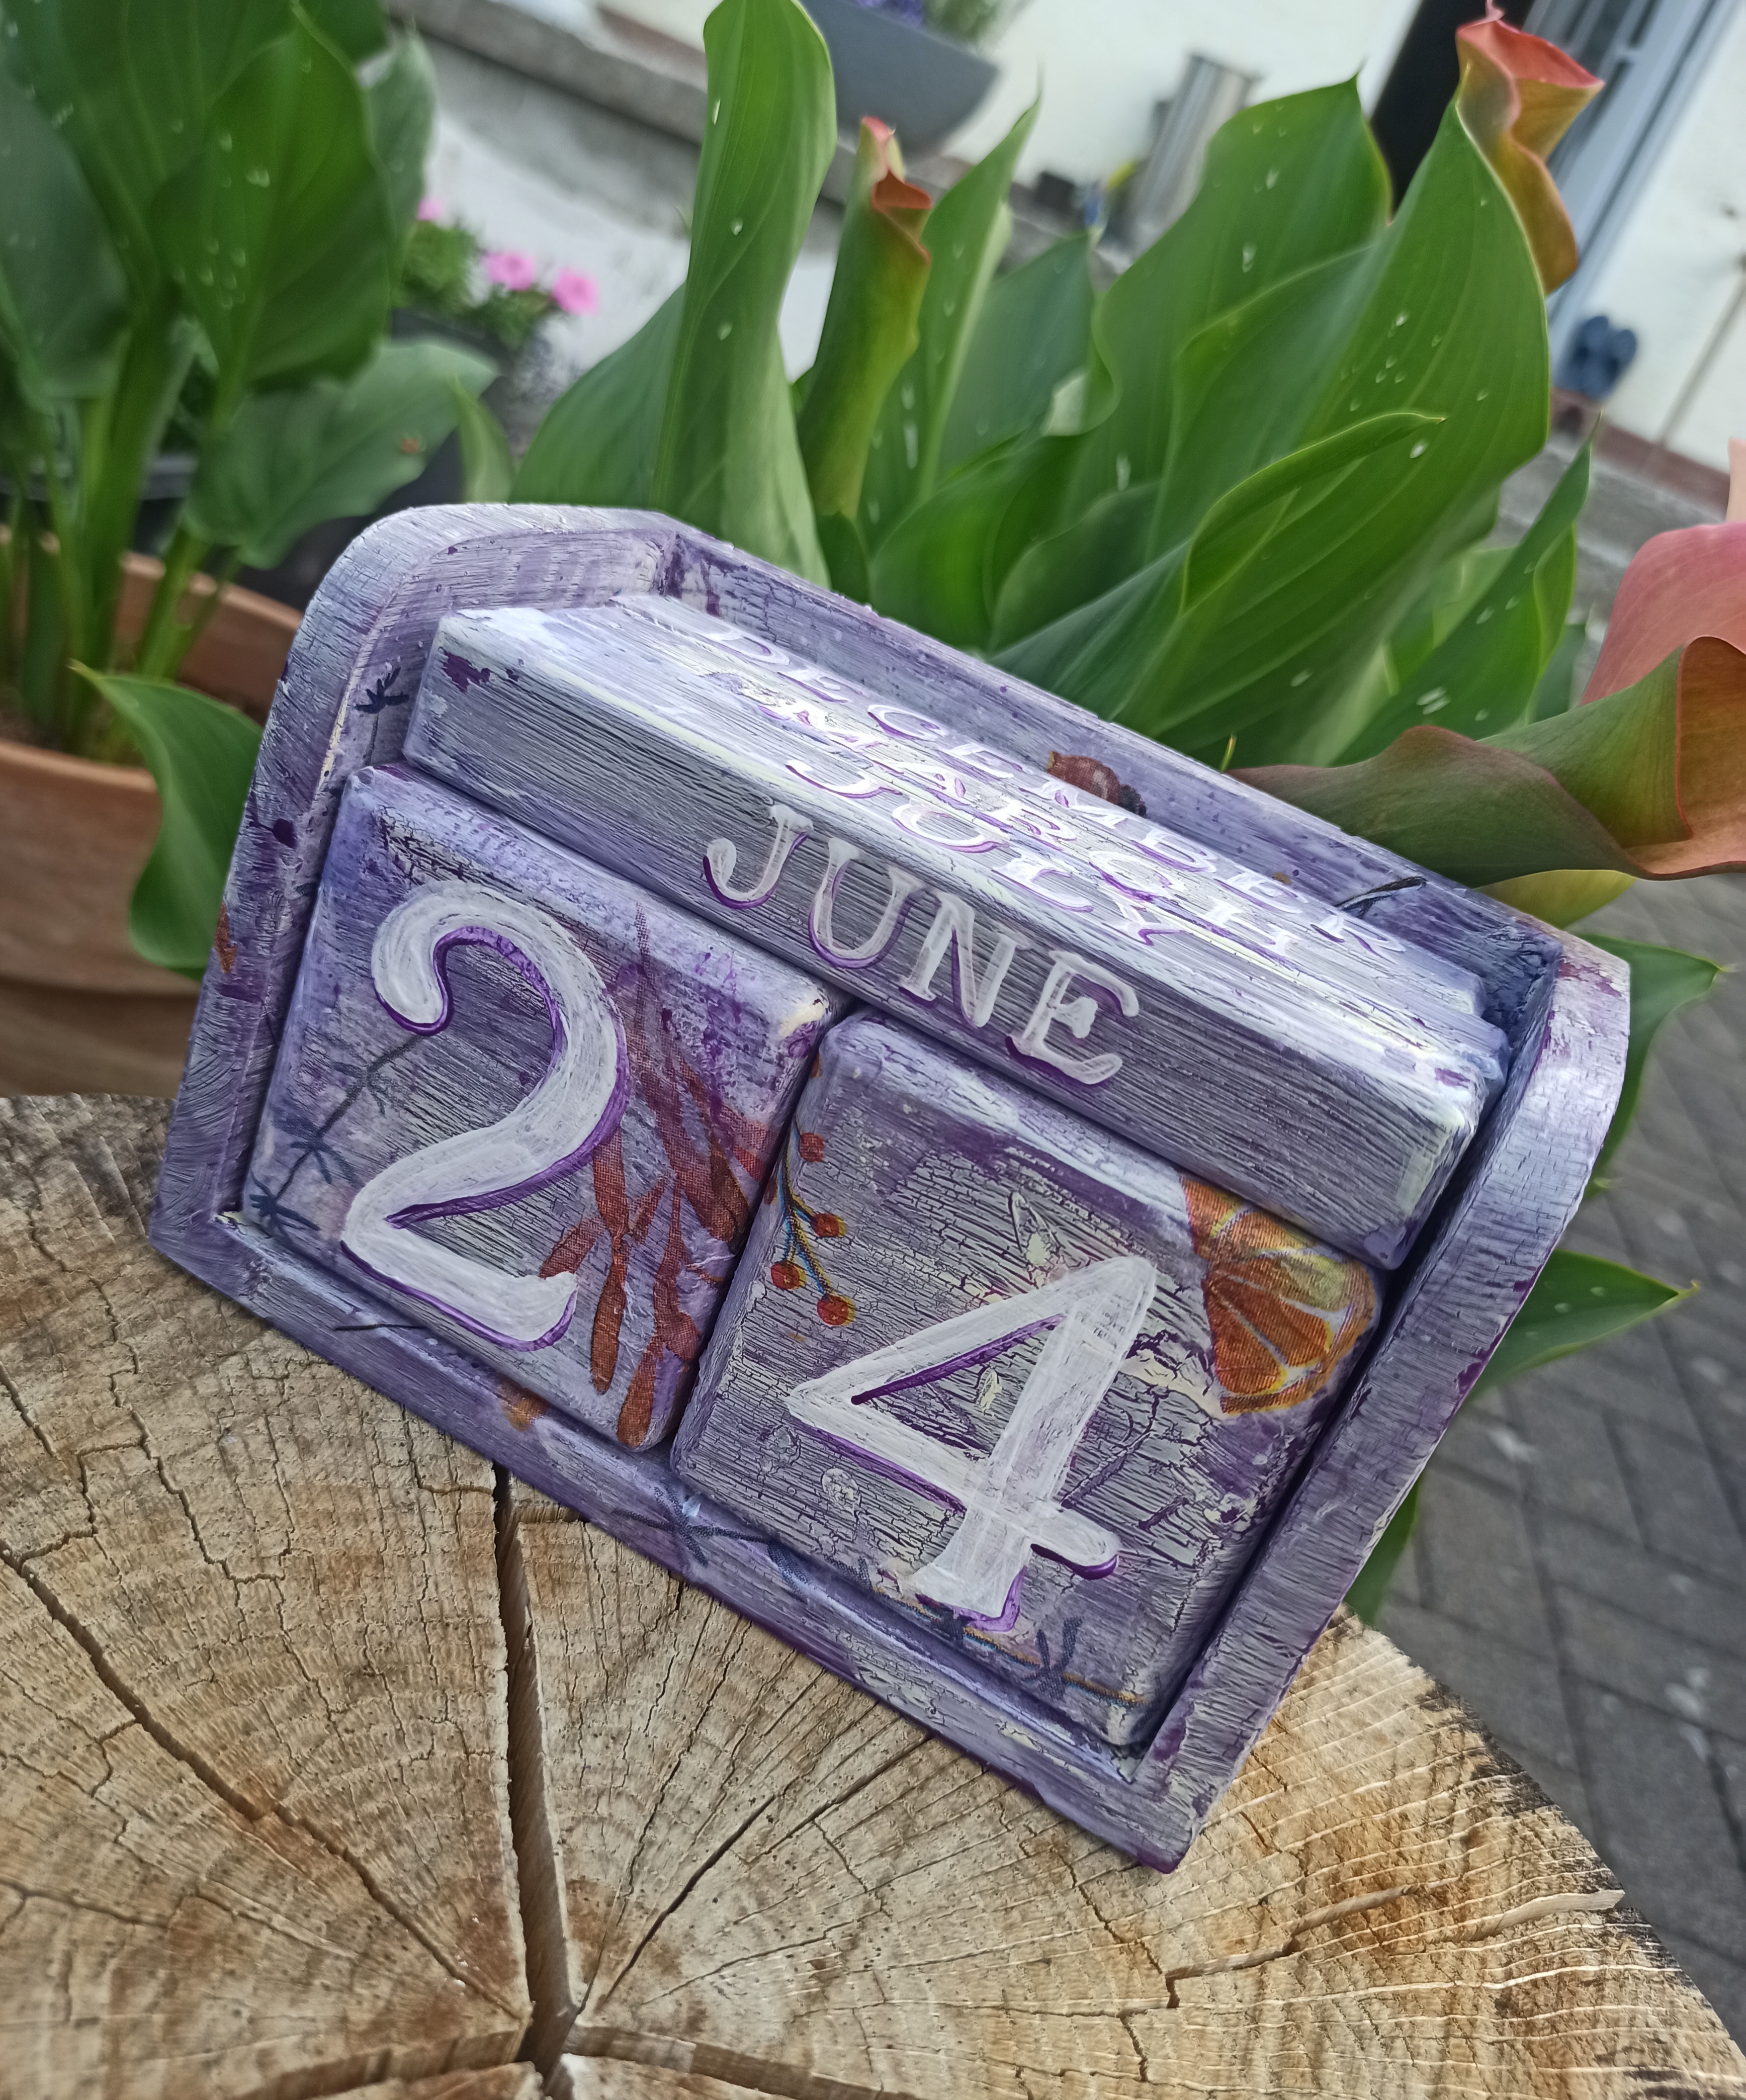
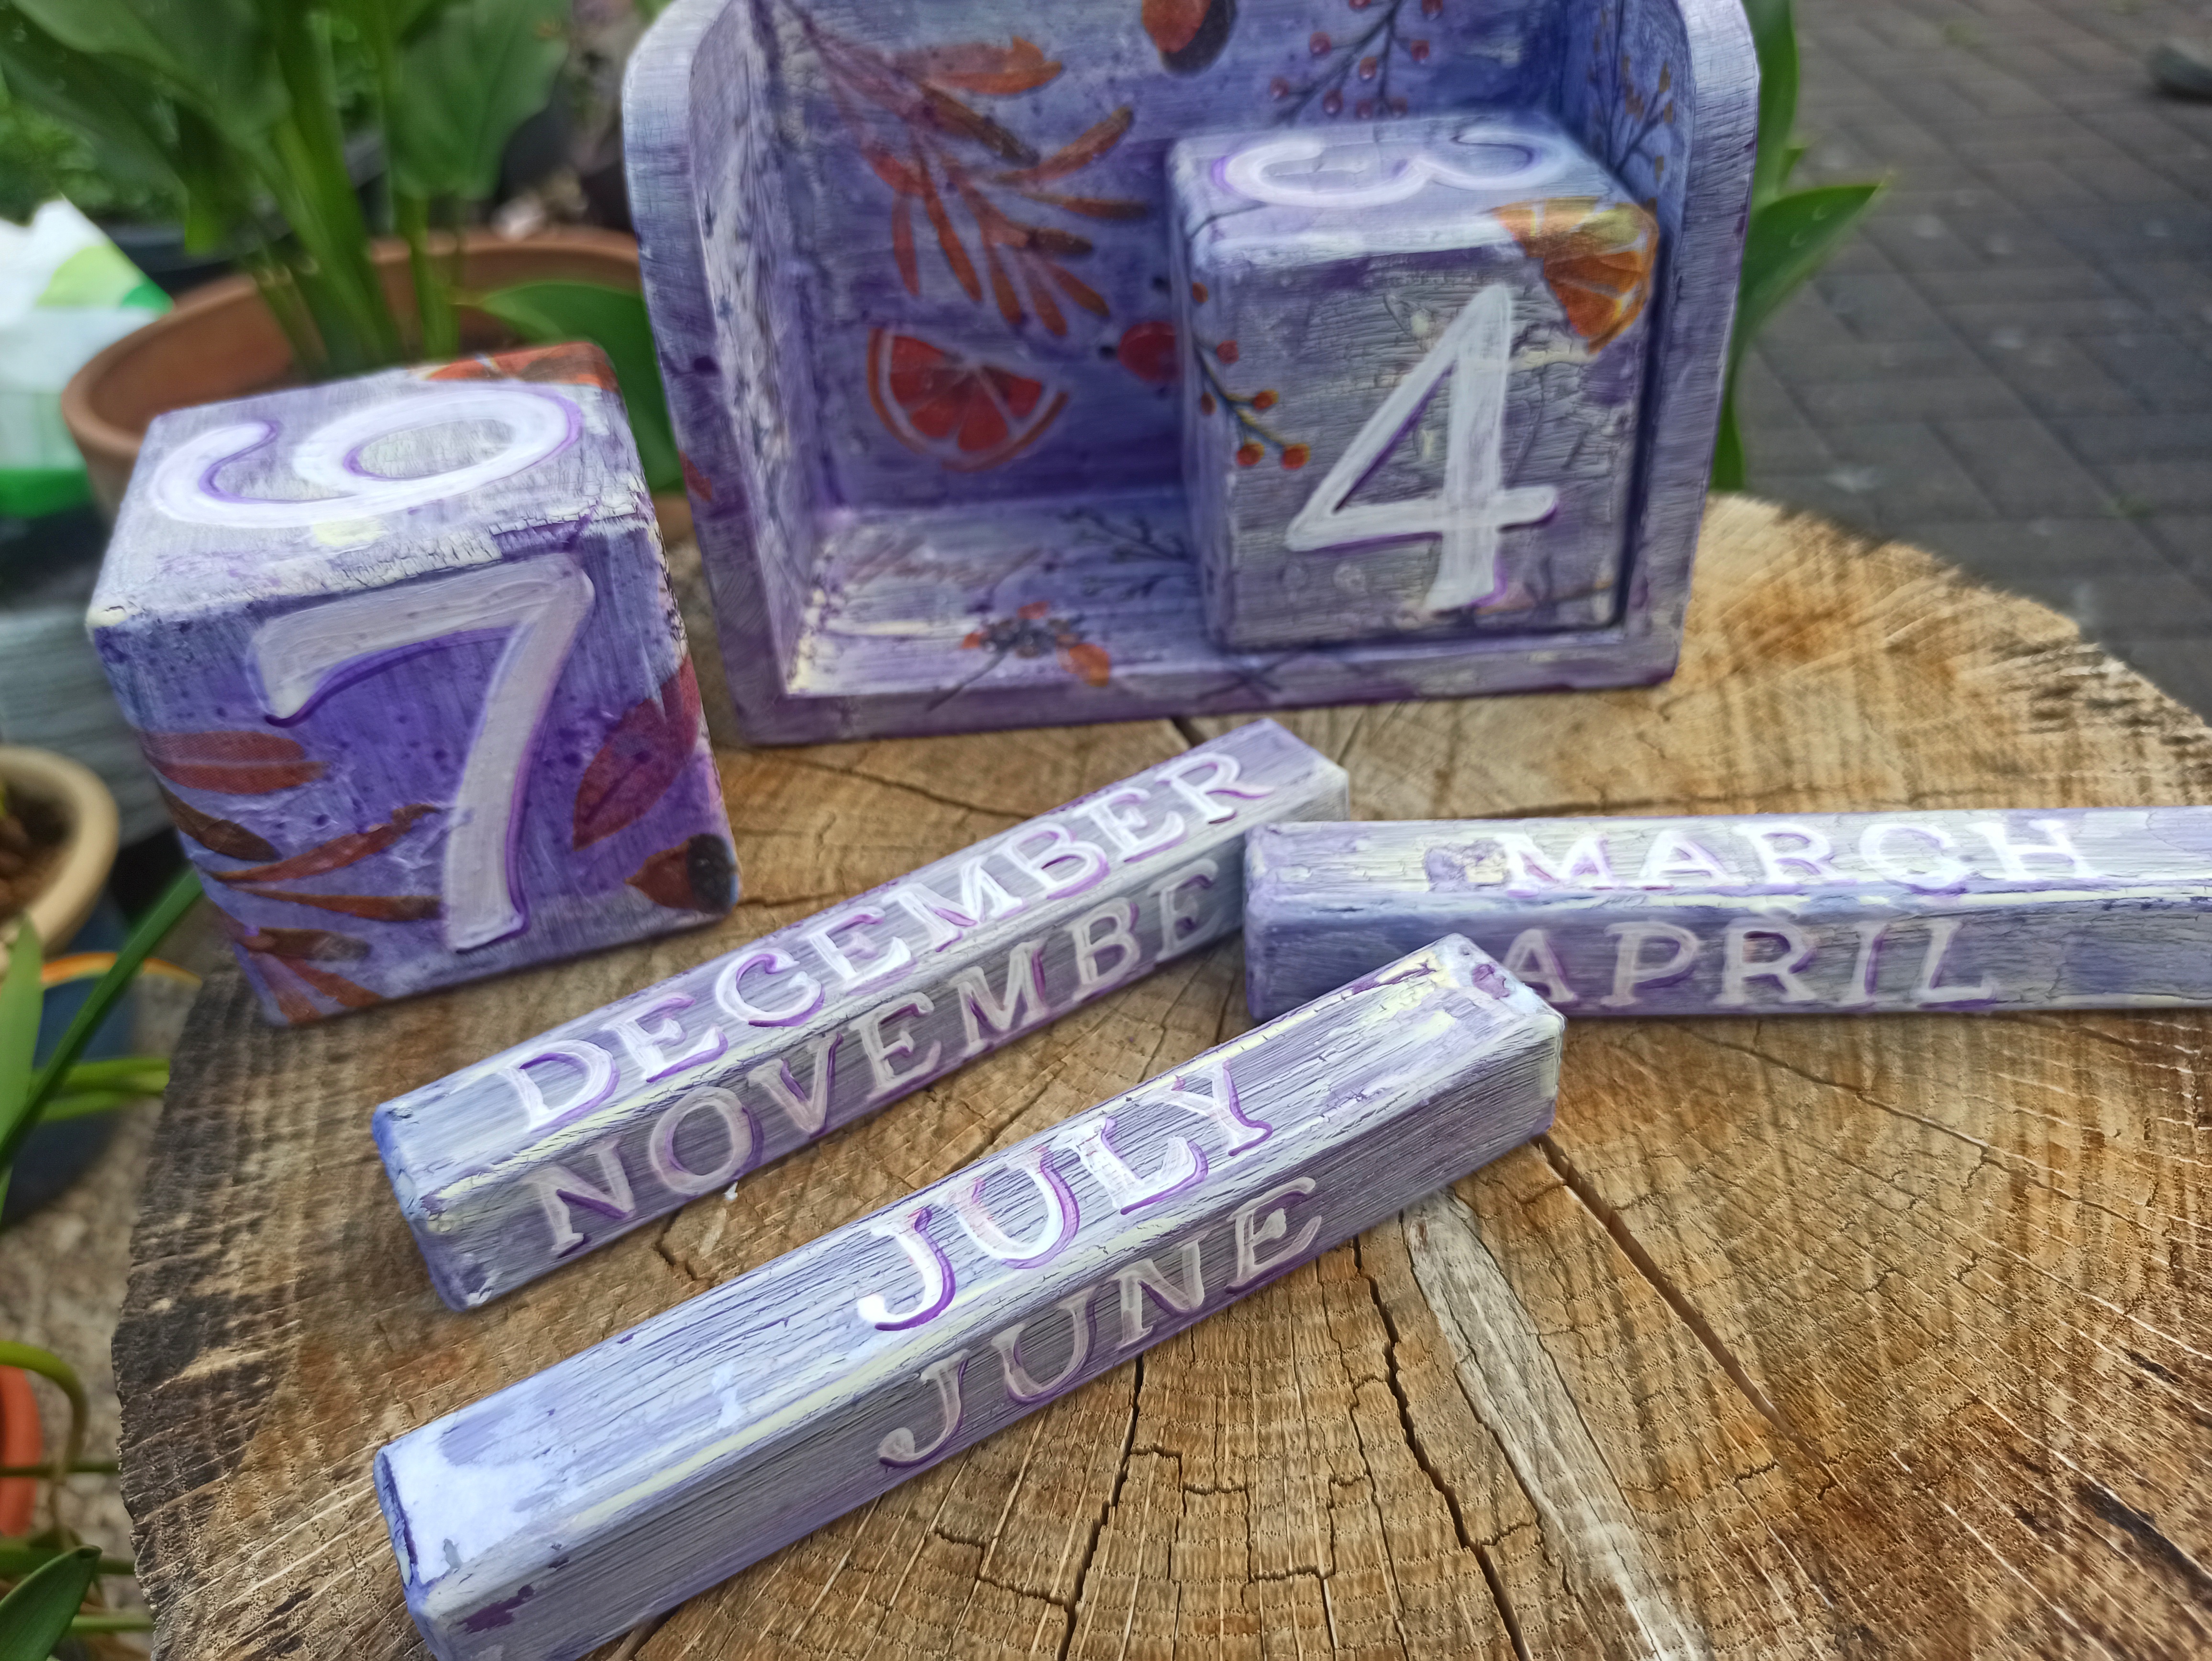
Here is the result!



Has sido curado por @visualblock / You've been curated by @visualblock
Bienvenidas delegaciones / Delegations welcome
Encuentra nuestra comunidad aquí / Find our community here
Trail de Curación / Curation Trail
Wow this is gorgeous... What a great idea!!!!
Thanks 😇
oh, you did such a good job on this! It is lovely, and wonderfully done! Bravo! 💜
Thank you very much, I'm trying))