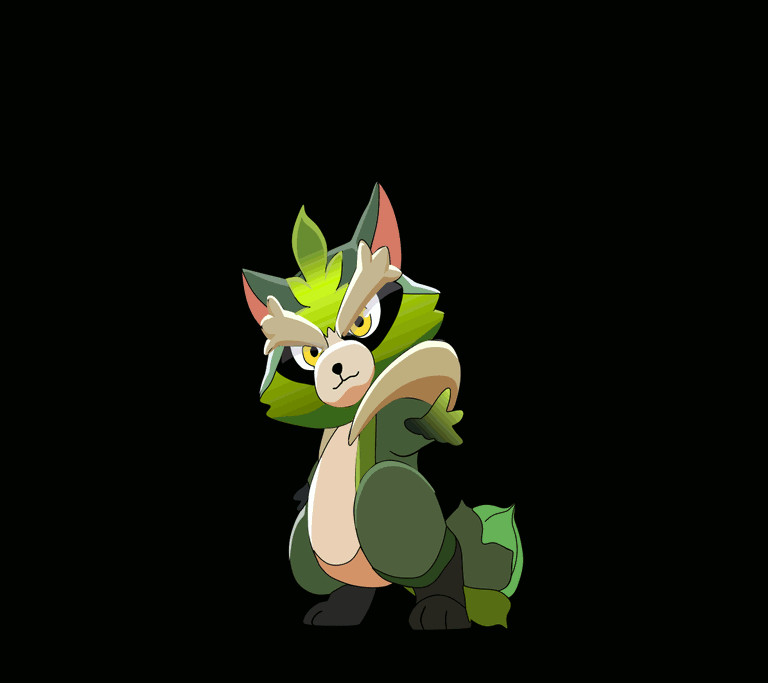
Drawing Grass Racoon from the Holozing Game in Inkscape
Step 1:
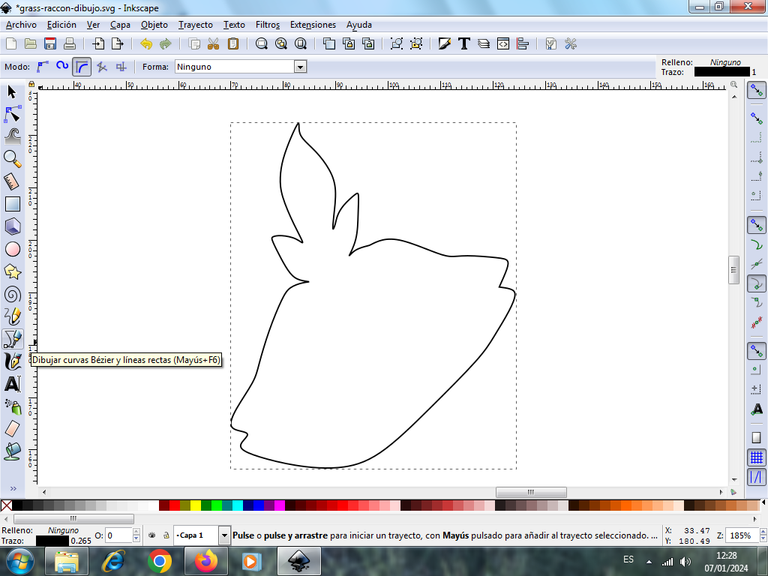
As a first step we open the Inkscape tool and start tracing part of the character's head, which is very similar to a hat, with the Bézier curves option, which is in the toolbar, on the left.
Step 2:
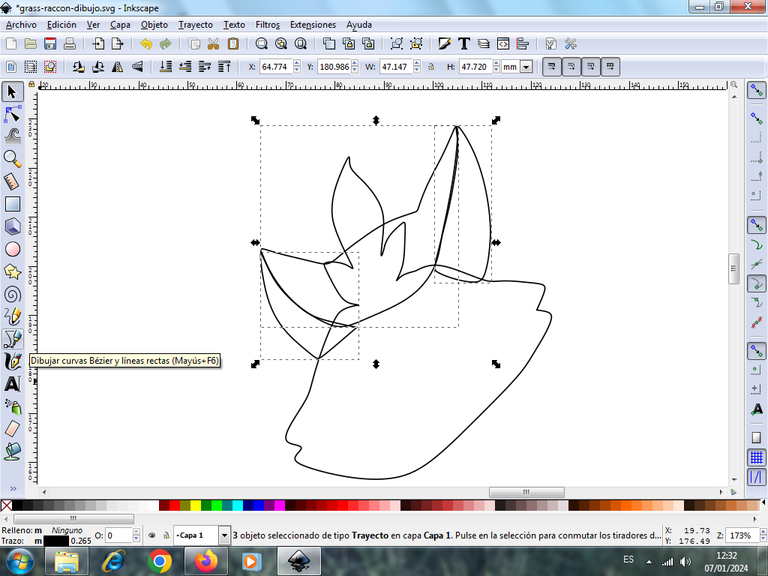
We continue tracing two shapes on both sides of the head, which are like chunks, with the same tool and then we trace a figure in the shape of a boat in the center of the chunks that are giving the shape to the ears of the character, then we continue tracing the nose in the center of the face.
Step 3:
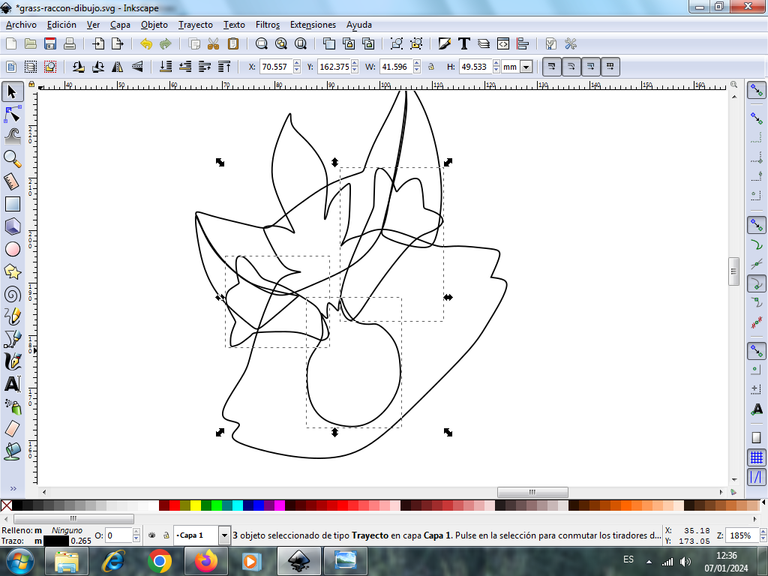
Next we trace the body part or what we call the belly, with the Bézier curves tool.
Step 4:
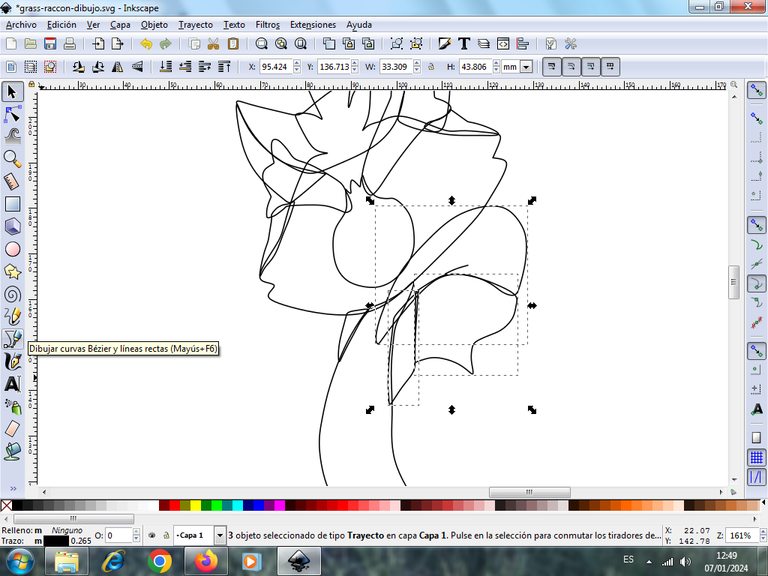
Then we trace on the right side of the arm a tail-shaped figure, using the same tool.
Step 5:
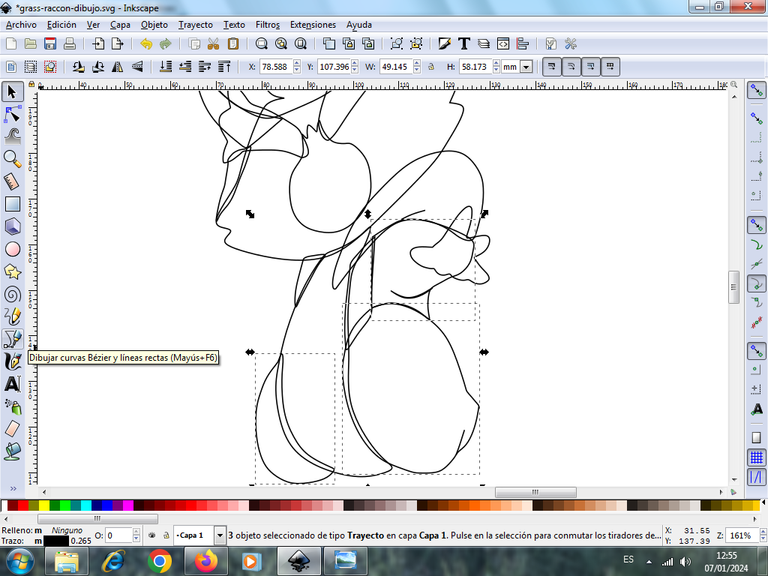
We start to draw the two legs, and the little hand of the character, using the Bézier curves tool.
Step 6:
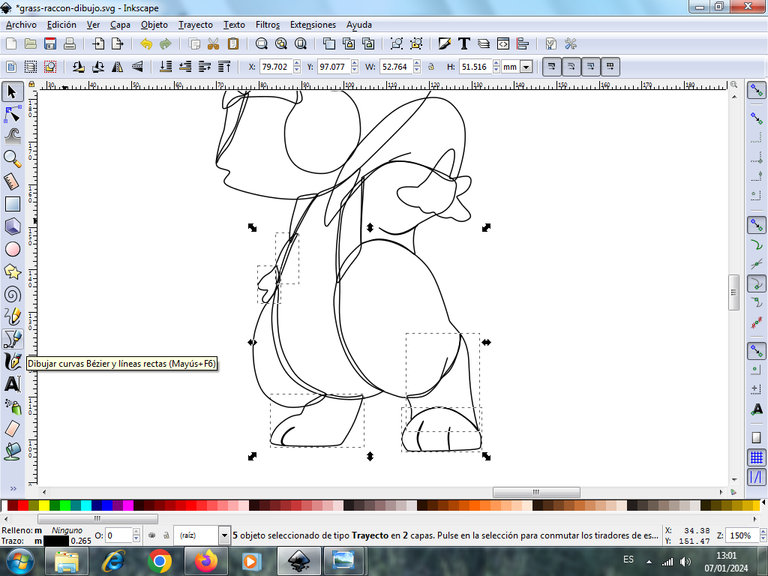
Next we draw the two legs and the left arm part of the character.
Step 7:
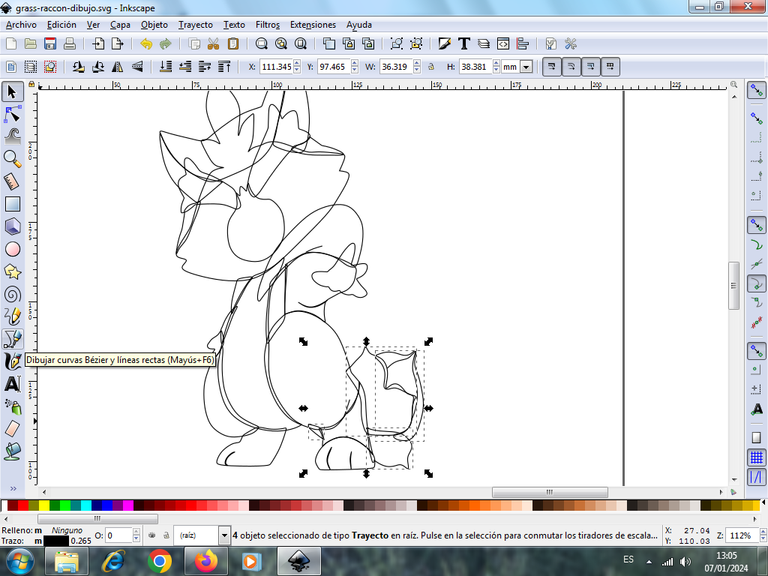
Next we draw the tail, which has three parts, so they will have different colors that will be placed later, in this way we already have the whole body of Grass Racoon, then begin to continue with the part of the head.
Step 8:
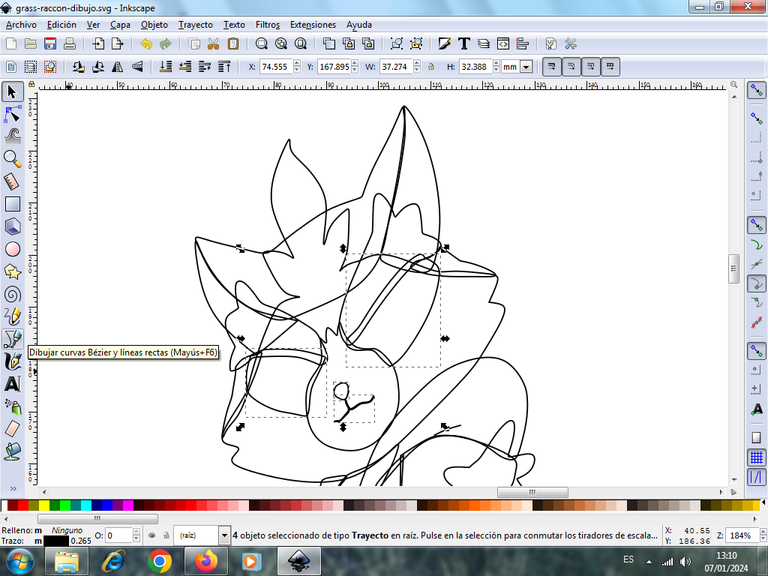
We draw two semi-oval shapes, where we draw the eyes, and then we draw the nose and the mouth with the Bézier curves tool.
Step 9:
Next we are going to make the eye of the character, for this we insert a circle, with the option to create circles with sustained mouse click to shape this circle. We will draw four circles and other oval shapes with the Bézier curves tool.
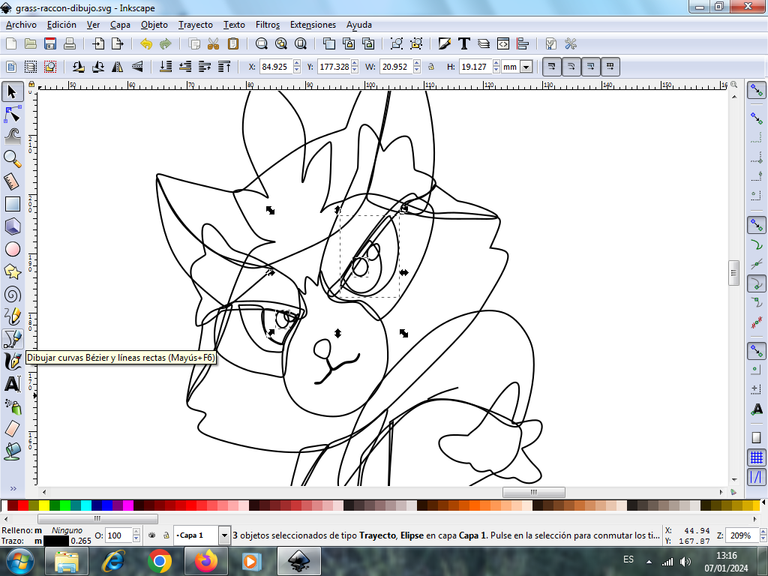
Step 10:
Once finished the eye, it would not be missing to make the shapes that will have in each of the edges, of the body, for this we are going to work with layers to have two, layer 1 and layer 2, where we will have all the effects of each figure.
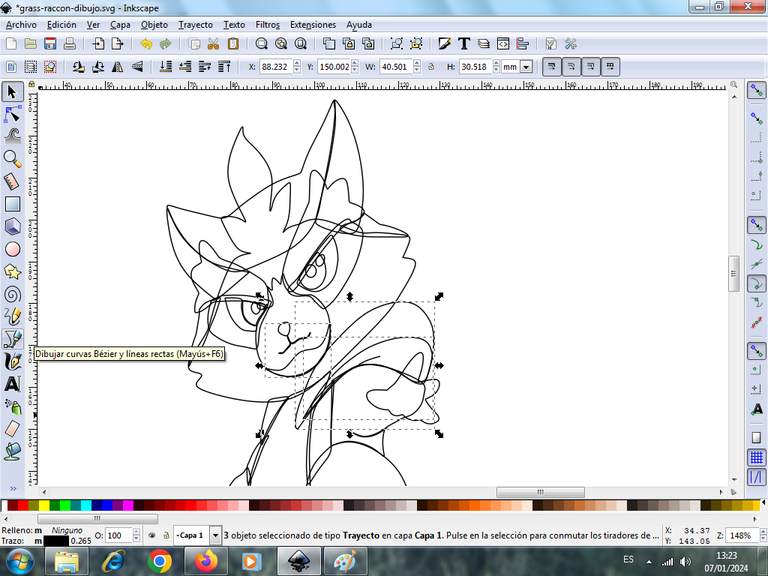
These strokes we are going to draw them equally with the Bézier curves tool.
Step 11:
Now we begin to give color to our whale, we select the part of the mouth and choose the color in the color palette located at the bottom of the application.
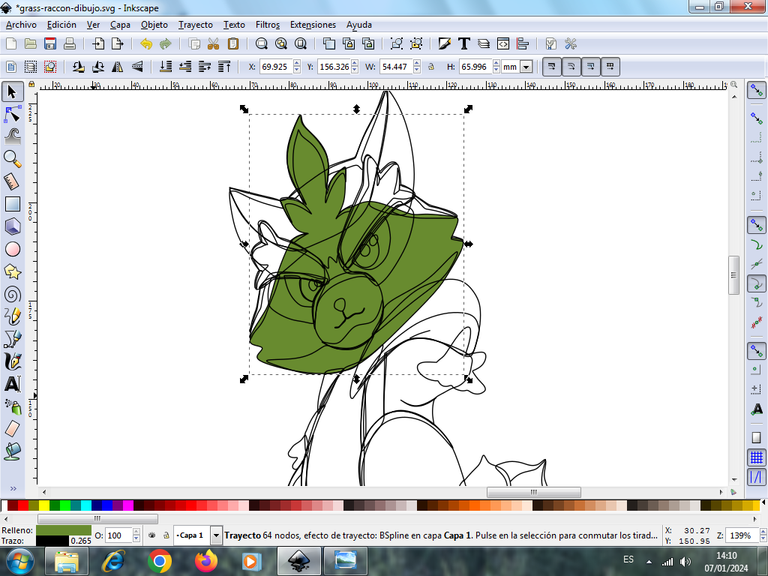
Step 12:
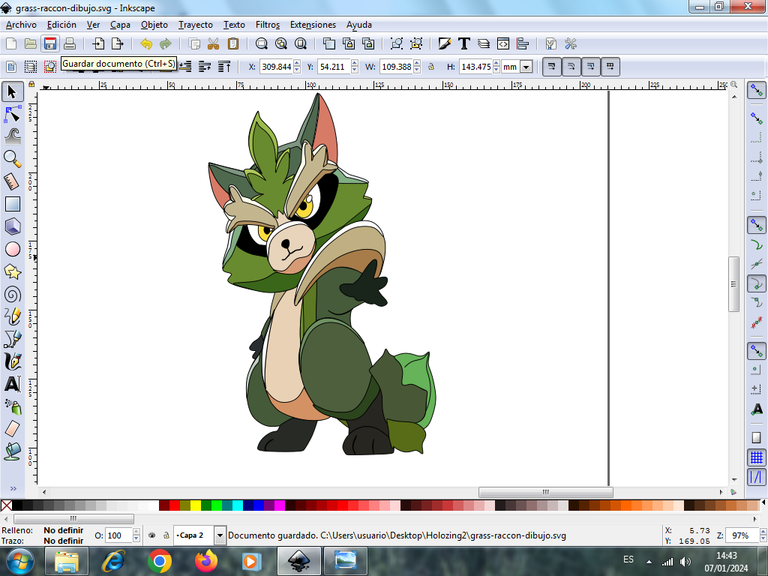
Once the borders are ready, now we are going to give color to our illustration, starting with the head and this way we will have the characters with colors, all these changes we made in layer 1.
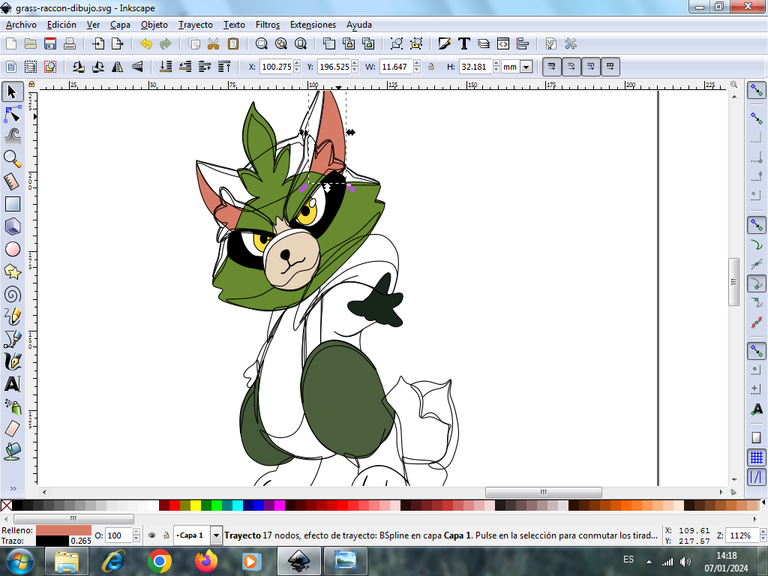
Step 13:
We click on layer 2, to color the shapes that are the border effects of the illustration, some with light green and light brown, dark oscul green, as shown below.
Step 12:
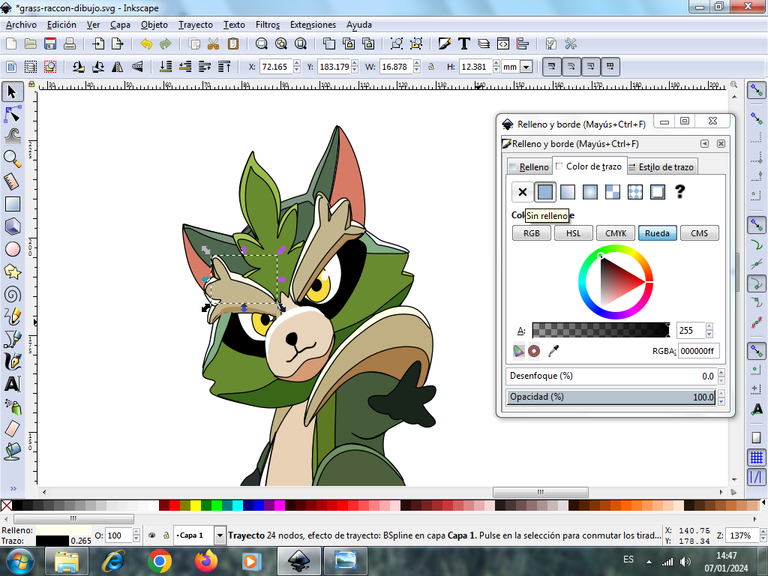
After we have applied the colors to the edges, we now need to remove the black edges of these shapes, found in the menu bar, object, fills and edges, and stroke color we click on the X to remove.
Step 13:
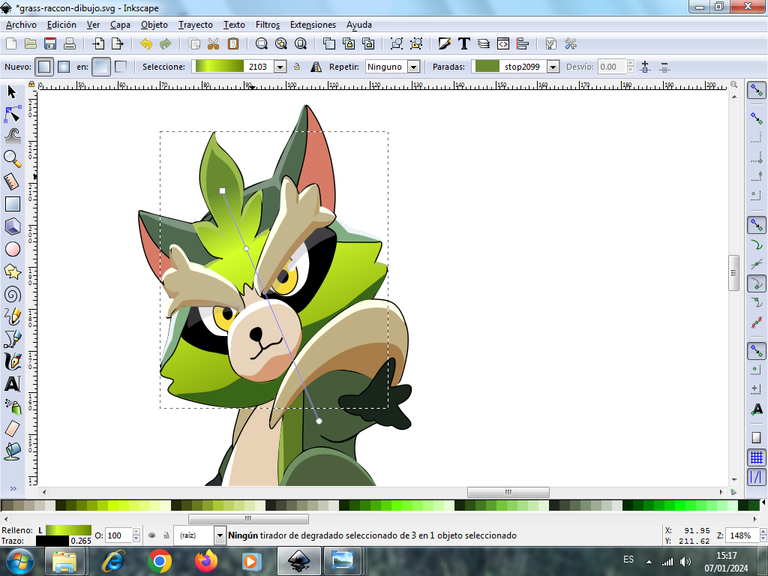
To apply the gradient effect on the head of the character we insert a green circle with a lighter one to apply the gradient, placing it on the head, and in this way we finish our design.
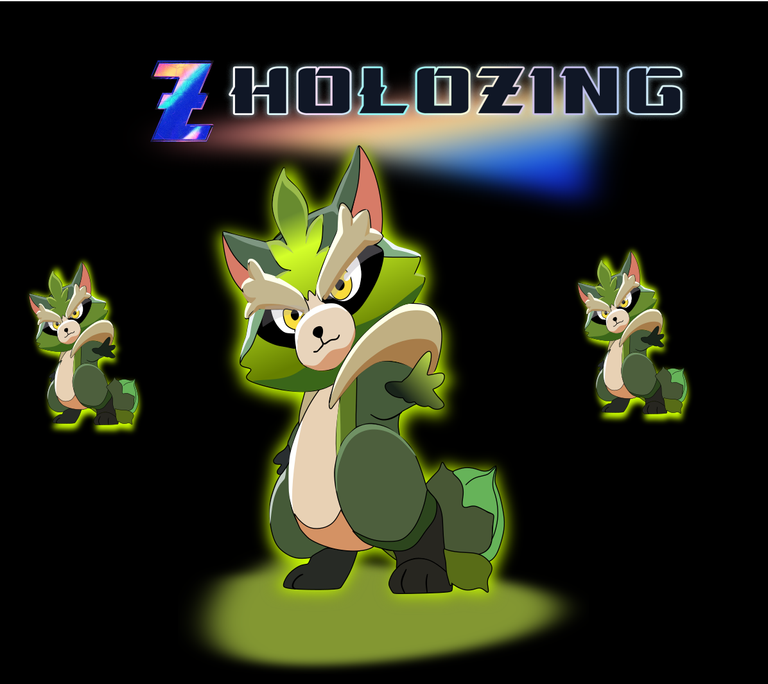
Also make an animation with the Gimp program, with several images to give the effect, using as a reference the image of the Holozing game and the letters of the game found on the page https://holozing.com/creatures.
I hope you liked it, and I encourage you to invest and promote this Holozing game.
Design applications used: Inkscape
Animation program: Gimp

Vote la-colmena for witness By @ylich

https://reddit.com/r/holozing/comments/1917599/drawing_grass_racoon_from_the_holozing_game_in/
The rewards earned on this comment will go directly to the people( @cetb2008 ) sharing the post on Reddit as long as they are registered with @poshtoken. Sign up at https://hiveposh.com.
I really want to know with app, have download some app but couldn't use it well.
Your drawing is very nice and beautiful
Greetings, it is not an App, it is a program that is installed on the computer, thank you for your comment.
The Holozing community created this dowsing method. Which doesn't seem easy to anyone. I will also try to make it.
Greetings, thank you for your comment