[Eng / Esp] Creating with recycled material, a nice pair of glasses / Creando con material de reciclaje, unos lindos lentes
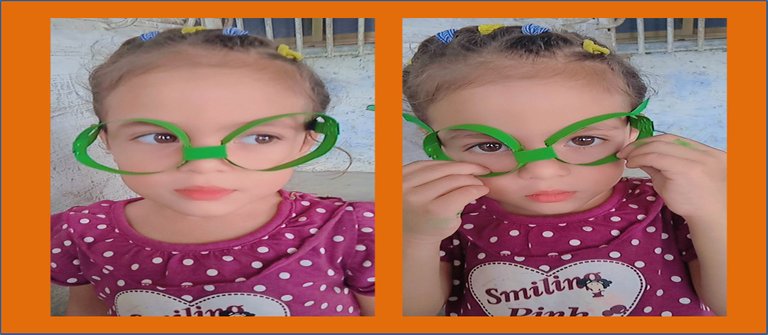
It is very important to dedicate time to our children, dedication will make them in the future a good person, fighter, worker and dreamer, always ready to fulfill their dreams. Let's instill good examples in them.
I hope you can enjoy it, as I was able to share it with my princess daughter.
Below is this tutorial.
Hoy miércoles les traigo una creación con materiales de reciclaje, unos lentes hecho con cartón, este cartón es en donde vienen los bombillos de luz, es fácil de hacer sin muchos materiales y lo puedes usar para disfrutar un tiempo agradable con tus hijos.
Es muy importante dedicarle tiempo a nuestros hijos, la dedicación hará de ellos en el futuro una persona de bien, luchadora, trabajador y soñador, dispuesto siempre a cumplir sus sueños. Inculquemos Buenos ejemplos en ellos.
Espero que lo puedan disfrutar, así como yo lo pude compartir con mi princesa hija.
A continuación el presente tutorial.
WE BEGIN - COMENZAMOS
Materials:
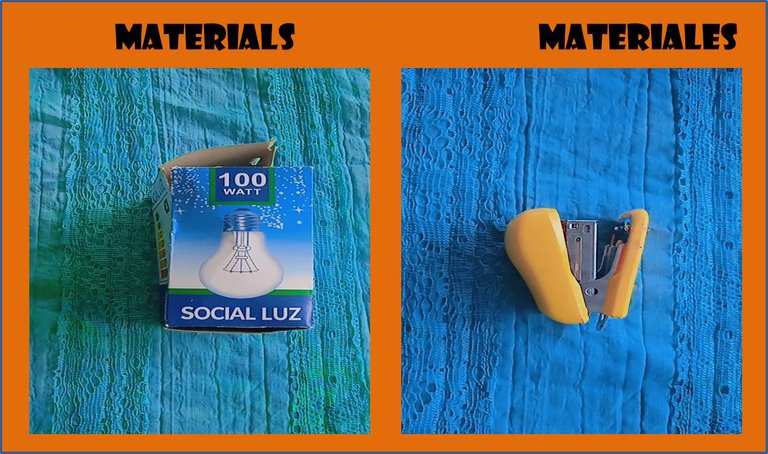
Cylinder box.
Stapler.
Scissors.
Green cold paint.
Ruler.
Caja de bombillo.
Grapadora.
Tijera.
Pintura al frío verde.
Regla.
Paso 1:
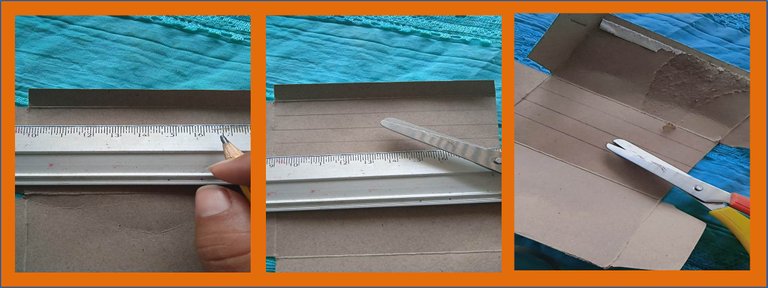
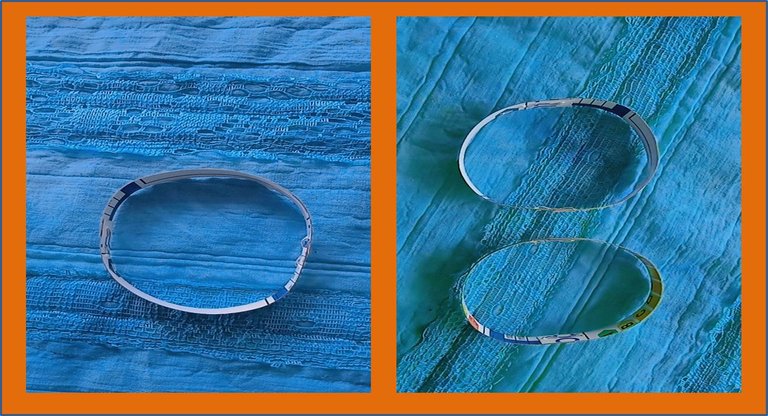
I started by opening the light bulb box to draw some lines with the ruler to make it come out straight, 4 lines that would form the round of the glasses, and with the stapler I joined each piece of cardboard.
Comencé abriendo la cajita de bombillo para trazar unas líneas con la regla para lograr que salga derecha, 4 líneas que formaran lo Redondo de los lentes, y con la grapadora uni cada pieza de cartón.
Paso 2:
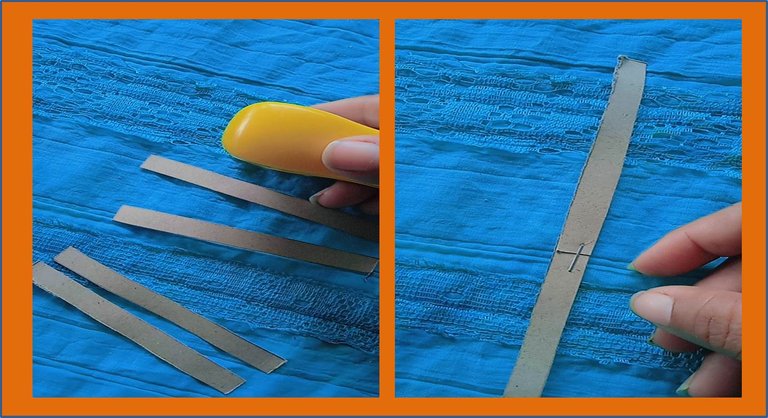
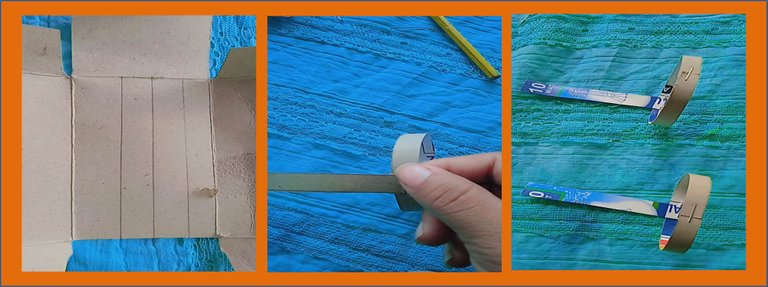
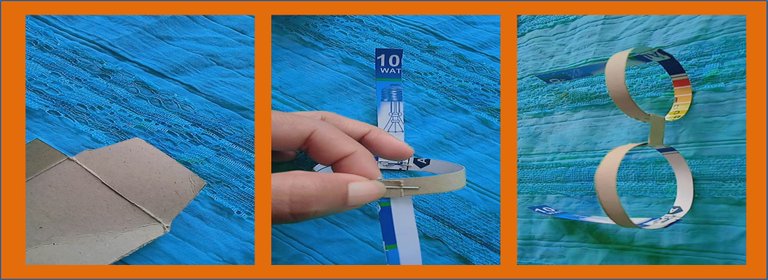
In this step, with the next part of the cardboard, draw two more lines for what closes the fastener (rod) of the glasses, and staple it.
Next, make the bridge that goes between them.
Once I had each of the parts ready, I proceeded to form my figure.
En este paso, con la siguiente parte del cartón, trace dos líneas más para lo que cerra el sujetador (varilla) de los lentes, y lo grapamos.
Seguidamente, realice el Puente que va entre ellos.
Al tener listo cada una de las partes, procedí a formar mi figura.
Paso 3:
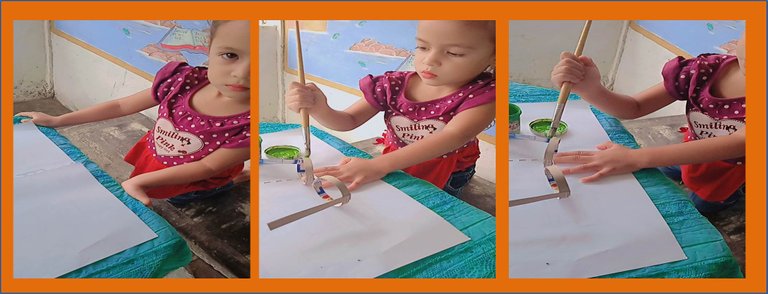
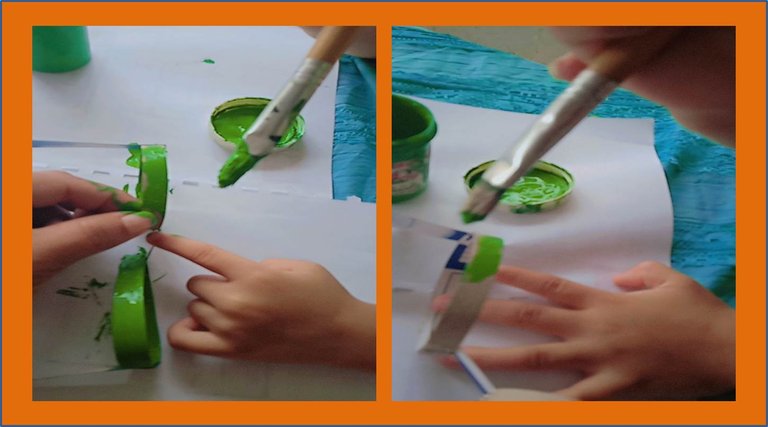
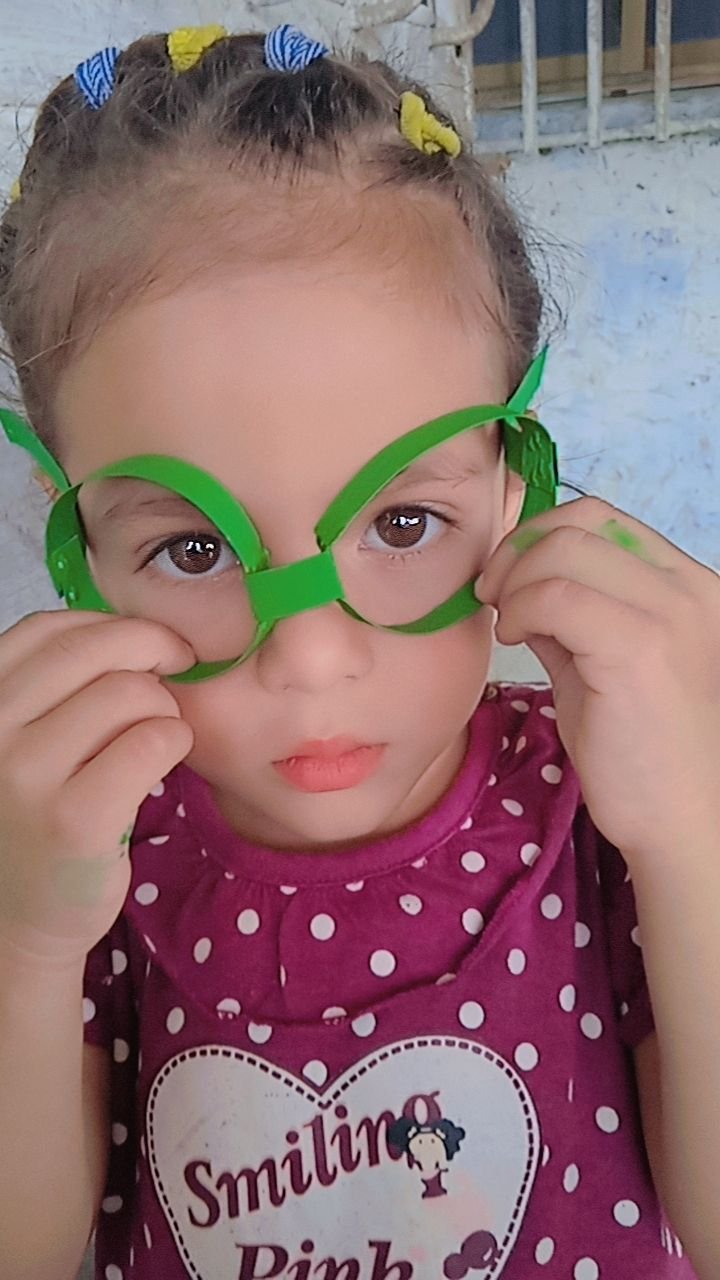
As the third and last step, my beautiful model helped me to paint these glasses, I enjoy it very much, her smile fills me with joy.
Como tercer y último paso, mi Hermosa modelo me ayudo a pintar estos lentes, lo disfruto bastante, su sonrisa me llena de alegría.
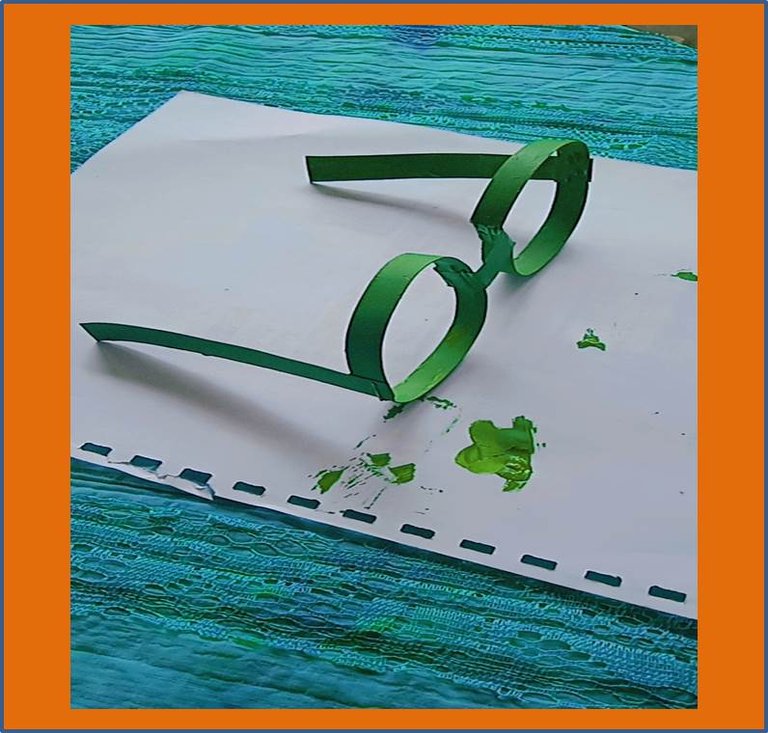
Here is my presentation.
Aquí Mi presentación.
All photos are my property taken with my Redmi 9c Smartphone.📷
🌺 My number is @Brindyschi 🌺
Until a future opportunity
Success for all 👊
very creative work. She looks so adorable
Gracias. Por su apoyo. Si ella es mi adoración @diyhub _