[Eng / Esp] Baby in Parachute Creation made in Foami / Bebe en Paracaídas Creación realizada en Foami
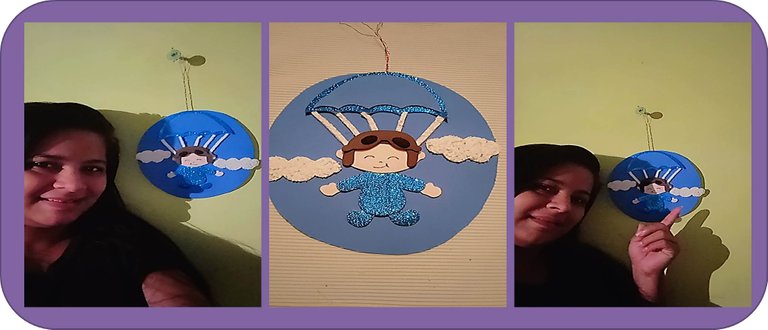
Buenos Días para todos de esta hermosa comunidad, feliz inicio de semana, hoy quiero compartirles un hermoso bebe en paracaídas, idea perfecta para un regalo, este bebe en paracaídas como guindadero, para usarlo en la pared de tu casa o inclusive en la puerta del cuarto de tu hijo.
Esta excelente idea te brinda adornar el lugar que así desee, espero que lo puedan disfrutar, y siéntate libre de tomar la idea.
Sin más que decir, les mostraré el paso a paso a continuación.
WE BEGIN - COMENZAMOS
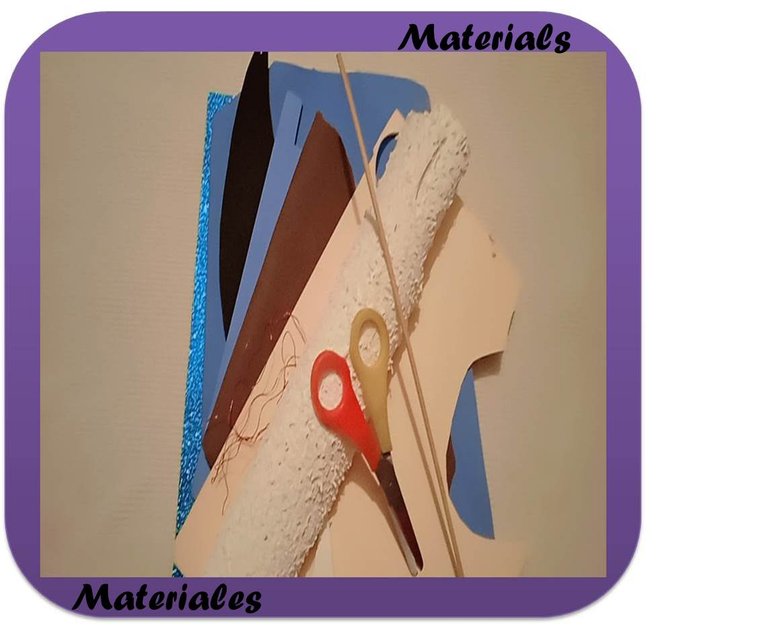
Materials:
Frosted blue foami.
Sky blue foami and a lighter one.
Black foami.
Flesh-colored foami.
White foami with fluffy texture.
Brown foami.
Thread for hanging.
Sticks of height.
Silicone and scissors.
Foami azul escarchado.
Foami azul cielo y uno más claro.
Foami negro.
Foami de color carne.
Foami blanco con textura pelusa.
Foami Marrón.
Hilo para guindar.
Palitos de altura.
Silicón y tijera.
--
Paso 1:
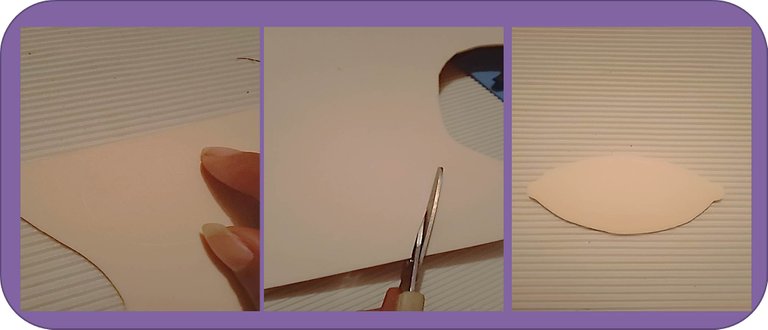
The first thing I did was to mark what will be the baby's head and hands on the skin-colored foami, cut until you have the figure, also, in the frosted blue foami mark on the back, so that the shiny body and feet of the baby is on the front, that is, the shiny part.
Lo primero que hice fue marcar lo que será la cabeza y sus manos del bebe en el foami de color piel, recortar hasta tener la figura, asimismo, en el foami azul escarchado marque por la parte de atrás, para asi lograr que lo brillante del cuerpo y sus pies del bebe quede por la parte de adelante, es decir, lo brillante.
Paso 2:
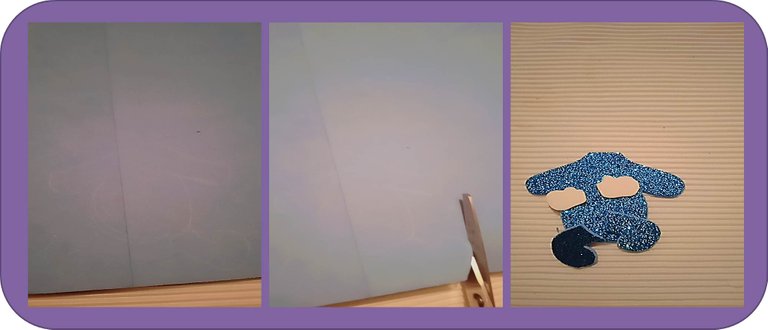
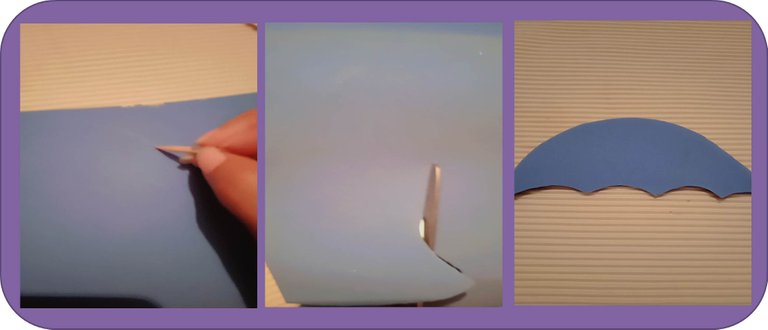
The second step I did was to draw the parachute where the baby will go, two pieces, one in sky blue and the other in frosty blue.
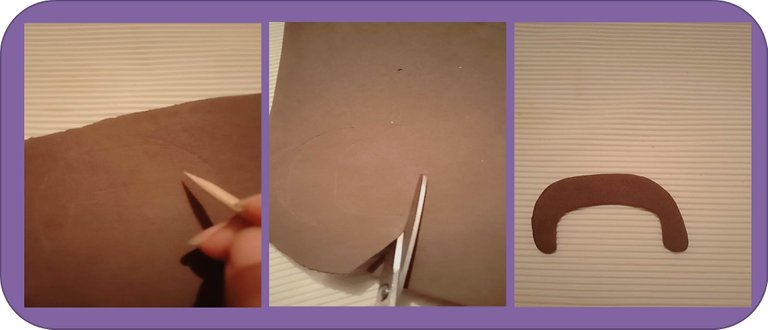
Next, I made the part of the helmet that he will use as protection with the brown foami, with his lenses that help him so the air won't let him see.
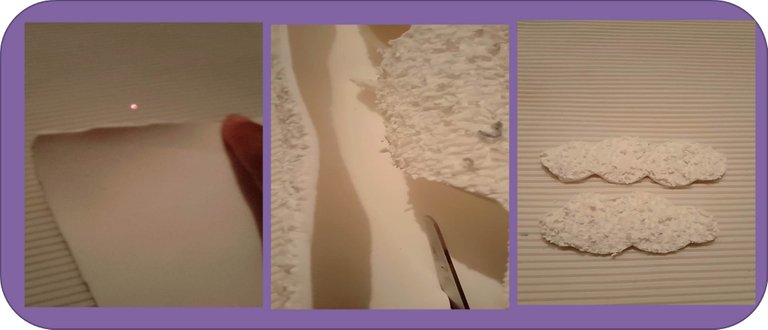
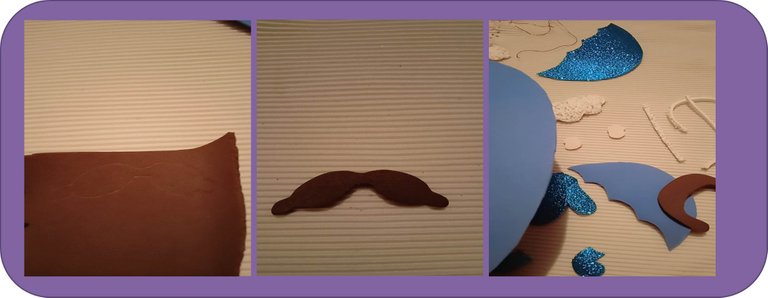
With the white fluffy foami I made two clouds, here I show you all the figures in the process and all cut out.
Como segundo paso que realice fue dibujar el paracaídas donde ira él bebe, dos piezas una de color azul cielo y otra de color azul escarchado.
Seguidamente, realice la parte del casco que usara como protección con el foami de color marrón, con sus lentes que lo ayuda a que el aire no lo dejara ver.
Con el foami blanco contextura de pelusa hice dos nubes, aquí les muestro todas las figuras en su proceso y recortadas todas.
Paso 3:
Finally, I began to cut out what would represent the base where the baby will go in parachute, a semicircle, and with all the figures ready, I began to glue with silicone and conform my figures, starting with the parachute, then his ropes and finally the most expected baby in his parachute.
Por último, comencé a recortar lo que representara la base donde ira él bebe en paracaídas, un semicírculo, y con todas las figuras lista, comencé a pegar con silicón y conforma mi figuras, comenzando por el paracaídas luego sus cuerdas y finalmente él bebe lo más esperado en su paracaídas.
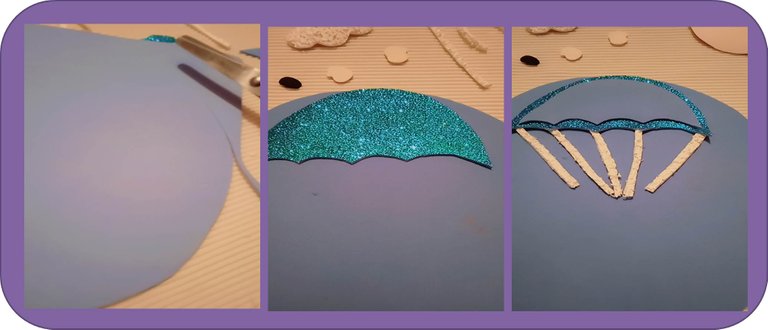
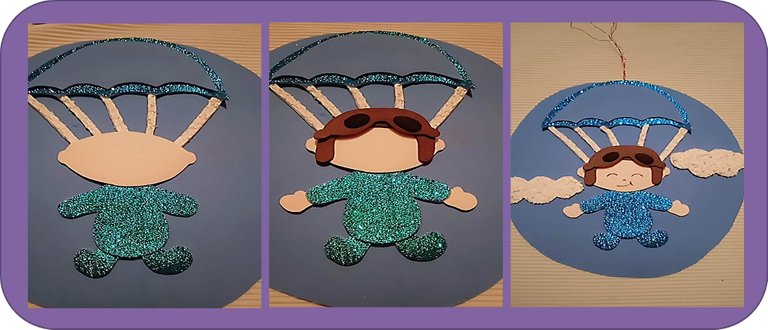
Llegamos amigos al final, aqui mi Presentación, disfrútenlo, gracias por dedicarme un minute de su valioso tiempo.

All photos are my property taken with my Redmi 9c Smartphone.📷
🌺 My number is @Brindyschi 🌺
Until a future opportunity
Success for all 👊
Thank you for sharing this post in the DIYHUB Community!
Your content got selected by our fellow curator sharminmim & you just received a little thank you upvote from us for your great work! Your post will be featured in one of our recurring compilations which are aiming to offer you a stage to widen your audience within the DIY scene of Hive. Stay creative & HIVE ON!
Please vote for our hive witness <3
Muchas gracias por el apoyo @diyhub
Felicidades por tu creación, estuvo muy genial!
Congratulations @brindyschi! You have completed the following achievement on the Hive blockchain And have been rewarded with New badge(s)
Your next target is to reach 2750 upvotes.
You can view your badges on your board and compare yourself to others in the Ranking
If you no longer want to receive notifications, reply to this comment with the word
STOPCheck out our last posts:
Support the HiveBuzz project. Vote for our proposal!