My first fabric bag being ordered through a friend for office purpose
Hello beautiful people
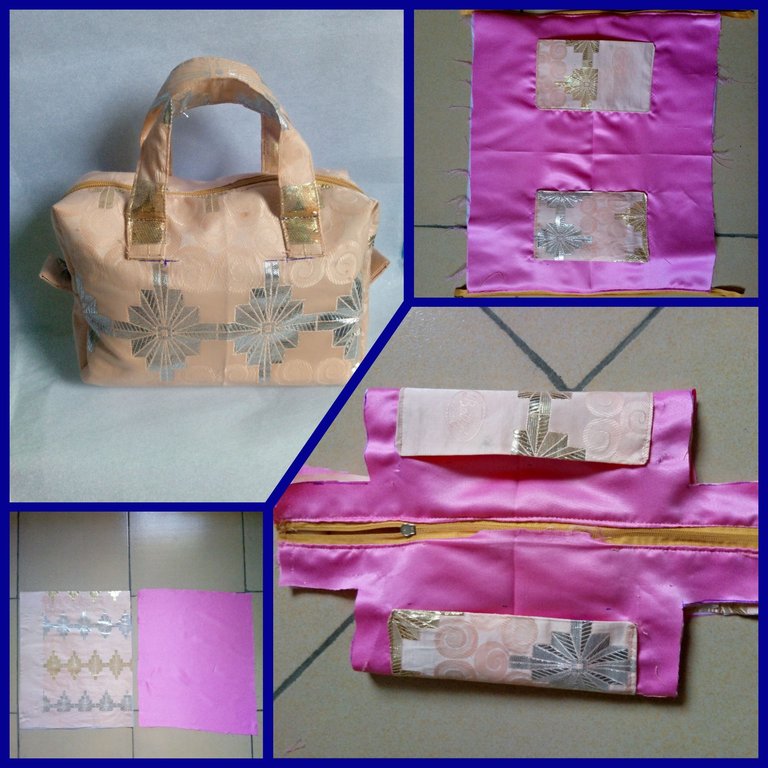
I bring you greetings from this part of the world, and I know it meets you well at your respective places knowing well that you are all doing great. It is with gladness in my heart that I bring to you the making of this bag, being my first bag I made which was ordered through a friend for office purpose.
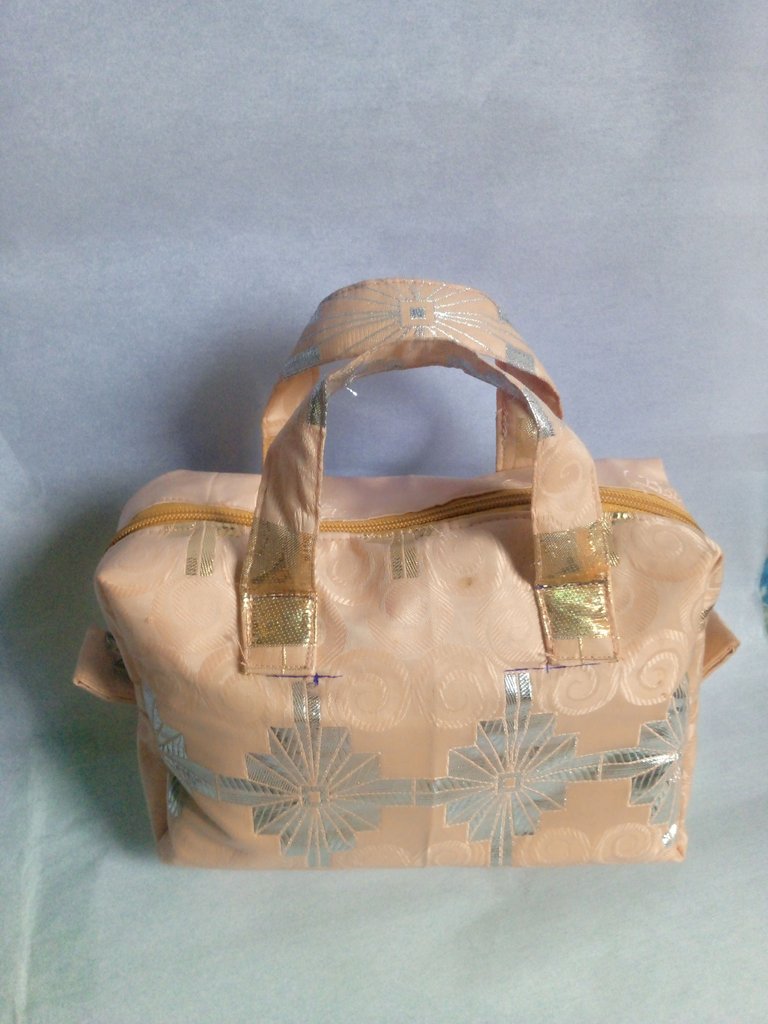
Most times, I made different type of creative items which I give out to people as gift, it is also to create awareness to people around in form of advertising what I do to other people, in doing that, I can get to make my work known out there, not just making for people around me alone but other people out there can also benefit from what I do.
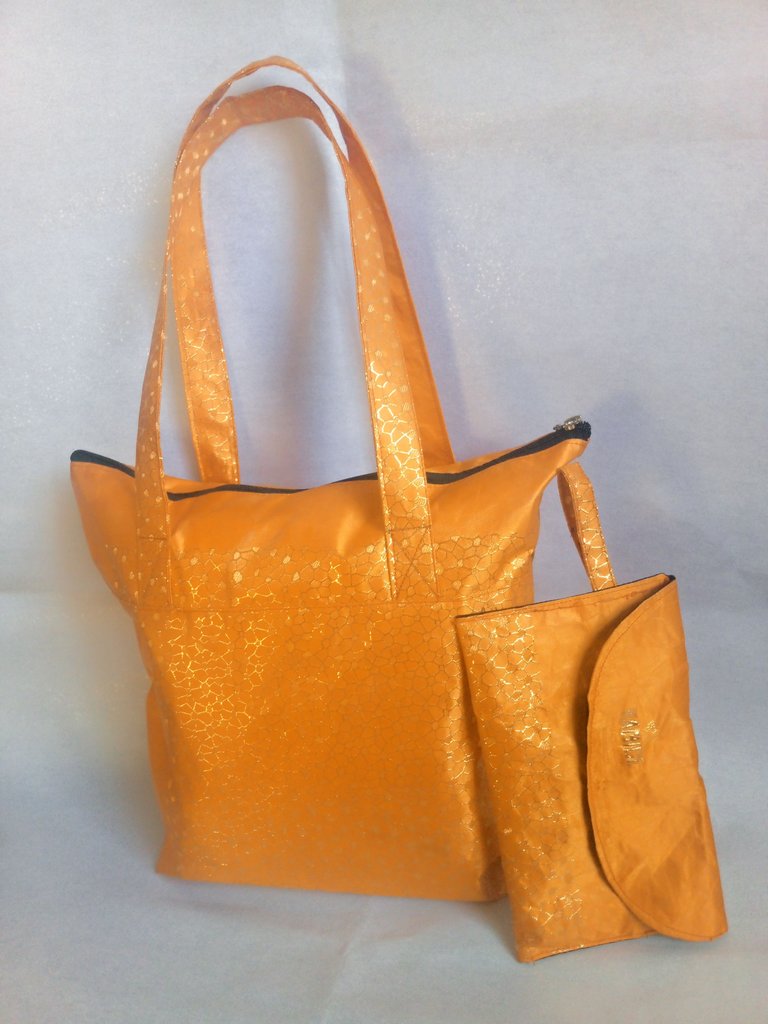
Sometimes ago, I made a bag and a little purse for my friend and when she started using the bag to places, a friend of hers saw it and was interested in it as well, she asked where she made it from and she was directed to me, surprisingly, she wants me to make 2 different bags for her that she can carry to her place of work. Well as she said, she has gotten several bags out there that doesn't last long, but with this, it is cheaper, affordable and last longer since it's made from fabric.
Just as she ordered, I started with the first one, I made a boxy shape bag with 2 inner pockets and a small handle and a zipper to secure things that will be kept inside.
Let's get started with the cutting and sewing process.
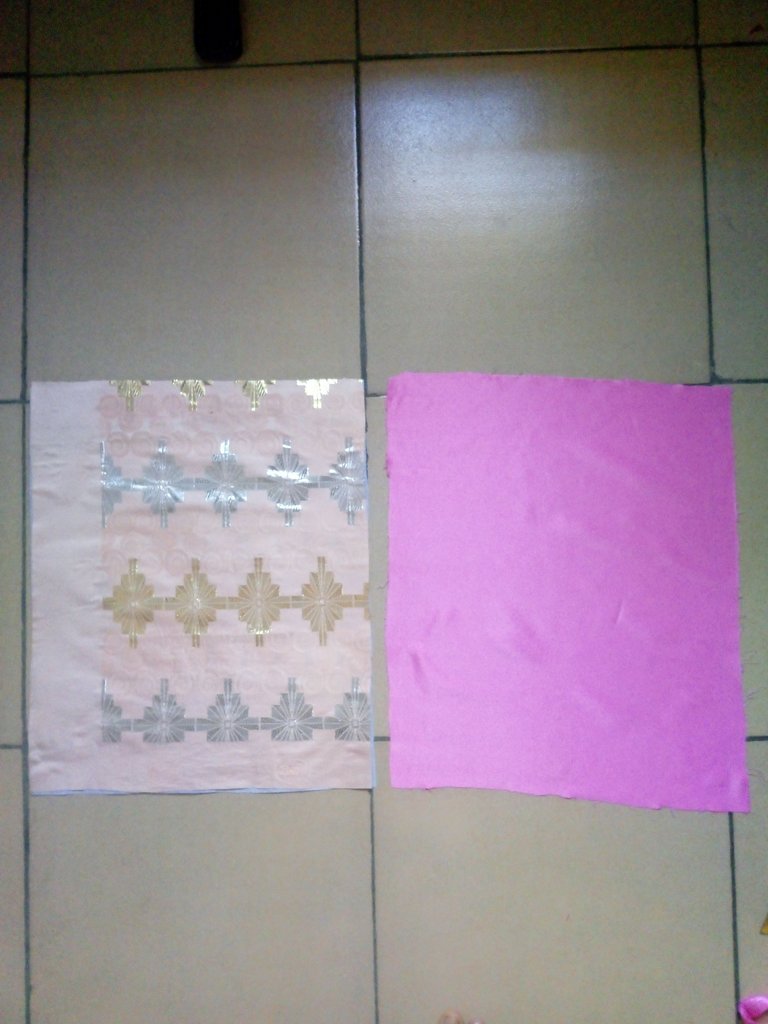
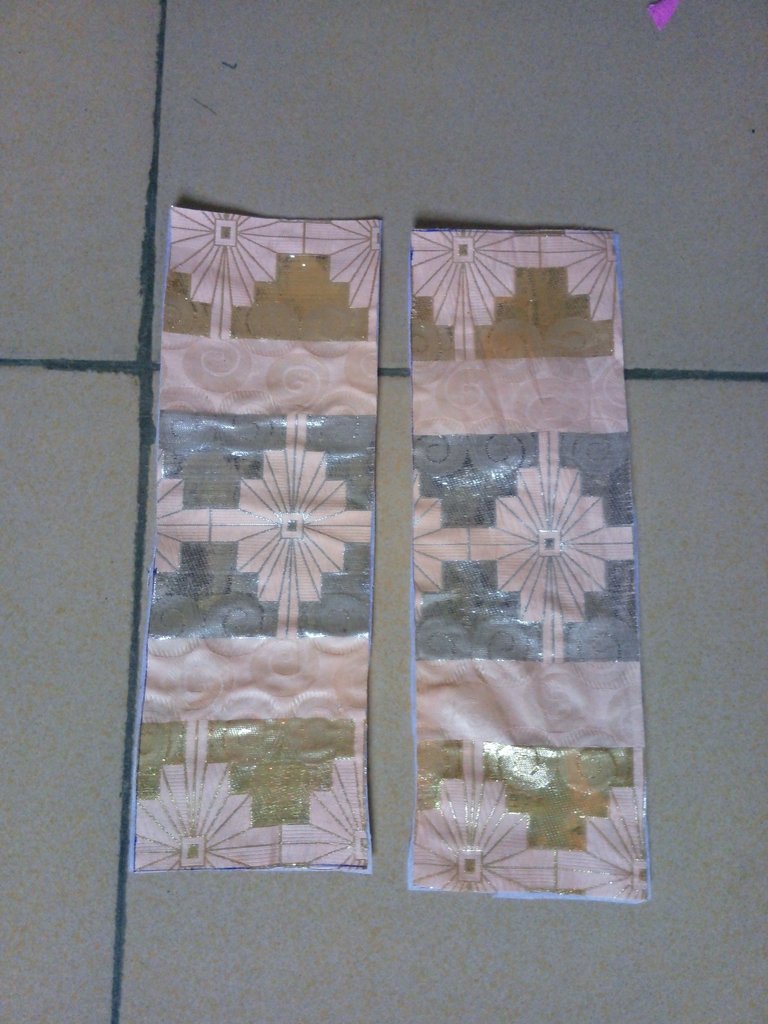
I measured and cut out 19 x 15½" of fabric with lining and interfacing, the interfacing was ironed on the main fabric.
For the handle, I measured and cut out 2 pieces of 12 x 4" with interfacing ironed on both.
It was folded to the middle on both sides before being folded in two and sewn on both sides.
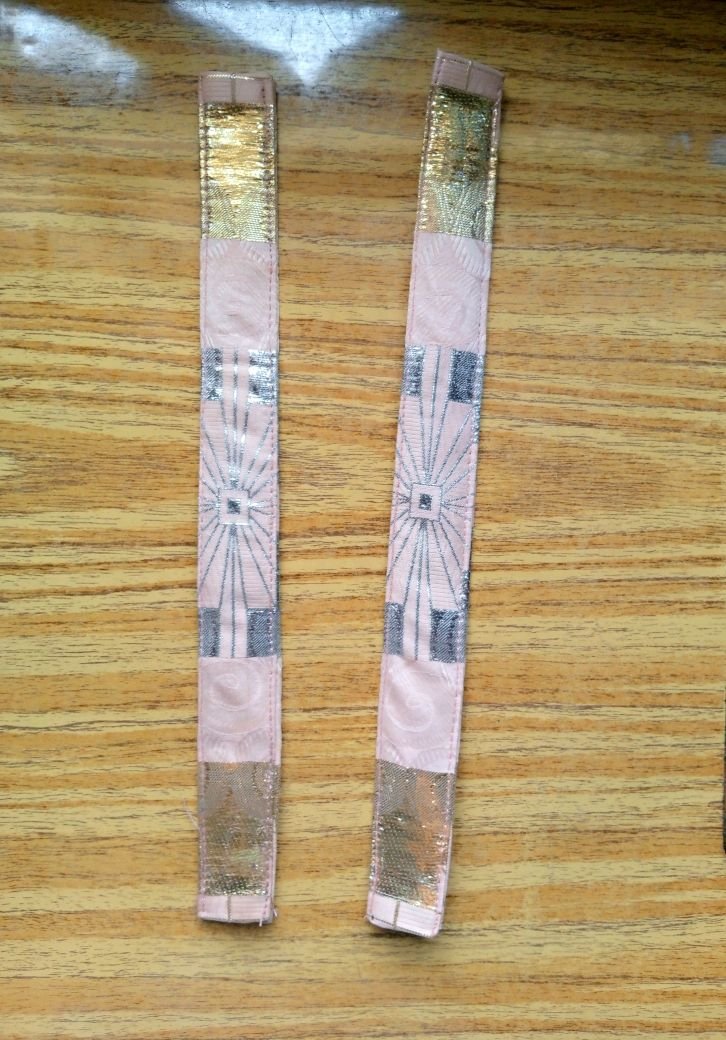
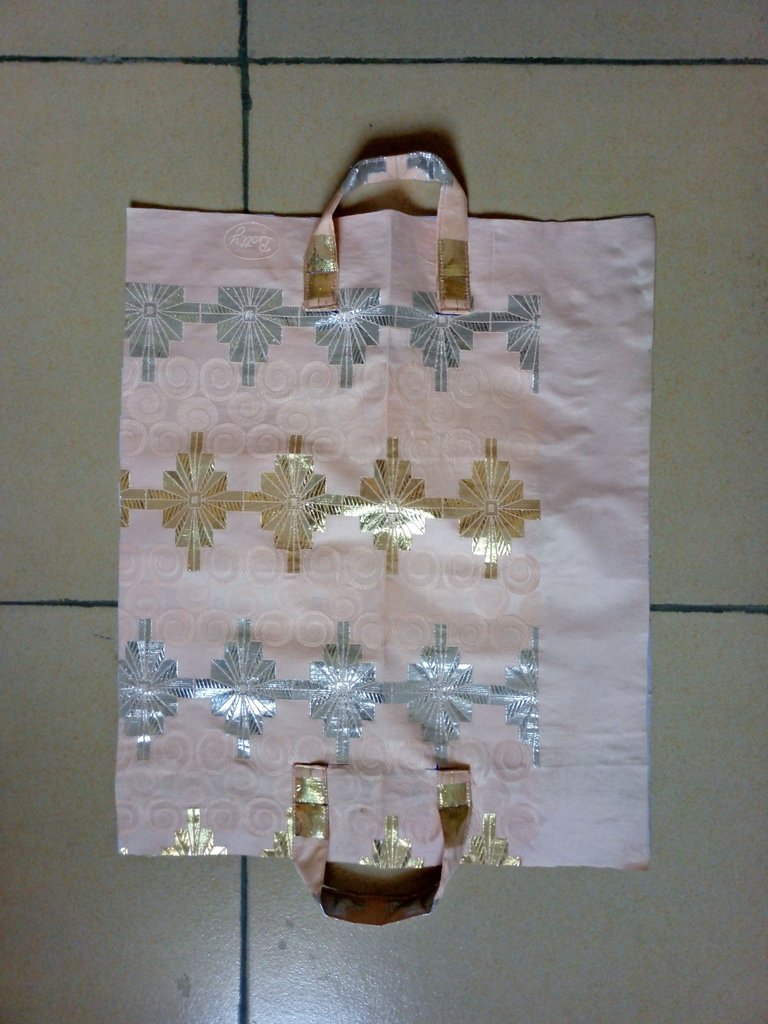
The handle was placed 2" away from the mid point on both sides and sewn.
For the inner pockets, I measured and cut out 2 pieces of 9.5 x 8" with interfacing ironed on both.
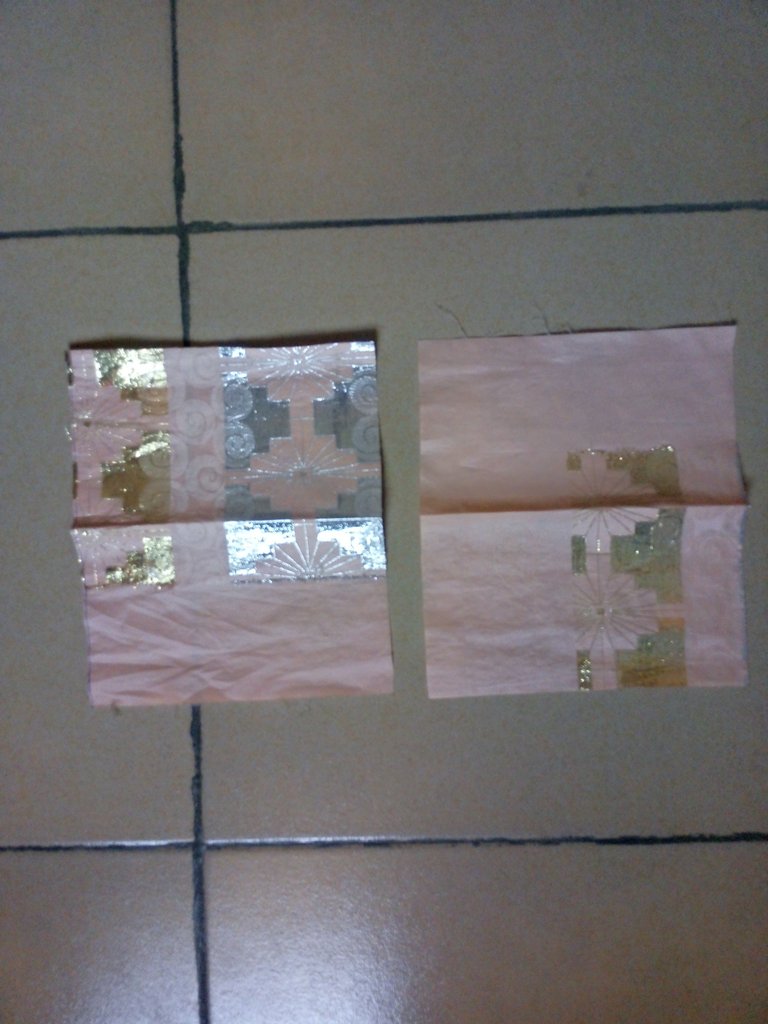
It was folded in two and sewn on both sides and at the top leaving an opening at the top where it can be turned inside out.
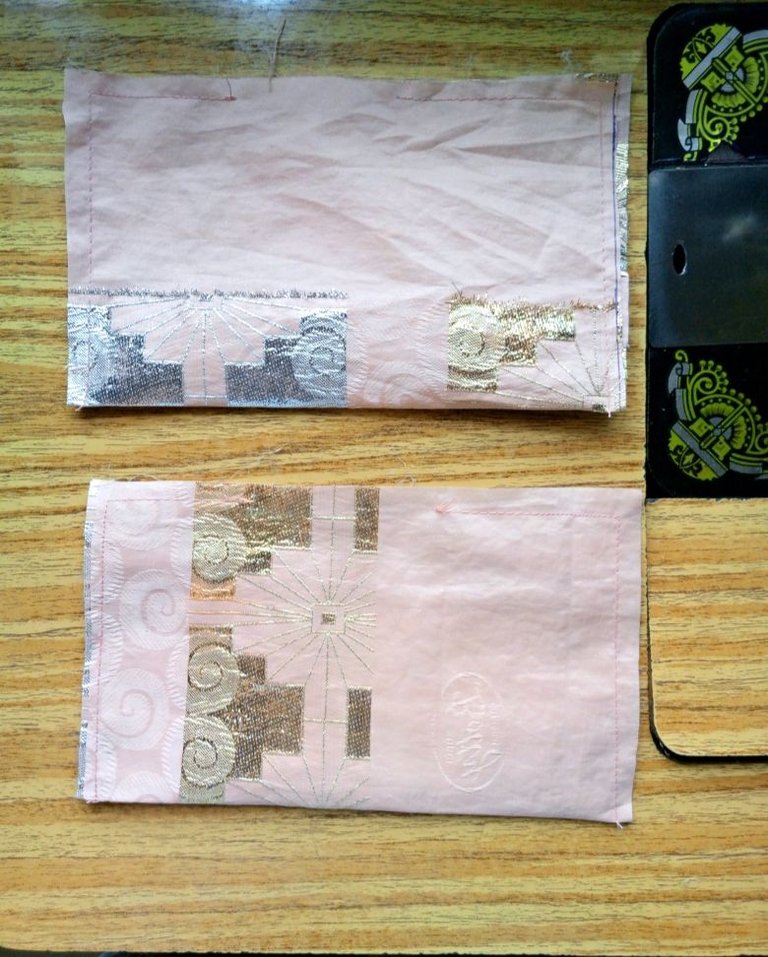
It was turned inside out through the opening after I trimmed off the edges and it was ironed flat.
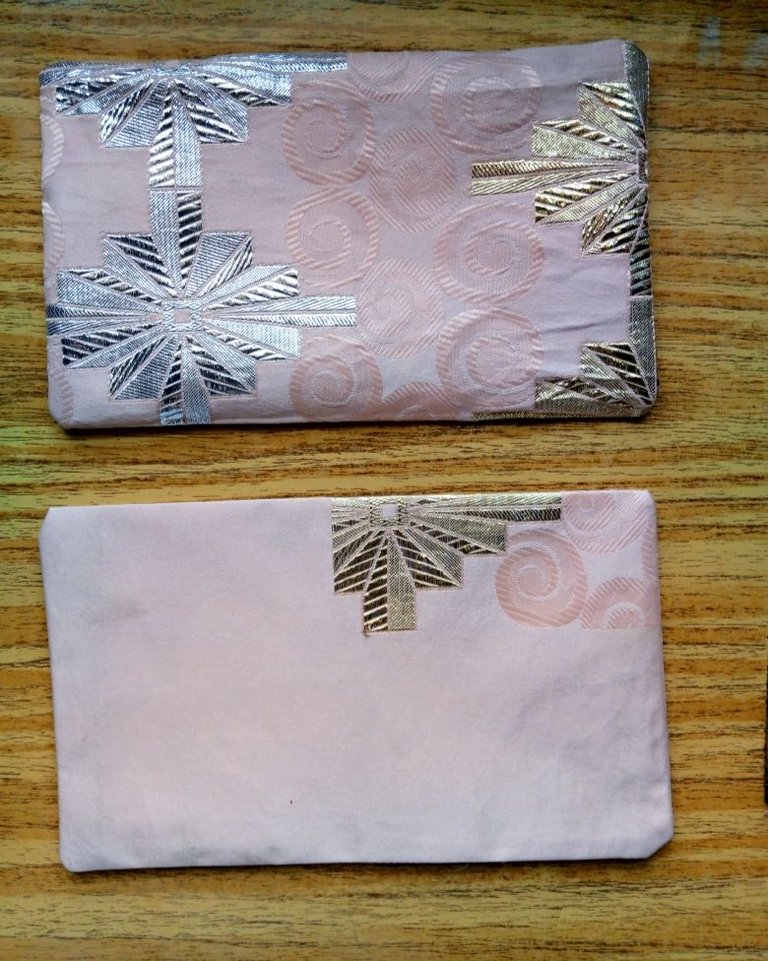
I measured 3" from the top of the main fabric downward and placed the pocket mid point to mid point.
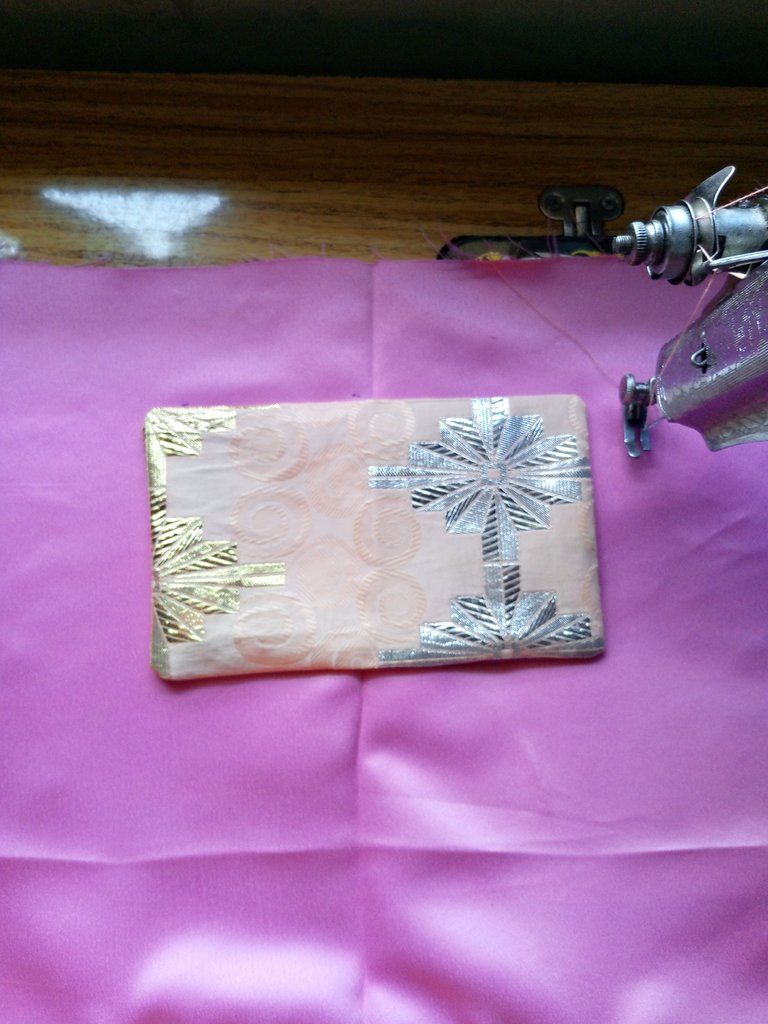
The same was repeated on the other side and sewn on.
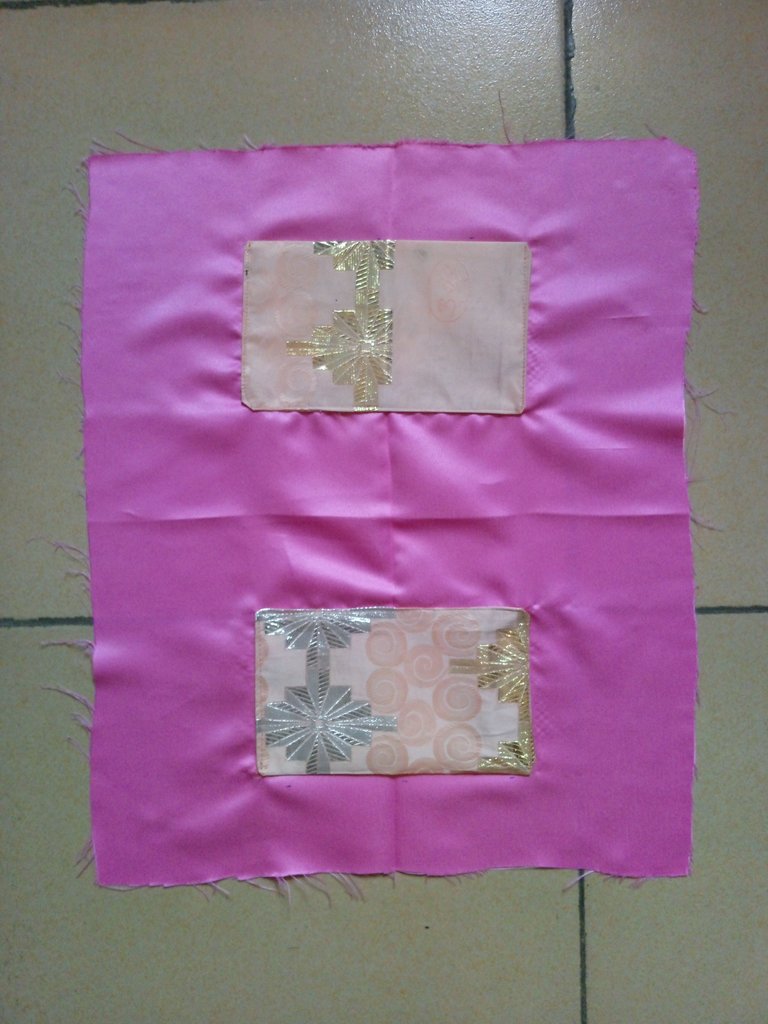
The lining was placed on the main fabric with the zipper sewn to the top, right side to right side.
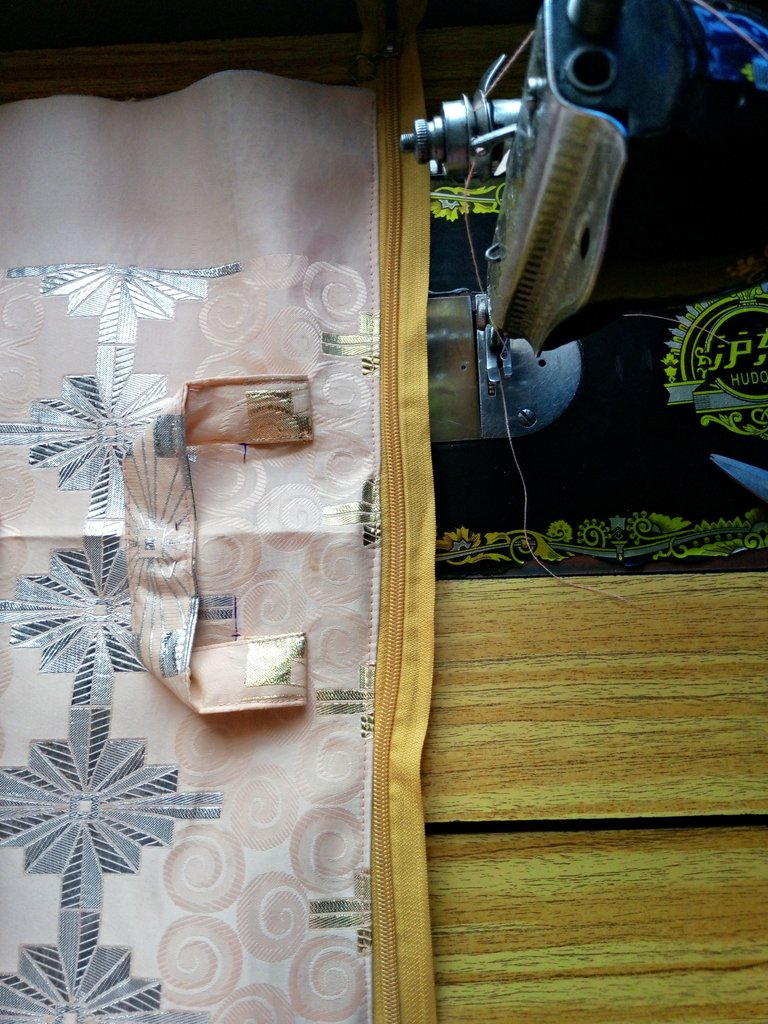
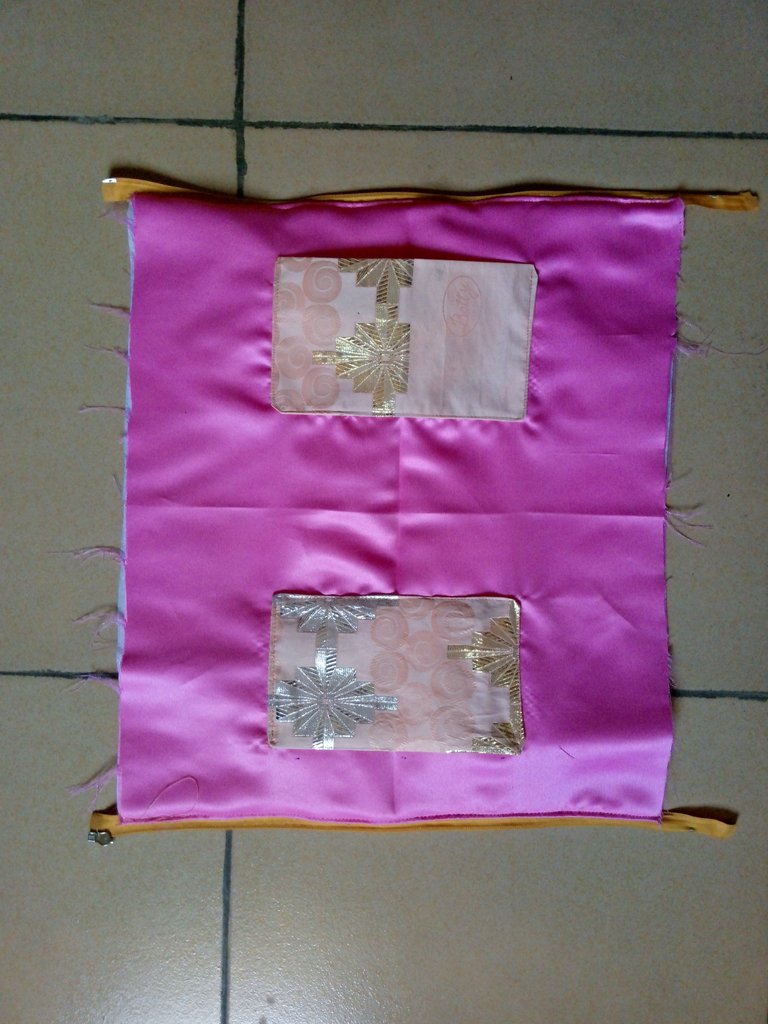
It was zipped and turned to the wrong side with the zipper at the middle and I sew a small piece on both sides.
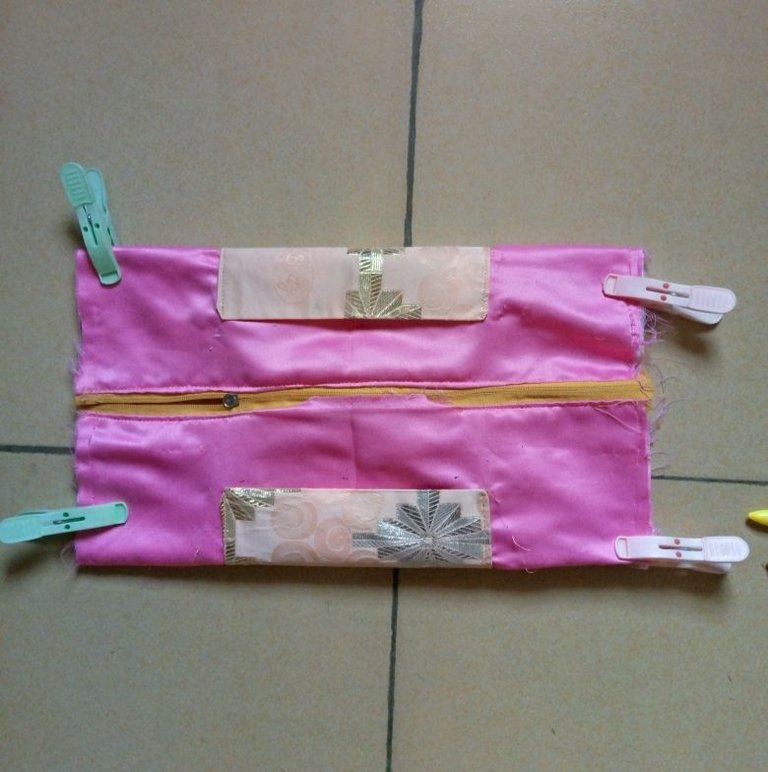
The small piece was measured 3 x 4.5, folded and sewn together
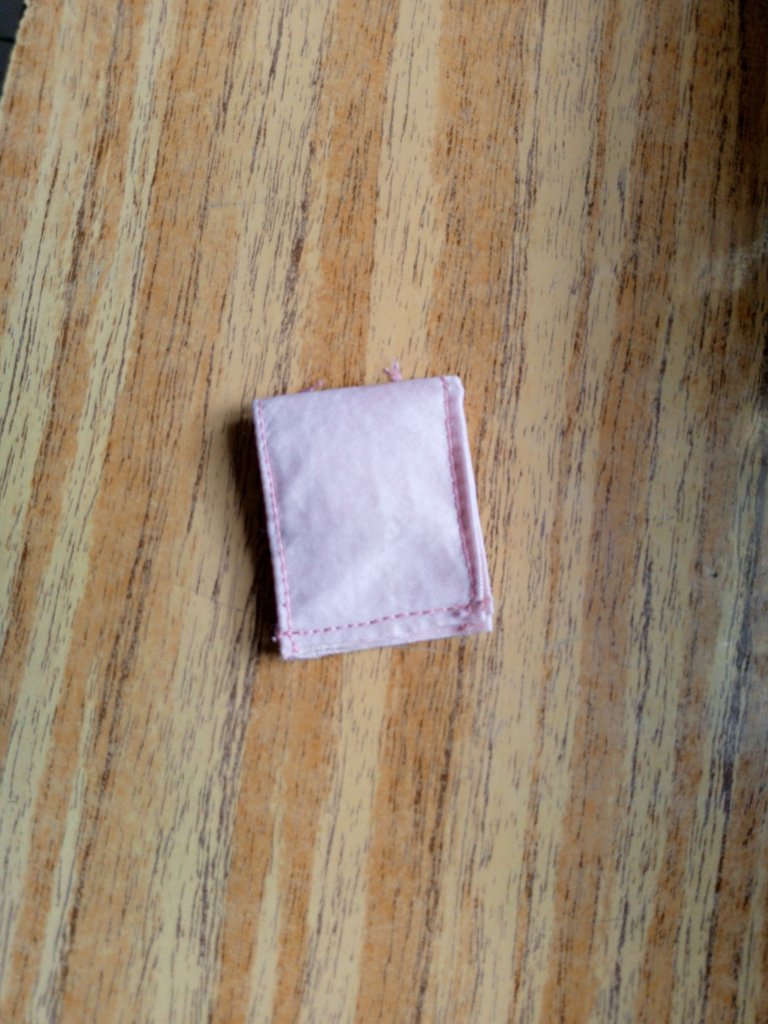
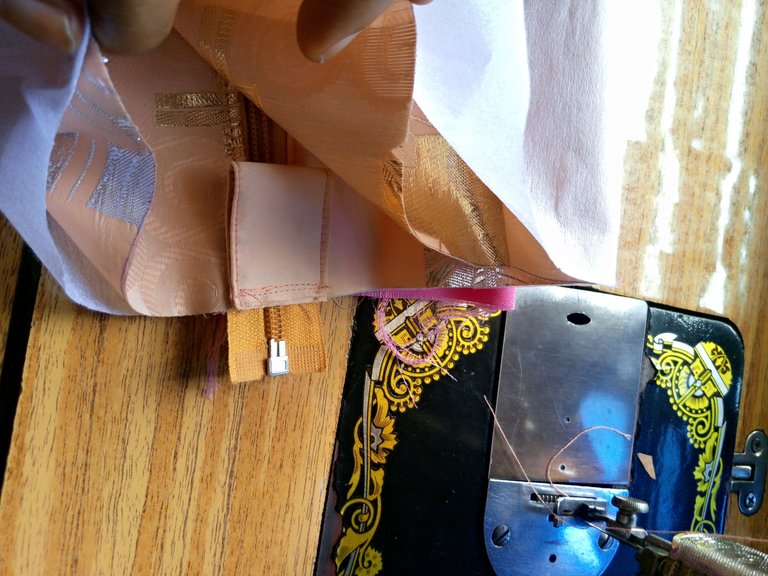
On the 4 edges, I measured 2" and cut it out.
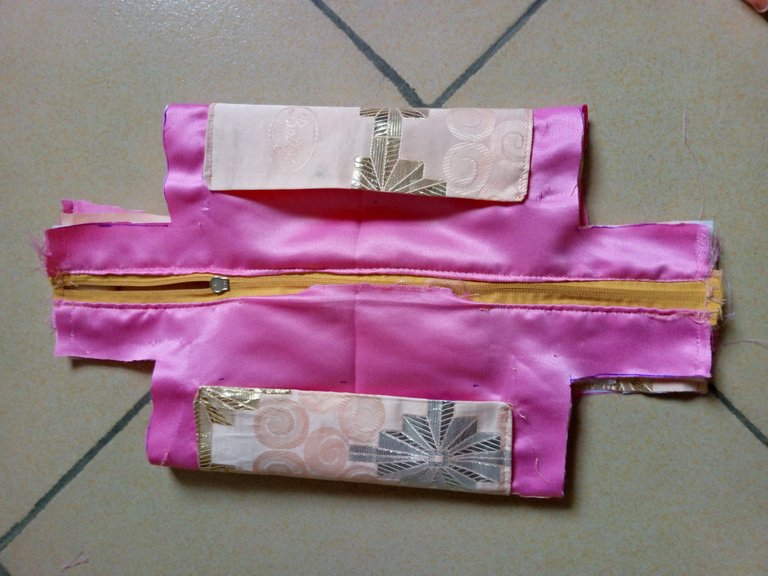
Finally, the edges were sewn together and turned inside out.
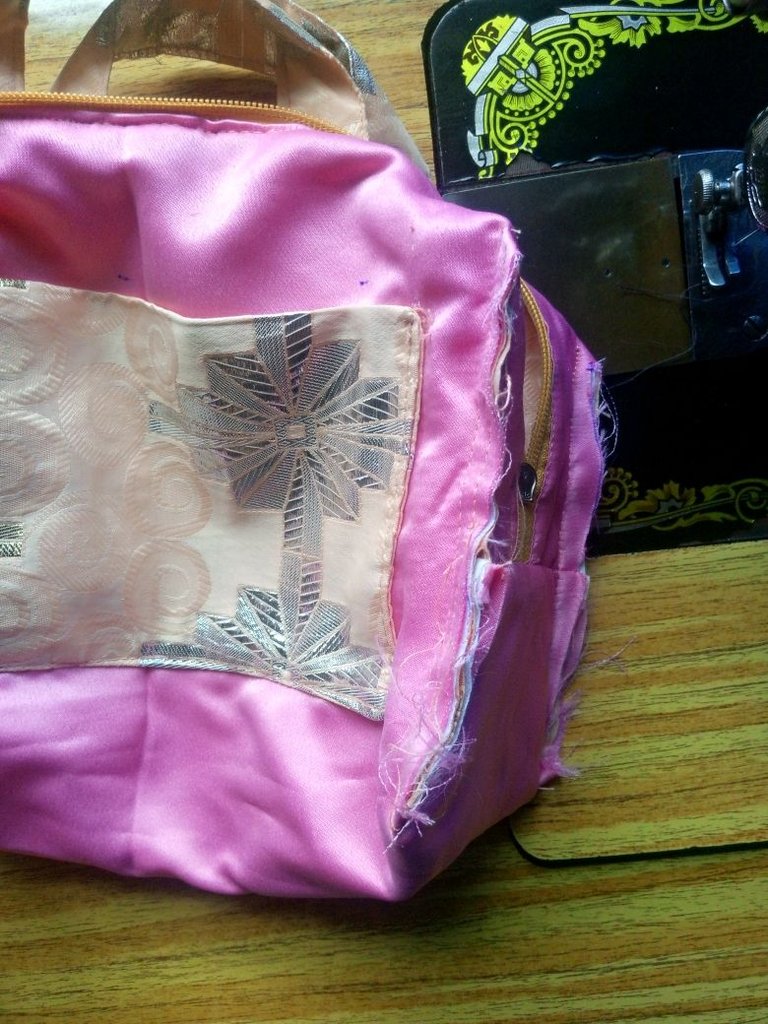
This is final outcome and I'm so happy I was able to make this.

I will be making the second one in my next post, I hope you like the beautiful outcome of this.
Es un bolso muy bonito, y la forma en que lo explica, lo hace ver muy fácil de hacer, gracias por compartir éste tutorial. Bendiciones 🙏🏻 👍
Wow, wow, wow, this looks so beautiful, I love it, the material looks so unique, please i need this one.
I'm so glad to know that you love it, no problem dear friend, I will definitely make one for you 😃.
Thanks so much for stopping by.
Wow This bag is spectacular, I love it, I congratulate you, thanks for sharing.
Thanks so much, it's just the little I can do.
👍💗
Your friend will happily recommend you for anything like making bags. You're really good at it. This bag looks pretty cool. Keep up the good work!
I'm actually happy for what she did and I'm sure not going to disappoint her on this, I want her to keep recommending for others as well. I believe when she sees this, she will be so happy too.
This is very neat, you are so good at this. Thanks for sharing