DIY// using pieces of fabric to make 3 slot card wallet
Hello beautiful people
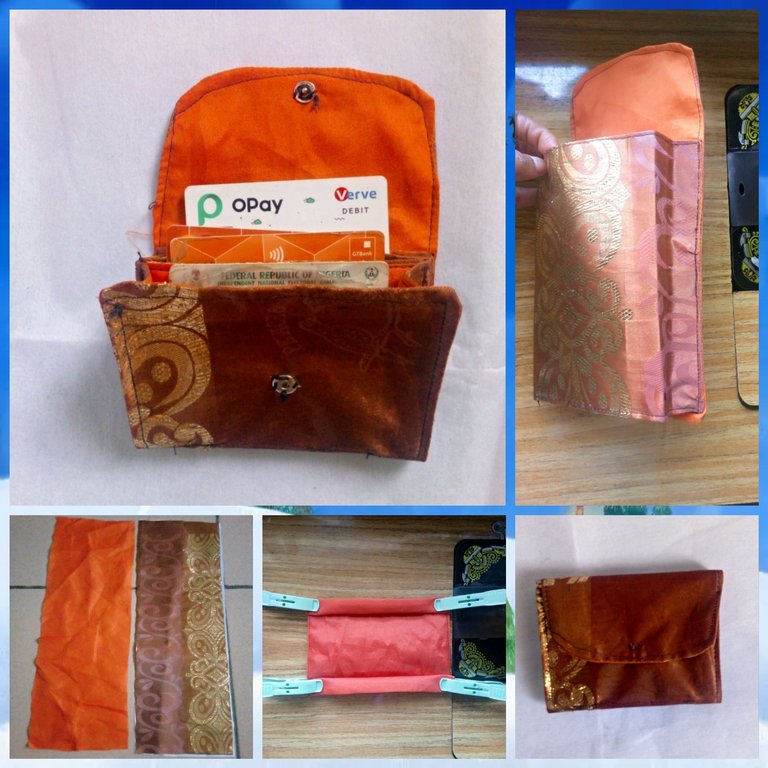
I greet you all lovers of diy in this great community @diyhub, here we talk about creativity, I hope you all are doing great, it is a beautiful start of the day this morning as a quickly take care of what I needed to do very early and lock myself up in my sewing room, I have a lot of projects request that I definitely must meet up with before the delivery date but the power holding company here has not been fair to me, so I just have to divert a little by using the waiting time to make this simple card wallet for myself.
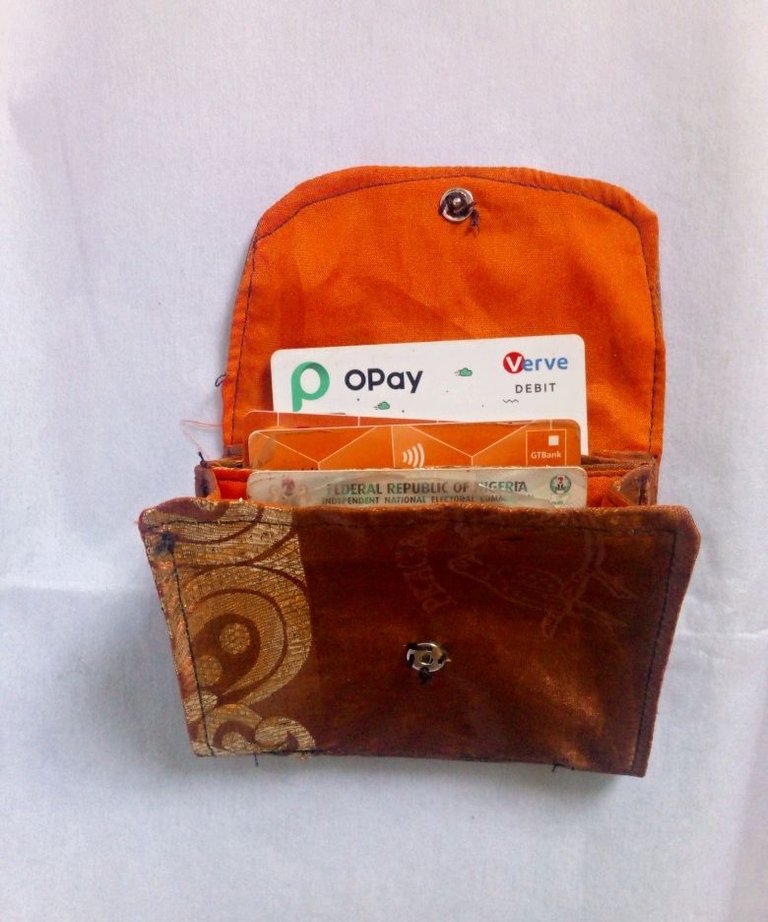
Well, this is not my first time of making something like this for myself but as soon I finish making it and try to use it, there will be someone somewhere who will admire it and want to have it, I have no choice than to give it out knowing fully well that I can always make a new one for myself. Today I will be sharing with you with great pleasure the cutting and sewing process of this 3 slot card wallet I made for myself from pieces of fabric.
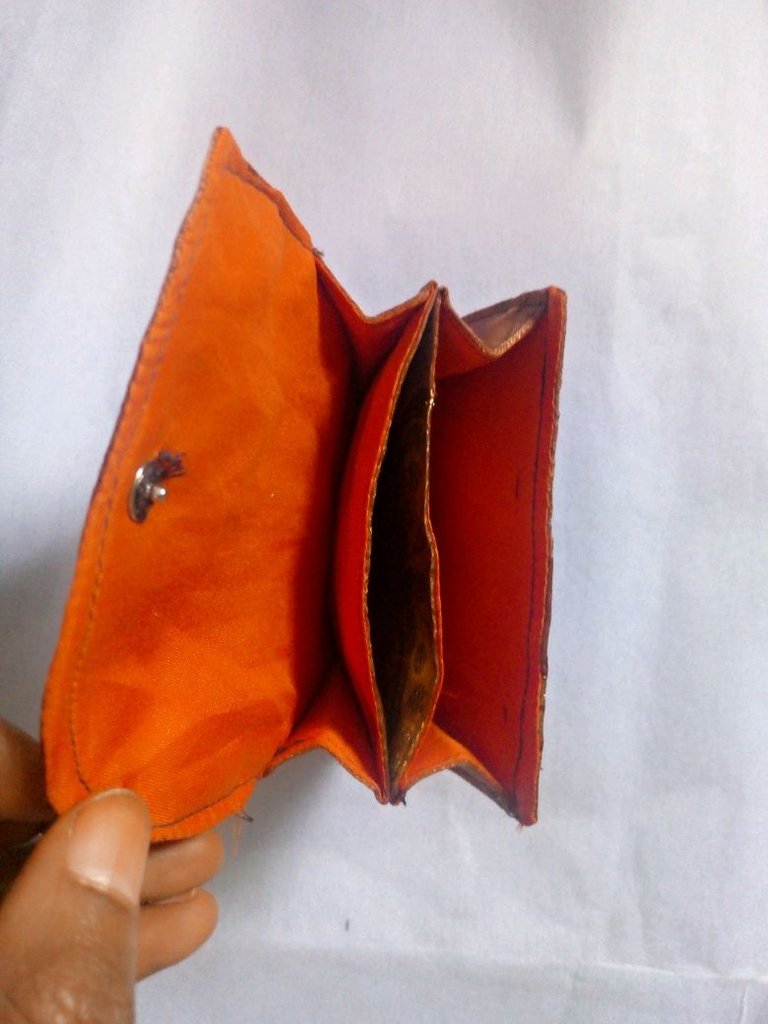
It is simple, easy and very useful, with just few step by step process, you are good to go.
Join me as I take you through the cutting and sewing process.
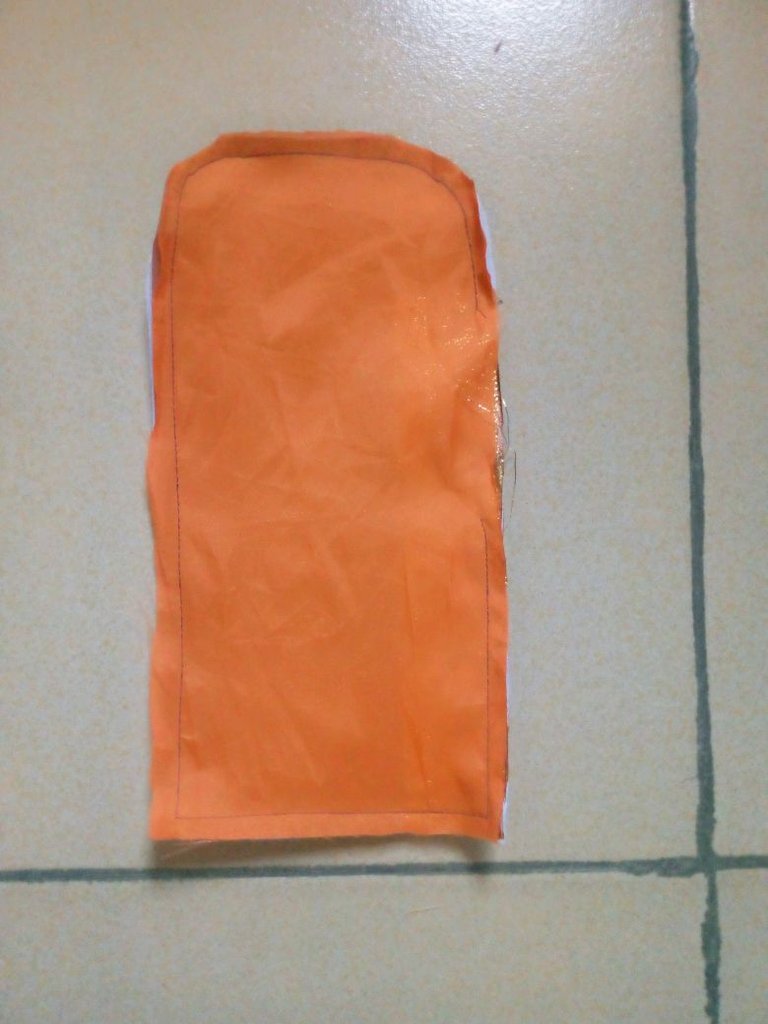
I measured and cut out 11 x 5.5" with lining and interfacing ironed on the main fabric.
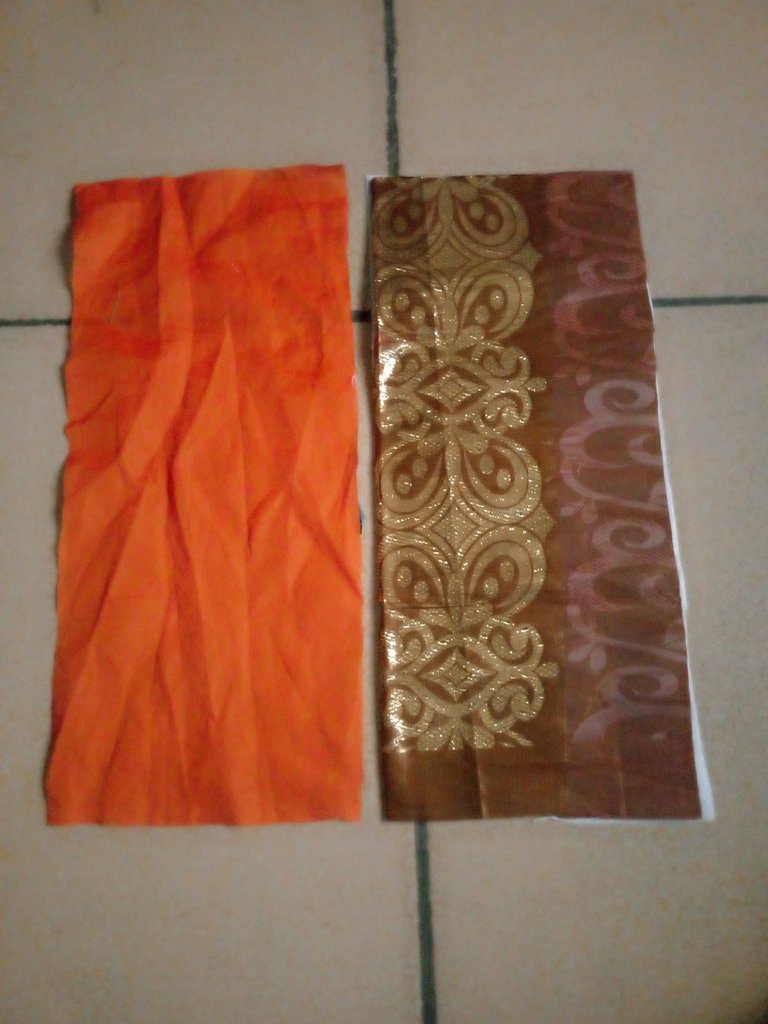
It was folded in two as I made a curve at the top, then it was sewn with the lining on leaving an opening where it can be turned inside out.
Another piece of 8 x 8.5 was also measured and cut out with lining and interfacing ironed on it as well.
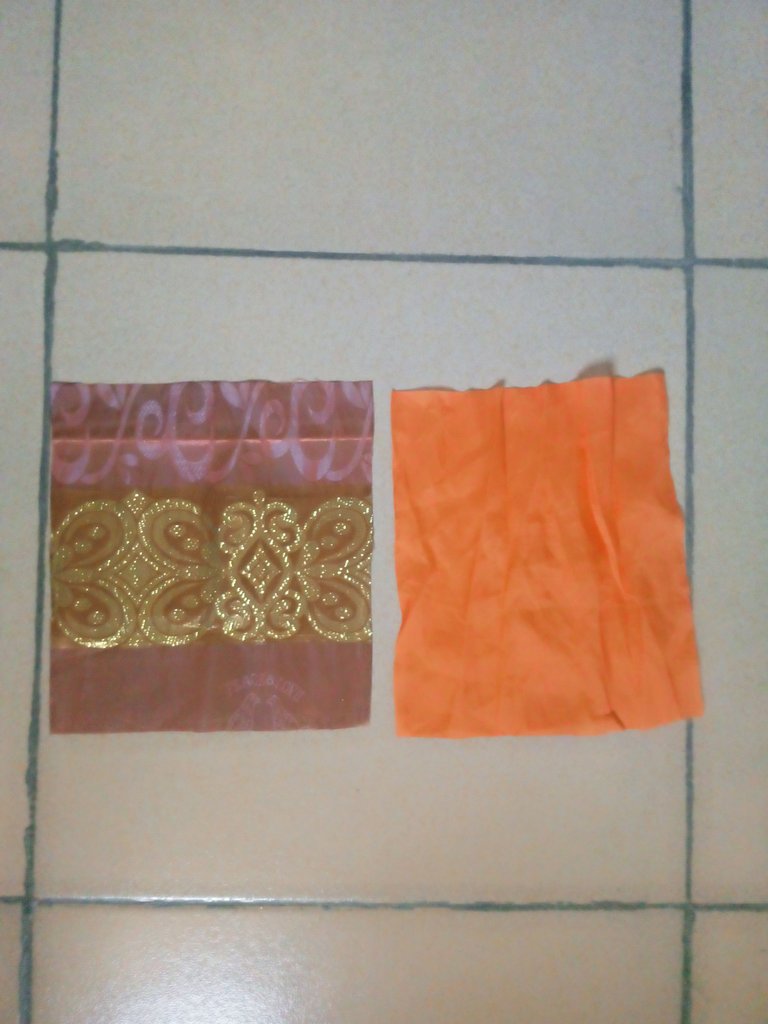
It was turned inside out and set aside.
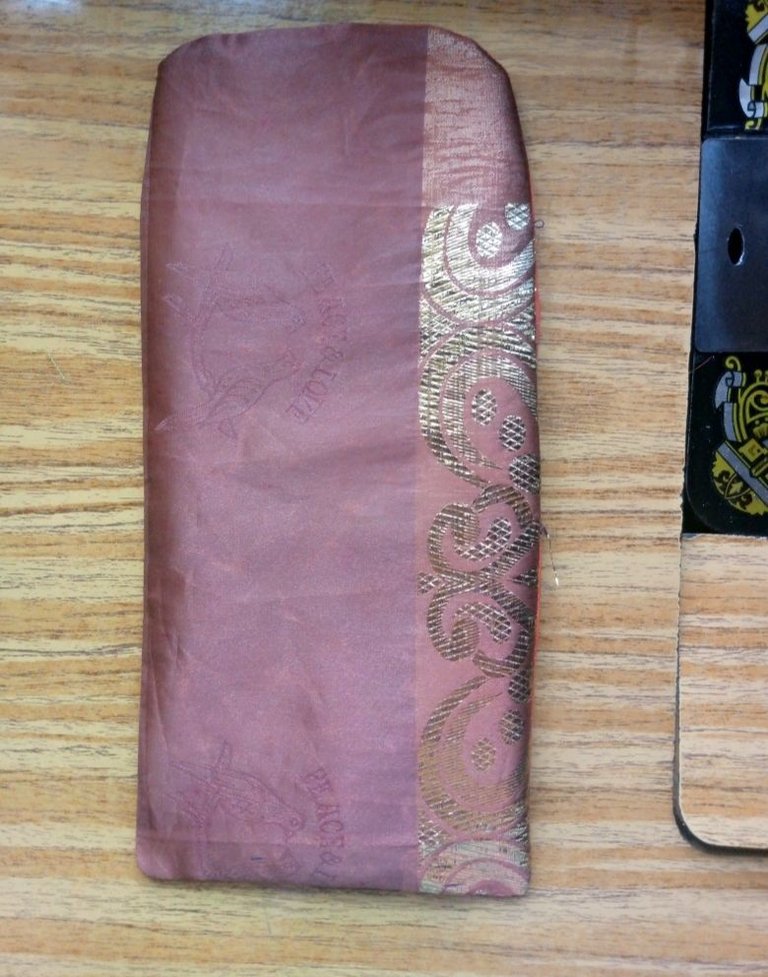
It was sewn together with the lining leaving an opening on the 8.5" where it can be turned inside out.
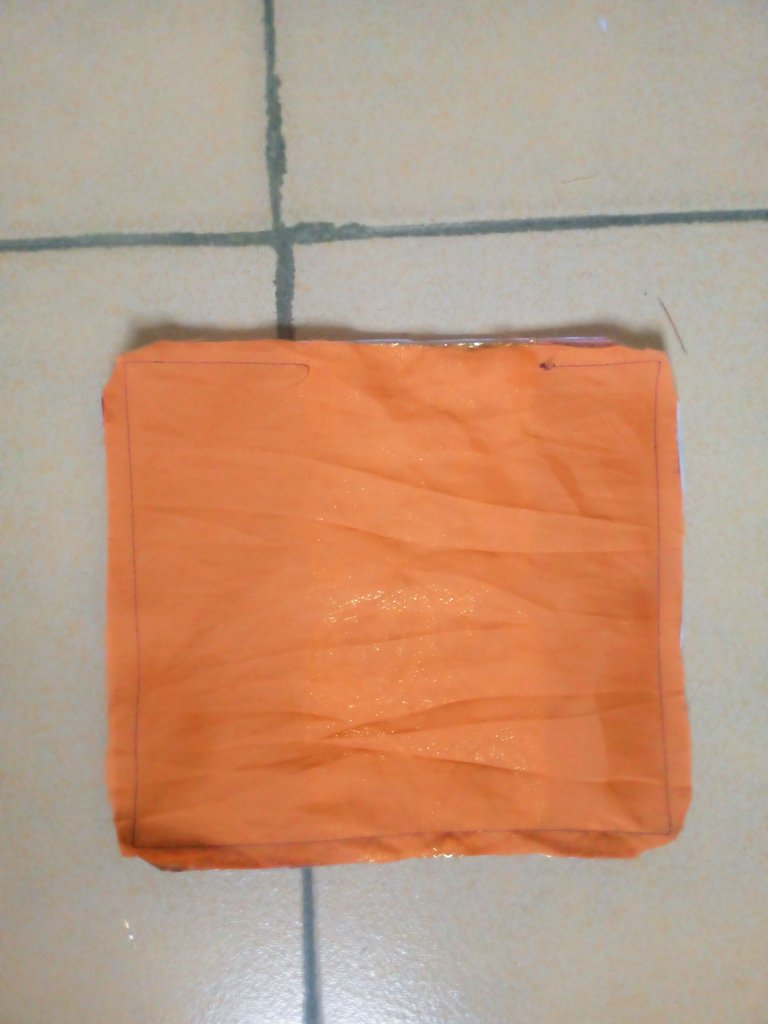
It was turned inside out and I top stitched on the opening and the opposite side.
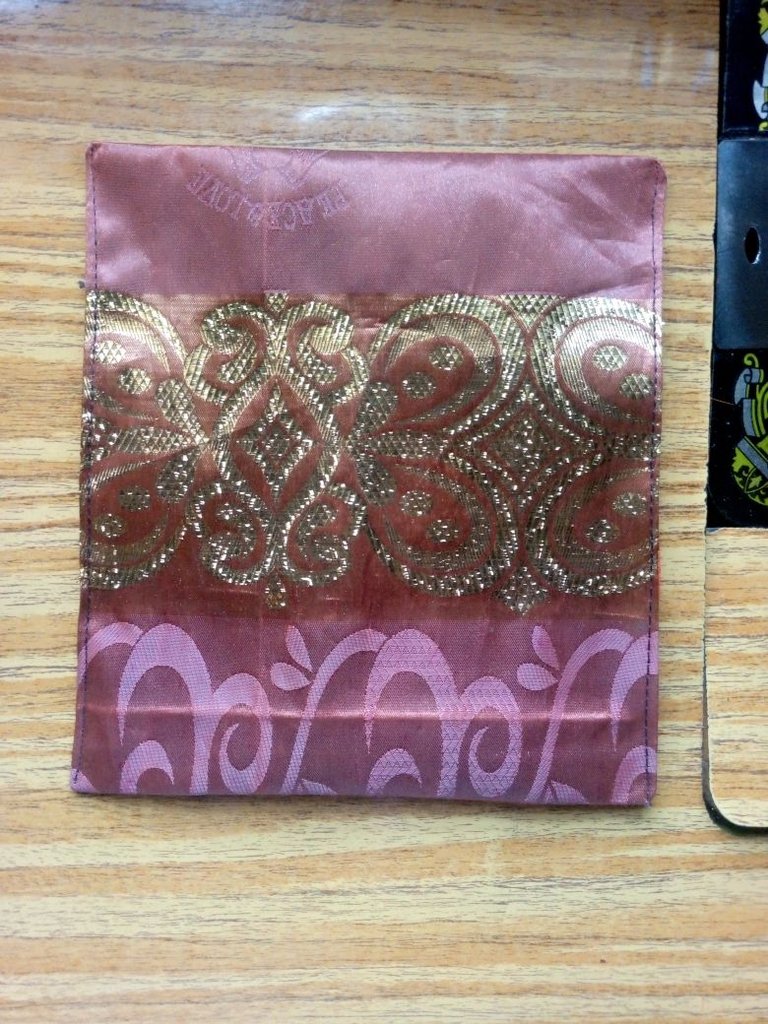
On the wrong side, I marked 1.5" on both sides that was not top stitched on and it was folded in on both sides as well.
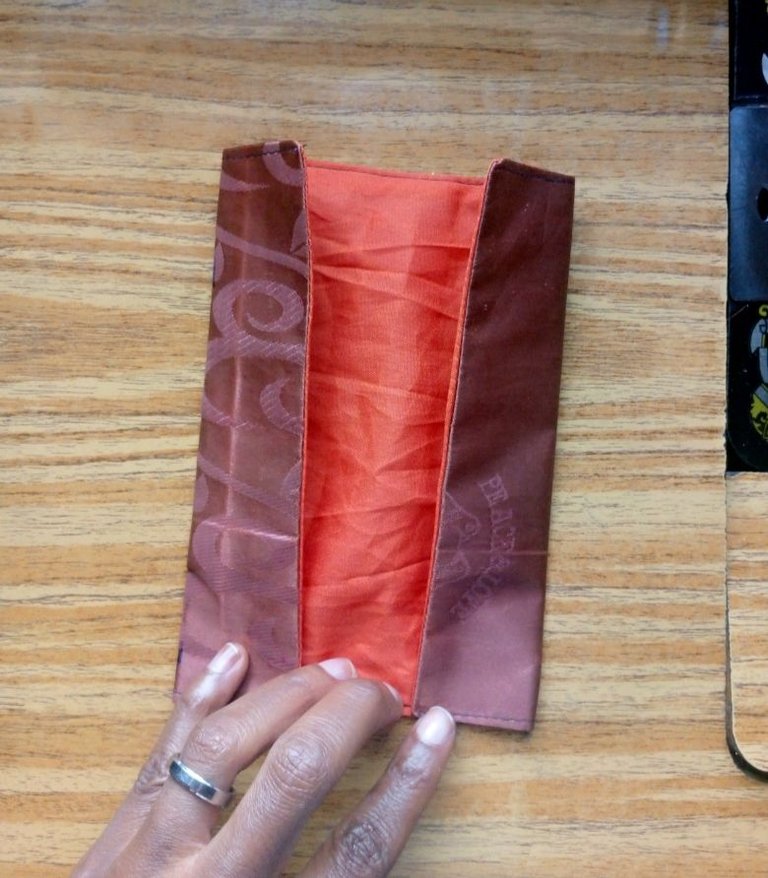
It was folded backward and clip together before it was sewn on the wrong side of the piece that was set aside
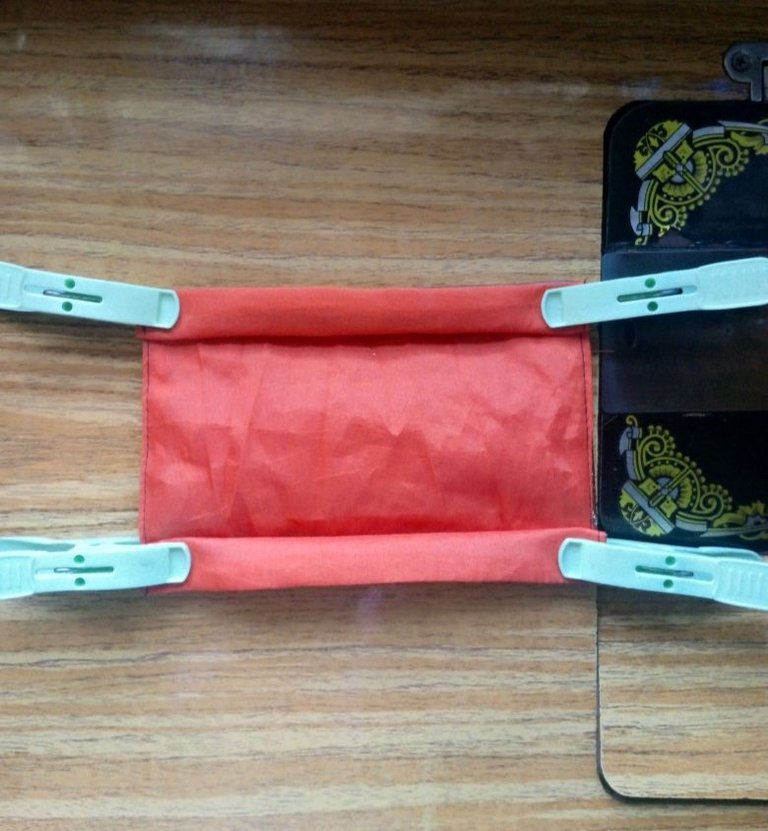
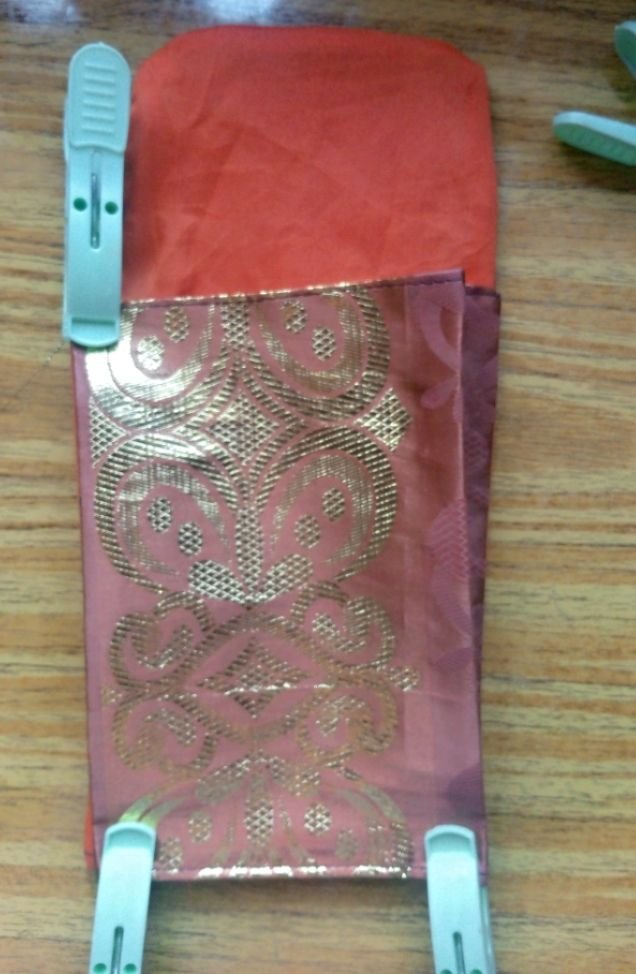
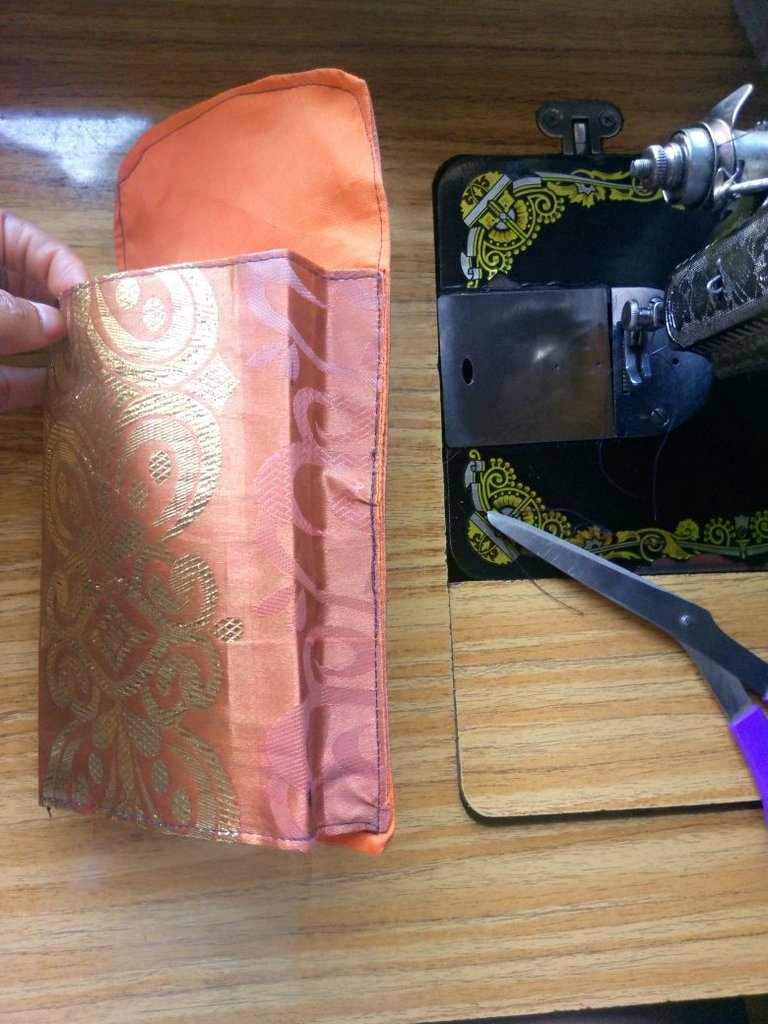
It was folded upward to locate the mid point and I rule a straight line across it just ½" away from both ends.
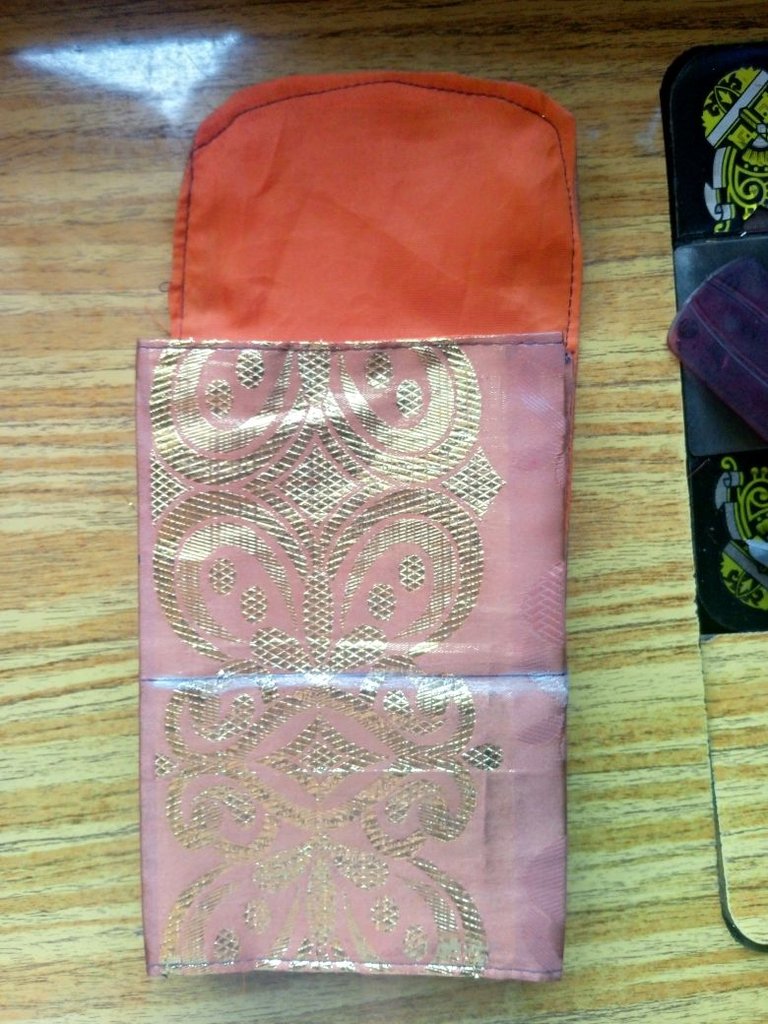
It was folded upward as I sew on the two sides.
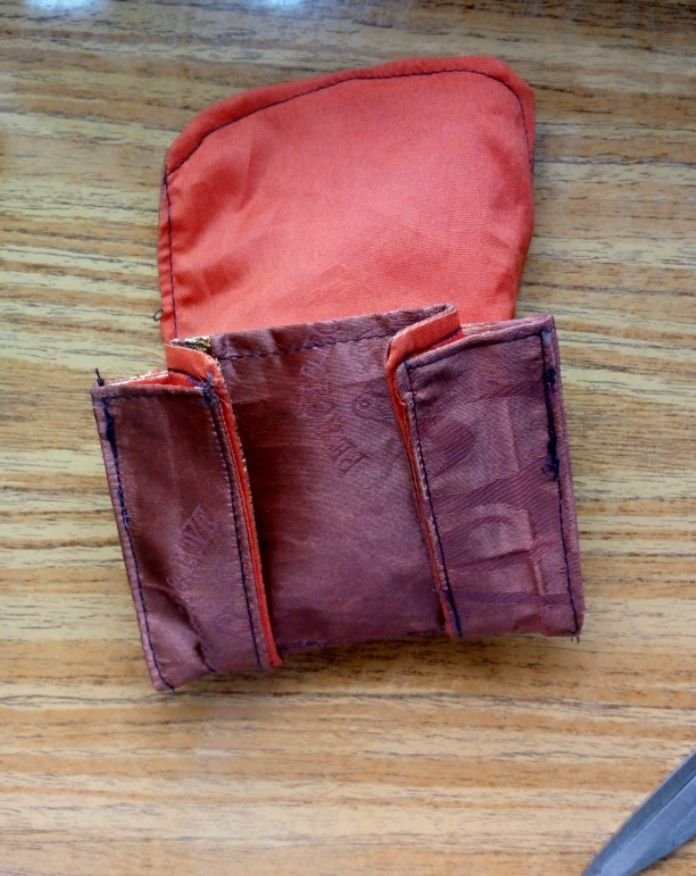
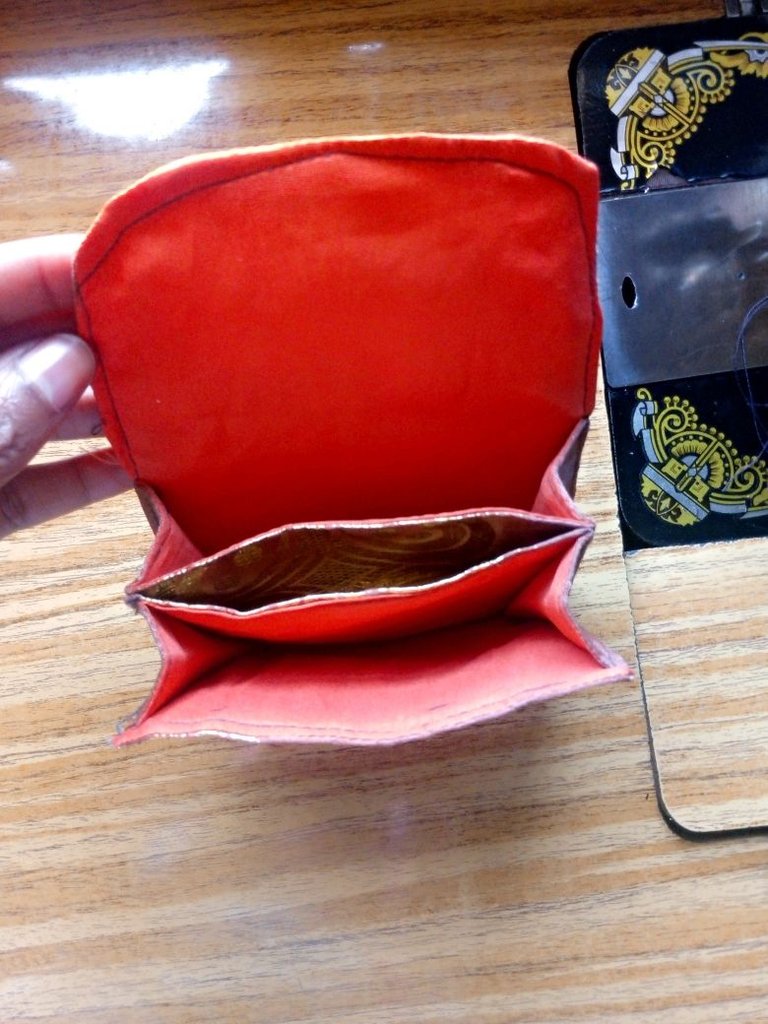
Then I used my hand needle and thread to attach a pressing button to the middle of the main wallet and on the opposite side for it to clip well for the safe keeping of the cards that will be inserted in it.
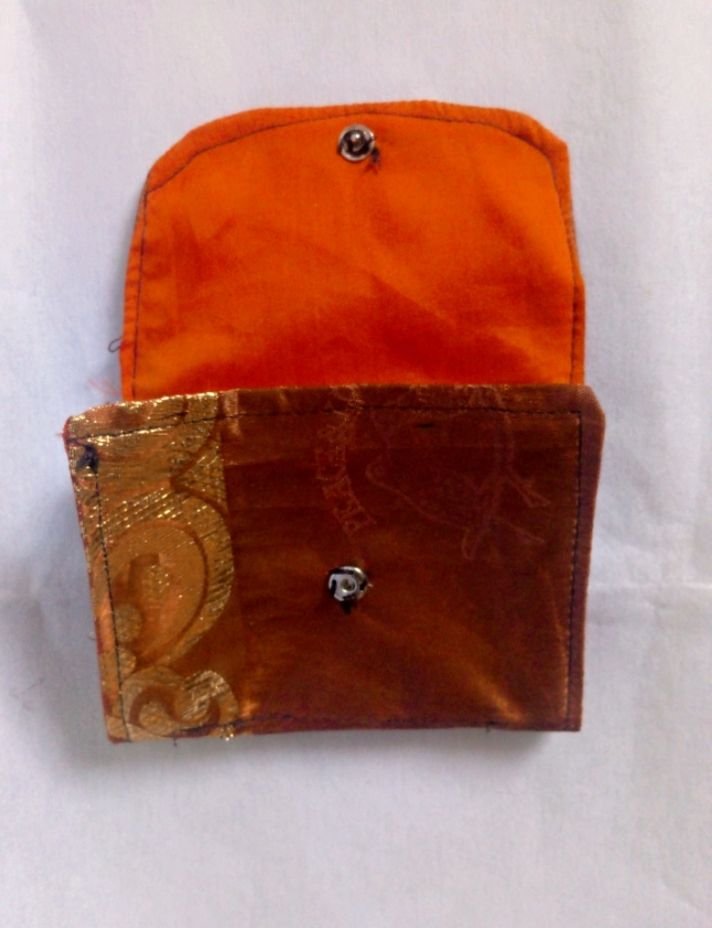
This is the final outcome with my cards inserted in it.

I hope you like the simplicity and beautiful outcome, well I hope this stays with me this time without anyone collecting it from me as they usually do 😃
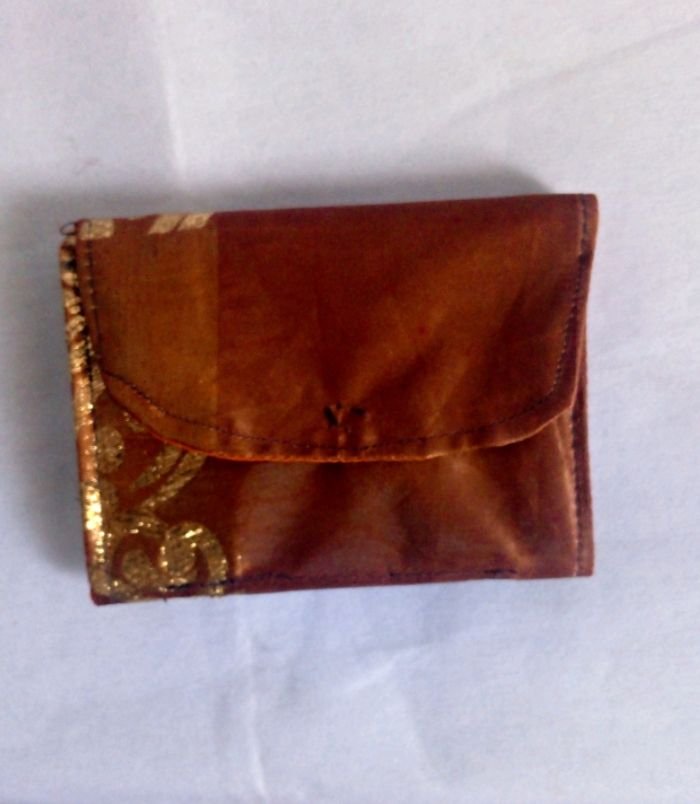
At this point @bimpcy you should be called a wallet and bag master as you blow our minds with different wallets and bags.
You’re doing an amazing job❤️
Exactly 😃😃😃 that is what my friends mimic me with, it gives me great joy to sit on my sewing machine making beautiful things for people around me and for myself. Thanks so much for appreciating my work and for your support.
You are most welcome❤️
The wallet turned out great and hopefully it stays with you this time. Well done and thanks for sharing.
I really do hope so... It's always my pleasure to share, thanks for your comment and encouragement.
Excellent work 😀
Thanks so much.
muy útil y el diseño bonito!
very useful and the design is beautiful!
Thanks so much.
You have the magic of sewing in you, you have created such a beautiful wallet out of fabric, it has to be applauded.
Wow! Thanks so much for this beautiful feedback, I really appreciate you so much, let's just say it's actually what I do best, using pieces of fabric to create something beautiful and useful.
Most welcome 🤗