DIY// tutorial on how to cut and sew a beautiful elastic headband
Hello everyone
I greet you all on this beautiful day in this great community @hiveDiy, I hope you all are having great time with your creative ideas being put into beautiful outcome, it is my pleasure to share with you today the #diy process of making an elastic headband designed with two types of fabrics.
I recently shared in my previous post on the request of my little niece, who wanted different types of headband for her outfit just has her friend has different types for herself, I took it upon myself as a project and promised to make some for her at least 3, I have made 2 different types for her before and I think for now, this this the last one I will be making for her.
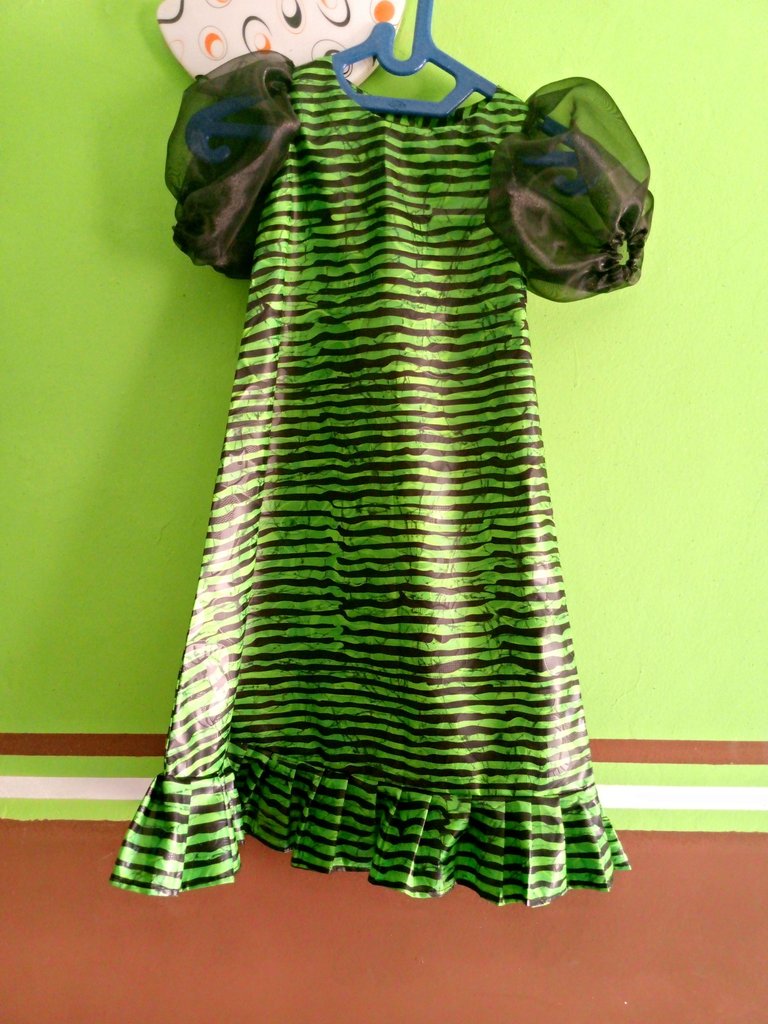
Luckily for her, I found this piece of fabric I kept from one of the outfit I made for her a long time ago but the fabric was not enough for the design of headband I intend to make for her, so I had to combine it with a plain black fabric since the fabric also has black on it.
Let me take you through the process of making this headband, I'm sure you will like it, it is easy and simple to make.
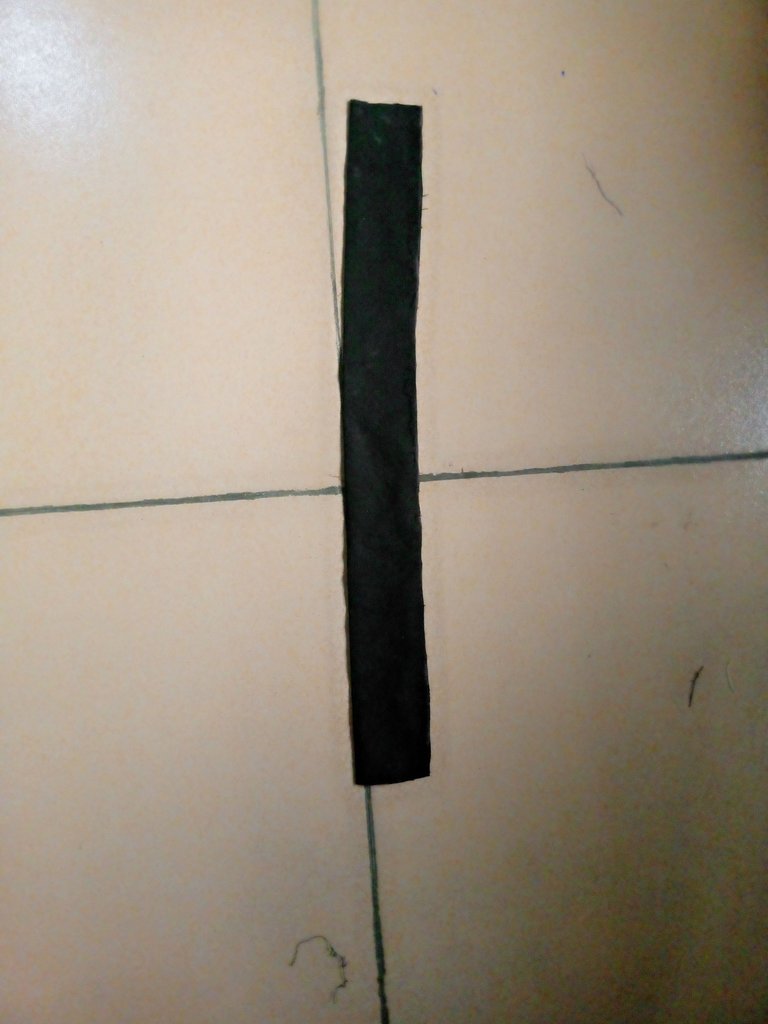
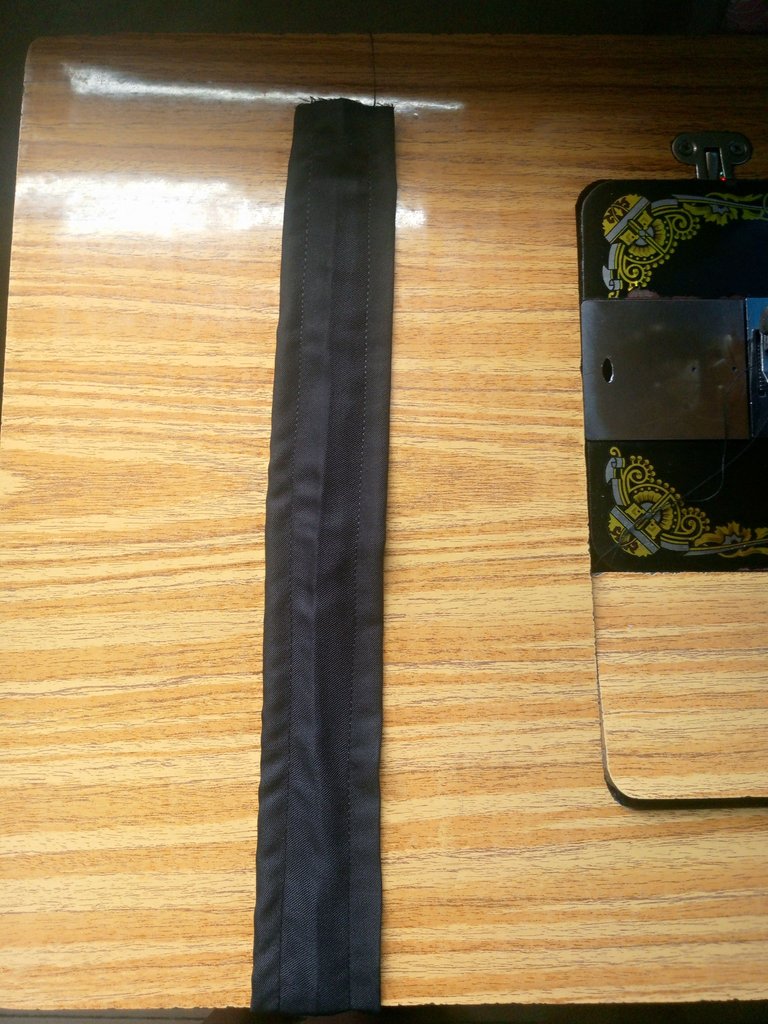
From the plain black fabric which will be for the main band, I measured 32 x 5", it was sewn on fold and turn inside out.
I ironed the seam line to the middle for it not to be visible.
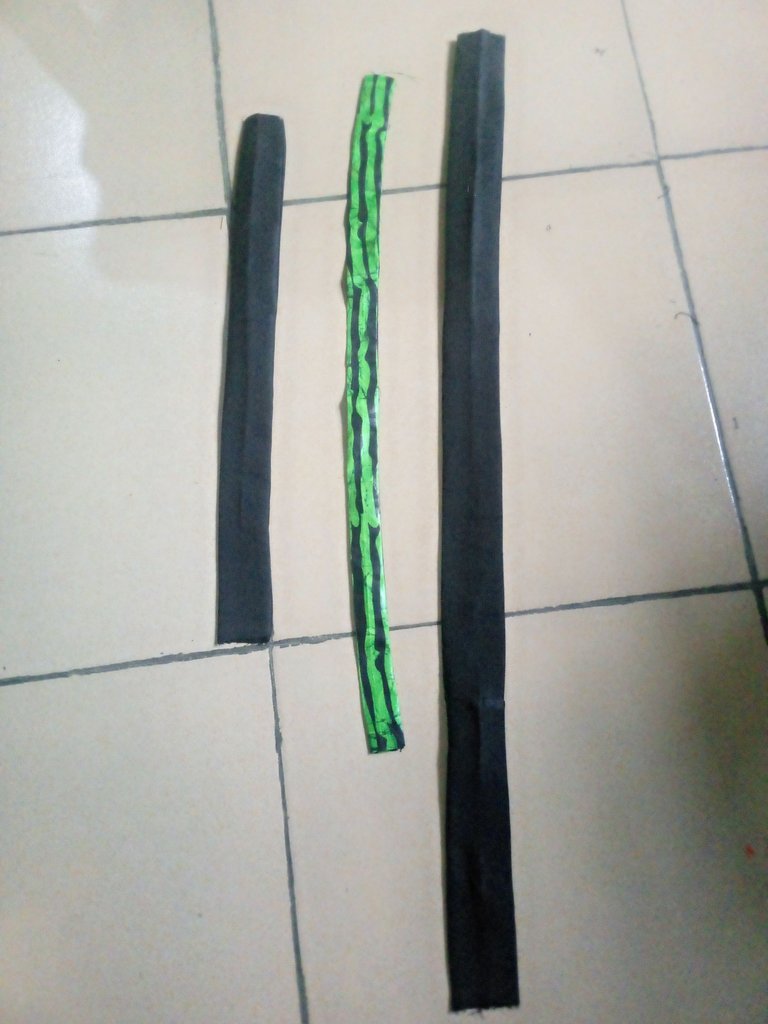
On the remaining plain black fabric, I cut out 20 x2.5" it was sewn and turned inside out
From the main fabric which was just a small piece, I measured and cut out 25 x 2" it was sewn and turned inside out

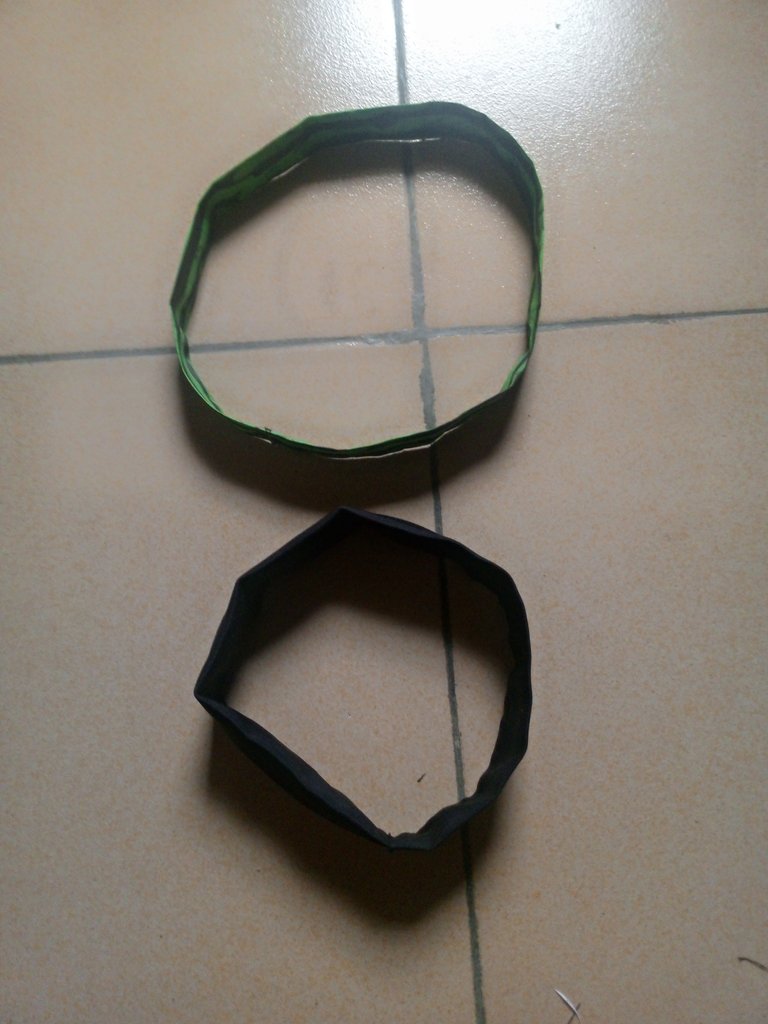
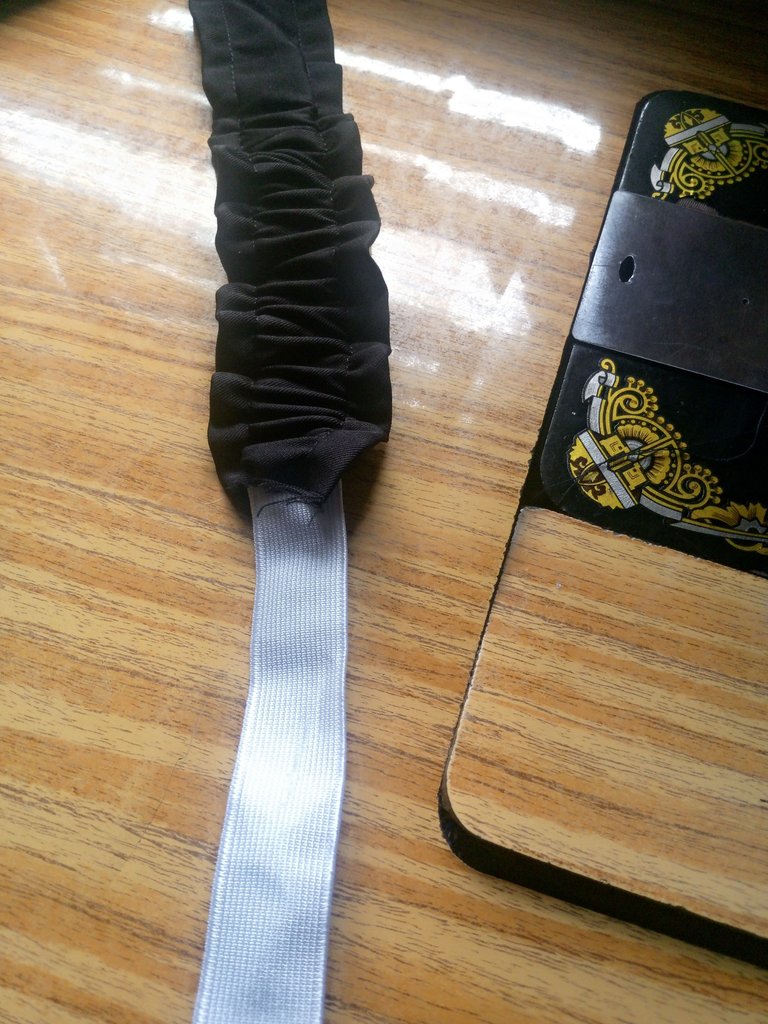
The two edges were sewn together as I used my hand needle to run a long stitch on both the plain and main fabric separately, and after that, it was gathered together to form this beautiful design.
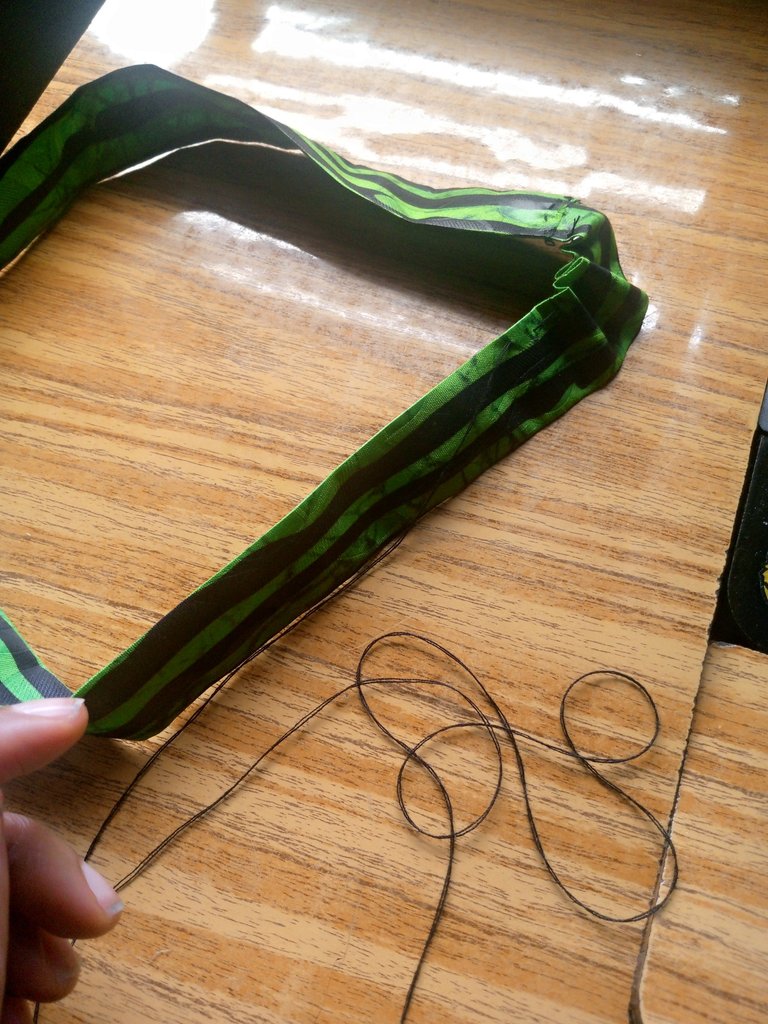

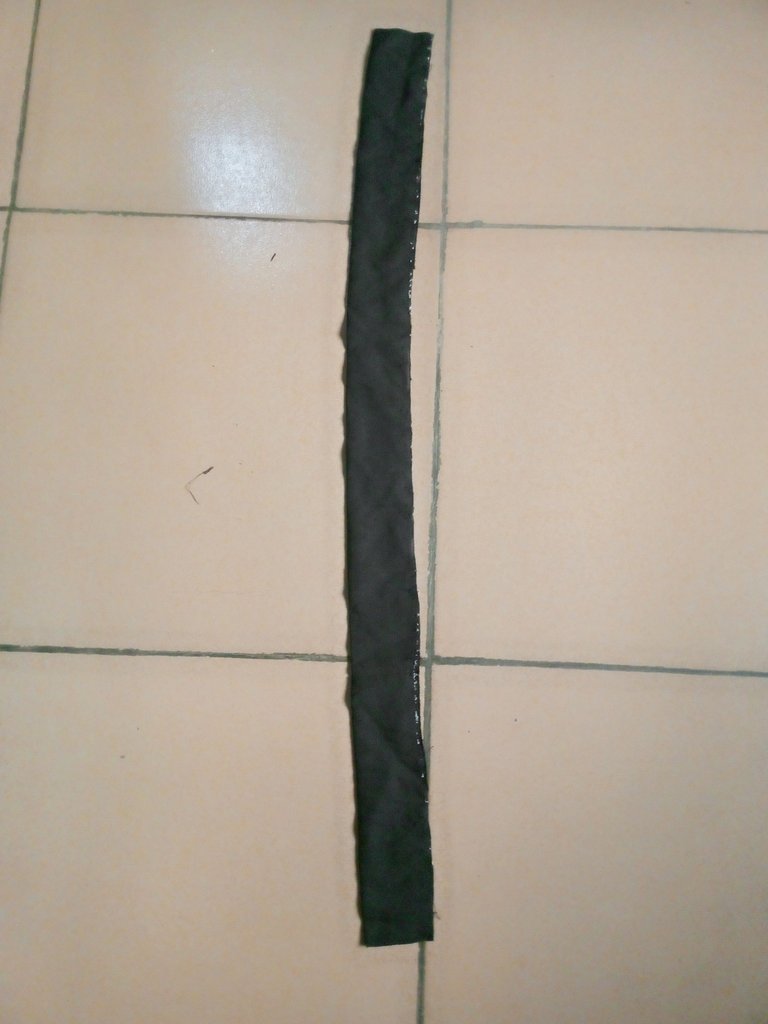
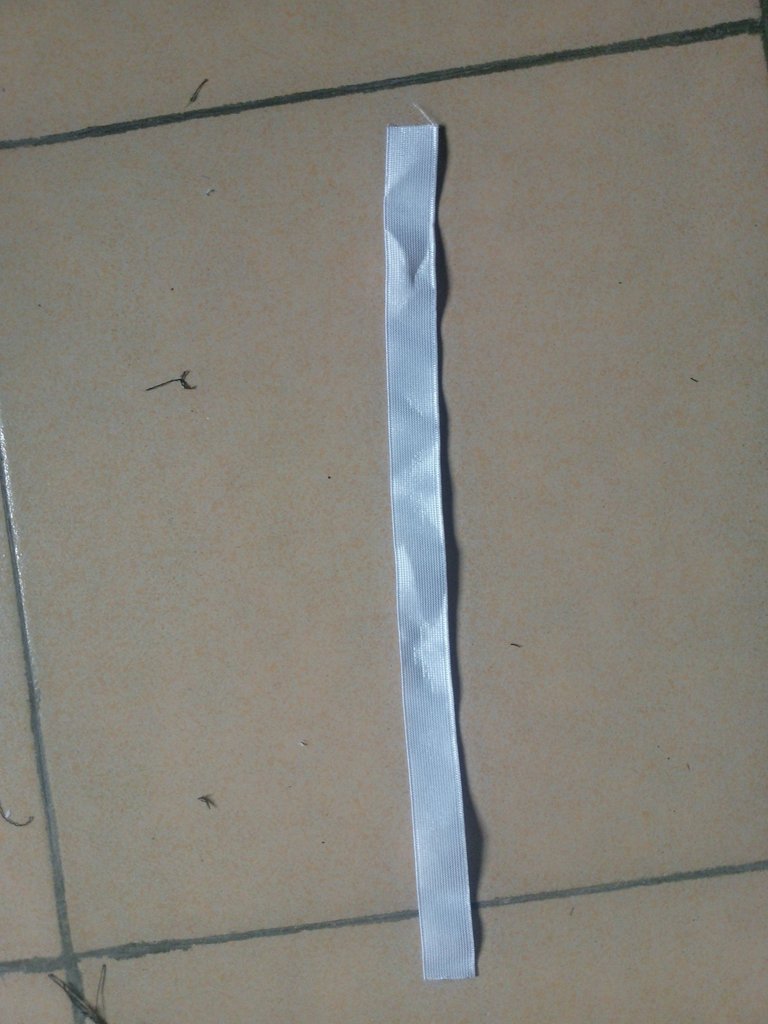
On the long strip for the elastic band, I sew ½" on both sides leaving 1" at the middle for a loop.
In the middle, I inserted an elastic band of 1" as I cut out 16" and the two edges were closed up.
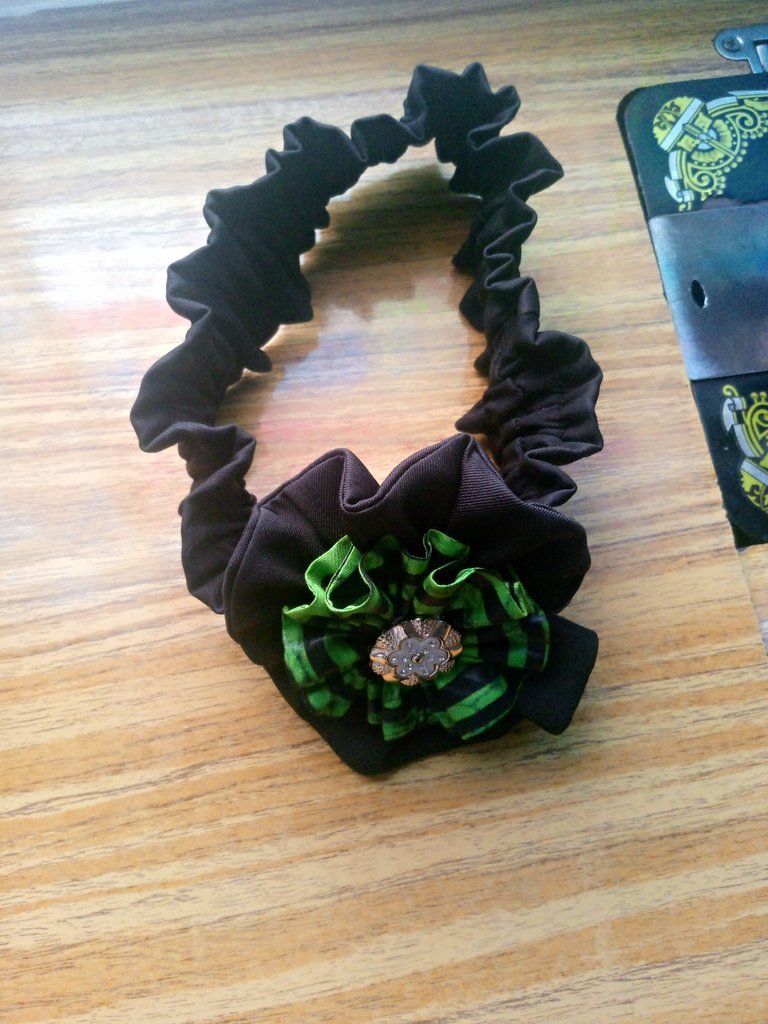
The plain and main fabric were glue together with the main fabric on the plain fabric, to cover up the middle, I also glue a fashion button to it, just as seen below.
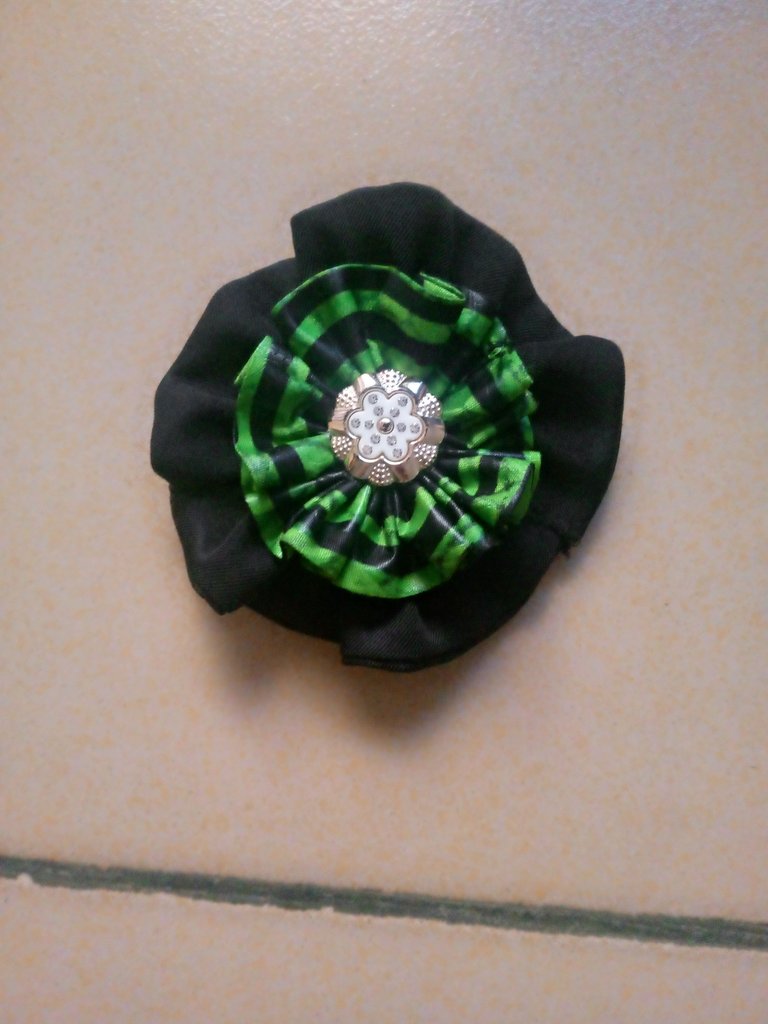
Finally, I glue the applique I made on the place I joined the two edges together, to cover it up.
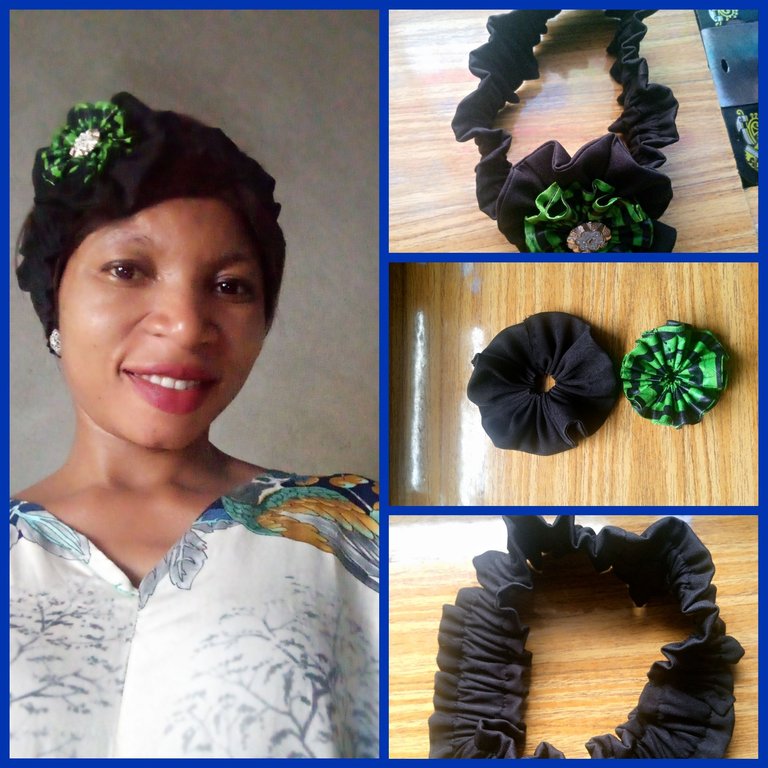
This is the final outcome of the elastic headband I made for my little niece from her left over fabric.
I hope she let me rest now that I have made 3 types of different headband for her.
I hope you like the beautiful design and outcome.

This is so lovely, nobody will believe that it is not already made, good work sis
Thanks so much sis, I really appreciate your comment
Its design and color combinations stand out. It looks so beautiful. Good to see how you made it. Well done!
Thanks @diyhub for your comment and support.