DIY// tutorial on how I made Ankara purse to match with my outfit
Hello beautiful people
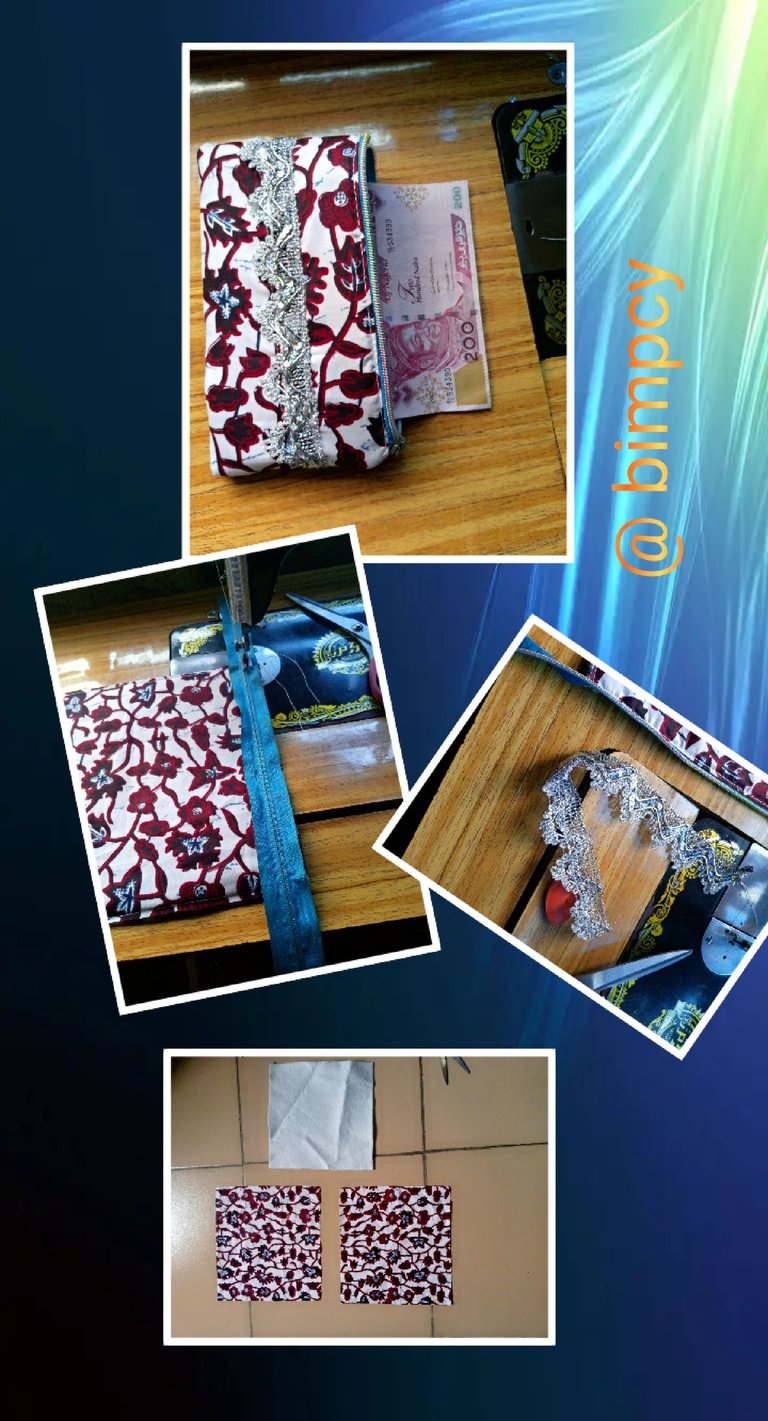
It's a beautiful day to you all and I bring you greetings from this part of the world, I hope you all are doing great, today I will be sharing with you the making of this beautiful purse I made from an Ankara fabric, the outcome is really beautiful and I'm happy with what I was able to achieve from this pieces of fabric.
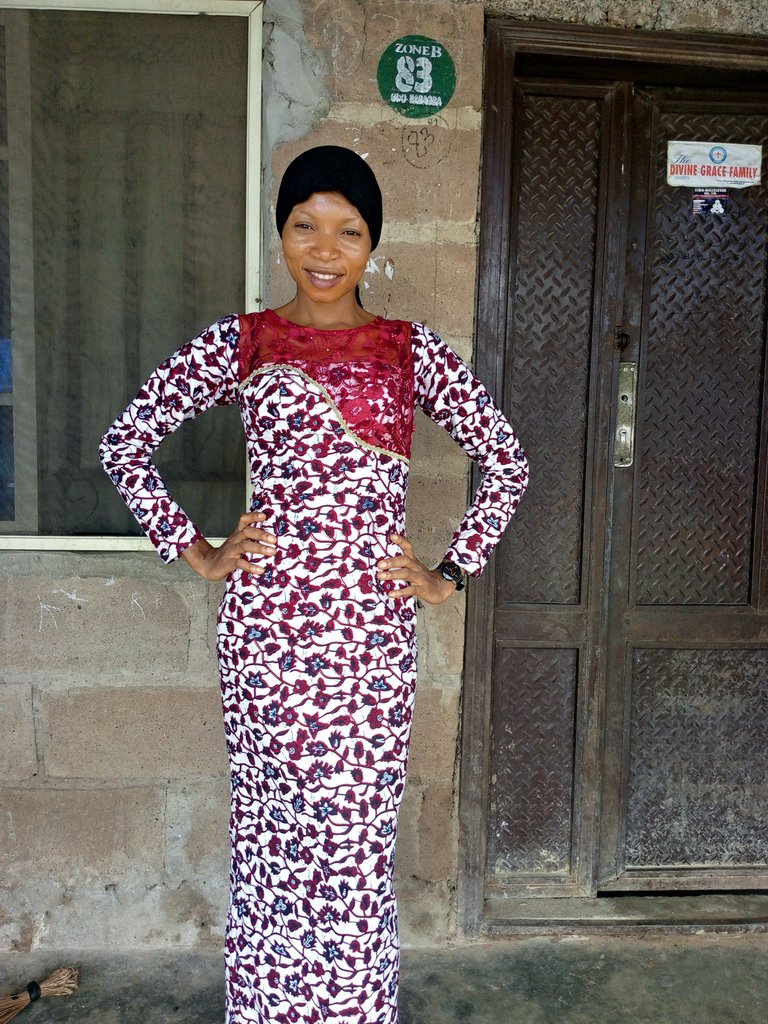
Sometimes ago, I made a gown outfit from 3yards of Ankara fabric and after cutting, I had some pieces left which was kept safe for future use.
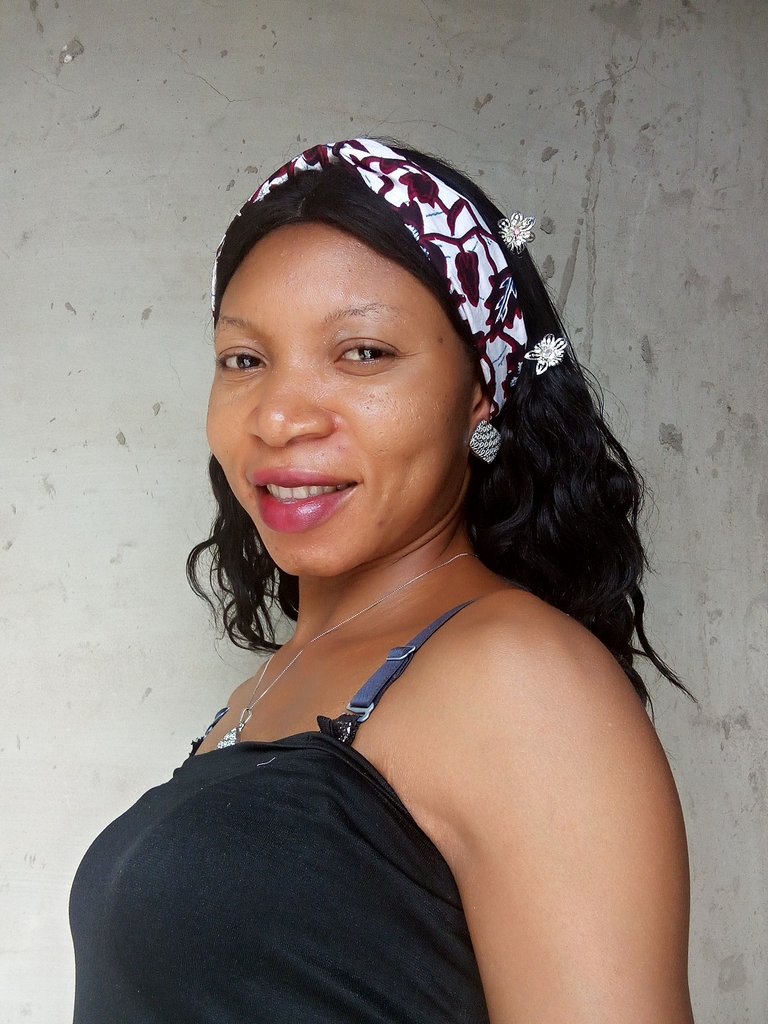
From the pieces of fabric left, I decided to make a headband which I recently made for my head to add more beauty to the outfit, though, initially, I wanted to wear the outfit to an event, that was why I decided to make the headband but unfortunately, it rained heavily on that that day that I couldn't attend the function as proposed, so I didn't wear the outfit.
After making the headband, I still have some pieces left, so I thought of what I could make from the pieces that would also be useful and can go with the outfit as well, so the thought of making a purse came to mind and I thought it was a perfect thing to make.
Let me take you through the step by step process on how I made my purse from the remaining pieces of fabric and I hope you will like it.
Cutting and sewing process
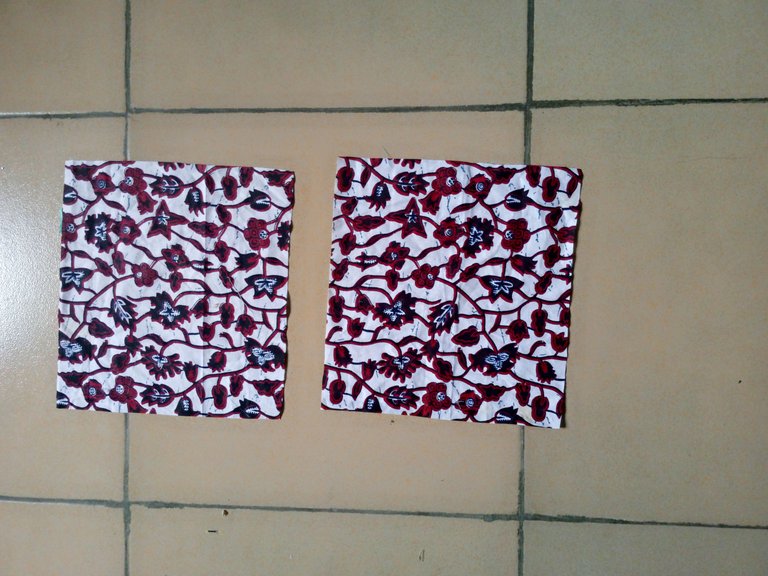
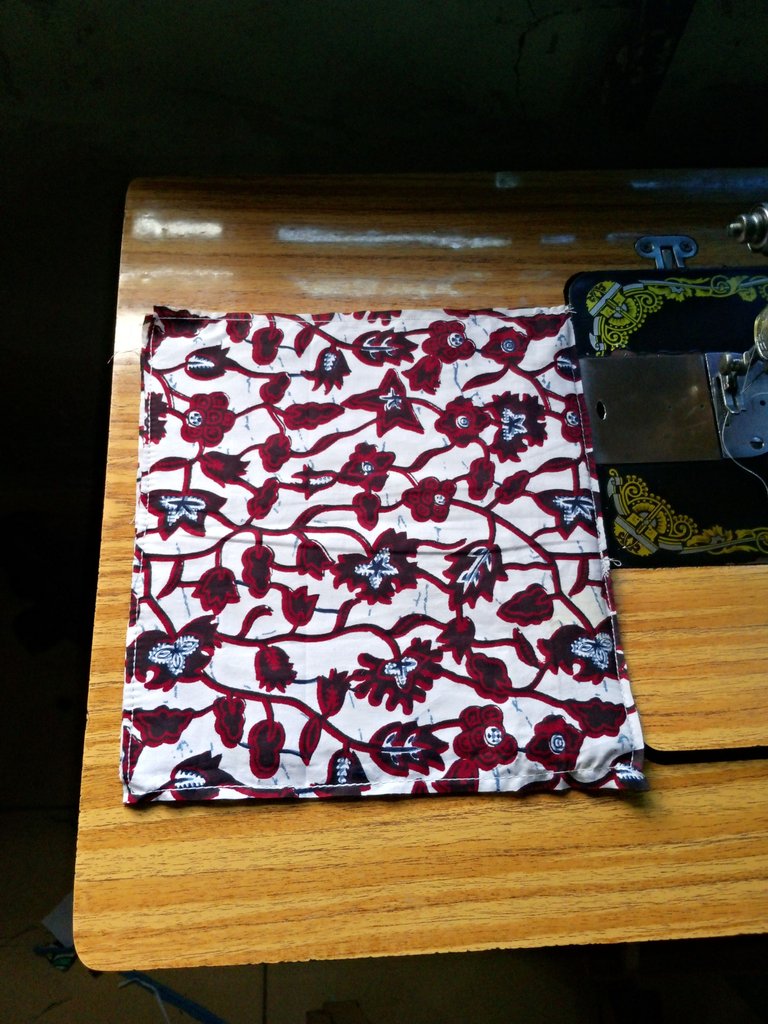
From the pieces of fabric, I measured out 9.5 x 9", I cut out 2 pieces and on my warden, I measured out 9 x 9" and cut it out as well
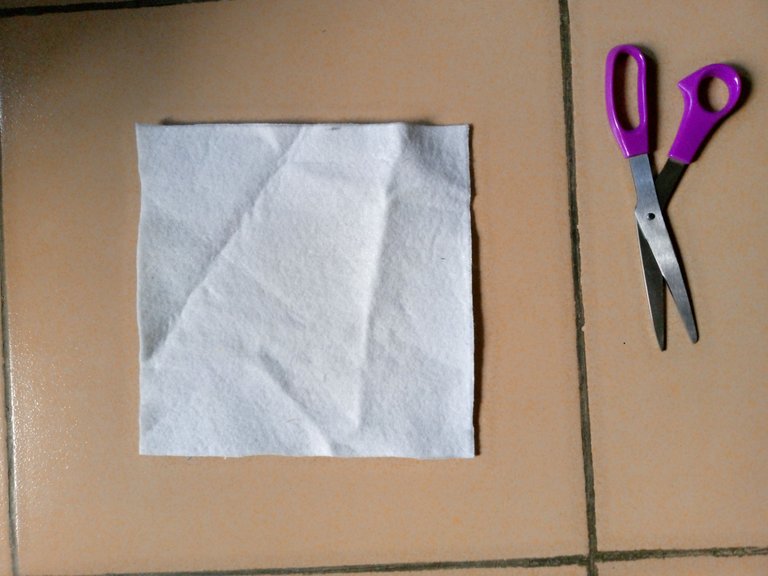
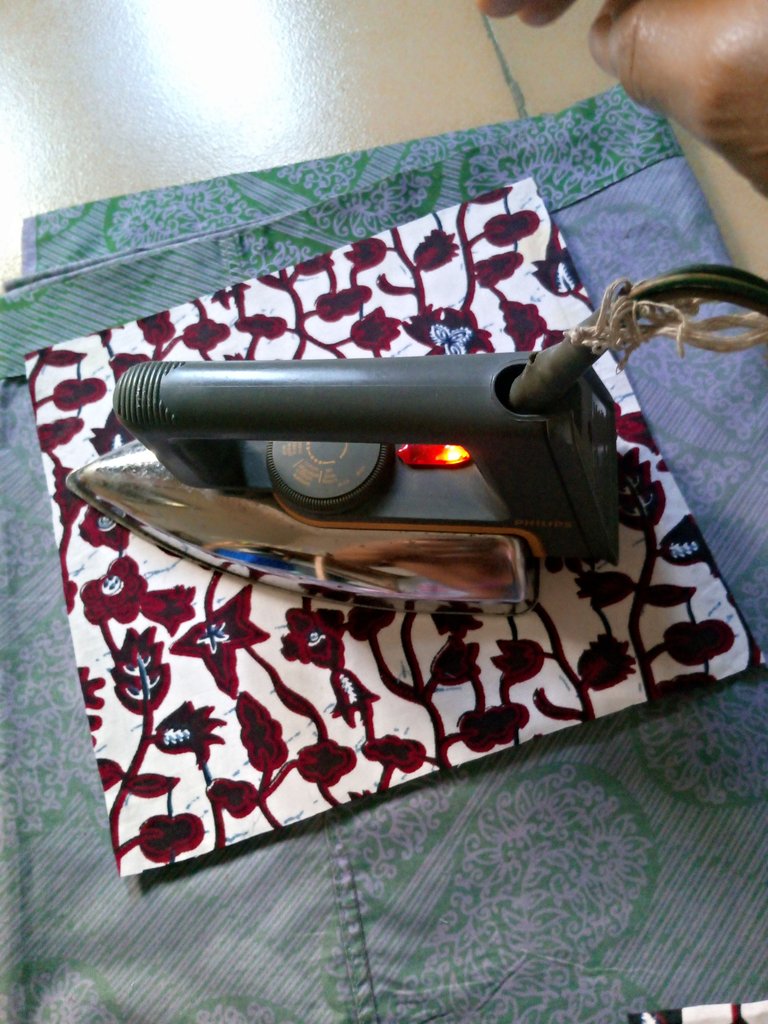
I placed one piece of the Ankara fabric on the warden and I ironed the warden to it to make the warden stick to it.
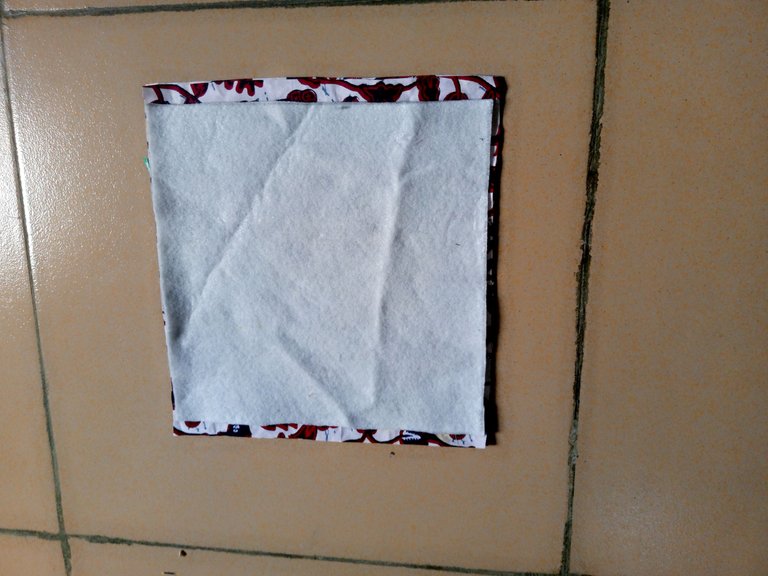
The other piece was placed on the other side to cover the warden and it was taken to my sewing machine were I sew it together round.
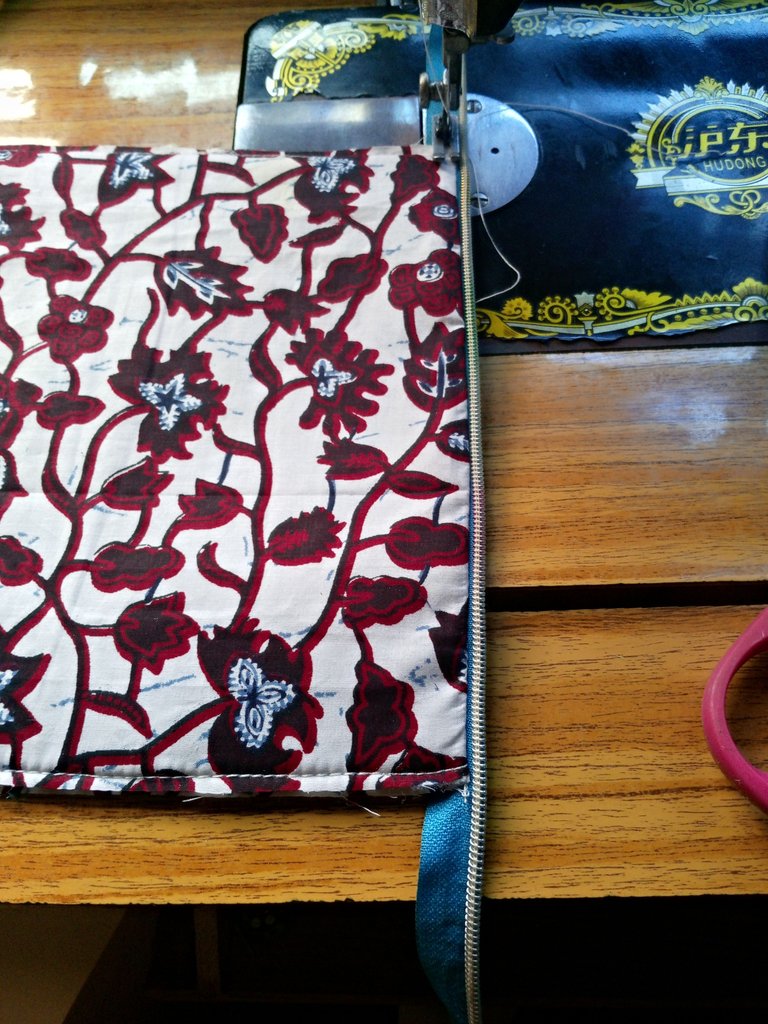
I took a zipper and placed it on it with the wrong side facing up just as seen below and it was sewn together with ½"
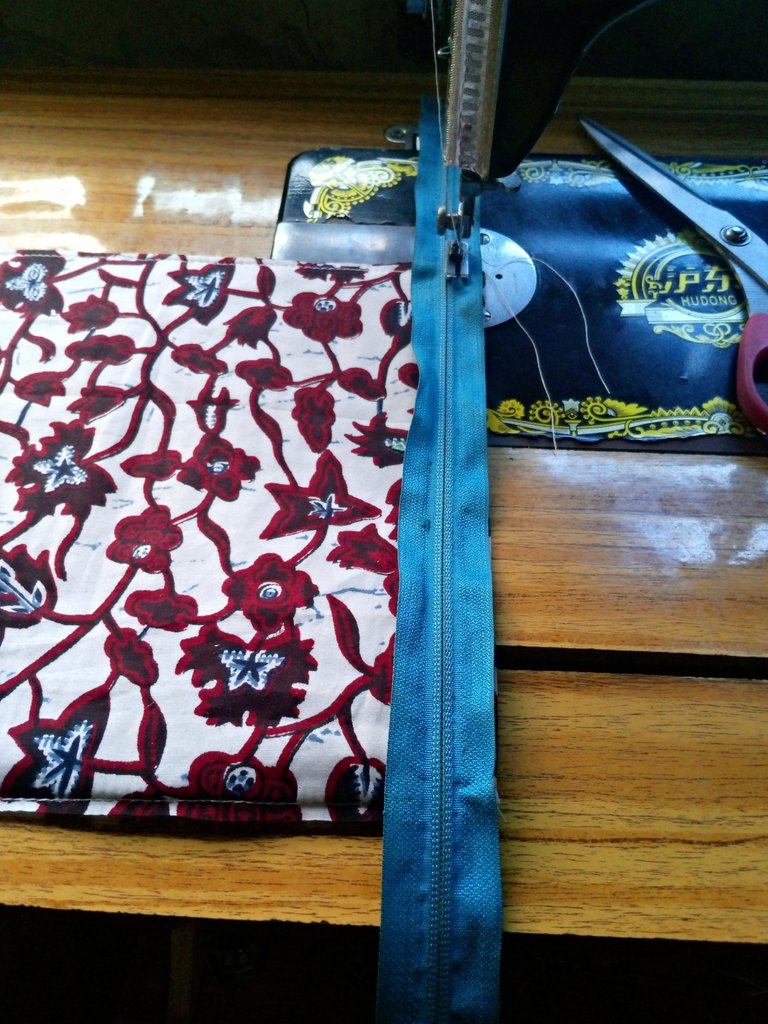
After sewing, I turned it over and I top stitch on it.
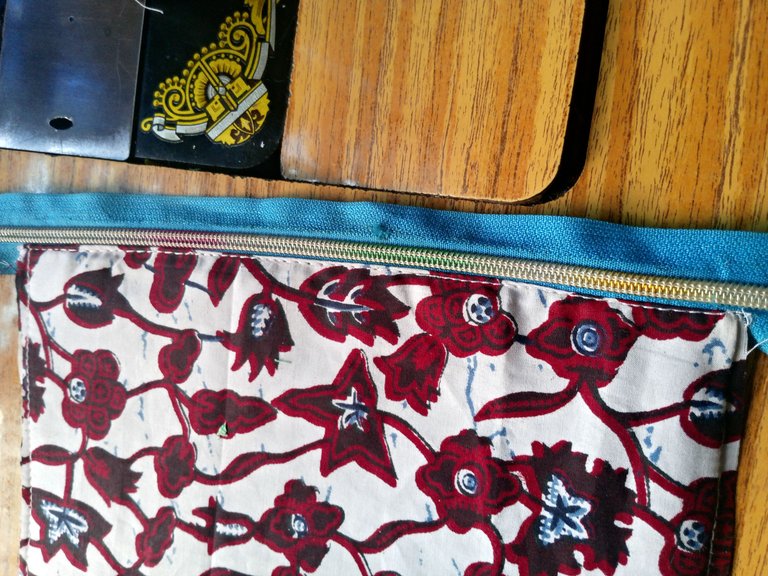
I repeated the same thing on the other side as well.
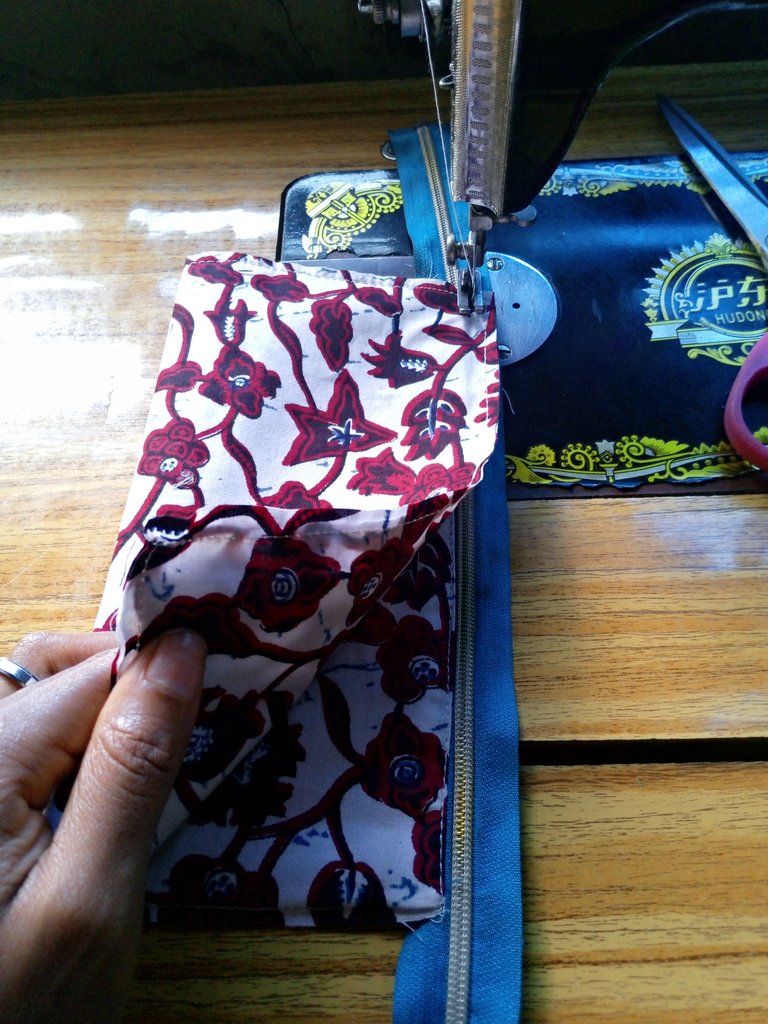
I opened the zipper and top stitch on it.
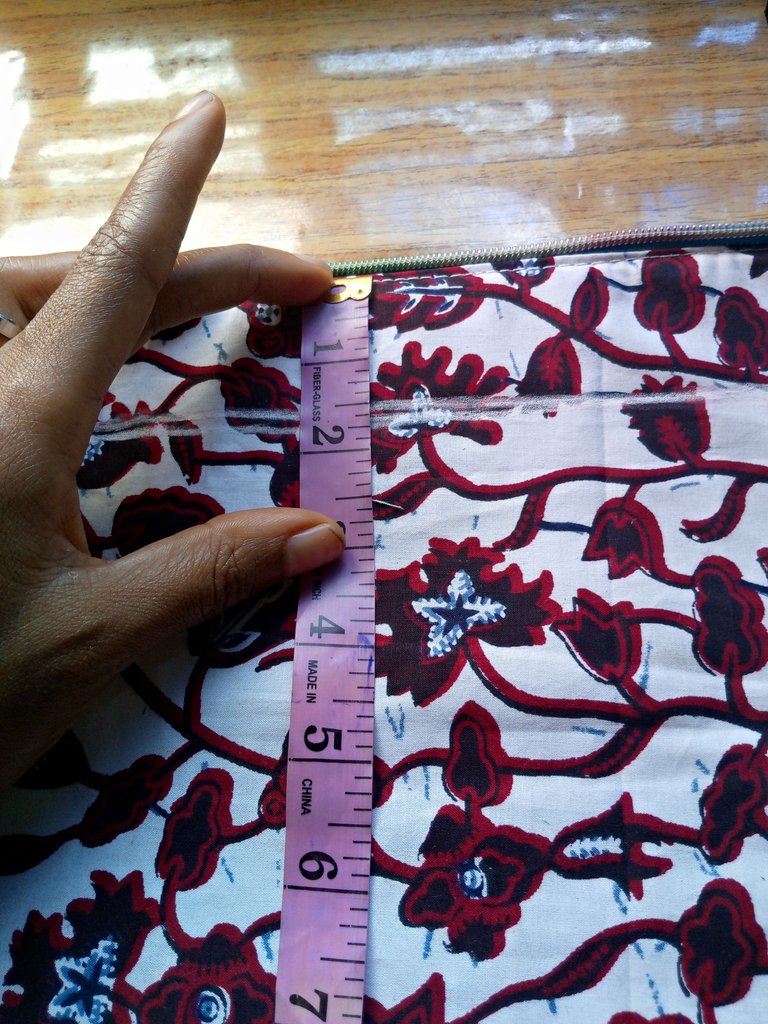
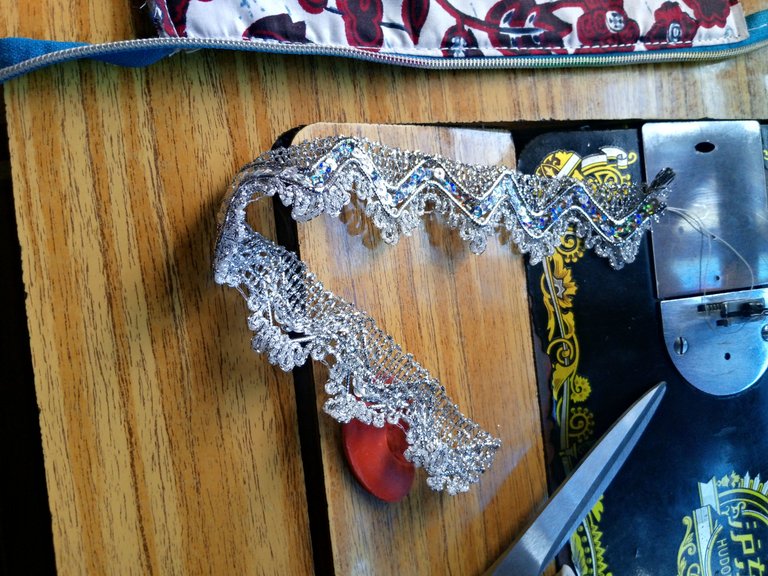
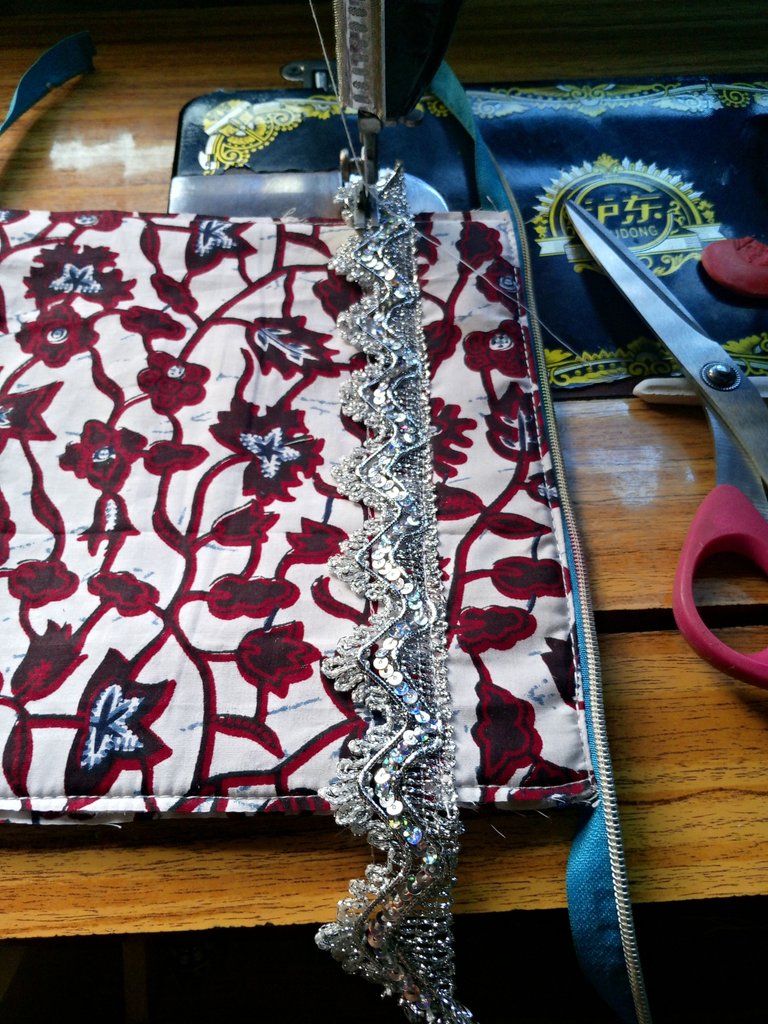
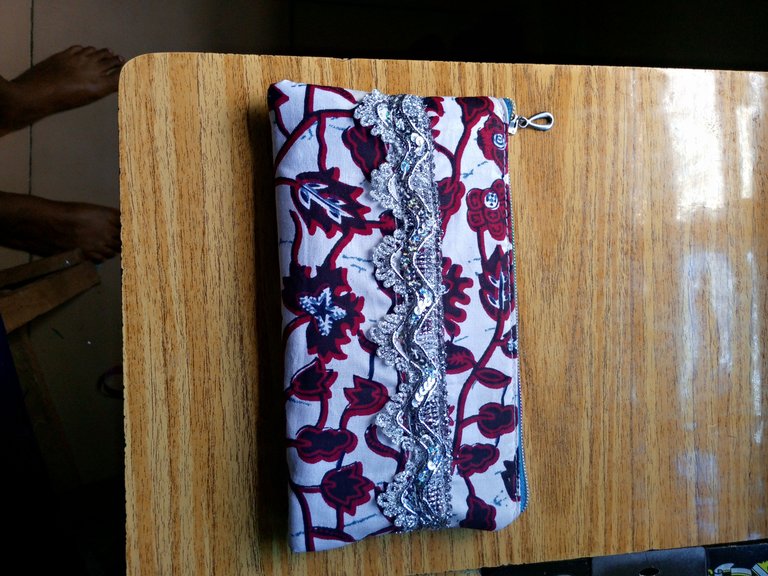
On the right side, I measured 1.5" from the top downward, I brought out my applique and sew it on the 1.5" to add beauty to the purse.
I trimmed out the excess, I turned it to the wrong side and zip it up to the middle, after which I sew the two sides together with ½"
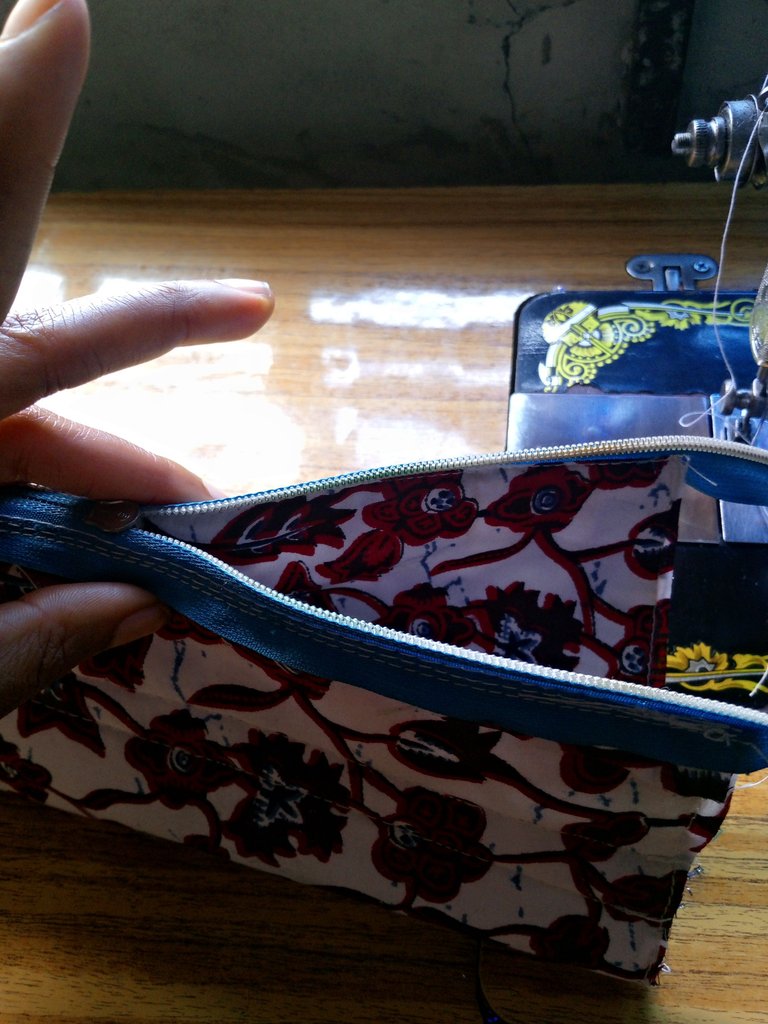
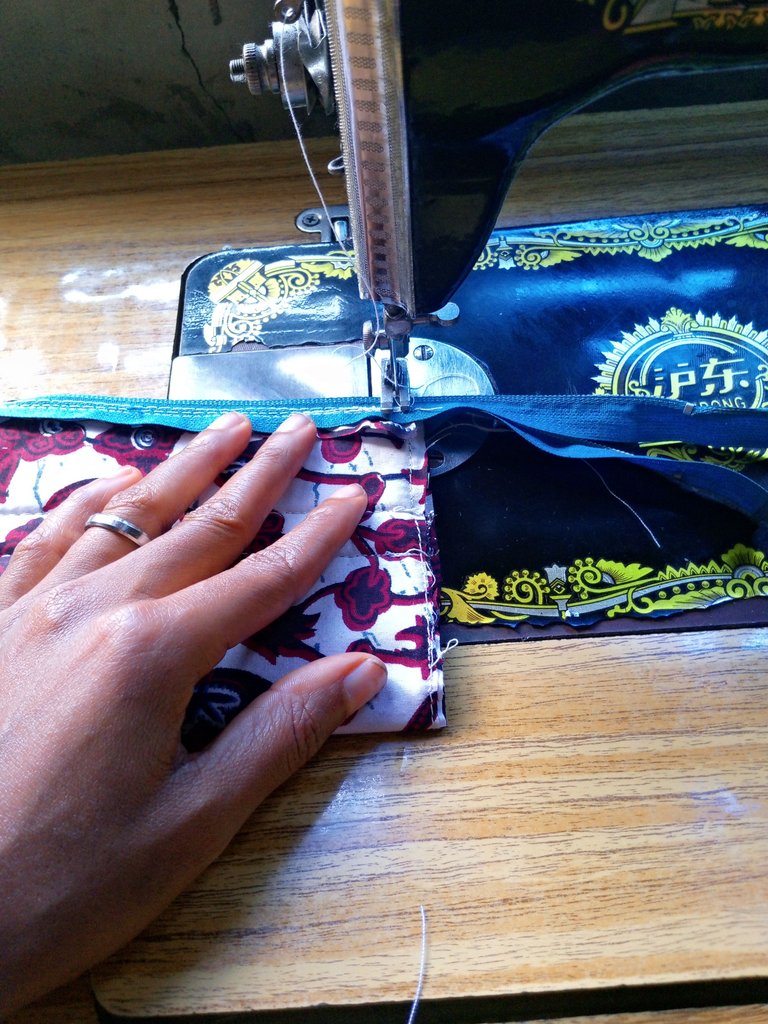
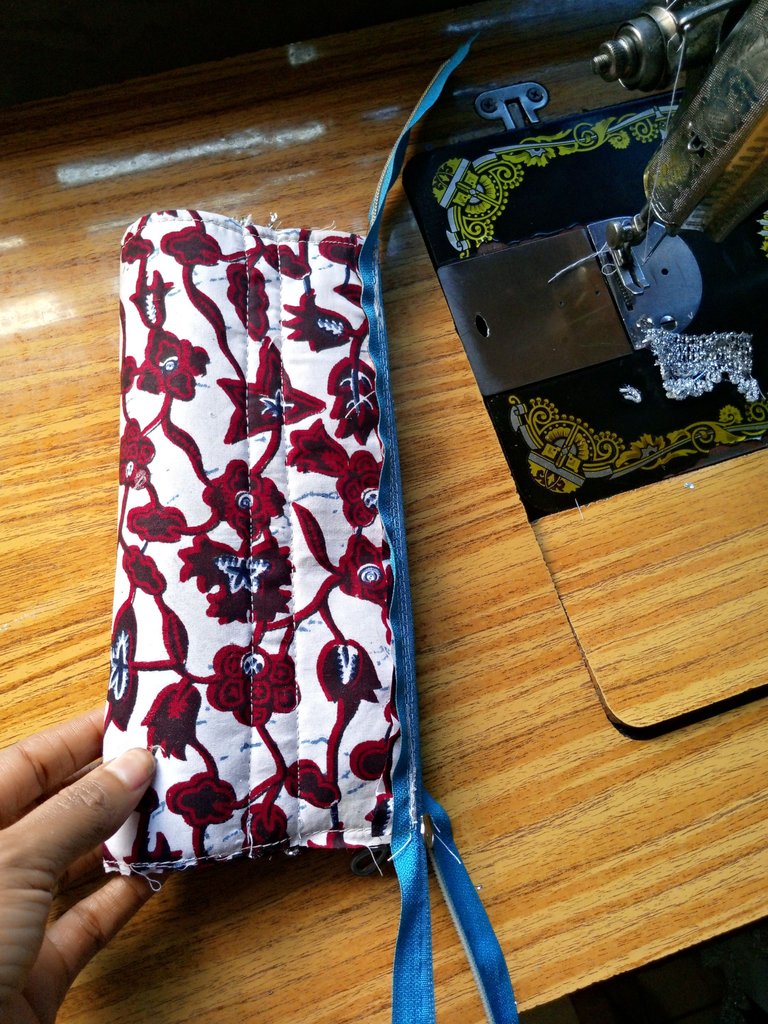
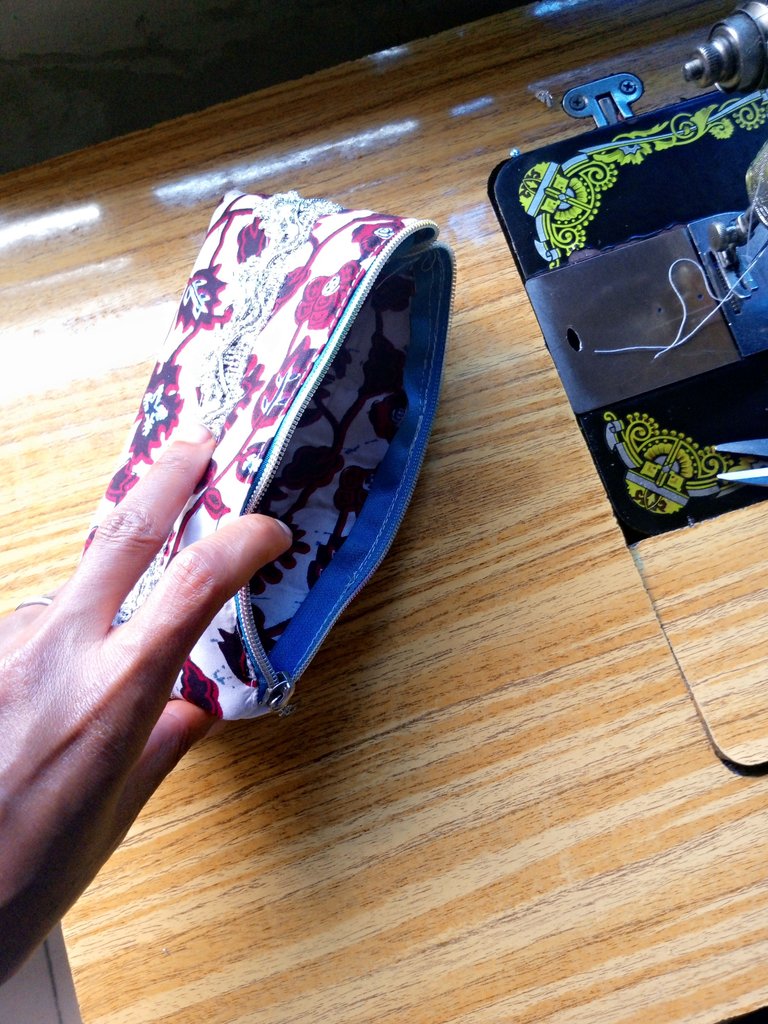
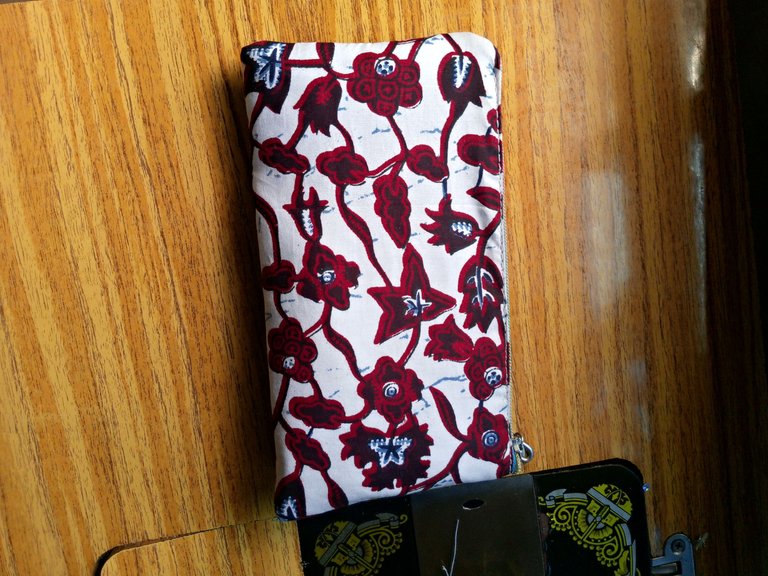
Finally, I trimmed out the zipper and excess by the side, I turned it inside out and this is the beautiful outcome.
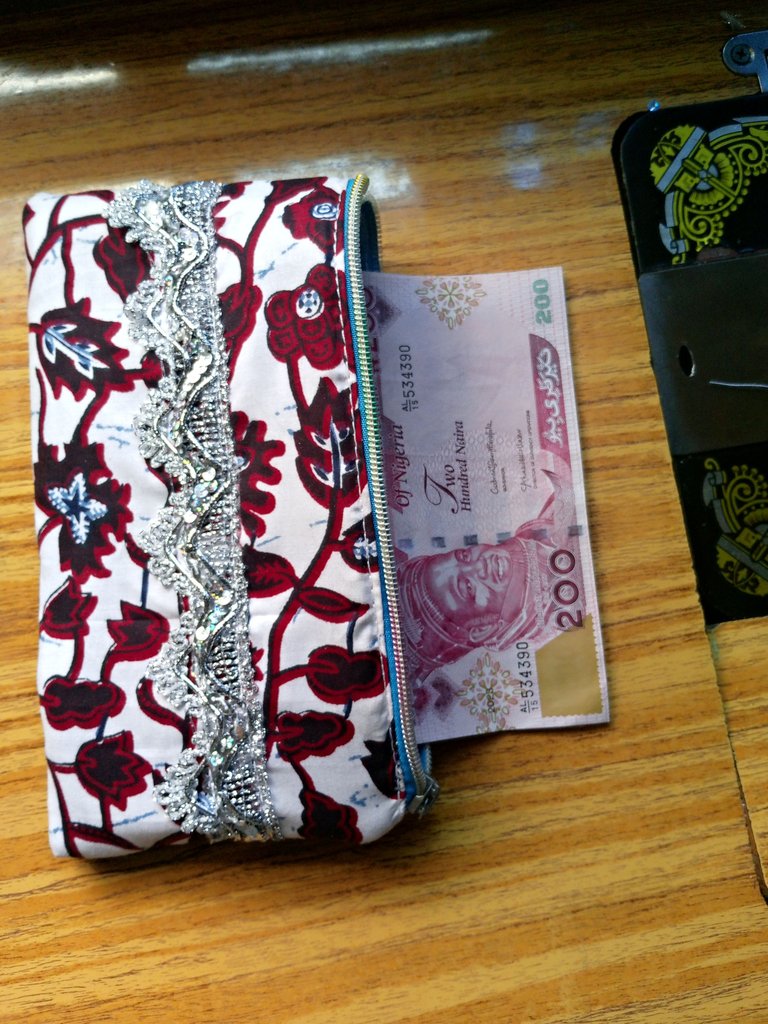
Front view
Back view
I'm sure going to put on my outfit to church on Sunday with my headband and purse I made from same fabric, this is going to look so beautiful on me.
The purse is indeed beautiful and the fact it's not heavy makes it easy to carry stress free. Kudos 👍
Thanks so much for stopping by.
U welcome 😊
You are right dear, it's very light and I love it so much, thanks for stopping by.
That is a really beautiful purse. Nice work
Thanks @diyhub
for your comment and support
Congratulations @bimpcy! You have completed the following achievement on the Hive blockchain And have been rewarded with New badge(s)
Your next target is to reach 950 posts.
You can view your badges on your board and compare yourself to others in the Ranking
If you no longer want to receive notifications, reply to this comment with the word
STOP