DIY// cutting and sewing process of a stylish cold shoulder sleeve top I made for myself
Hello everyone
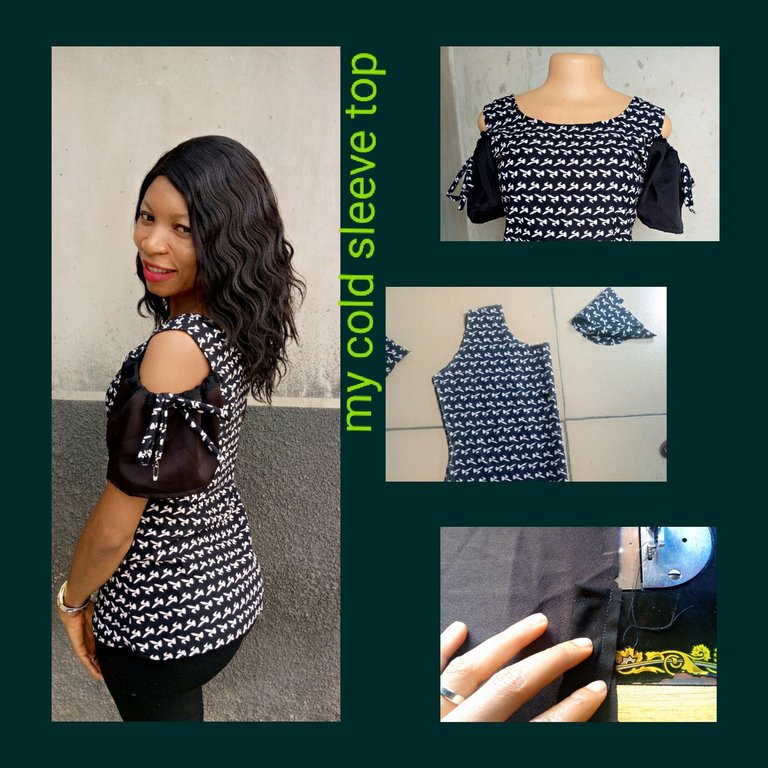
It's really great to be here today in this great community @needleworkmonday to share with you the making of this cold shoulder sleeves top for myself.
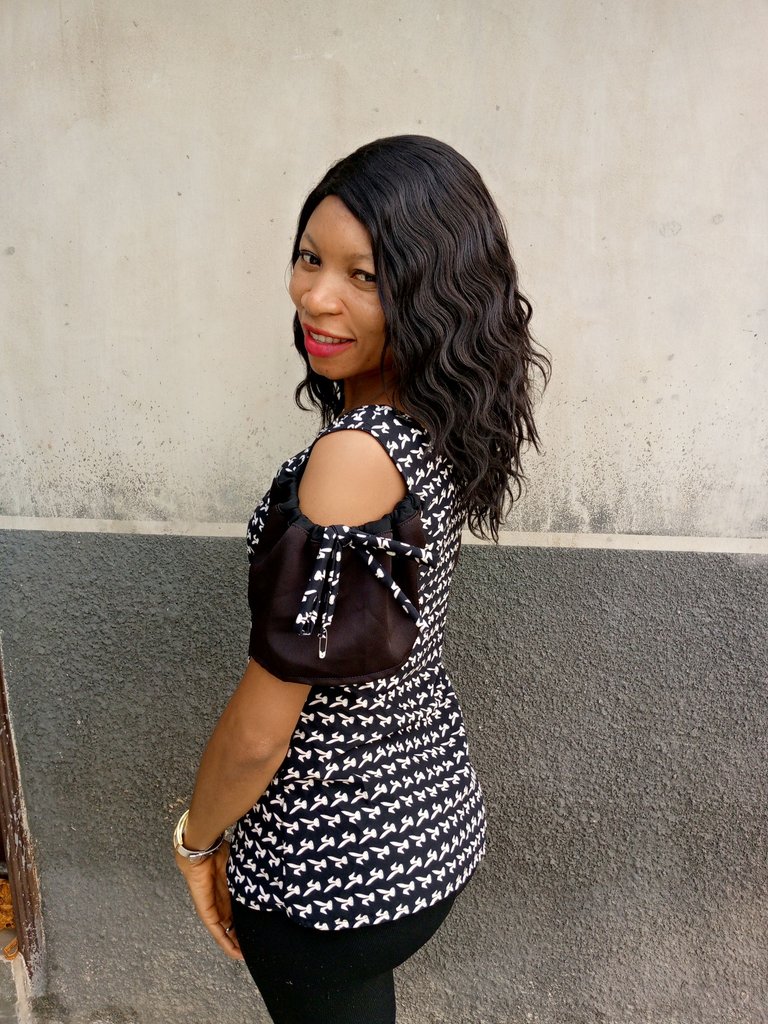
Its been awhile since I made I new outfit for myself most especially, simple tops that I can easily wear on skirt and trousers, the ones I have are getting old for me as I have been wearing them for awhile, just recently, the idea of making new top for myself came to my mind.
Thank God I'm a seamstress, I can just make any design of my choice provided I have the materials ready which will only cost less than to buy ready to wear from boutique and trust me, ready to wear are very expensive here, so making my outfit myself is the best for me, I love the fact that I can sew and wearing what I made for myself or seeing other people wear what I make for them gives me joy.
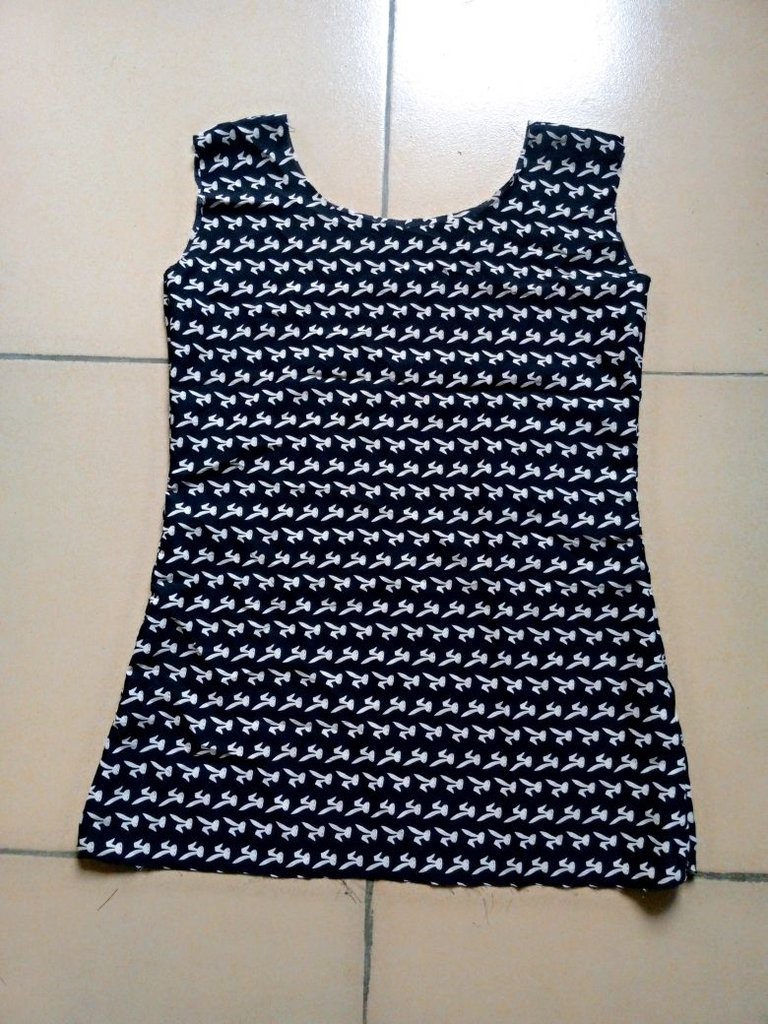
All I needed to make my proposed project possible is to get different fabrics from the market, which I'm planning to do soon to make different design and style for myself, but for a start, I have this beautiful fabric I got from the market sometimes ago and after making my desired dress from it, I have some left over which was kept safe for a day like this.
I took out the fabric to know if it will be enough to make a simple top but unfortunately, I found out that it can only be enough to make an armless top with just only the bodice without sleeves which I don't like, I prefer my tops to have sleeves no matter how small, thinking of what to do, fortunately, I saw a plain black pieces of left over fabric, I brought it out without knowing what type of sleeves to make at first but I'm sure I will come up with something nice.
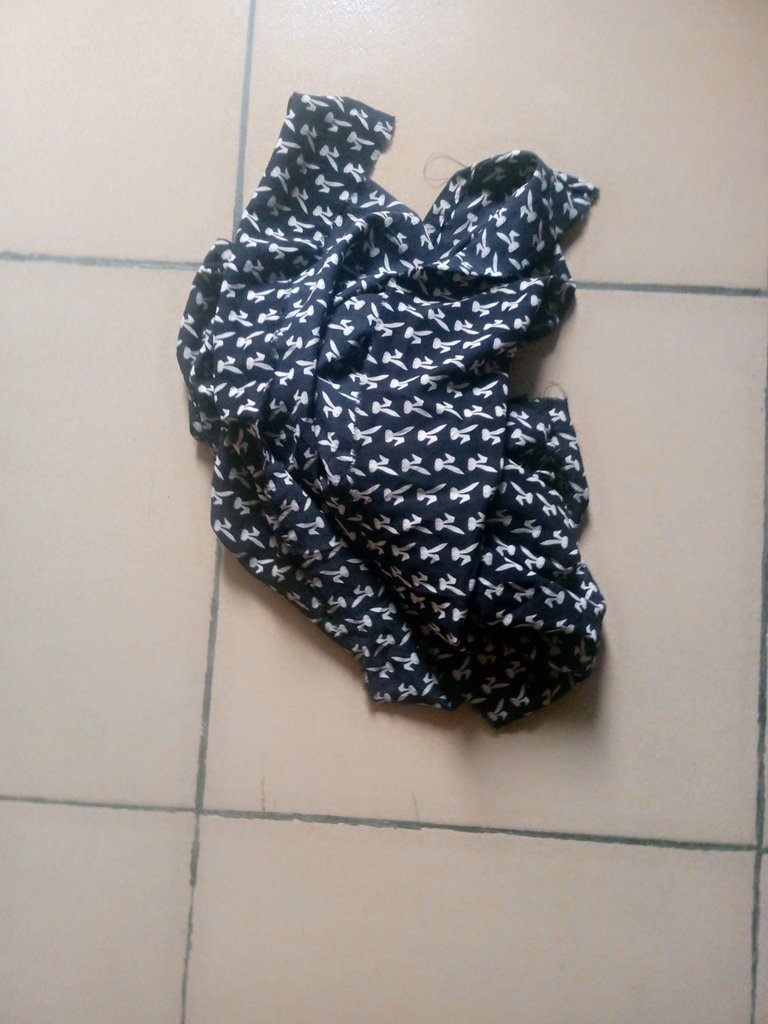
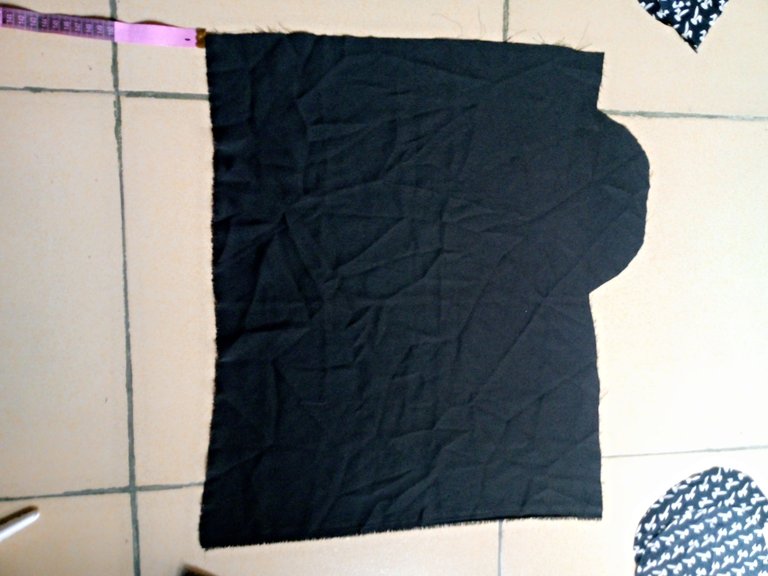
Let's get started with the cutting and sewing process.
I folded the fabric for the main bodice into 4, using my hip measurement divide by 4 plus 1.5" to cut out the front and back
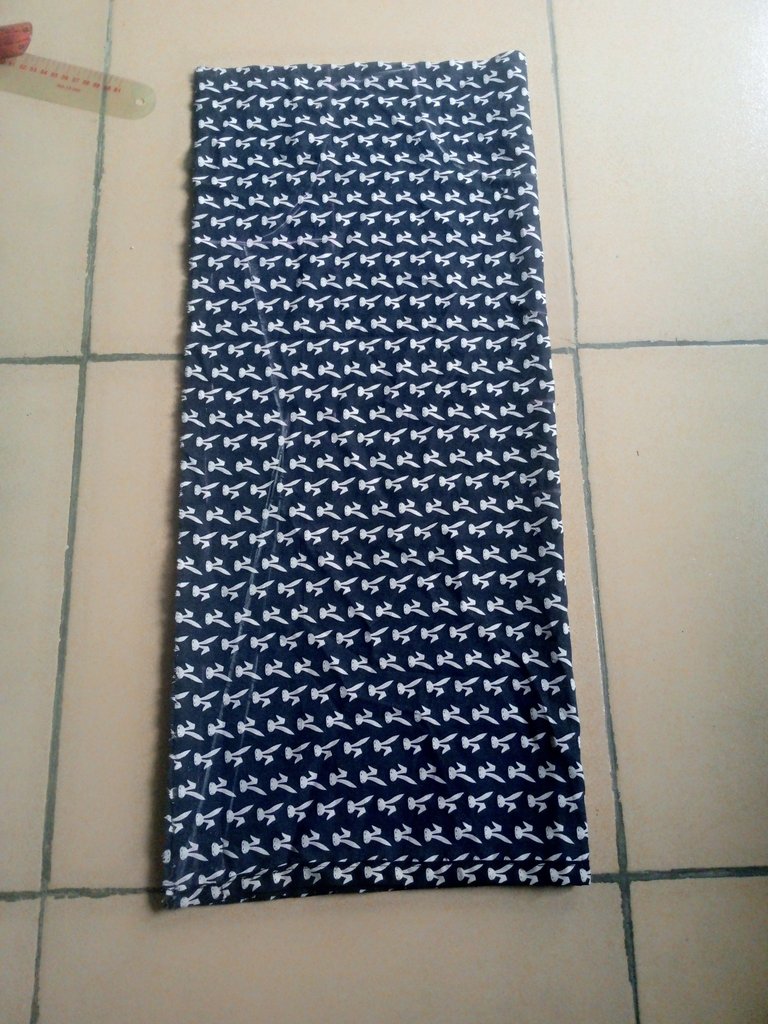
I measured 4" for the neck width, 5" for the neck depth, I marked out the shoulder slope and armhole circumference, for the bust, waist and hip, I divided by 4 plus 1.5" for seam and ease allowance, all these were connected and cut out, I measured 1.5" upward from the edge and curved it to avoid sharp edges.
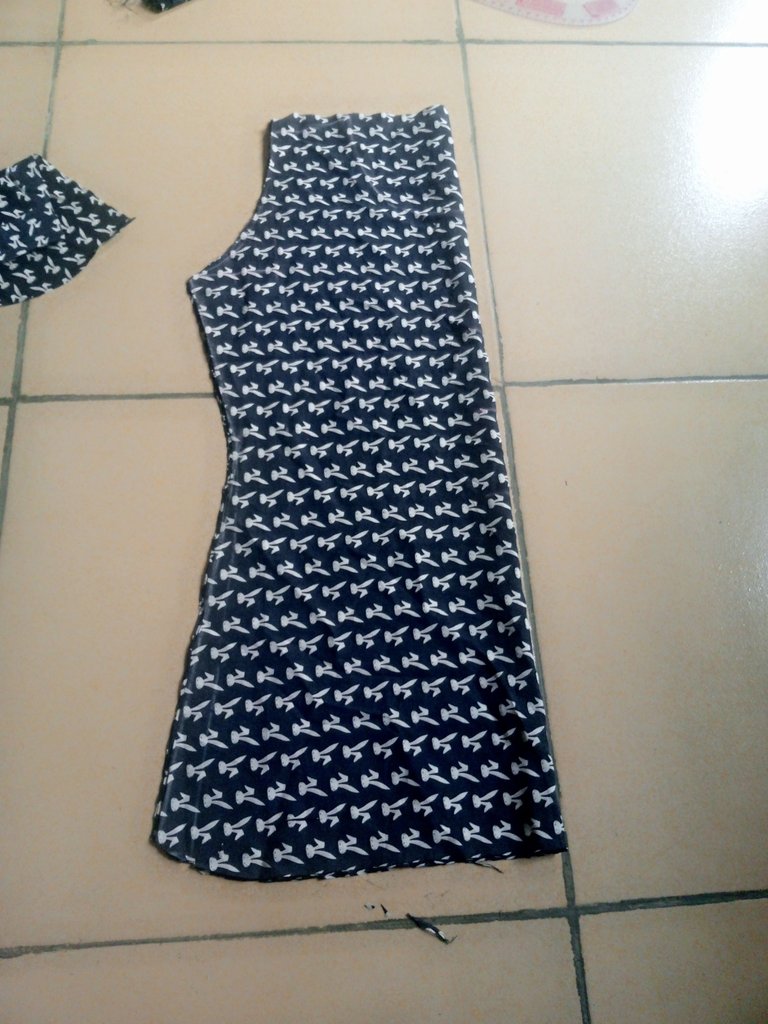
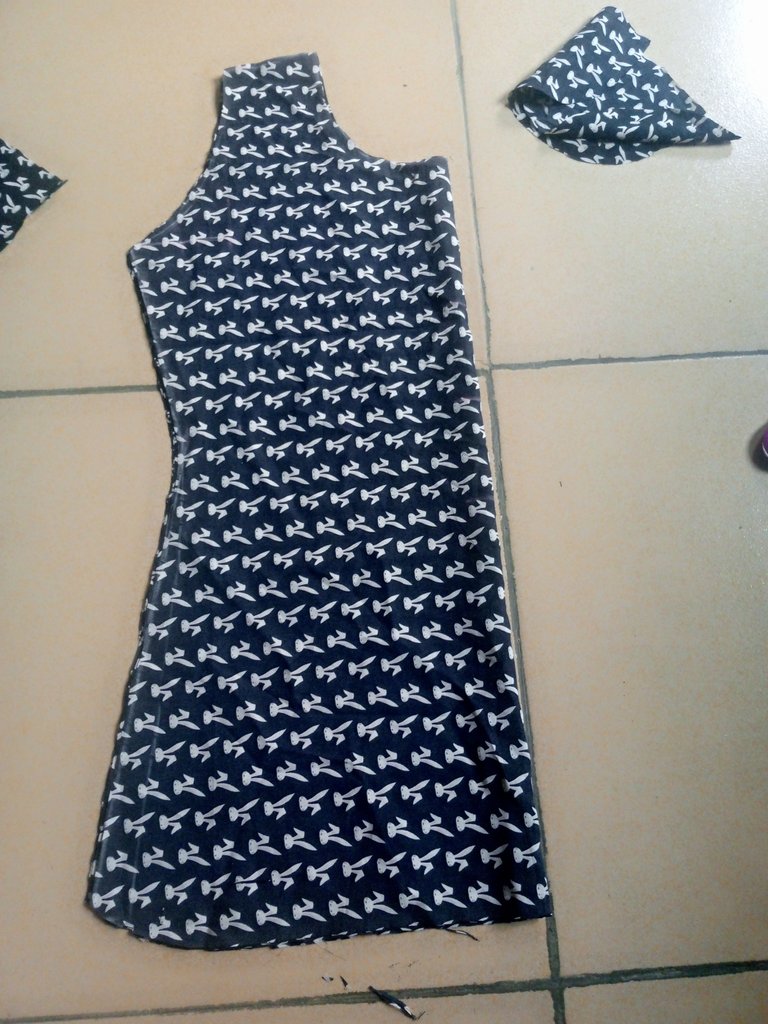
It was taken to my sewing machine as I sew the sides by 1" and the shoulders were sewn together as well.
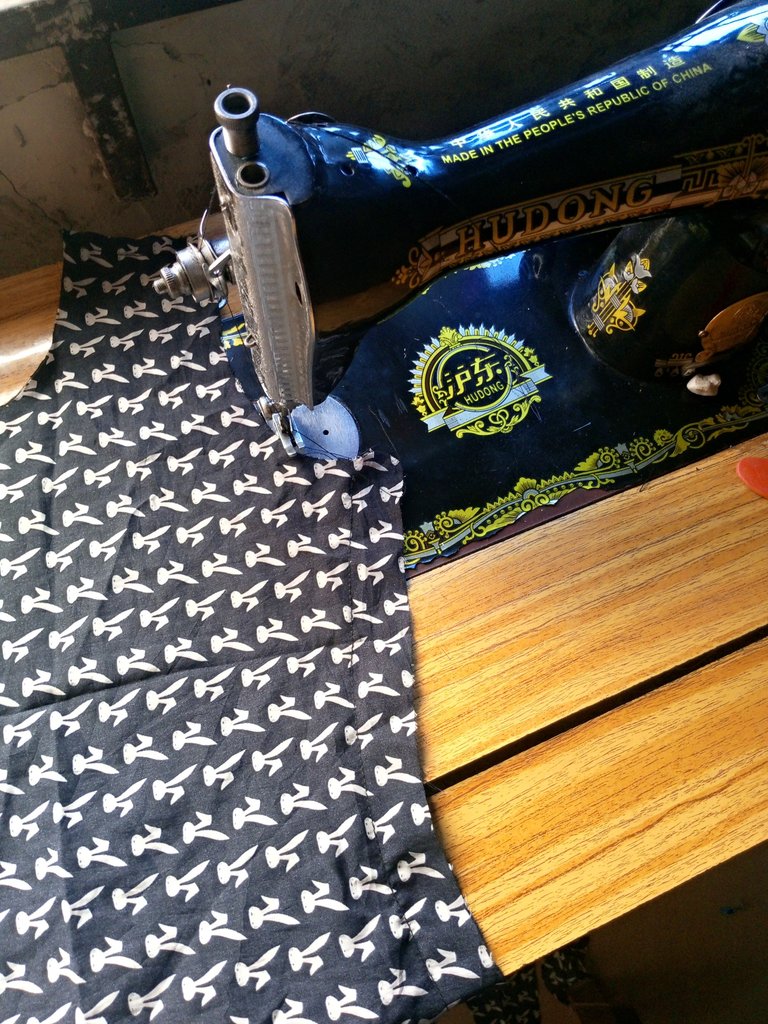
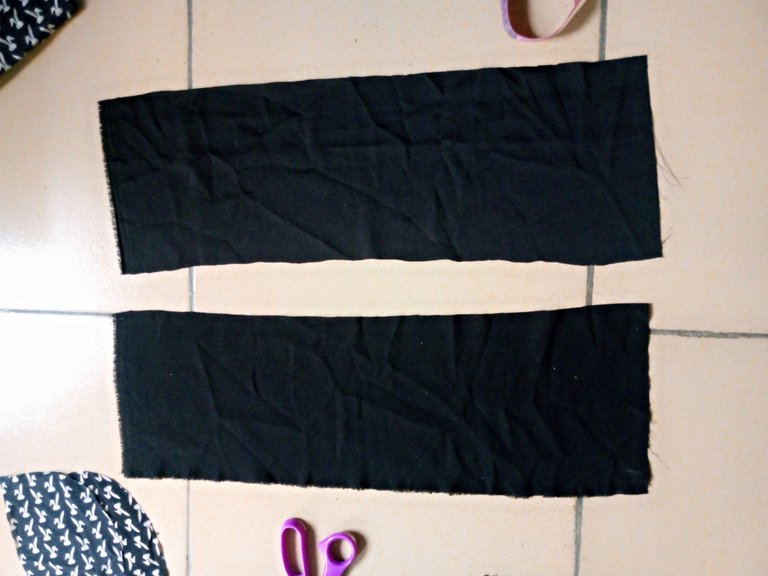
For the sleeves, I didn't want to make a basic sleeve so I decided to make a stylish cold shoulder sleeve then I folded the plain black fabric into two as I measured 7" by 20" which was cut out.
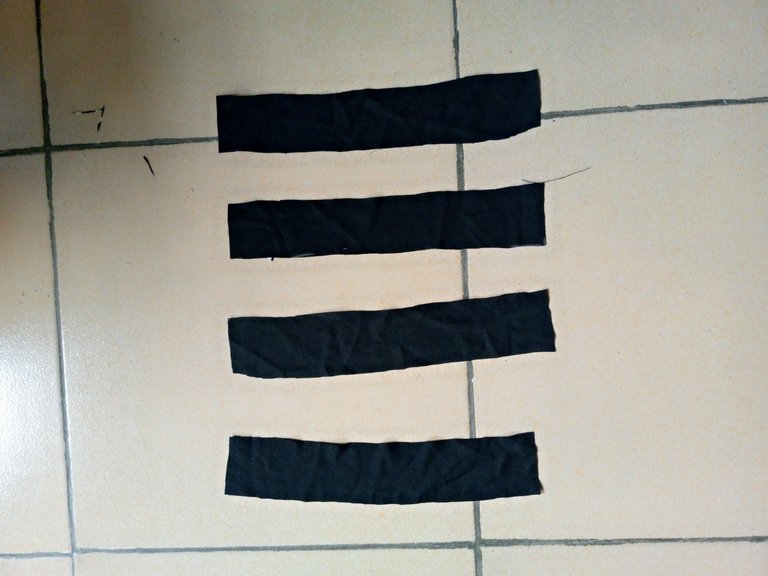
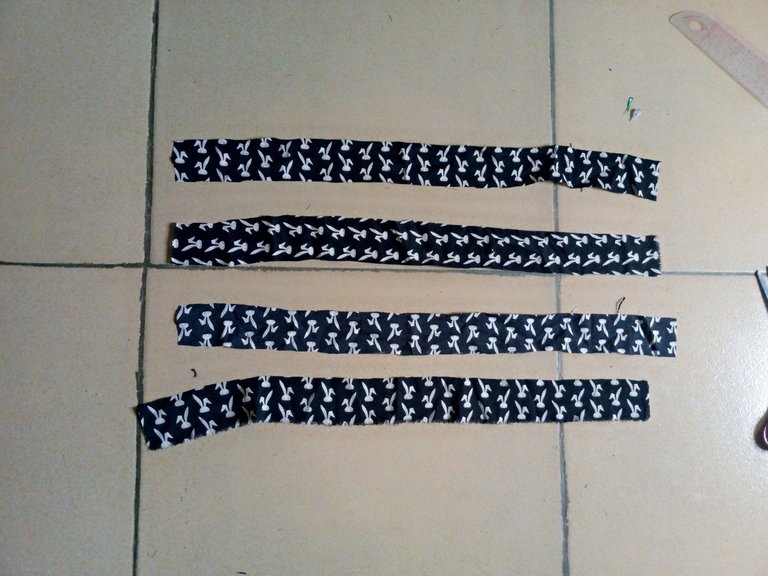
I cut out another 4 pieces of 2x12" to make a loop on the sleeves
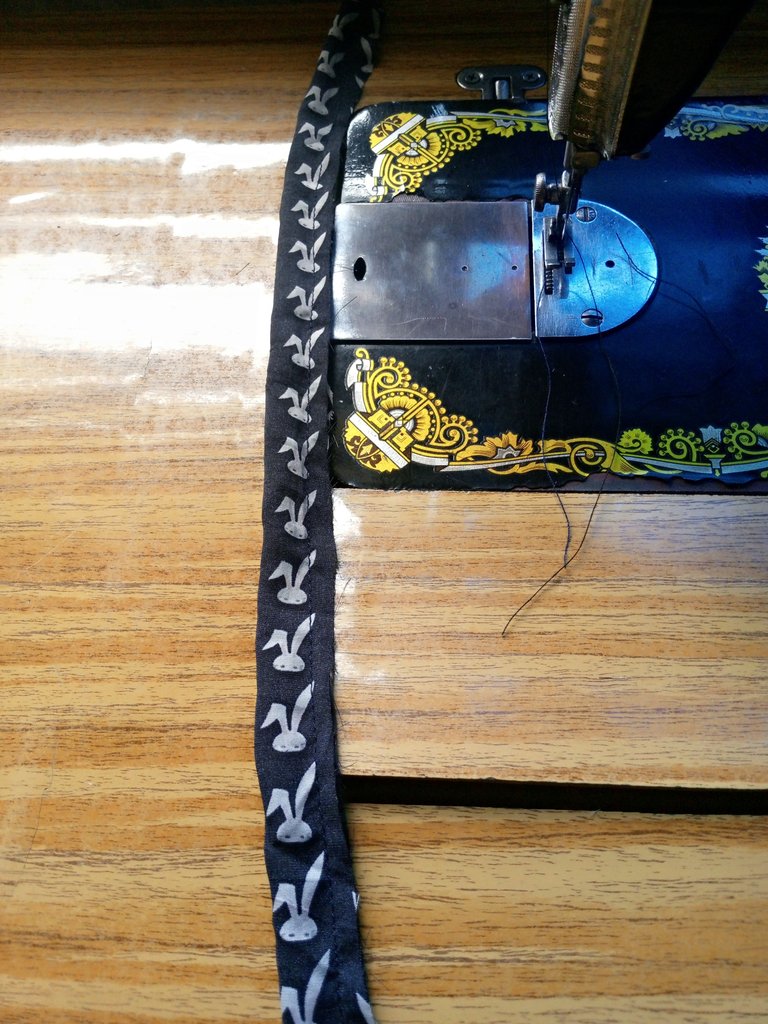
They were taken to my sewing machine as I folded in ½" on the wrong side and sew it.
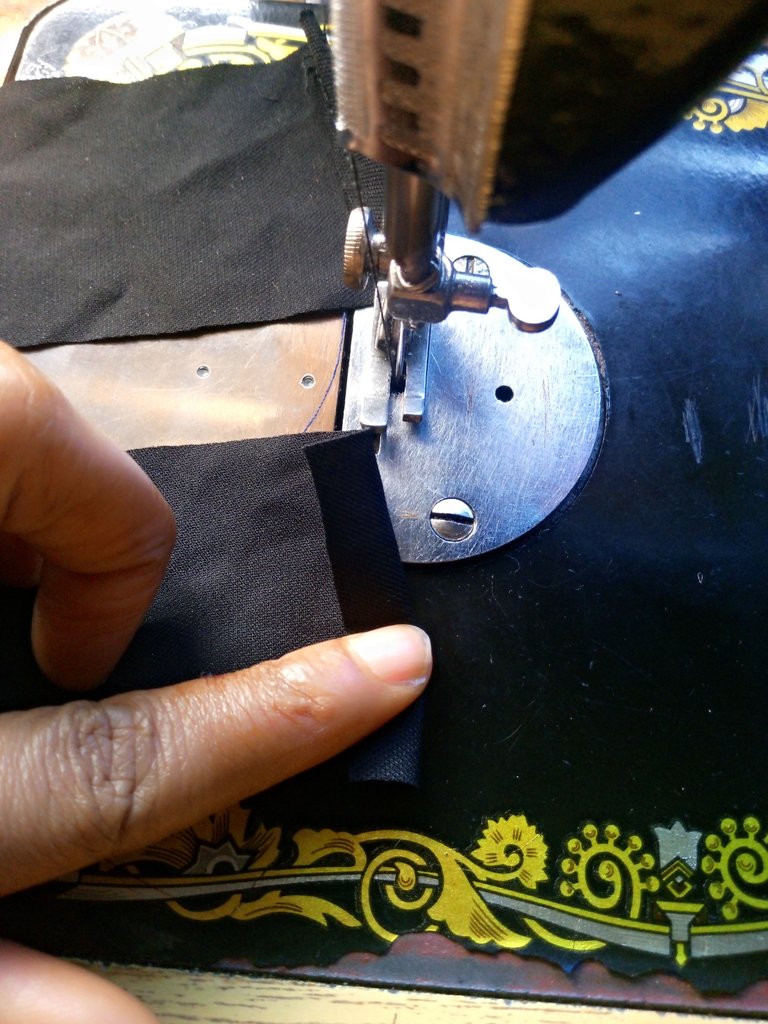
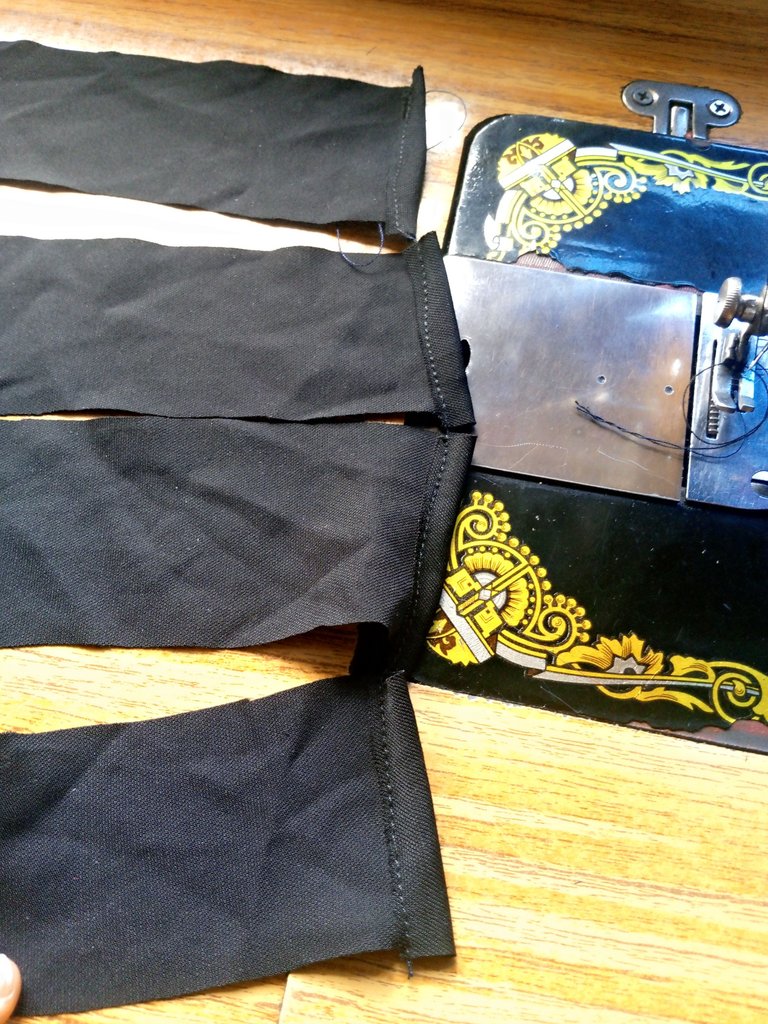
I folded it in two on the right side and sew to make a loop.
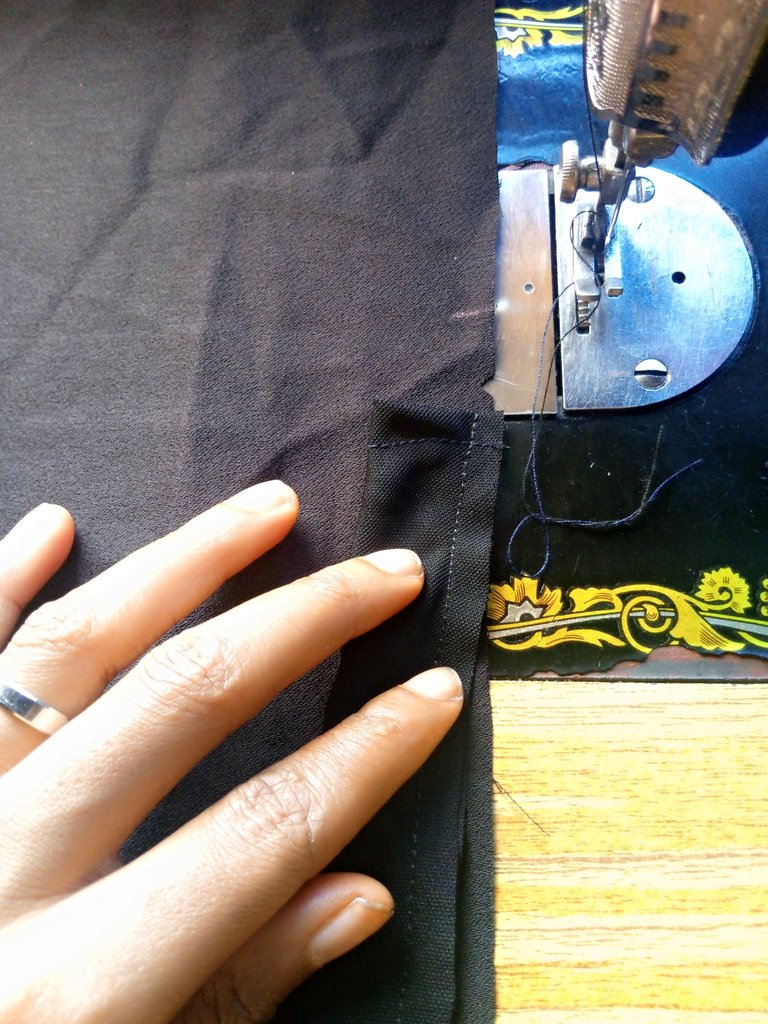
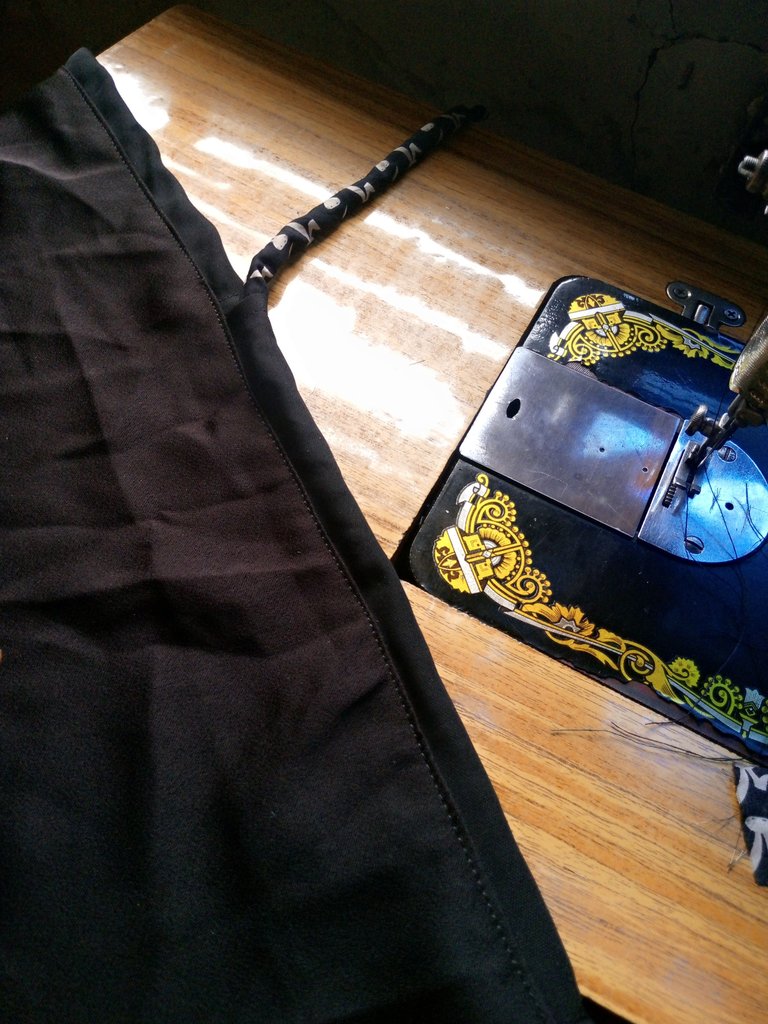
I marked the center of the pieces for the sleeves and I sew the loop on both sides
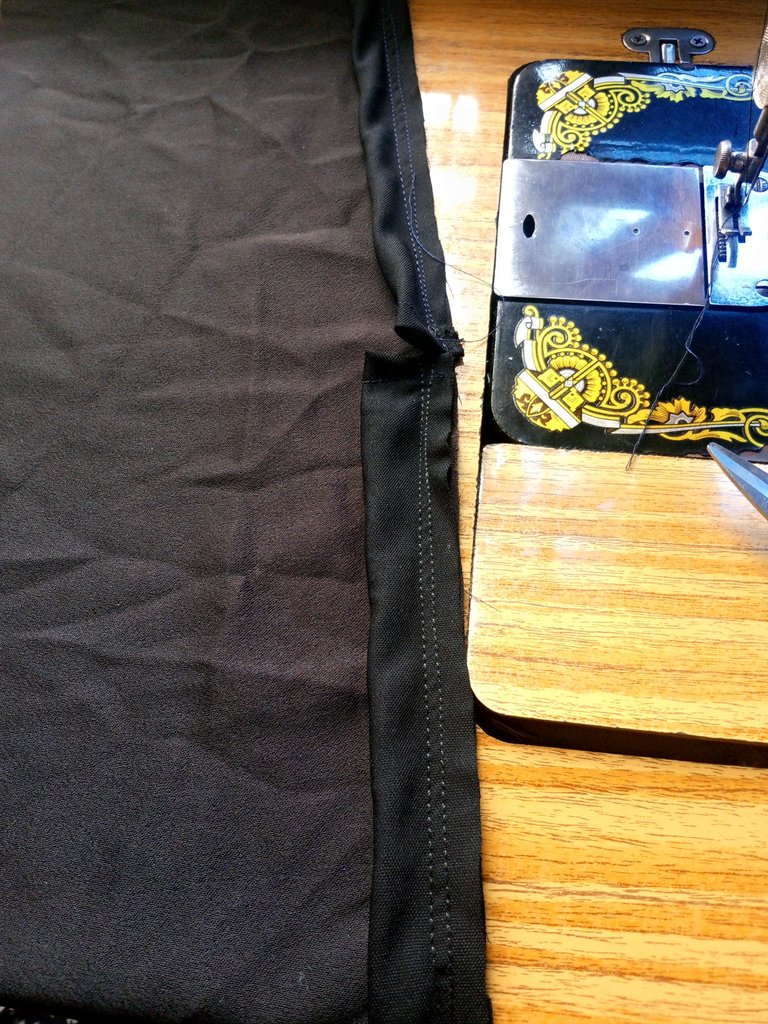
It was top stitched on to make it stay firm.
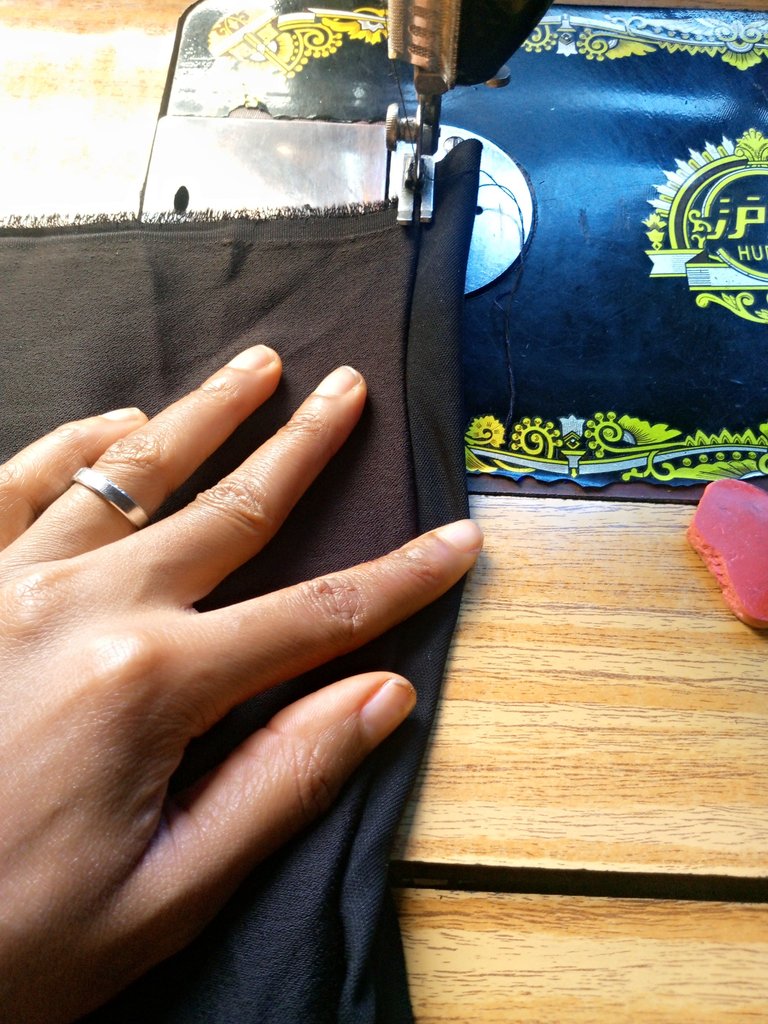
From the remaining pieces I cut out from the main bodice, I cut out 1.5x20" in four places.
It was turned inside out and I inserted it in the loop I made, just as seen below.
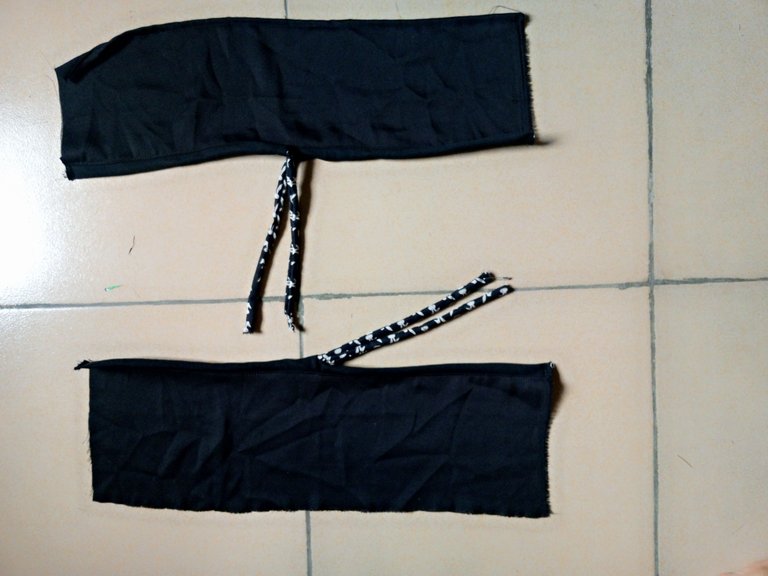
From the tip of the shoulder, I measured 3" downward from where I sew the sleeves on both sides. I used a black bias strip to pipe the neckline and the armhole circumference, the hem of the top was finally folded in with 1".
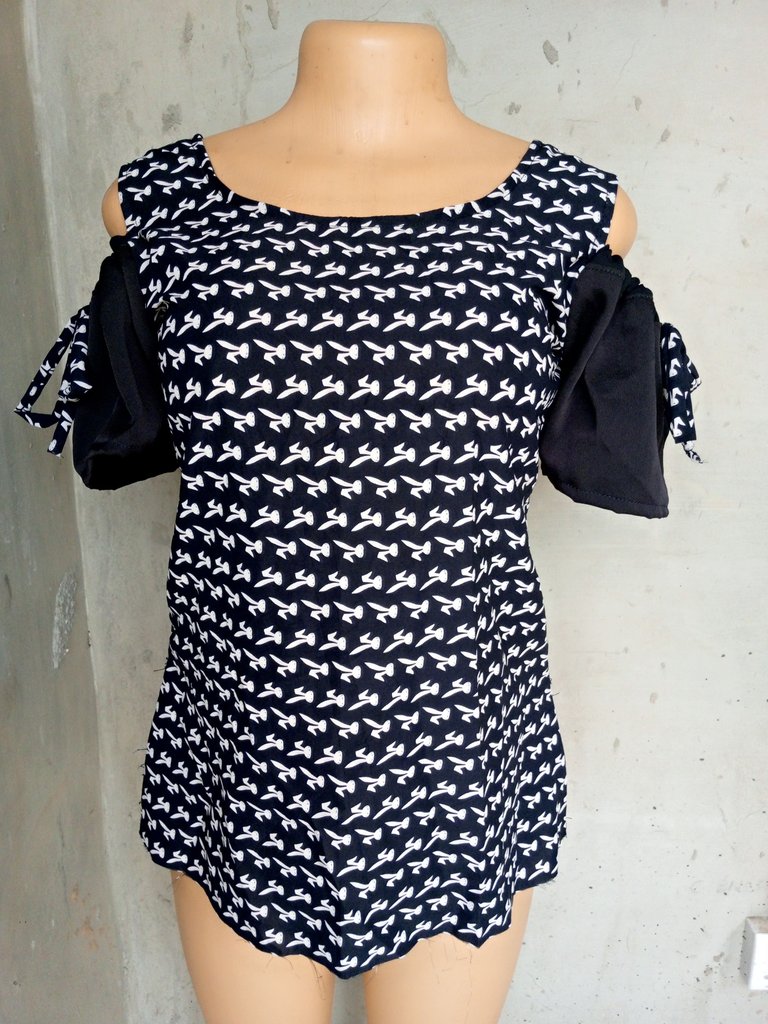
This is the final outcome of my beautiful top.
FRONT VIEW
SIDE VIEW
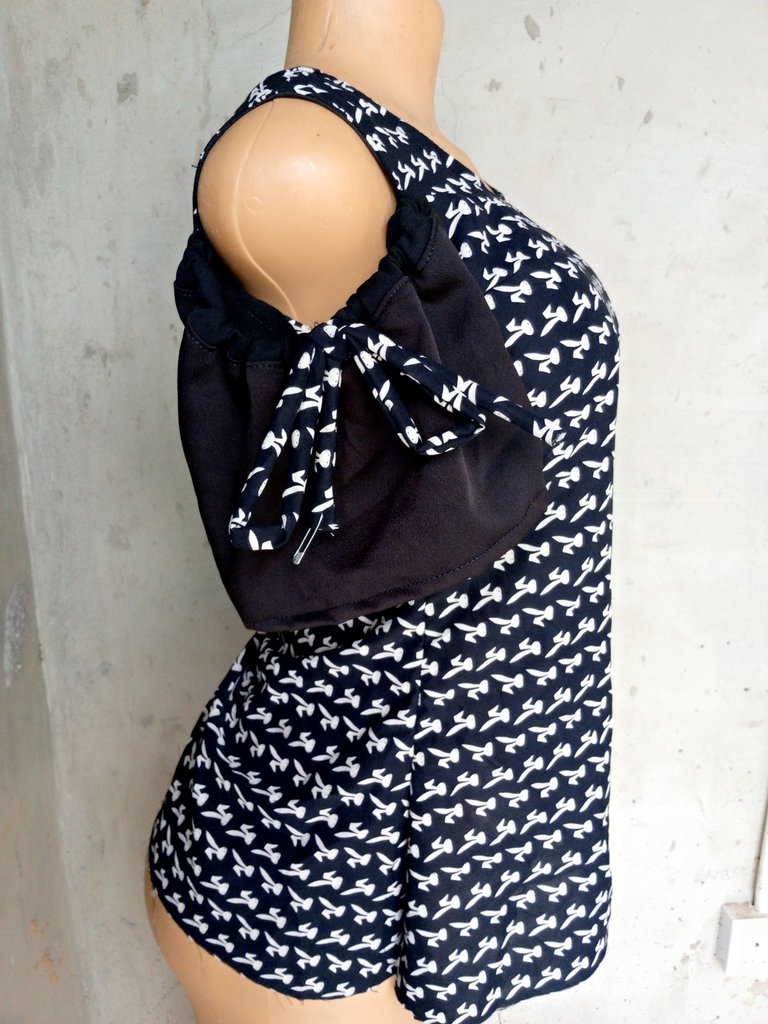
This is how it looks on me, I hope you like the beautiful design of my top.

The top is so cute,I love the way you cut the hand,it makes it look more unique and nice , this is so creative of you well done
I really appreciate your comment and I'm glad you love my work.
WOW! It looks amazing. It is stylish, elegant, and beautiful. Love its design. Well done!
Thanks @diyhub for your beautiful comment and your tireless support
awww, that top looks amazing! making our own clothes is 100 when we know how to sew
Thanks @yoieuqudniram, that's the beauty of being a seamstress and I'm glad that I can beautifully make my own outfit.