DIY// cutting and sewing process of a fabric organizer for home use
Hello everyone
Greetings to you all on this beautiful Sunday, I hope you are all doing well, it's a great day today and I'm glad to share with you today the cutting and sewing process of this fabric organizer I made from left over fabric and I hope you will like how simple it is to make and how useful it can be as well.
I have always had it in mind to make a simple project that I can use to keep my simple make up items rather than in a bag/ pouch I needed something that can be easily hang on the wall for easy access, I was going through a post and I read about how someone made a pencil casing that had two pocket, that gave me the inspiration I was looking for so I decided to make my own project in a similar way but with a bit different with mine having many pocket to keep my simple make up items.
Let me take you through the cutting and sewing process.
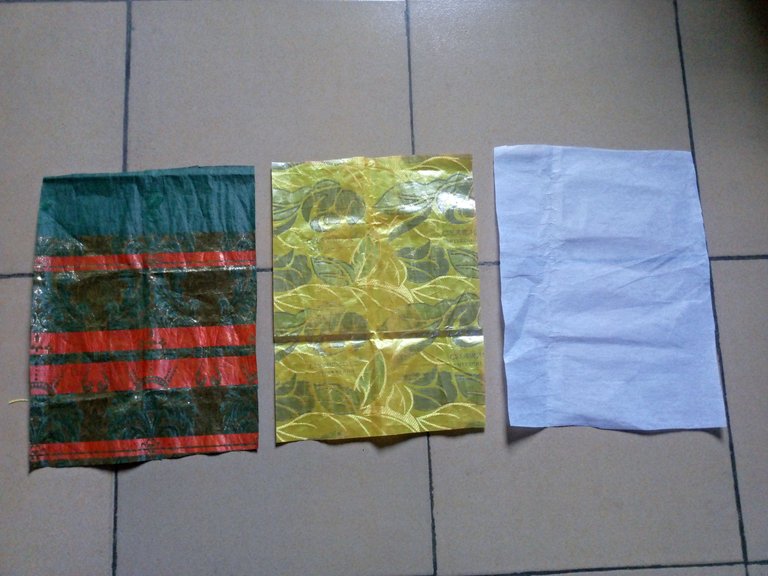
Just as I mentioned earlier, this project was done with pieces from left over fabric, so I used 2 types of fabric to create my design.
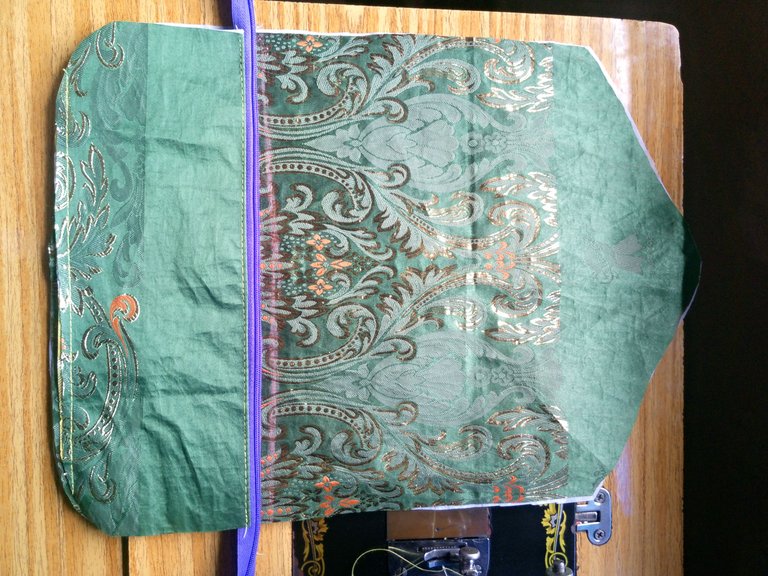
I cut out 15 x 11" from both fabric with one as lining and the other as main fabric then same was cut out on the interfacing.
I gave the main fabric and interfacing a curve just to make it stylish.

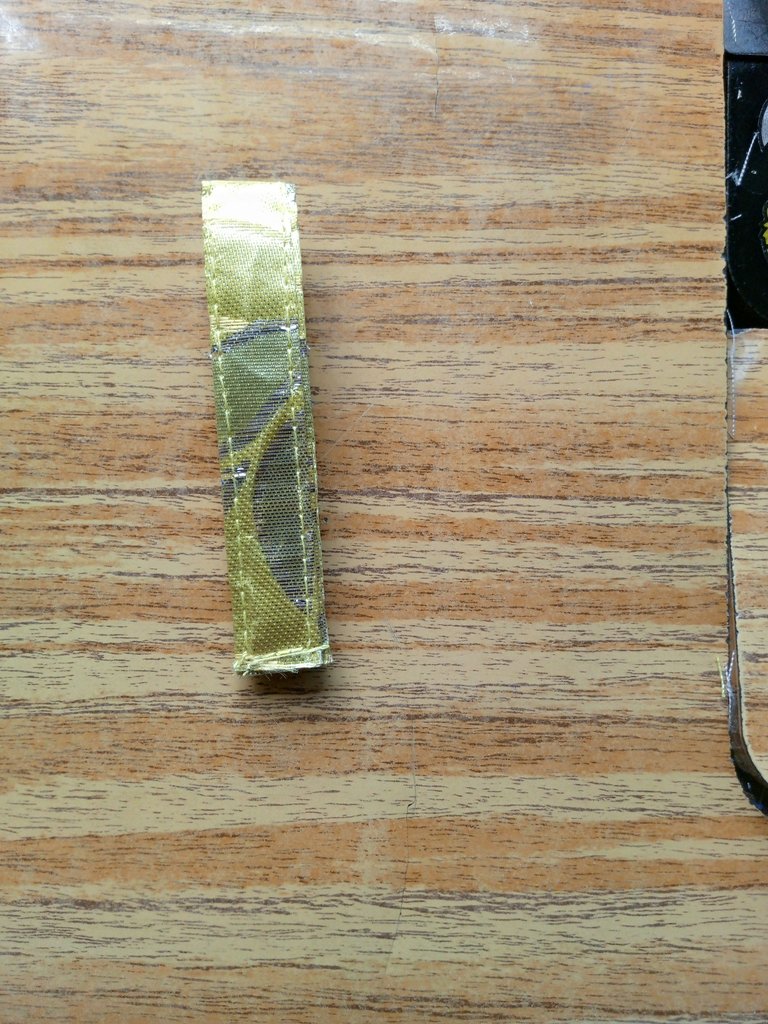
On the fabric I used as the main fabric, I cut out 2 pieces of 11 x 4" and interfacing for the pocket with zipper.
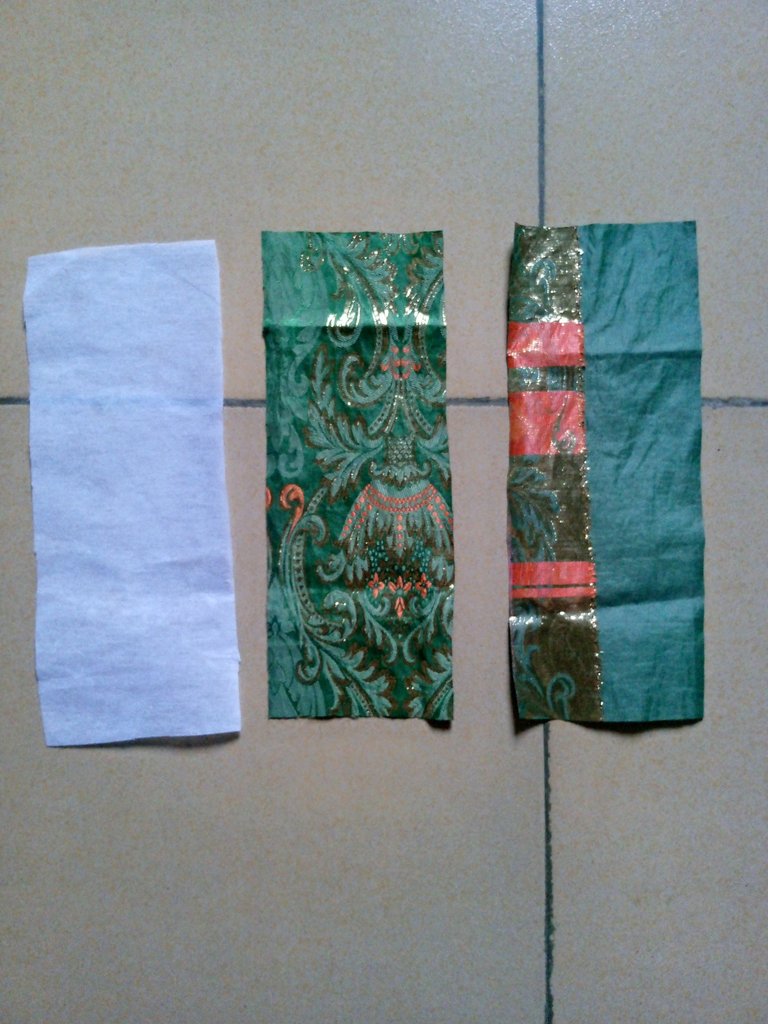
The 3 were sewn together and with a zipper attached to it and top stitched.
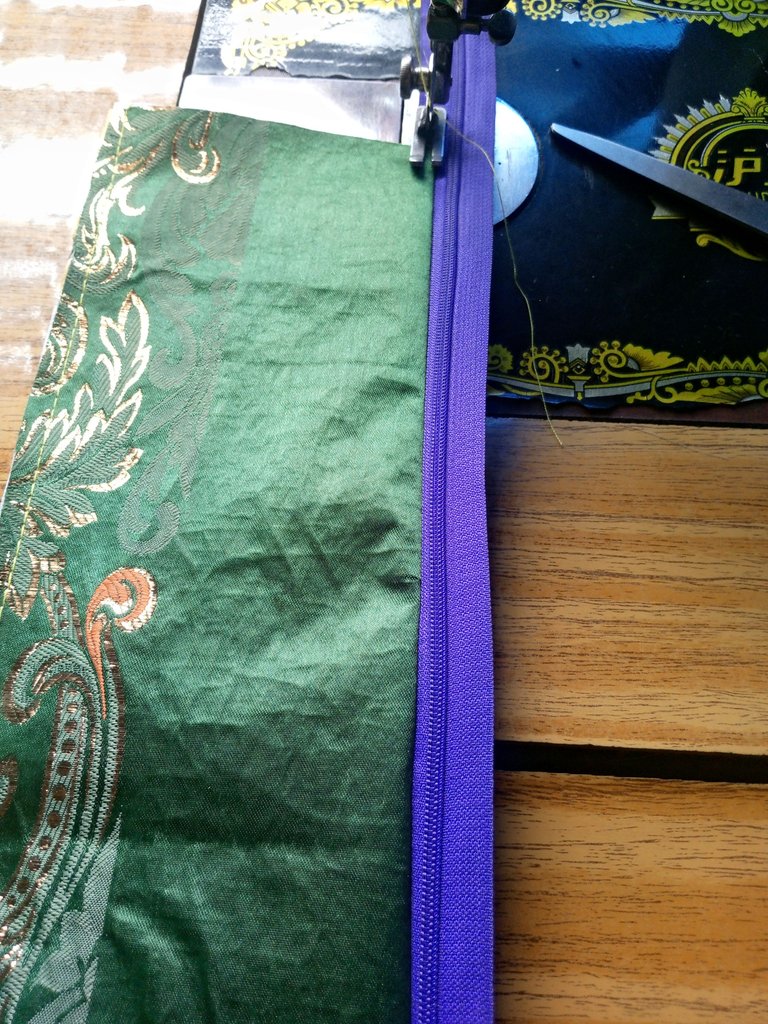
It was sewn on the big main fabric for the base with the zipper sewn on it upside down just as seen below.

It was flip back an sewn to the base.
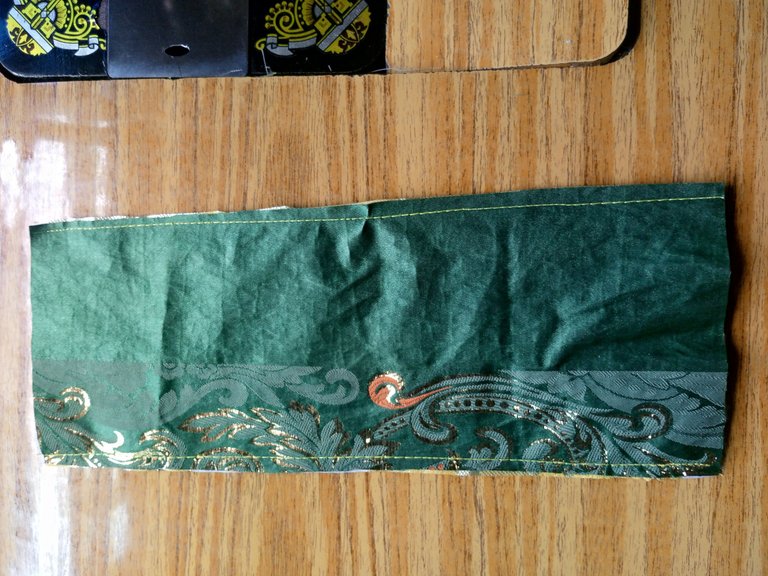
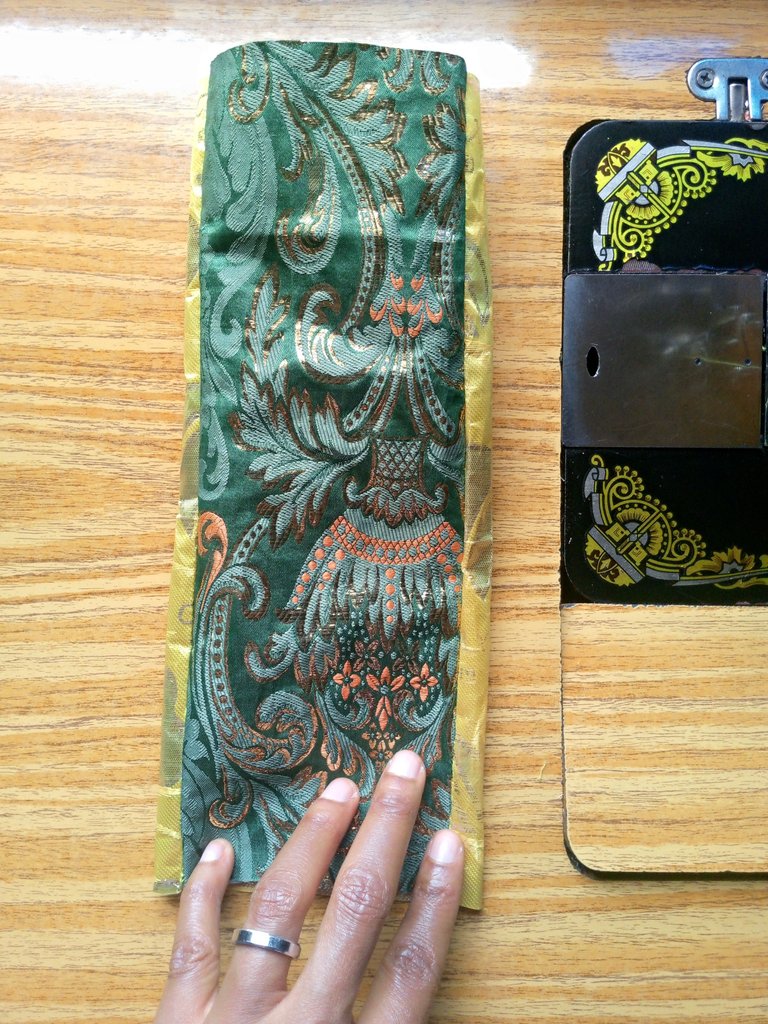
For the second pocket I made, I cut out on the main fabric 11 x 4" and on the other fabric I cut out 11 x 6" with interfacing.
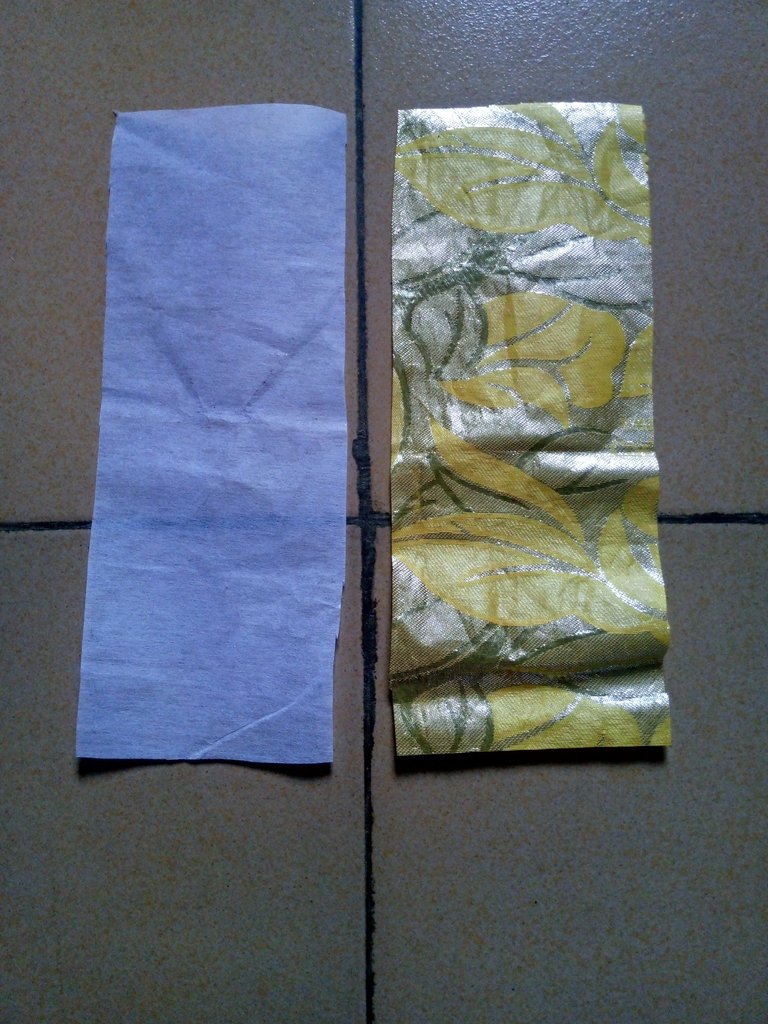
It was sewn together right side to right side just as seen below and turned inside out
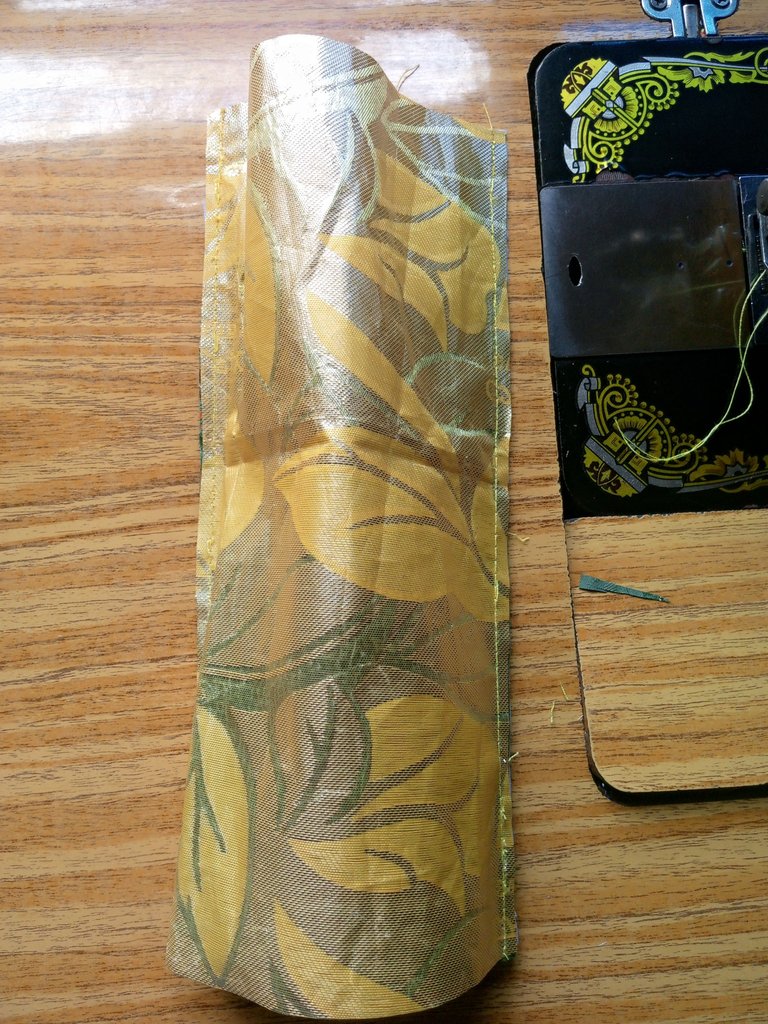
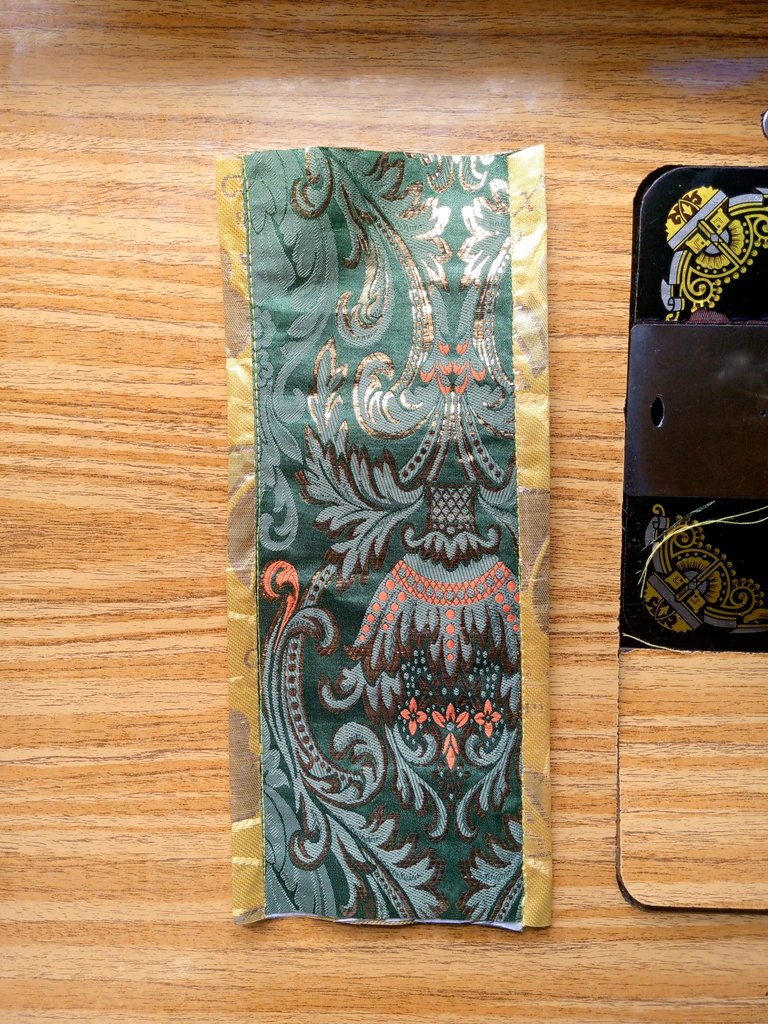
It was ironed with the other fabric showing under like this and I top stitch on the seam line.
It was sewn to the main fabric with 1" away from the other pocket I sew and I made the handle and sew it to it as well
It was divided into 3 and I sew on it to make 3 pocket

The other fabric was sewn on it right side to right side leaving an opening at the base to be turned inside out.
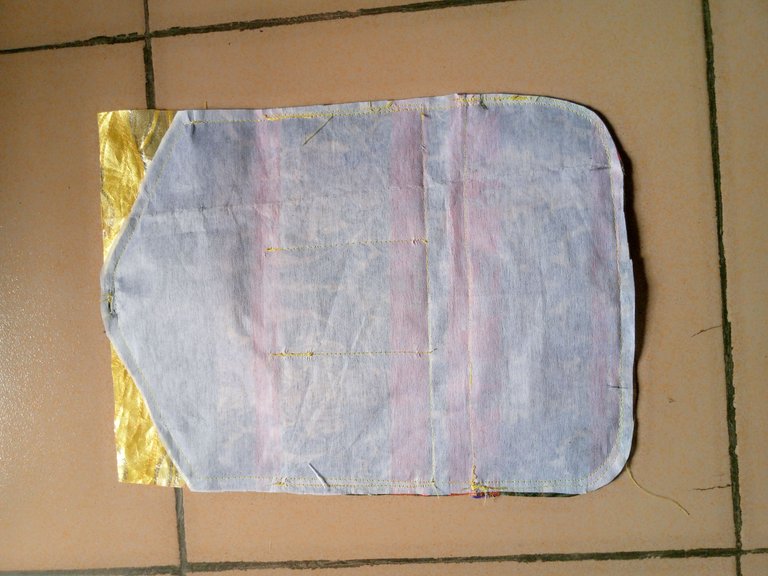
The excess were trimmed off and it was turned inside out through the opening, it was neatly ironed and top stitch round to cover the opening.
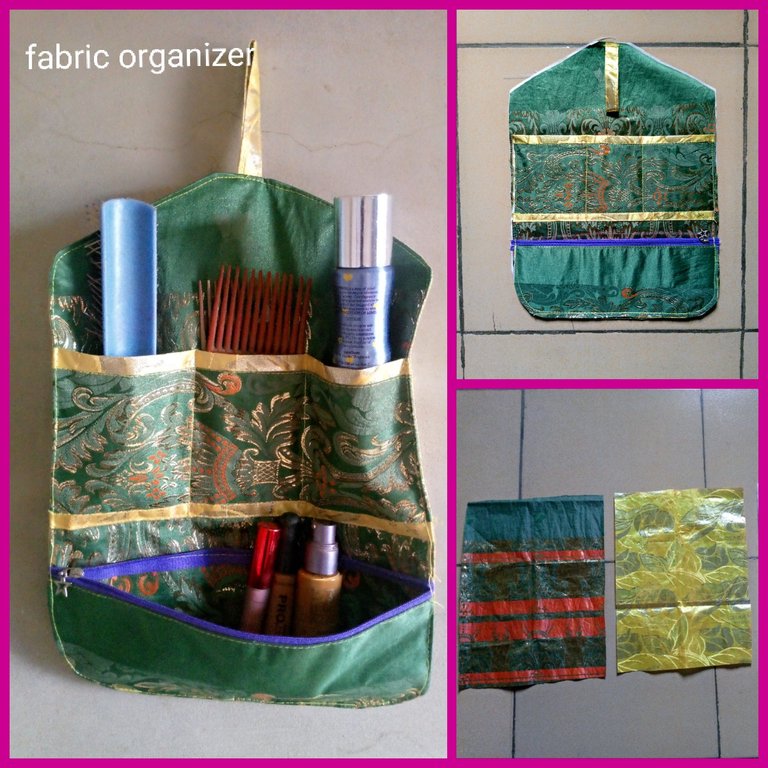
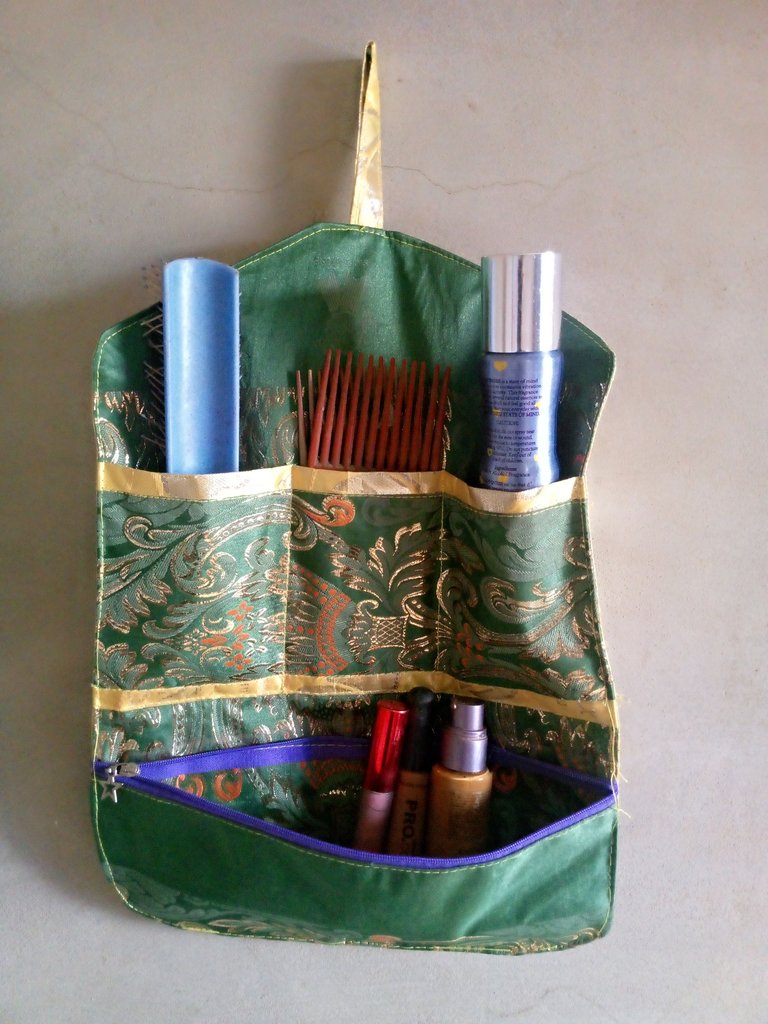
This is the final outcome with some of my make up items in it. I hope you like it
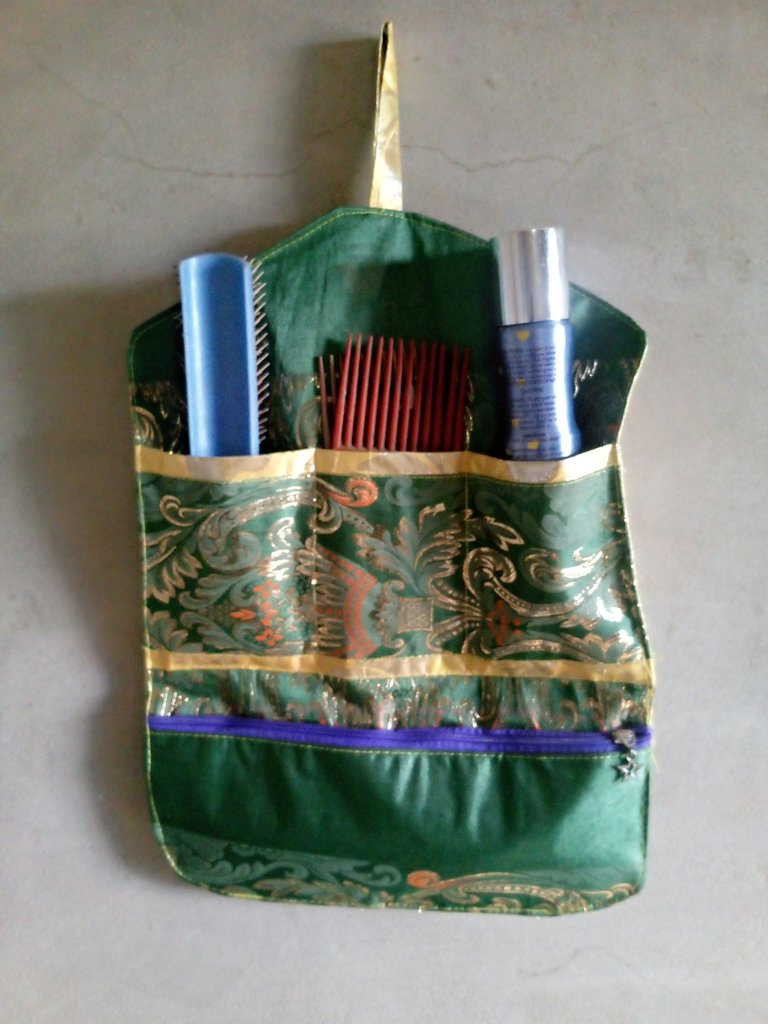
This is the look when zipped with my items in it.
Impressive how you turn scrap fabrics into useful household items. Good work
Thanks so much @diyhub, it was what I actually needed and I'm glad it came out nice. I really appreciate your comment and support.
I love it! Your fabric you use are beautiful...
Thanks so much, I'm glad you like it.
Congratulations @bimpcy! You have completed the following achievement on the Hive blockchain And have been rewarded with New badge(s)
You can view your badges on your board and compare yourself to others in the Ranking
If you no longer want to receive notifications, reply to this comment with the word
STOP