Discovering Electricity: Parallel Connections
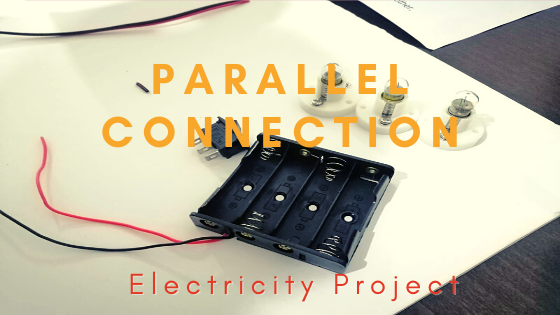
Discovering Electricity
Connecting wires, putting batteries, making things light, make sounds, or move -- who wouldn't be interested in that, right? In our little homeschool, we've done so many experiments (success or failed) involving electricity. There's this experiment with lemons, magnets, copper wire, etc. We even tried to make a homopolar motor recently, which kind of failed so that is in the "re-do" list for now.
Thankfully, the husband stepped up and prepared a simple electricity project with the kids. I remember doing this in my sophomore year and it was something really interesting for me and this time, my kids thought so as well.
 |  |
|---|
The Materials
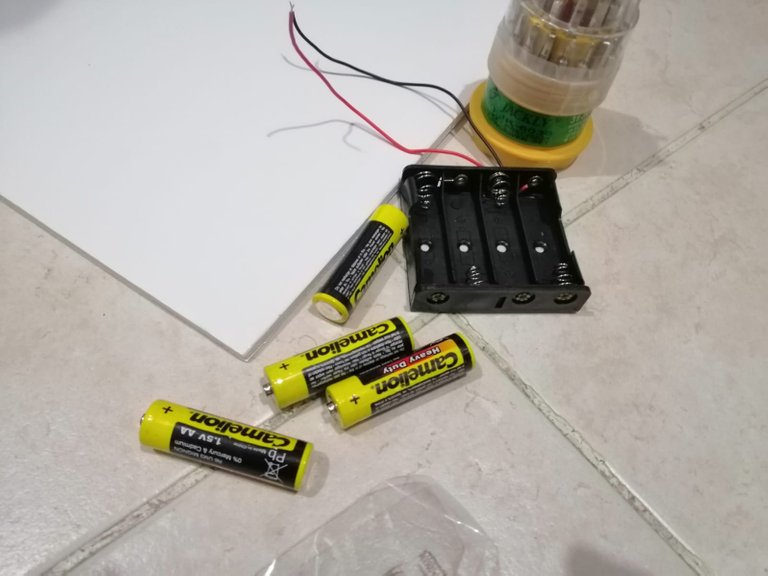
The hubs bought two sets of materials for my 7th and 2nd grader. The first grader, in this instance was a spectator and assistant (handing over the materials, etc.). The materials were:
- illustration board
- AA size batteries
- battery case
- switches
- push pins
- wires
- 3 watts bulbs + receptacle
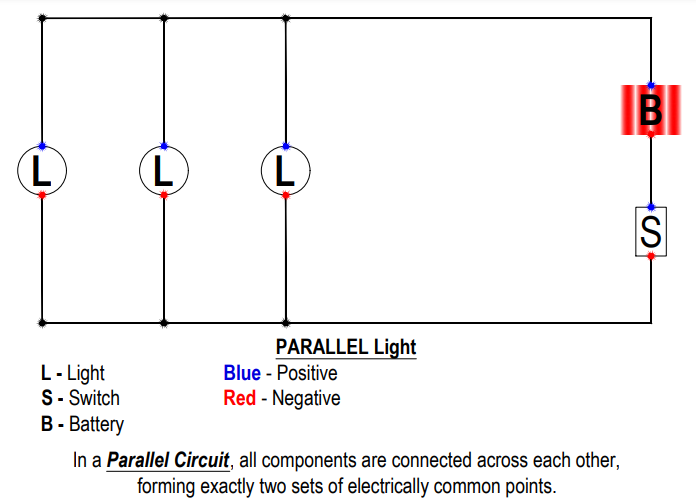
He also prepared an illustration of the parallel circuit so that he could first explain the concept to the kids and then let them replicate the same on their boards.
Time For Work!
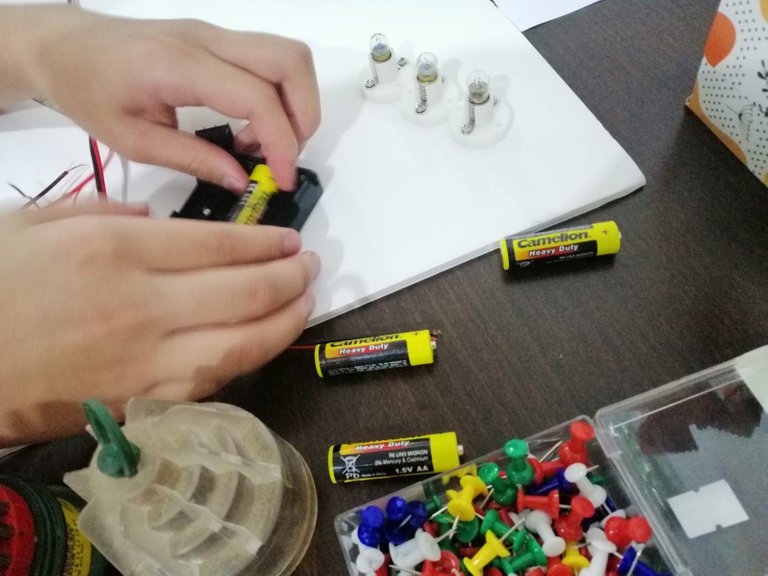
After the mini lesson, it's now time to do the project! They started to layout their circuits on their respective boards. Given that the previous day, we were doing another electricity project, the cutting and splicing of the wires came easily for the kids, even for Little Miss. The husband commended at how she expertly twisted the wires to connect them.
Seeing these little hands at work gives immense happiness for me. Unfortunately like you, I also had to see these through photos too for I was suffering with severe headache that night and was not able to join their activity.
Hence, @kennyroy would also be a beneficiary of this post for patiently teaching the kids and for taking these photos so we can share them here to the Home Edders community.
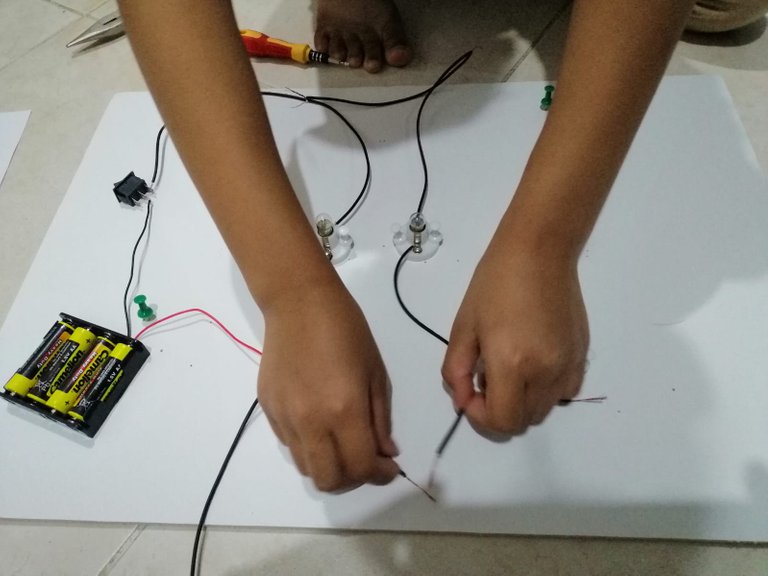 | 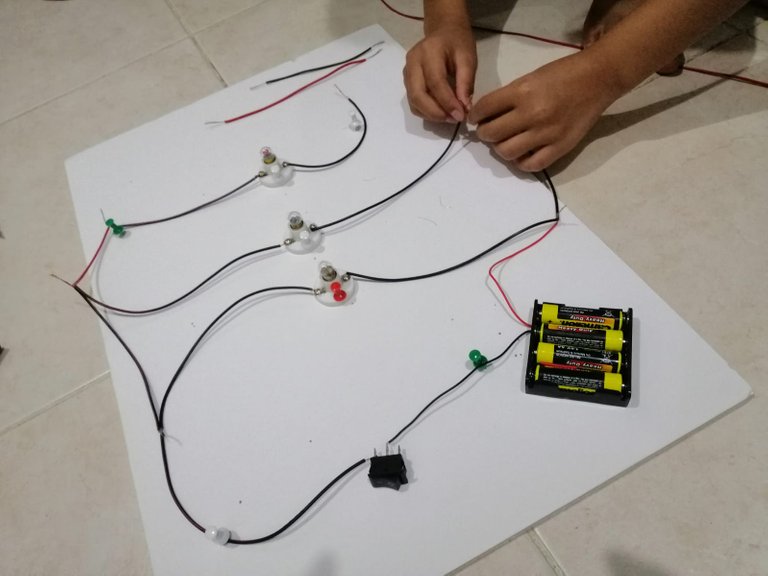 | 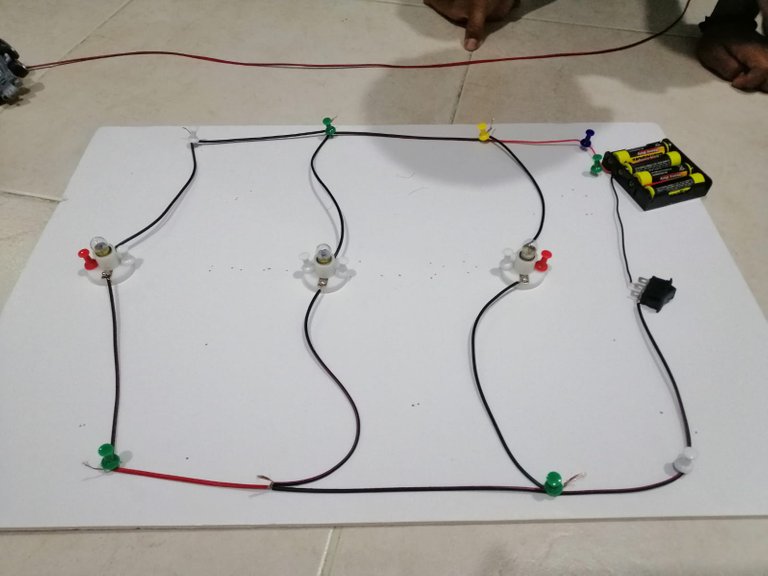 |
|---|
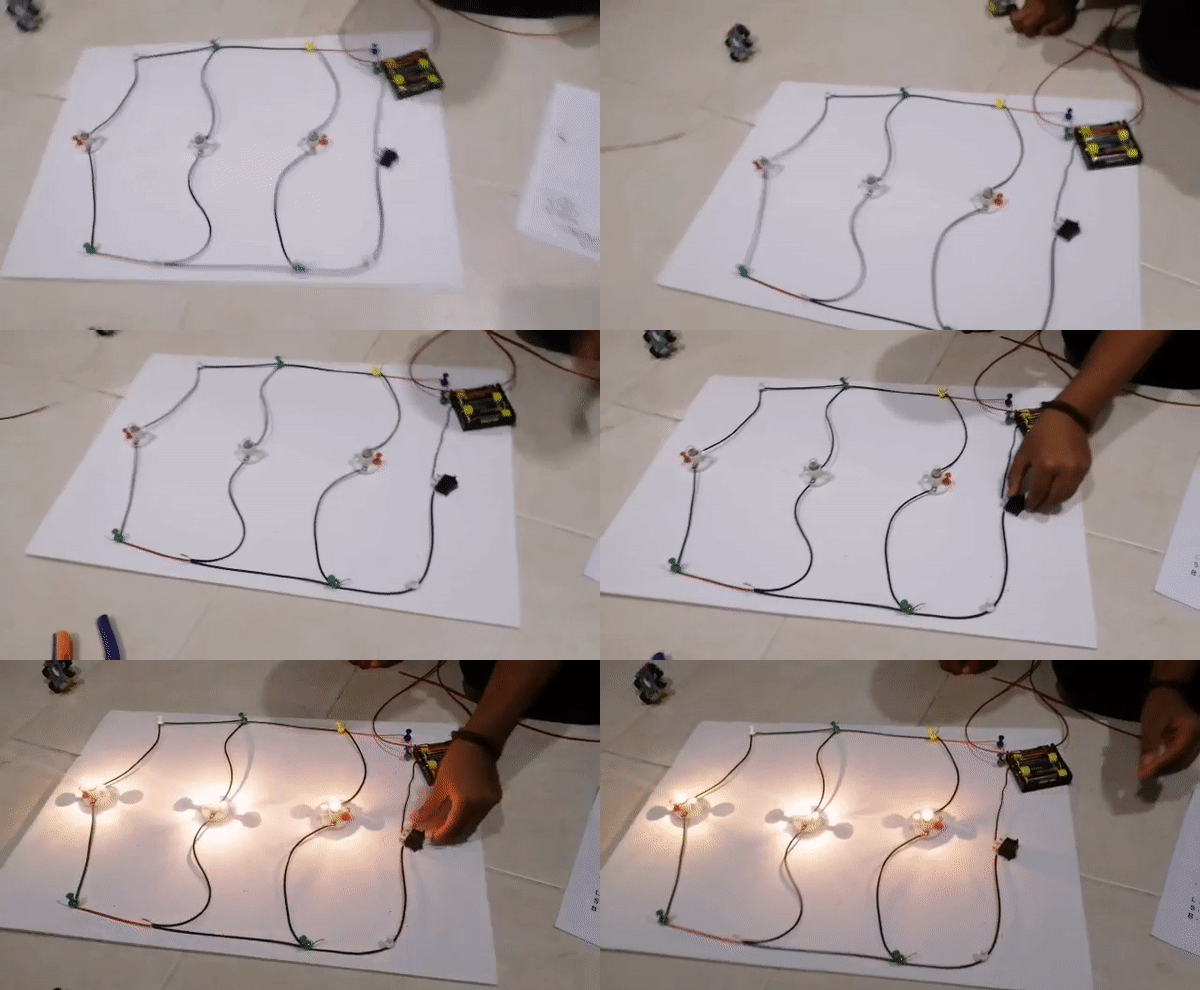
Light it up! Light it up!
The following day, the kids excitedly presented their projects to me. They explained how they built their circuit boards and how it worked.
It always bring pride and boosts the confidence for every sucessful task. There may be frustrations along the way (like our failed projects), but the more important thing is that we get challenged to think what could have gone wrong, what we learned from them, and what we should do next time to make it work. 💡


Nice keep it up.
if you haven't receive 300 HIVE and 200 LEO than vote LeoFinance for witness
LeoFinance is a well known and great project so i am vouching for it
Vote for LeoFinance and get 300 HIVE and 200 LEO now
CLICK HERE TO VOTE NOW
@cve3 Your comment contains a link that is on my blacklists ❗ ❗ ❗ 1 2 3
@arrliinn do NOT click on the link above in their comment.
Reason: PHISHING
Link: "54896-78481.live*" => DO NOT CLICK ❗
More info: https://hive.blog/hive/@keys-defender/new-feature-phishing-detection-and-auto-reply
Comment 10% downvoted to make it less visible.
This message is self-voted to be more visible among others.
Ohh this is really cool! I bet the boys had fun with this one!
Yep! They all had fun! ❤️
Glad to heart it!
Wow! Miss McGyver!
Haha. Daddy nila fan ni MacGyver sis. 😂
Ohhh 😂 Butingting is the key!!!! Good job, kenz 😂
Oo sis. Kaya hindi na namin kailangan umupa ng handyman sa bahay. Tubero, electrician, karpintero. Name it. Haha
Trot! Speaking of tubero, I just tried fixing our poso kanina hahaha
I love electrical things, I wish my son will have interested in electrical when he grows up. With that being said, I am going to use this blog of yours to teach parallel electrical connection to my son when the time comes. Good evening!
Blessings @arrliinn !!! This is such a fun activity for the kids as they are always interested in discovering new things , I imagine your kids enjoyed this activity to the fullest.
Blessed day.