[ESP/ENG] Receta de costilla de res con pasta | Beef rib with pasta recipe
¡Hola Hivers!
Desde el pasado mes hasta mediados de la primera semana de enero estuve preparando algunos platos ricos en proteinas y grasas que disfrutamos en familia, en una ocasión recuerdo que mi esposo @ulisesfl17 me pidió que preparara costilla guisada con pasta y que la preparara más sabrosa que de costumbre porque tenía días sin probarla; el resto de la familia se sumó a la solicitud y me entusiasmé en la cocina.
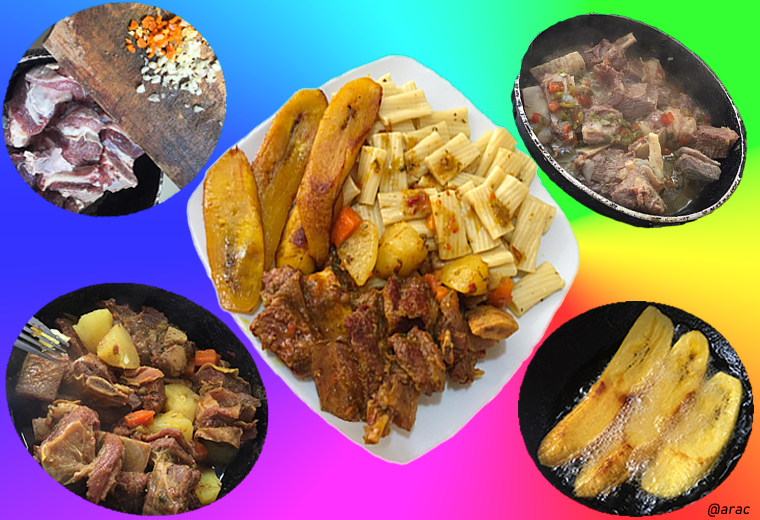
Así que en esta ocasión, comparto mi experiencia sobre este exquisito plato; echa un ojo a la receta y déjame saber tu opinión sobre cómo preparas este guisado.

|
|
|
|
|
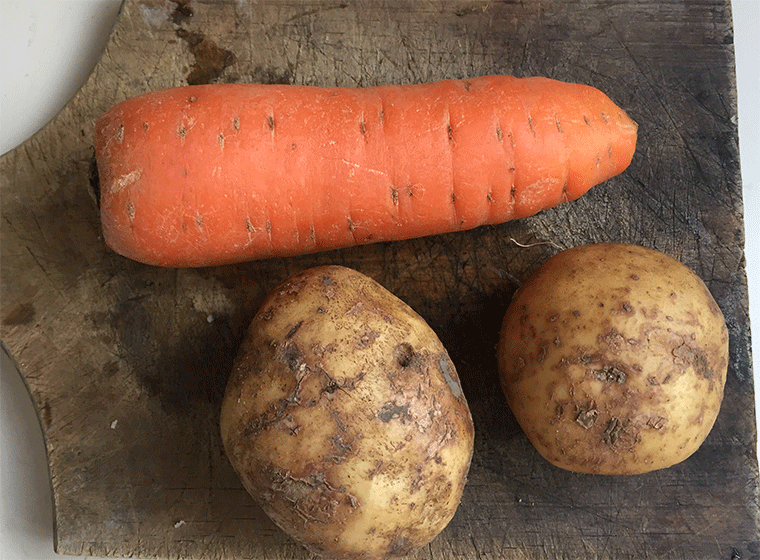 Papas y zanahoria
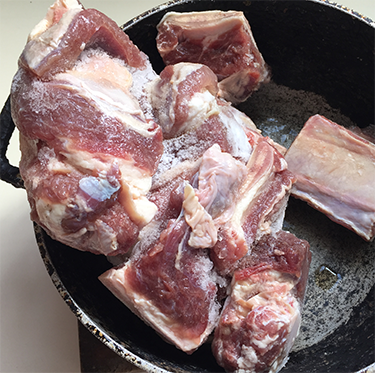
He puesto a deshielar la costilla que se encontraba desde hace una semana en la nevera; tengo por costumbre lavar las carnes y salarla dejándola al menos una hora a temperatura ambiente antes de ser refrigerada, esto para que los tejidos absorban mejor la sal.
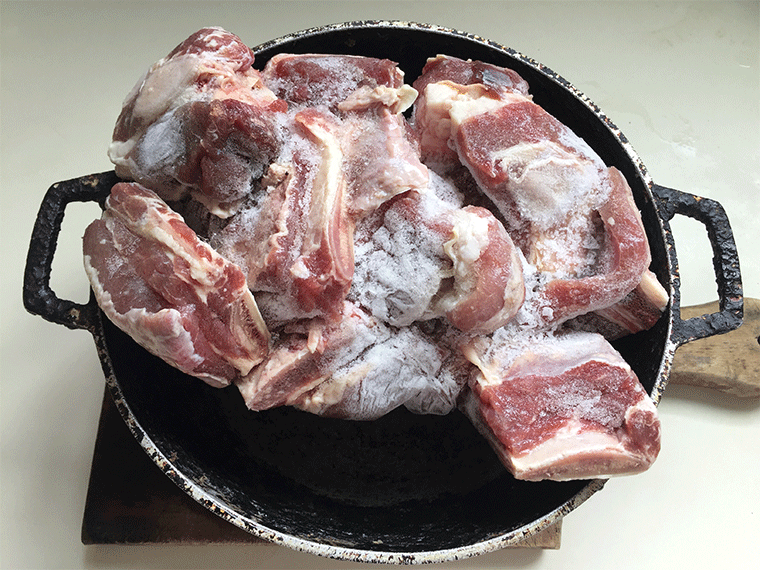 Presencia del cubrimiento de la carne con escarcha de hielo
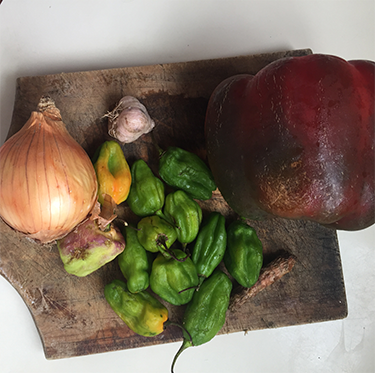
Pelo 7 granos de ajo y raspo un trozo de cúrcuma para picar y triturar bien antes de agregarlos a la paila donde voy a comenzar a cocinar la costilla para ablandar la carne.
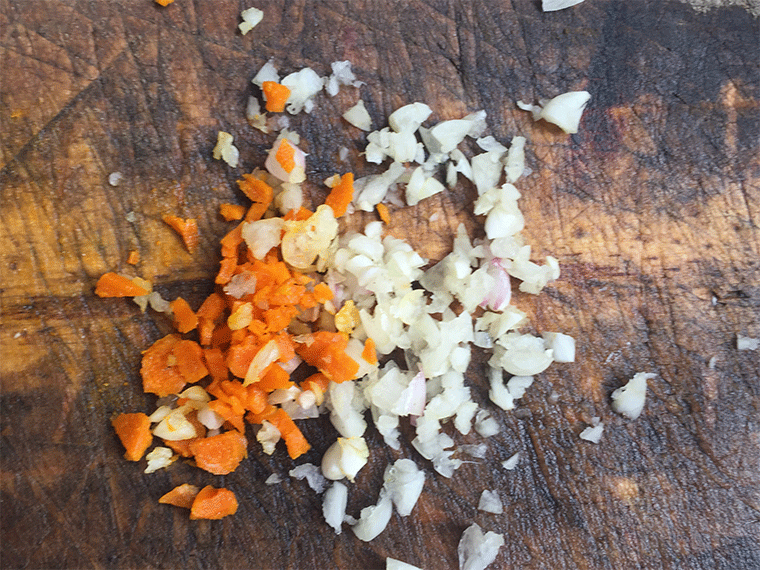
Fue de mi prima @josdelmi de quien tomé la costumbre de emplear la beneficiosa especia de cúrcuma en las salsas y guisos para aprovechar su genial coloración, aromático sazón y benéficas propiedades para mantener nuestro organismo sano.
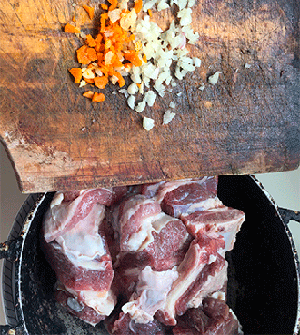
Para un óptimo resultado aromático, agregue la cúrcuma y ajo junto con la costilla para sofreir con la grasa contenida en la proteina, mantenga la paila tapada y a fuego lento. Es importante que los ingredientes queden en el fondo y sean cubiertos. Cocinar por 15 minutos, removiendo con intérvalos de 5 minutos para evitar que se adhieran a la paila o queme.
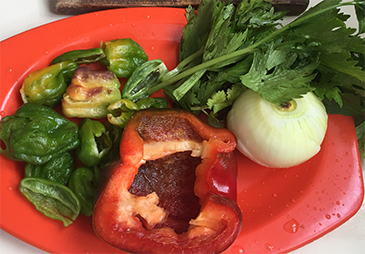
|
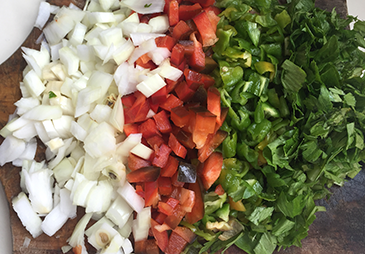
|
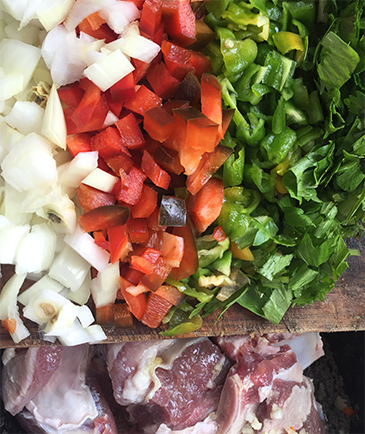
|
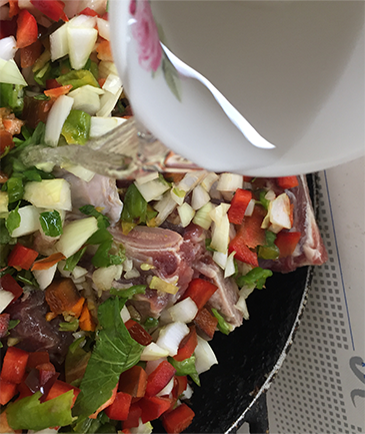
|
Se procede a colocar la tapa nuevamente y se aumenta la llama a fuego medio.
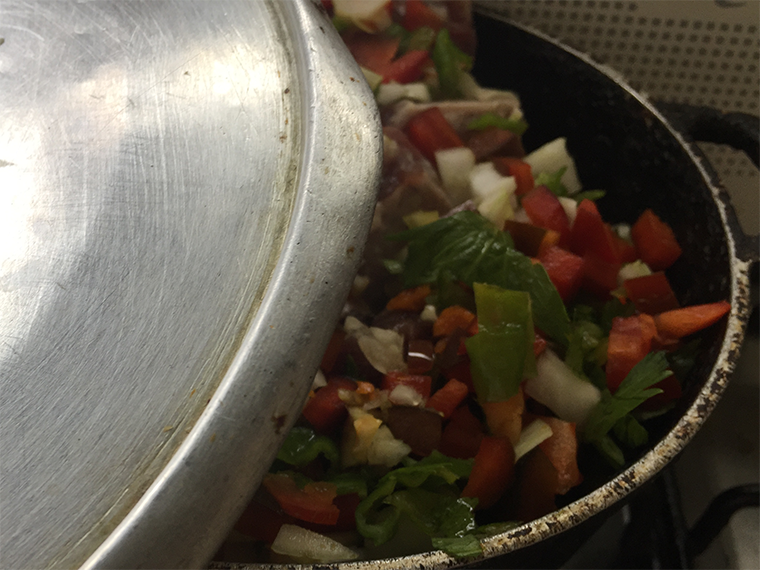
Se debe tener en cuenta remover cada 7 minutos para evitar que los aliños se quemen.
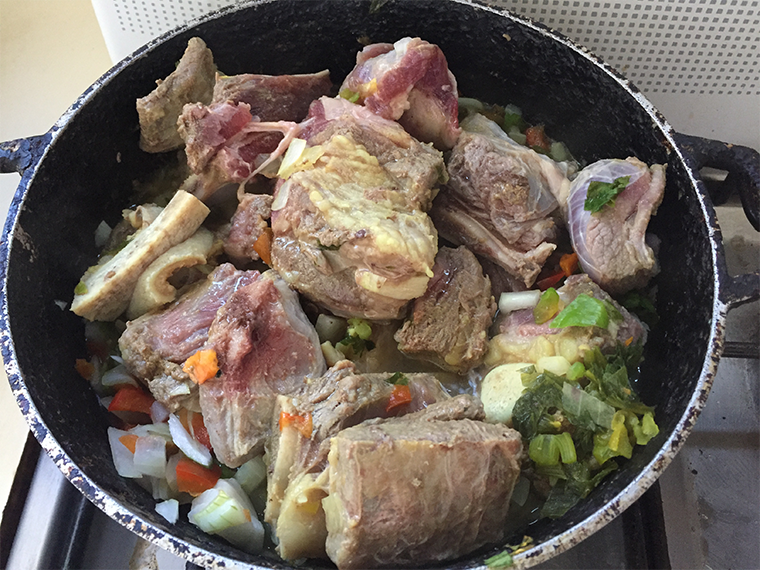
En general, la carne de costilla de res es un tejido duro que requiere varios minutos de cocción para ablandar, en una olla de presión puede cocinarse en 25 o 30 minutos; sin embargo, yo usé una paila común y ameritó cocinar por más de 01:20 horas.
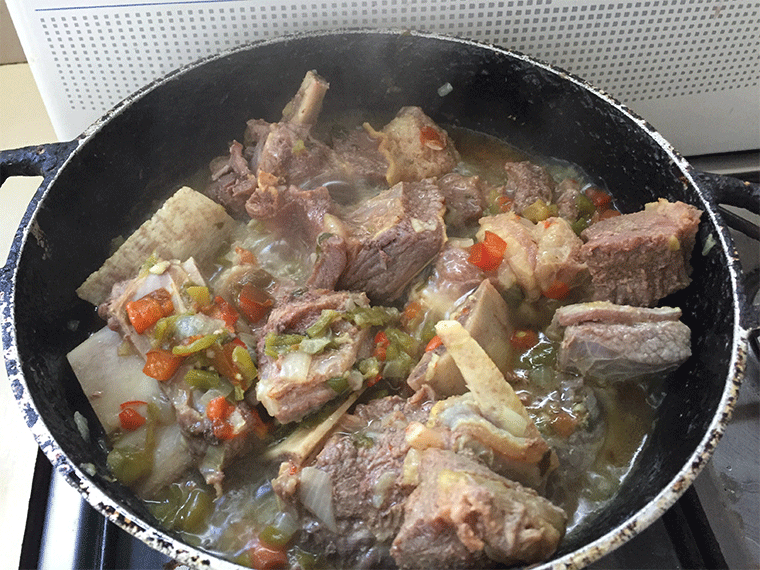
Después que había cocinado por 45 minutos, se formó suficiente salsa que me permitió probar para buscar el equilibrio de sal deseado; cabe recordar que la costilla se encontraba salpresa desde hace una semana.
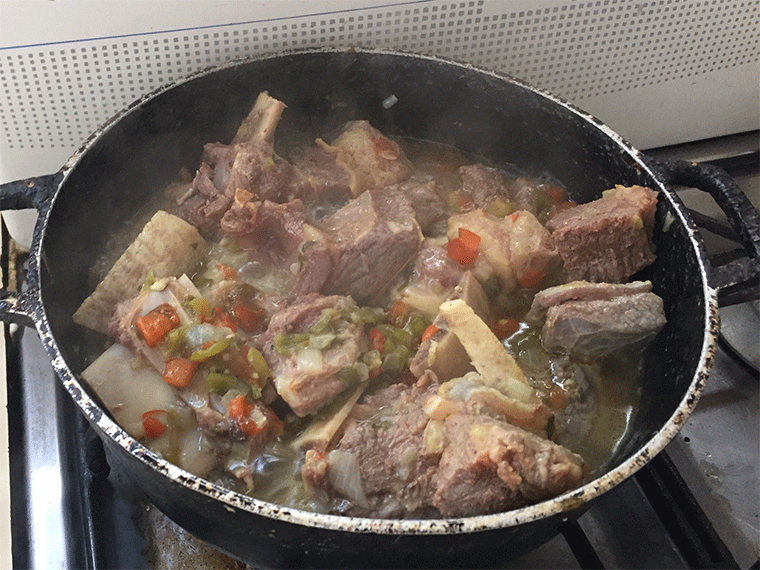
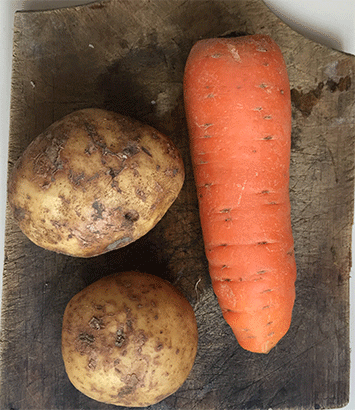
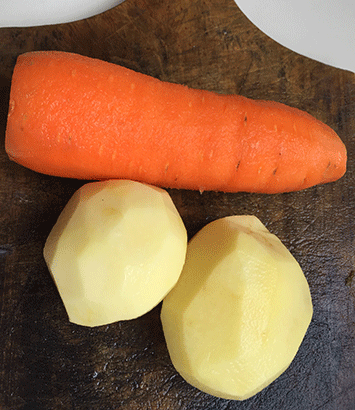
Considerando que la carne se acercaba a su punto de ablandamiento, me dispuse a pelar las papas y zanahoria.
|
|
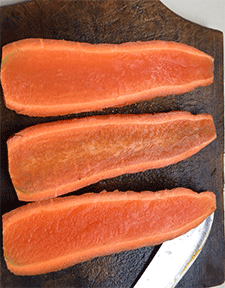
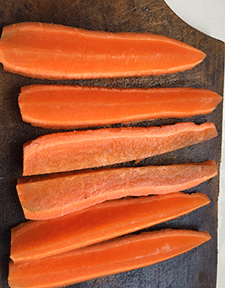
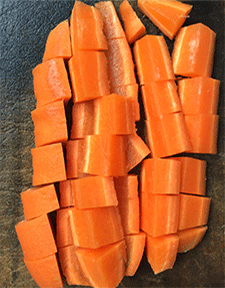
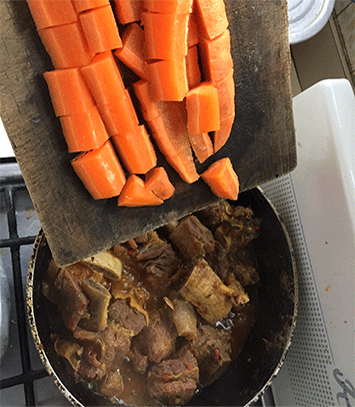
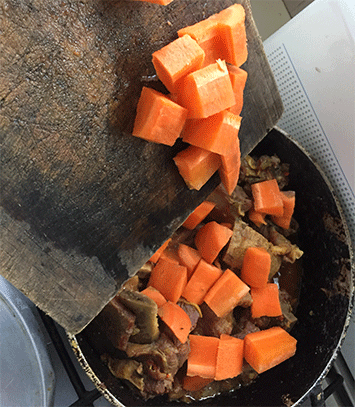
La zanahoria se rapa para retirar la delgada concha y luego se corta en tres hojas verticales para luego cortar a la mitad y picar en cuadros medianos, como se muestra en las imágenes de abajo.
|
|
|
|
|
Puesto que la pulpa de la zanahoria es más dura que la papa, se agrega 8 minutos antes para ablandar un poco antes de echar las papas.
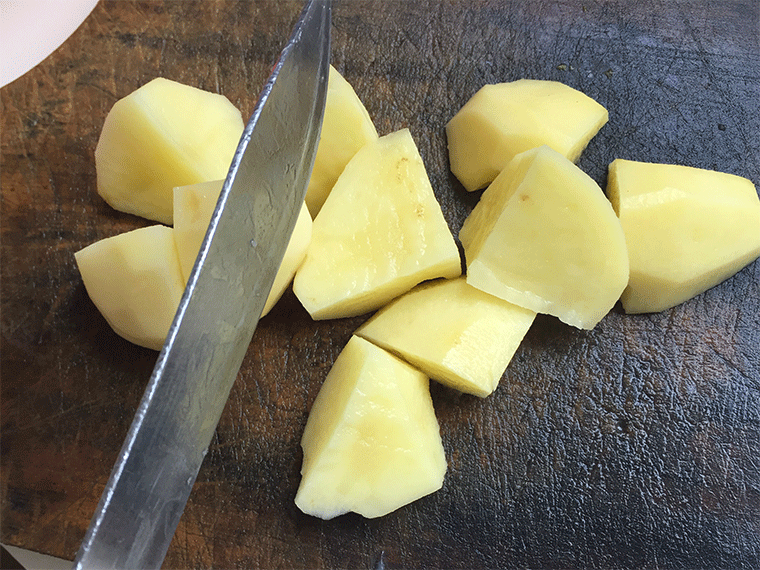
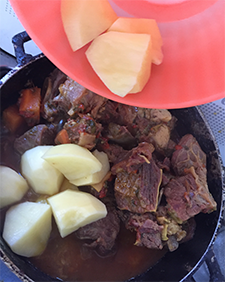
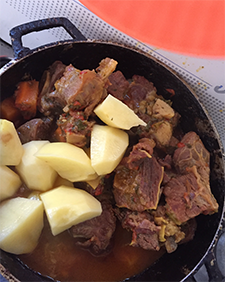
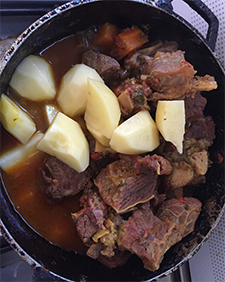
La papa se pela y corta en cuatro pedazos, es decir, su tamaño triplica a la zanahoria.
|
|
|
Una vez que se ha agregado la papa, se vuelve a tapar y deja cocinar por 15 minutos más. Durante este tiempo, se pone a calentar agua para sancochar la pasta.
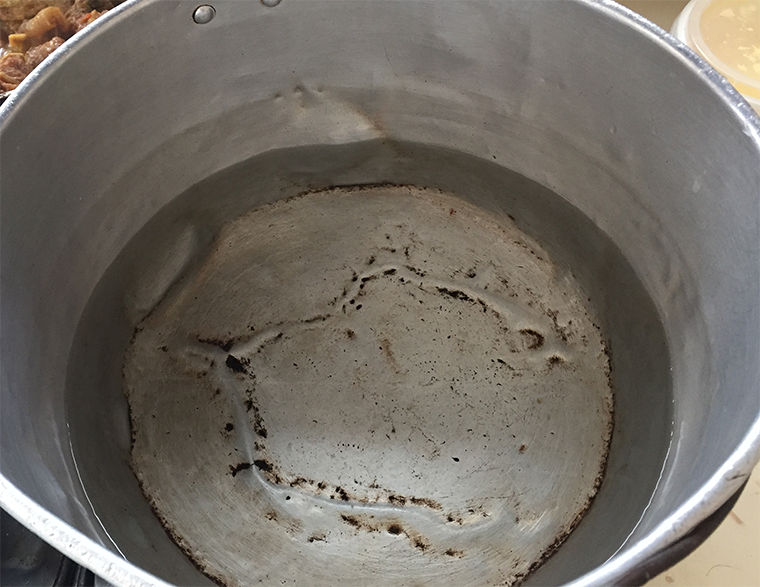
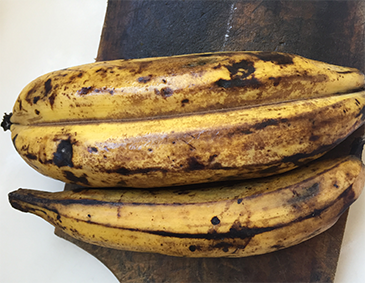
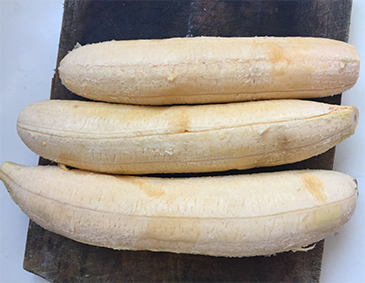
Mientras el agua se calienta, se procede a pelar los plátanos para cortar en tajadas y freir.
|
|
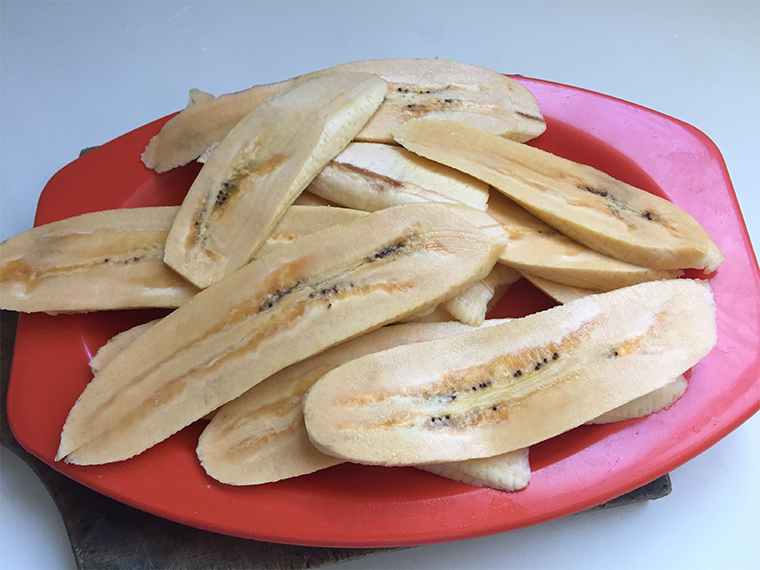
Tajadas lista para freir...
|
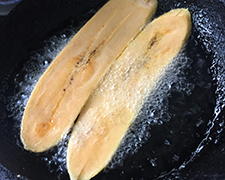
|
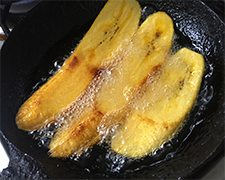
|
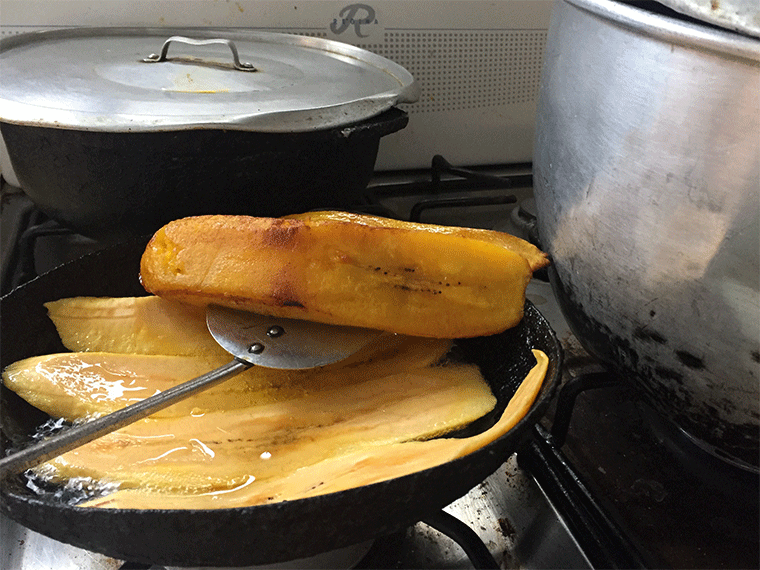
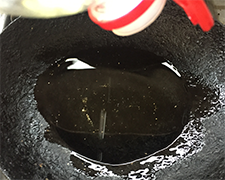
Luego de freir las tajadas, se dejan escurrir el aceite para llevarlas al envase con papel absorvente.
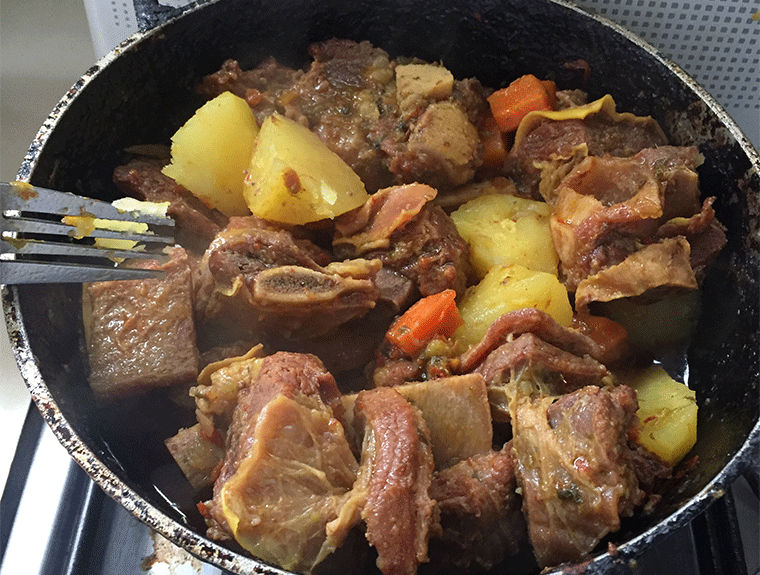
Al levantar la tapa de la paila el color característico de la papa, zanahoria y carne indica que el guisado está listo para servir, es momento de agregar la pasta en el agua caliente para terminar con este contorno.
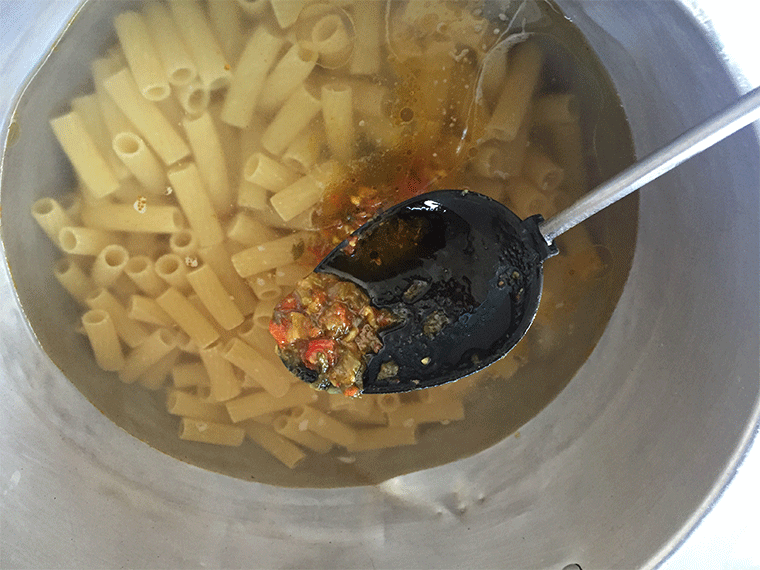
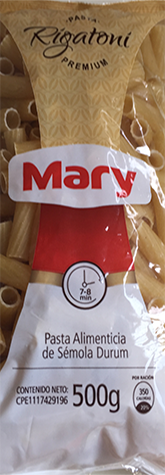
Se remueve la pasta para evitar que se pegue y se agregan dos cucharadas soperas de salsa de carne y sal al gusto. Se deja cocinar por 8 minutos y luego se retira del fuego para colar y servir.
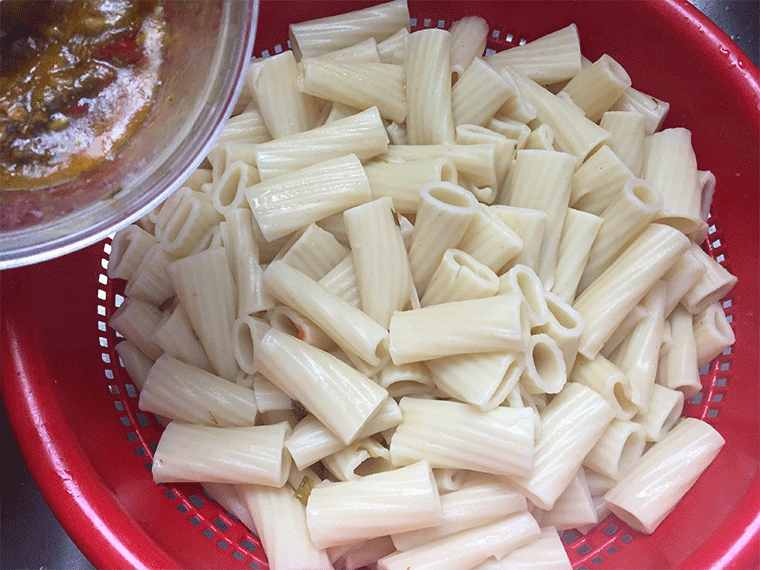
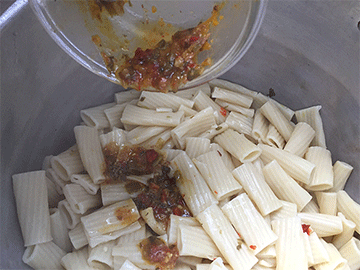
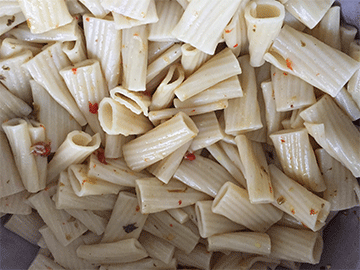
Uno de los principales excedentes del guisado de costilla de res es la grasa, siendo un subproducto con aromático sabor rico en proteina, lo retiro del guisado y utilizo en la pasta.
|
|
De esta manera no empleo mantequilla sino la grasa del guisado que proporciona un concentrado sabor a carne.
Plato servido
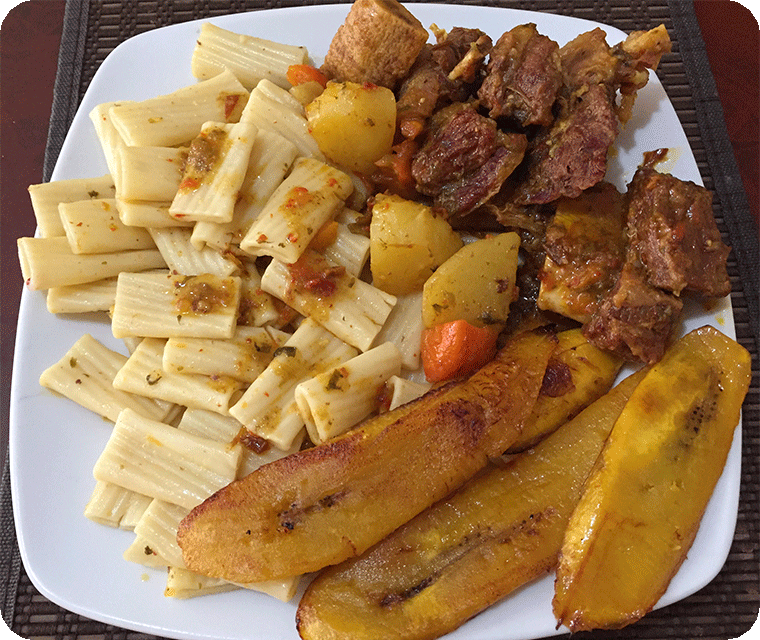
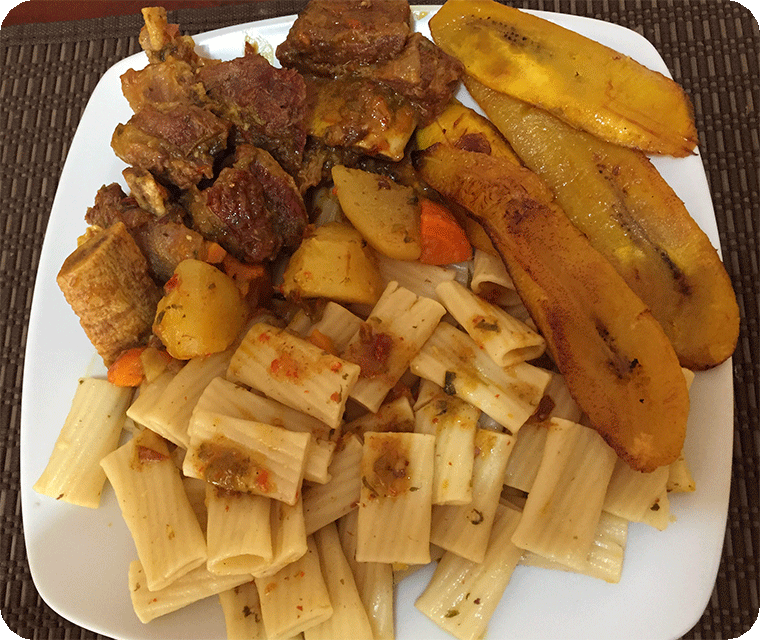
De este modo preparé esta costilla de res con pasta y tajadas. ¿La preparas igual o de otra manera?

English version
From last month until the middle of the first week of January I was preparing some dishes rich in proteins and fats that we enjoyed as a family, on one occasion I remember that my husband @ulisesfl17 asked me to prepare stewed ribs with pasta and to prepare it tastier than usual because he had days without tasting it; the rest of the family joined the request and I got excited in the kitchen.

So this time, I share my experience about this exquisite dish; take a look at the recipe and let me know your opinion about how you prepare this stew.

|
|

|

|

|
 Potatoes and carrots
I have thawed the rib that had been in the refrigerator for a week; I am in the habit of washing the meat and salting it, leaving it for at least one hour at room temperature before refrigerating it, so that the tissues can better absorb the salt.
 Presence of ice frost covering of the meat
I peel 7 grains of garlic and scrape a piece of turmeric to chop and crush well before adding them to the pan where I am going to start cooking the rib to tenderize the meat.

It was my cousin @josdelmi from whom I got into the habit of using the beneficial spice turmeric in sauces and stews to take advantage of its great color, aromatic flavor and beneficial properties to keep our body healthy.

For an optimal aromatic result, add the turmeric and garlic along with the ribs to sauté with the fat contained in the protein, keep the pan covered and over low heat. It is important that the ingredients remain on the bottom and are covered. Cook for 15 minutes, stirring at 5 minute intervals to prevent them from sticking to the pan or burning.

|

|
While the 15 minutes to sauté the garlic and turmeric elapse, clean and chop the seasonings into small pieces; once ready, add them to the pan and mix with the ribs, then add ¼ cup of water.

|

|
Replace the lid and increase the flame to medium heat.

Remember to stir every 7 minutes to prevent the seasonings from burning.

In general, beef rib meat is a tough tissue that requires several minutes of cooking to tenderize, in a pressure cooker it can be cooked in 25 to 30 minutes; however, I used a regular pot and it required cooking for more than 1:20 hours.

After it had cooked for 45 minutes, enough sauce formed to allow me to taste for the desired salt balance; it should be remembered that the rib had been salted for a week.

Considering that the meat was getting close to tender, I set about peeling the potatoes and carrots.

|

|
The carrot is shaved to remove the thin shell and then cut into three vertical leaves and then cut in half and chopped into medium squares, as shown in the images below.

|

|

|

|

|
Since the carrot pulp is harder than the potato, it is added 8 minutes earlier to soften a little before adding the potatoes.

The potato is peeled and cut into four pieces, i.e. its size is three times that of the carrot.

|

|

|
Once the potato has been added, cover again and let it cook for 15 minutes more. During this time, heat water to boil the pasta.

While the water is heating, peel the plantains to cut into slices and fry.

|

|

Slices ready to fry...

|

|

|

After frying the slices, drain the oil and place them in a container with absorbent paper.

When the lid of the pan is lifted, the characteristic color of the potato, carrot and meat indicates that the stew is ready to serve, it is time to add the pasta in the hot water to finish with this contour.

Stir the pasta to prevent it from sticking and add two tablespoons of meat sauce and salt to taste. Let it cook for 8 minutes and then remove from the heat to strain and serve.

One of the main leftovers of the beef rib stew is the fat, being a by-product with an aromatic flavor rich in protein, I remove it from the stew and use it in the pasta.

|

|
In this way I do not use butter but the fat from the stew, which provides a concentrated meat flavor.
Plate served


This is how I prepared this beef rib with pasta and slices. Do you prepare it the same way or differently?

Translated with www.DeepL.com/Translator (free version)
Imágenes | Images
Todas las imágenes pertenecen a la autora. Las capturas se efectuaron con dispositivo móvil iPhone 6. Se utilizó el programa Adobe Photoshop CS6 para elaborar la imagen principal y reducir el tamaño a los archivos en formato PNG.
All images belong to the author. The images were taken with an iPhone 6 mobile device. Adobe Photoshop CS6 was used to create the main image and reduce the size to PNG format files.
Gracias por el apoyo a mi blog @appreciator