DIY Bracelet Tutorial 103: Simple Outlook
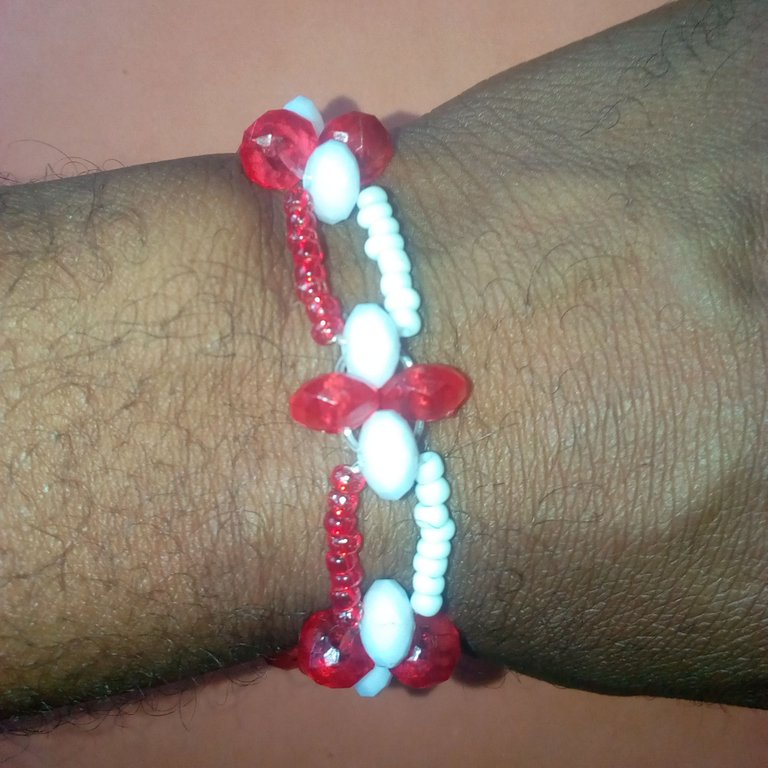
Hello to all lovers and creators of DIY. Today, I’ll be discussing how I made a simple bracelet for myself. Actually, I have a red and white outing dress that I mostly prefer going out with. Having such a dress, I was motivated to make a red and white color simple bracelet. The bracelet will always make my dress code with the red top to be a complete one.
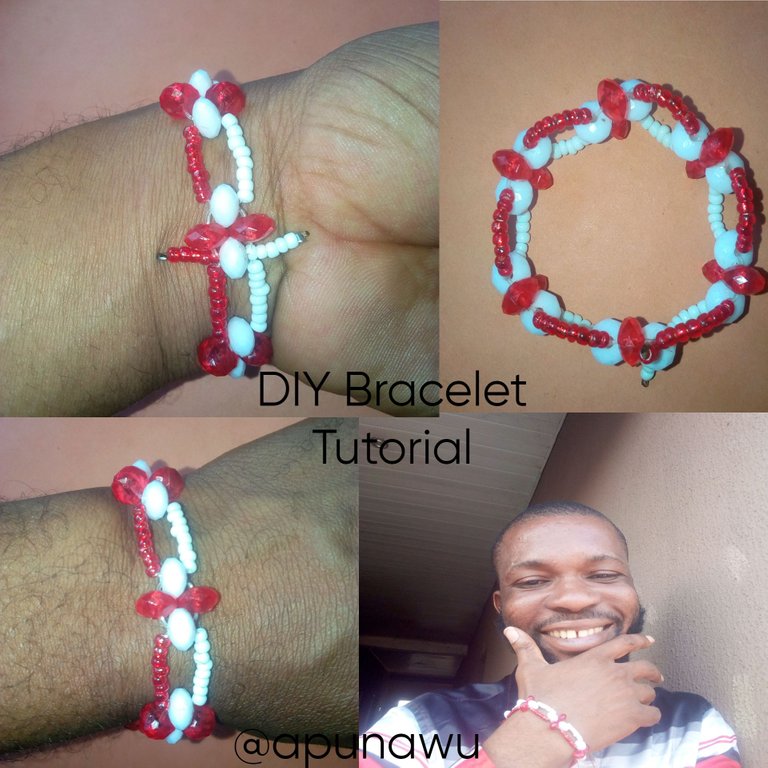
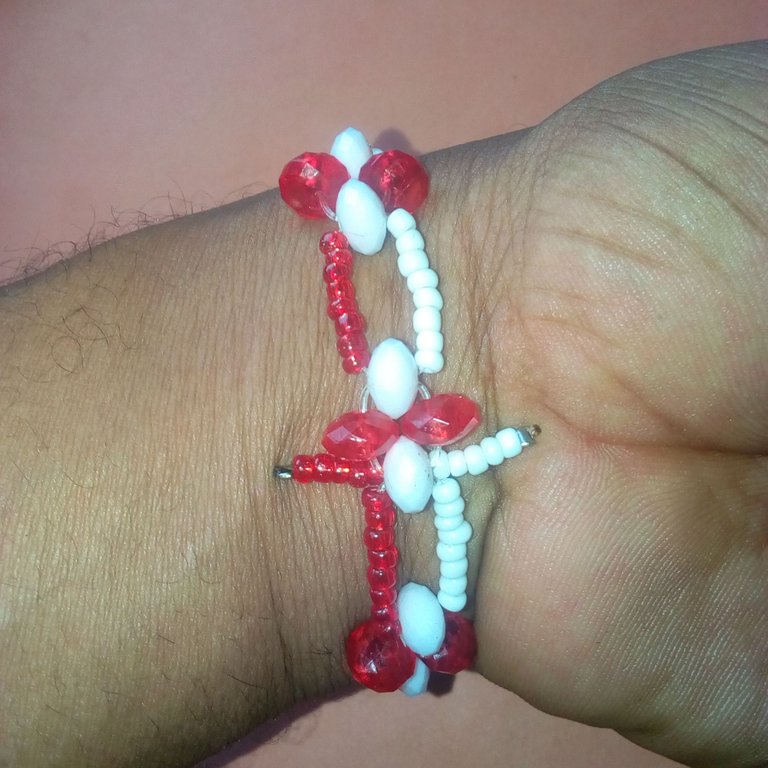
Without further delay, I think it’ll be very nice for me to share the ideal material and procedures used in making the bracelet. I love the outlook of the bracelet and I hope you love it too. If you love the bracelet's final outlook, I believe you’ll be motivated to make one after reading through the article.
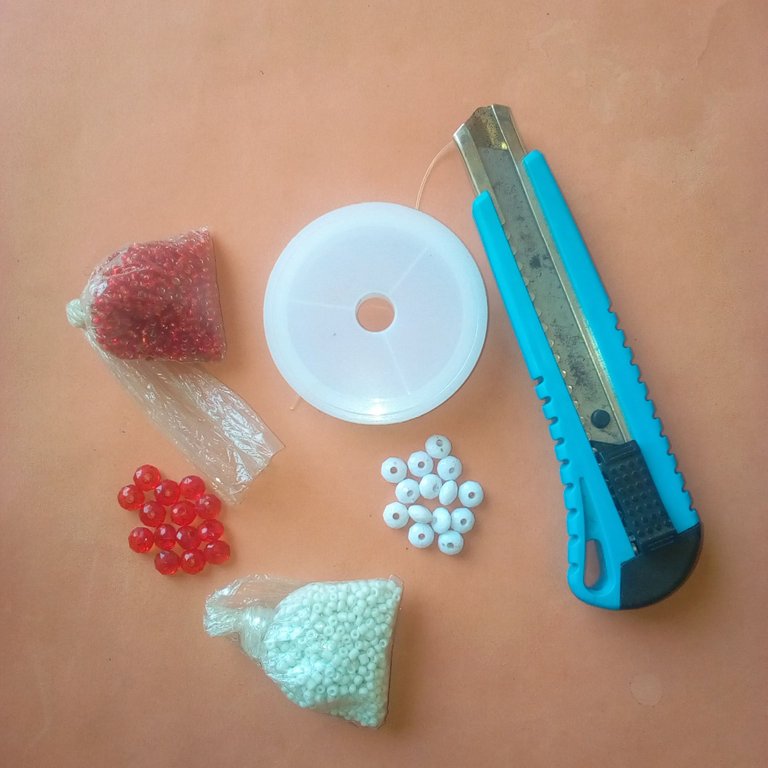
Materials used in making the bracelet will be specifically highlighted below:
0.8mm nylon line.
53 pieces of the white sand bead.
53 pieces of the red sand bead.
12 pieces of white diamond shape bead.
12 pieces of red diamond shape bead.
Bead stopper.
Cutter.
Procedures used in making the bracelet will also be specifically highlighted below:
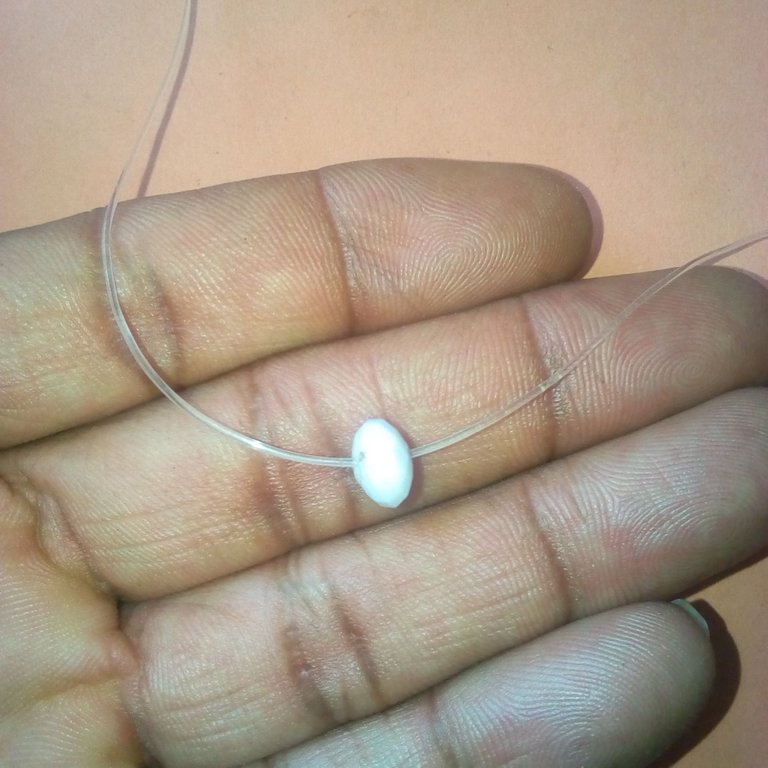
The gathering of the whole materials pointed out above has to be considered before proceeding to the main making of the bracelet. If you have done just that, use your cutter to cut the 0.8mm nylon line from its original row.
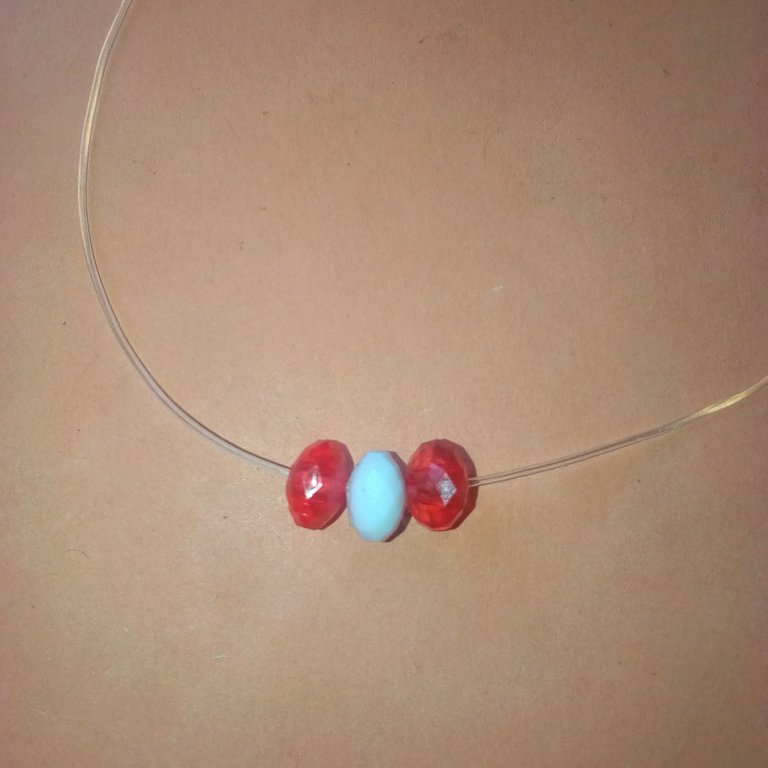
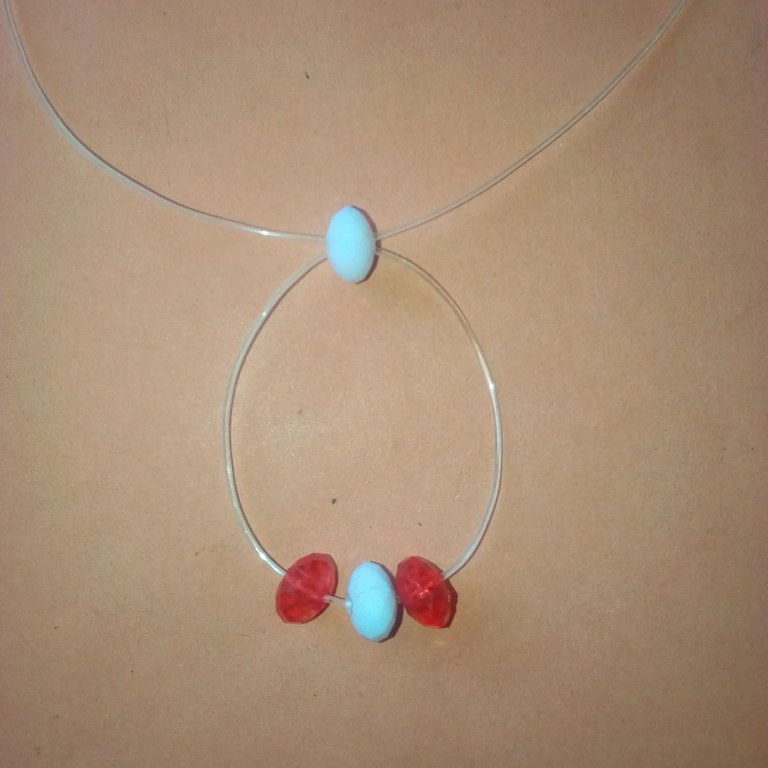
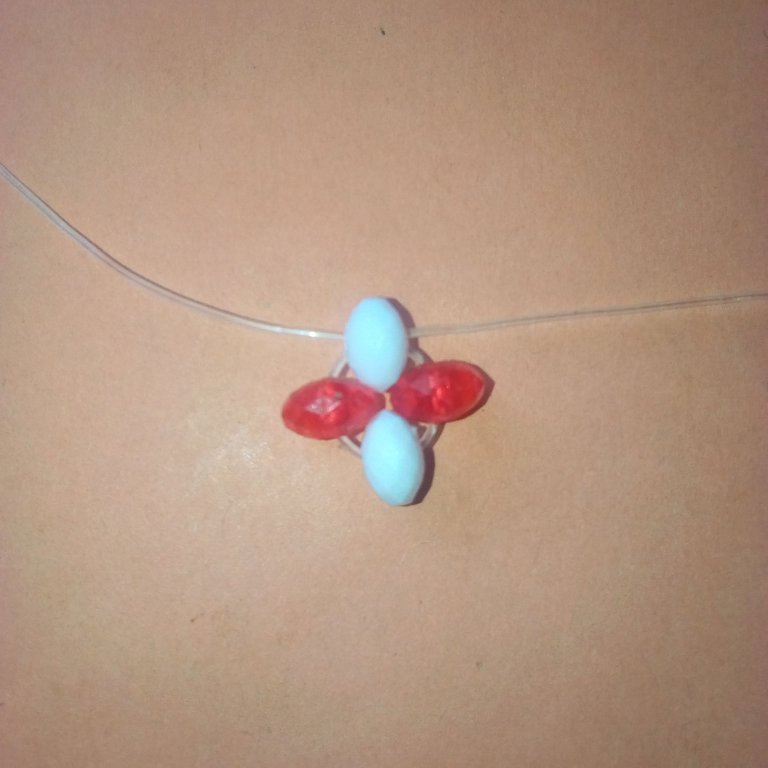
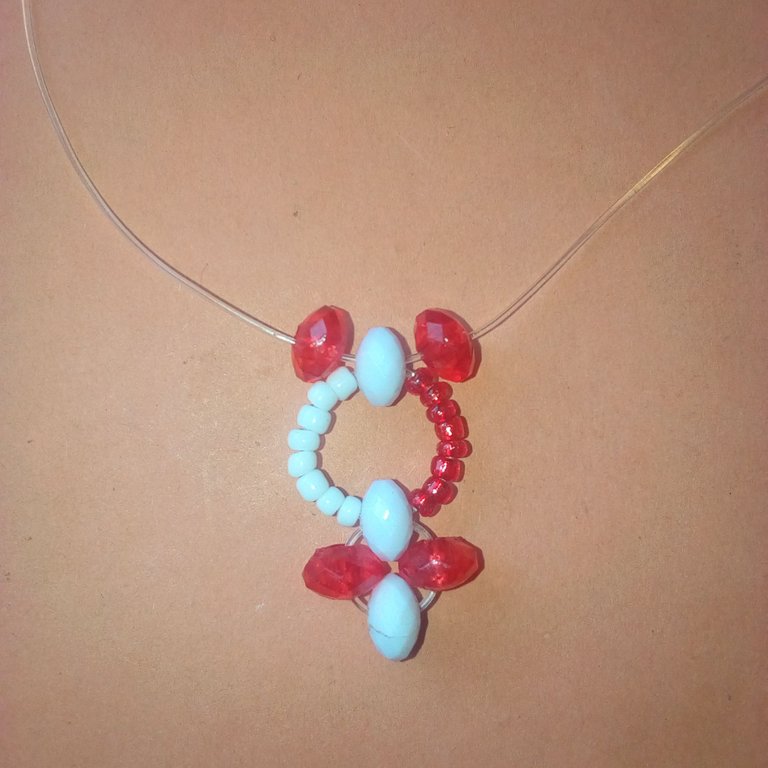
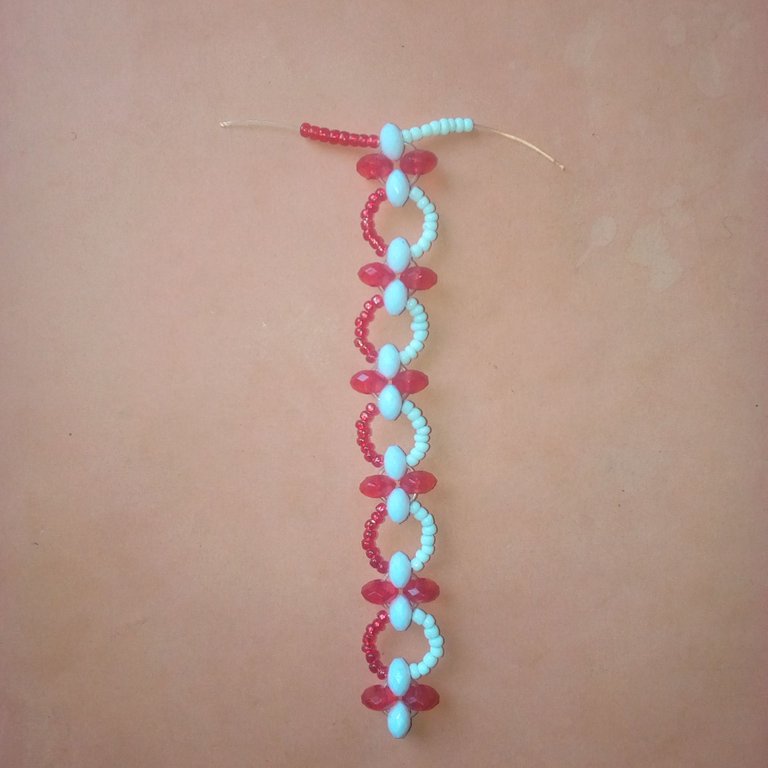
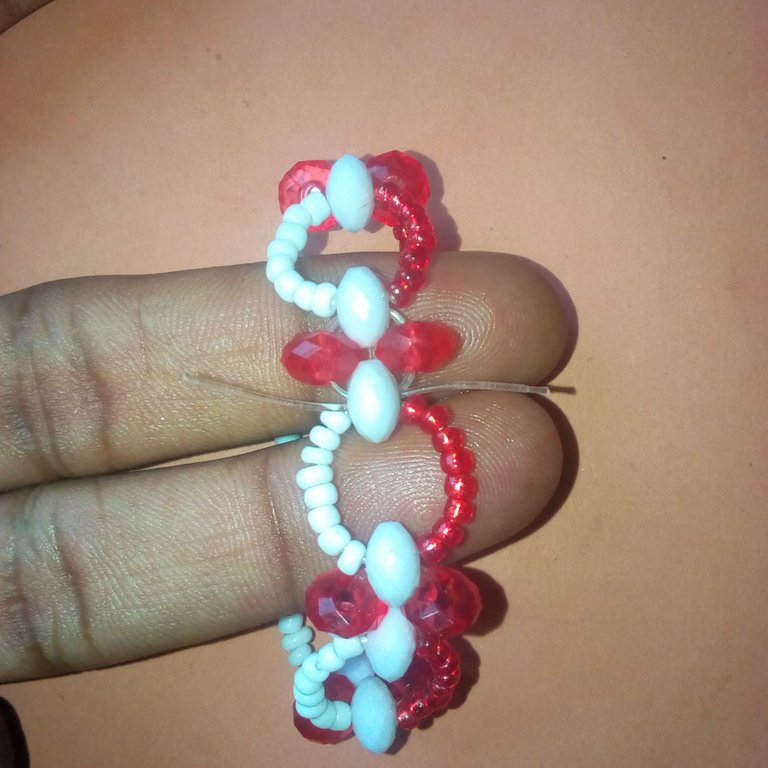
By the time you have measured out some nylon line from the row, insert 1 piece of white diamond shape bead. After that, use the nylon line to form two separate lines. After forming the two separate lines, insert 1 red diamond shape bead to the left and right of the nylon lines. Then insert 1 piece of white diamond shape bead to the left side of the nylon line and then use the second nylon line to insert the white diamond shape bead inserted from the left side of the nylon line. You’ll have to pass the nylon line from the top and then draw with your hand to get tighter.
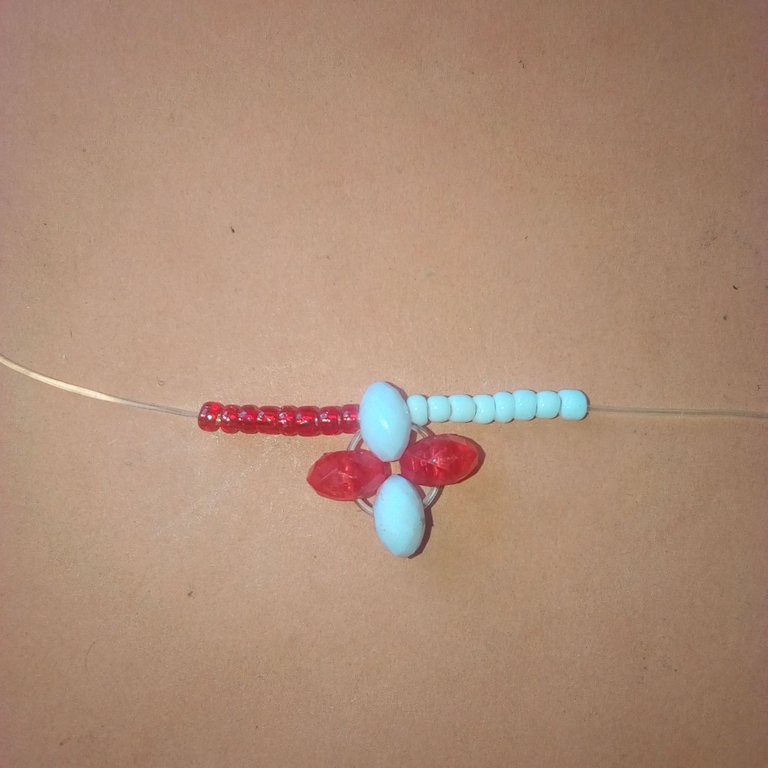
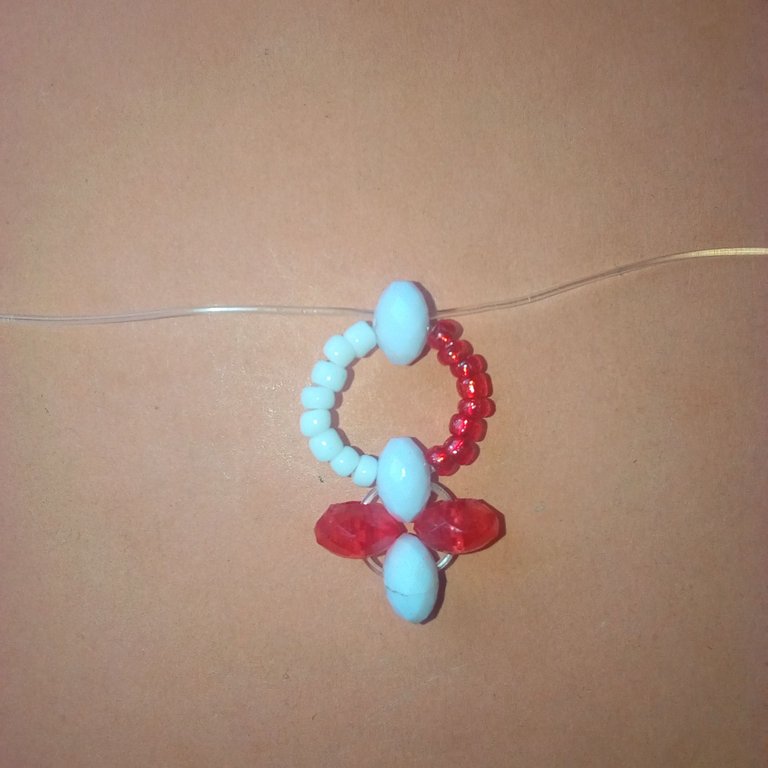
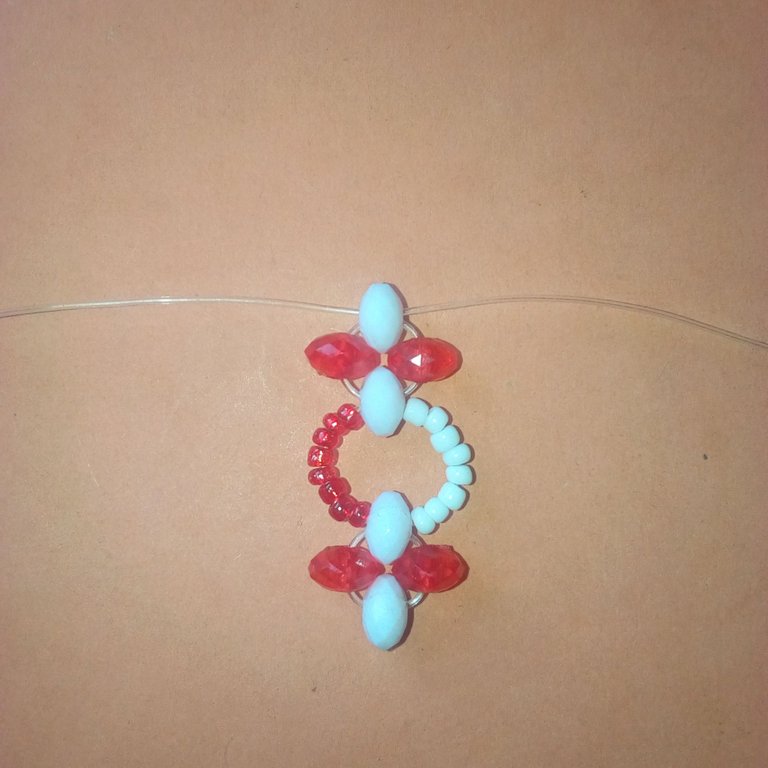
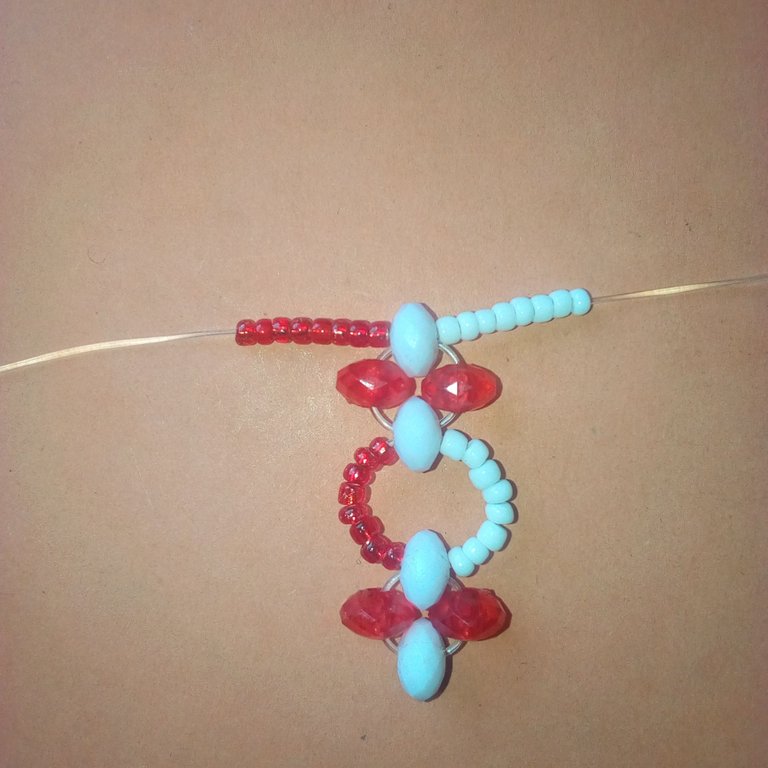
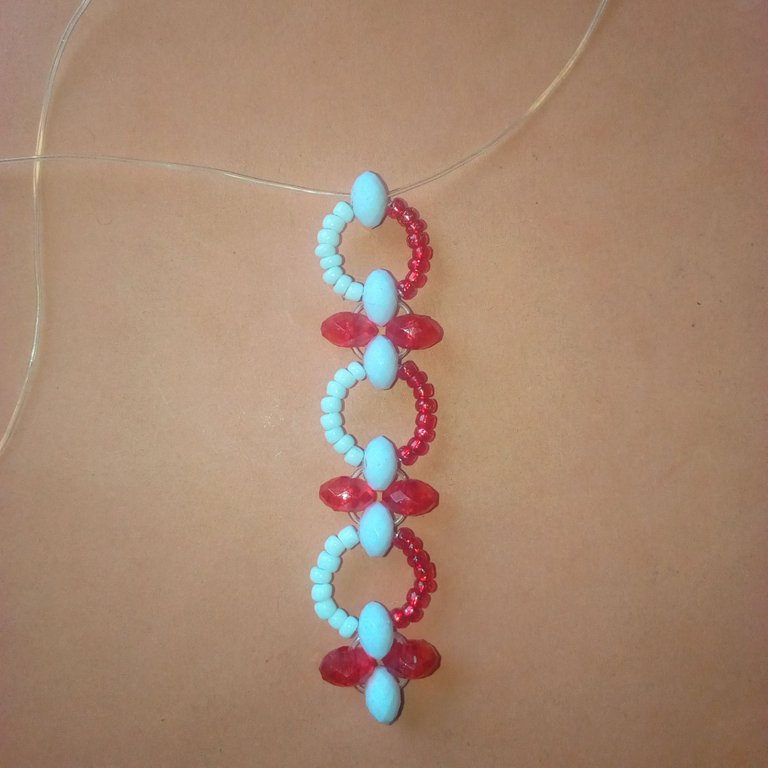
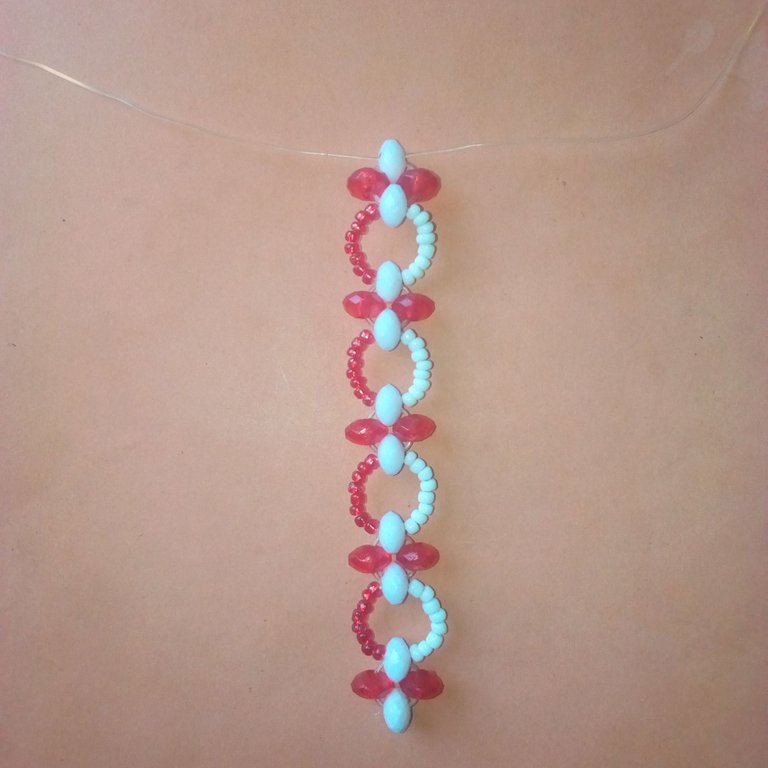
Now, you’ll have to insert 8 pieces of white sand bead to the left side of the nylon line. After that, insert 8 pieces of red sand bead to the right side of the nylon line. After that, insert 1 white diamond shape bead to the left side of the two separate nylon lines then insert the second nylon line to it from the top side and then draw with your hand for it to get tighter. After that, insert 1 piece of red diamond shape bead to the left and right side of the two separate nylon lines and then insert 1 white diamond shape bead to the left side of the nylon line. Still insert the second nylon line into the white diamond shape bead from the left side and then draw with your hands.
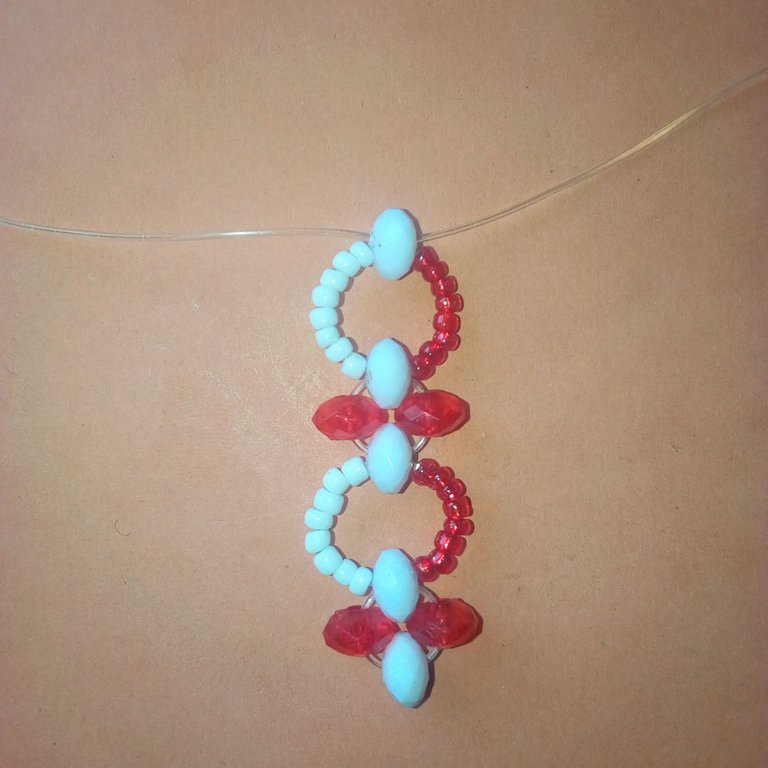
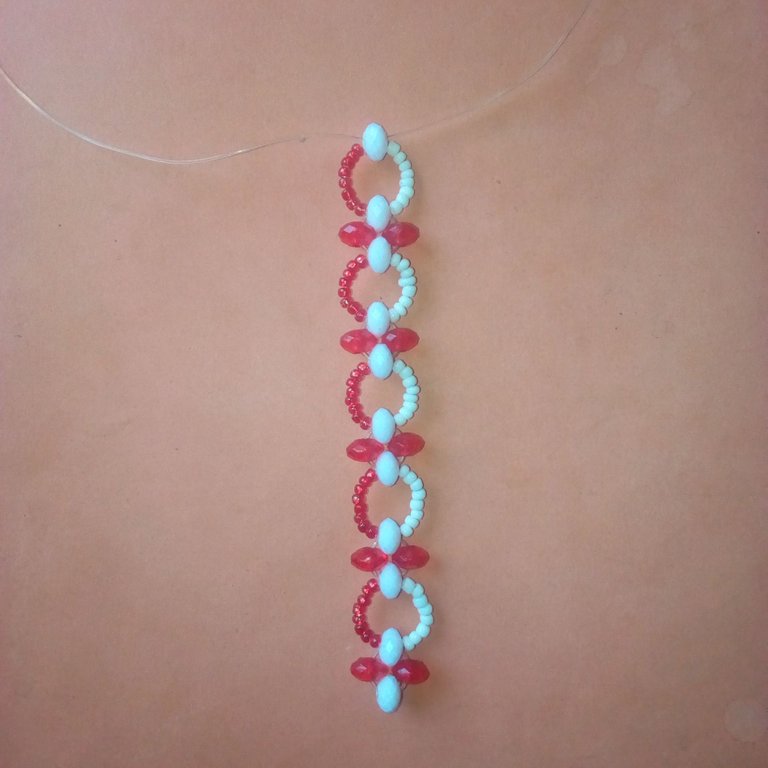
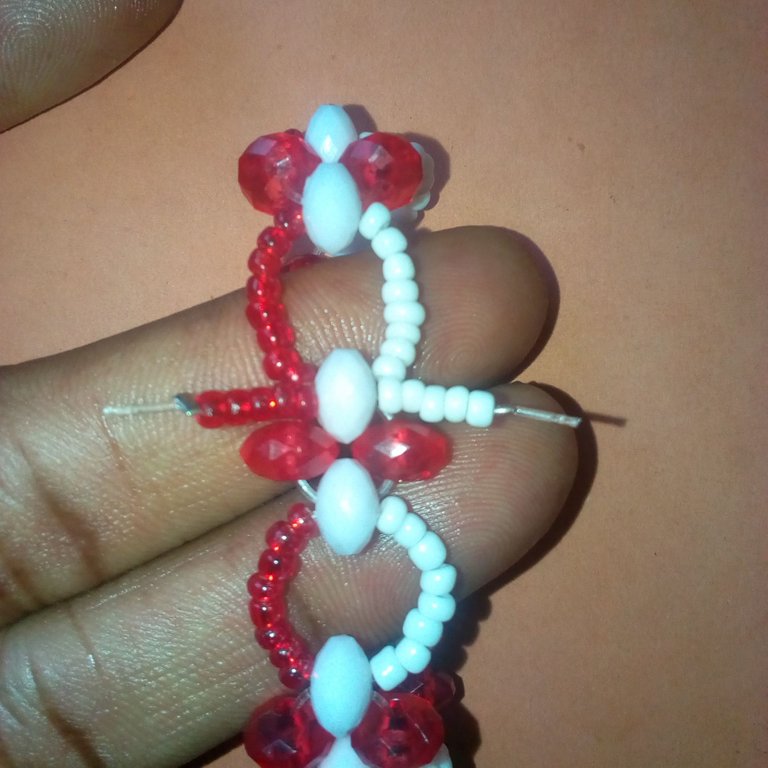
Note: You’re expected the keep repeating the above procedures until you finish inserting a total of 48 pieces of white sand bead, 48 pieces of red sand bead, 12 pieces of white diamond shape bead, and 12 pieces of red diamond shape bead. After doing all that, use the last left nylon line to insert the first white diamond shape bead inserted. Do the same to the right nylon line. This will make the bracelet form a round shape. After that, insert 5 pieces of white sand bead to the left nylon line and use a bead stopper to hold. To the right side of the nylon line, insert 5 pieces of the red sand bead and then use a bead stopper to hold. This will make the white sand bead in total used to complete 53 pieces and the same 53 red sand beads used.


The first image was edited using Picsart.
Thank you for sharing this post in the DIYHUB Community!
Your content got selected by our fellow curator tibfox & you just received a little thank you upvote from us for your great work! Your post will be featured in one of our recurring compilations which are aiming to offer you a stage to widen your audience within the DIY scene of Hive. Stay creative & HIVE ON!
Please vote for our hive witness <3
You made it well, the process are easier, thanks for posting....
Welcome, sir. I appreciate your comment.
You really take time to break it down for easy understanding. Thank for sharing
Thanks for the awesome love for the bracelet.