🔧MANTENIMIENTO y CAMBIO DE BOCINAS DE VENTILADOR🪛MAINTENANCE AND REPLACEMENT OF FAN HORNS🔧
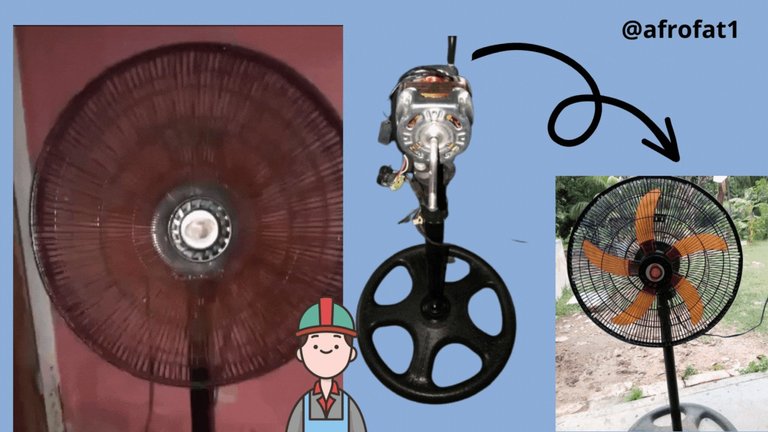
Feliz y bendecido día tengan todos los integrantes de esta gran familia de hive,hoy quiero agradecerles por el apoyo y recibimiento que tuve en esta bonita comunidad de @hivemotors,espero seguir trabajando y trayendo contenido de calidad para todos ustedes,bueno con la ayuda de Dios así será.
Con todo esto hoy quiero hablarles un poco sobre un ventilador que había comprado hace unos 6 meses y que hace un tiempo venía presentando fallas al arrancar,sonaba un poco extraño y había que ayudarlo para que arrancará,hace un tiempo un ventilador pequeño que le había comprado a mi hija había prestado la misma falla,solo que el anterior arrancaba pero con poca fuerza,y me dije lo voy a revisar, al desarmarlo por completo me di cuenta que eran las bocinas que estaban sucias y le hacía falta un cambio o hacerle mantenimiento,recordé que tenia de repuesto 2 bocinas que había tenido guardada hace algún tiempo y decidí reemplazarlas.
Ahora les estare presentando el paso a paso y los materiales que utilize para el CAMBIO Y MANTENIMIENTO DEL VENTILADOR que son los siguientes:
🪛 DESTORNILLADOR DE ESTRIAS
🪛 DESTAPADOR DE PALA
🪛LIJA NRO 400
🛢️ACEITE 3 EN 1
🪛BOCINAS DE REPUESTO
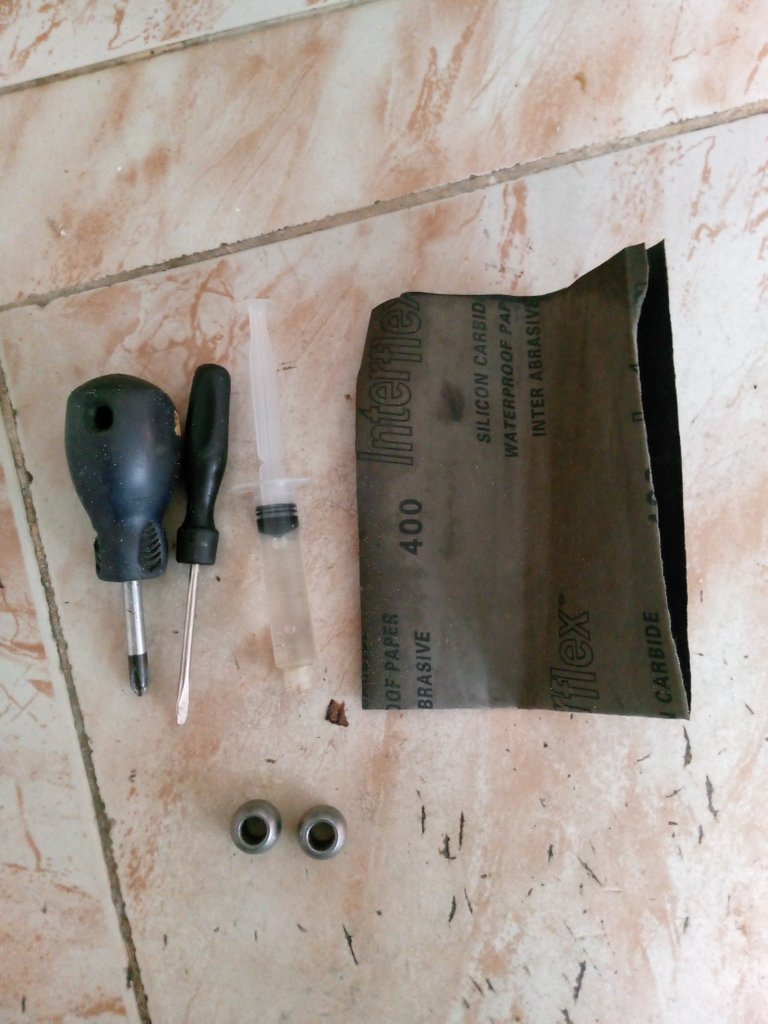
A continuación les estare presentando el paso a paso utilizado para la reparación de dicho ventilador
PASO 1
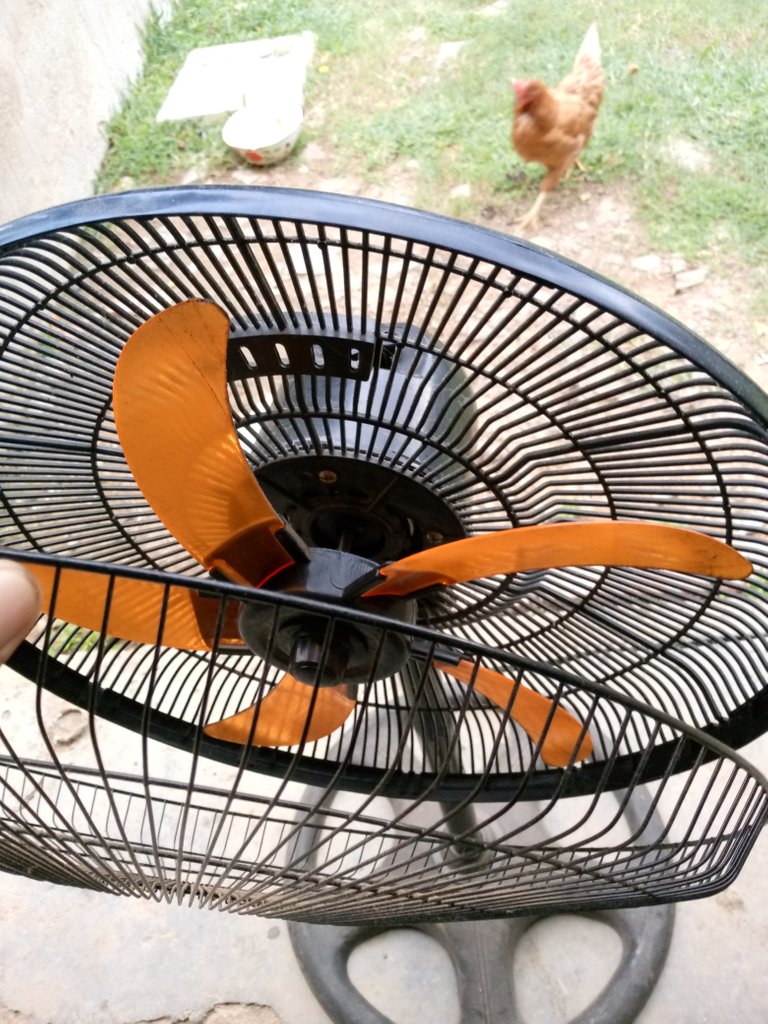
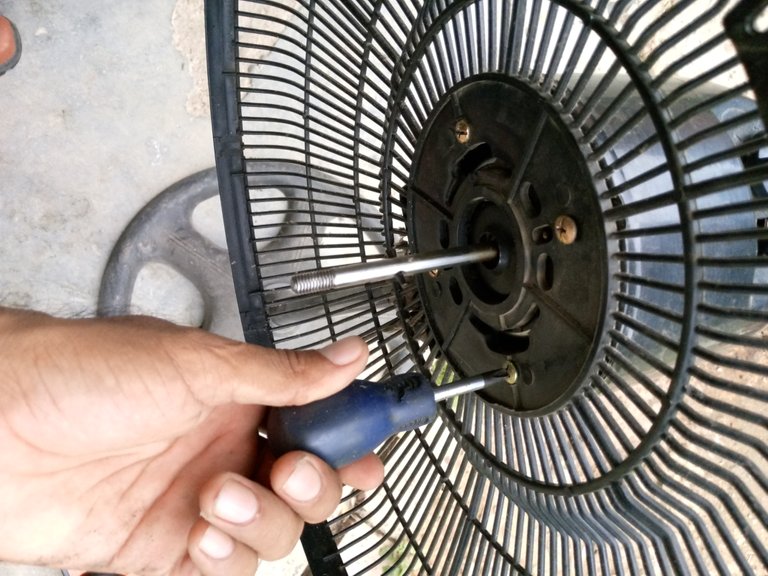
Lo primero que hice fue desarmar poco a poco el aparato,primero retire la careta o el protector,luego fuimos retirando el aspa y posteriormente la tapa,fuimos poco a poco hasta que quedó solo el caparazón
PASO 2
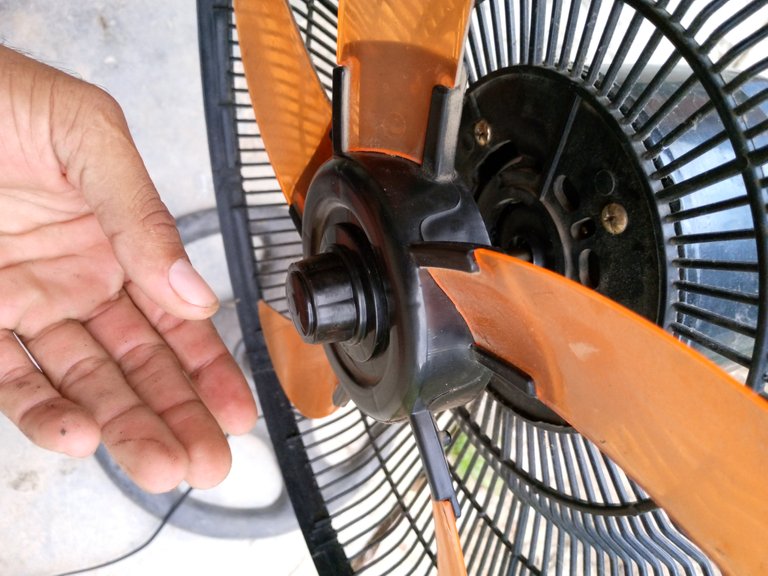
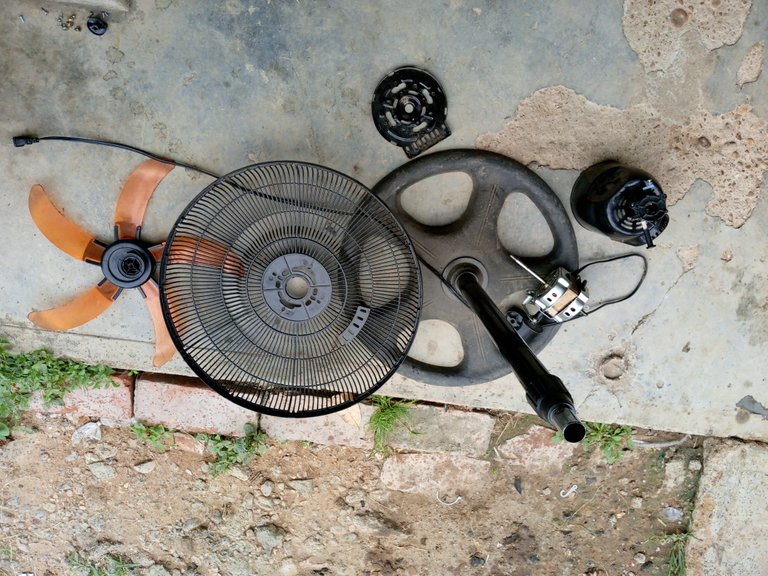
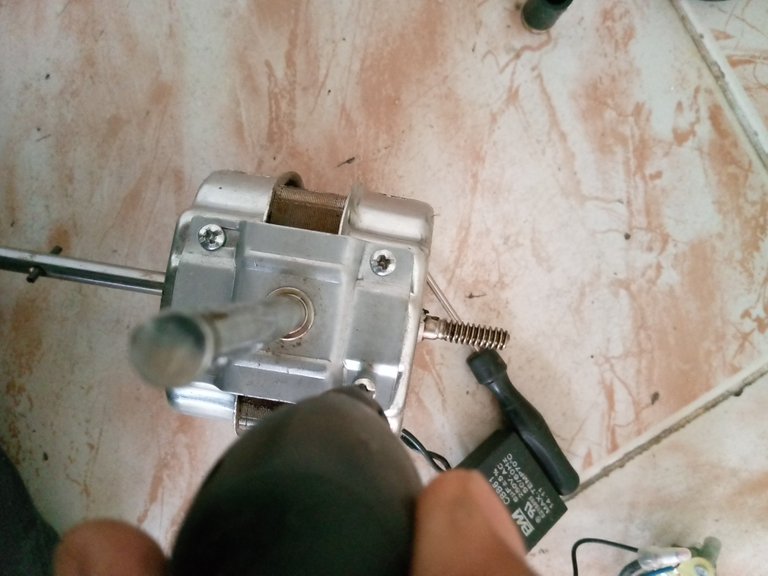
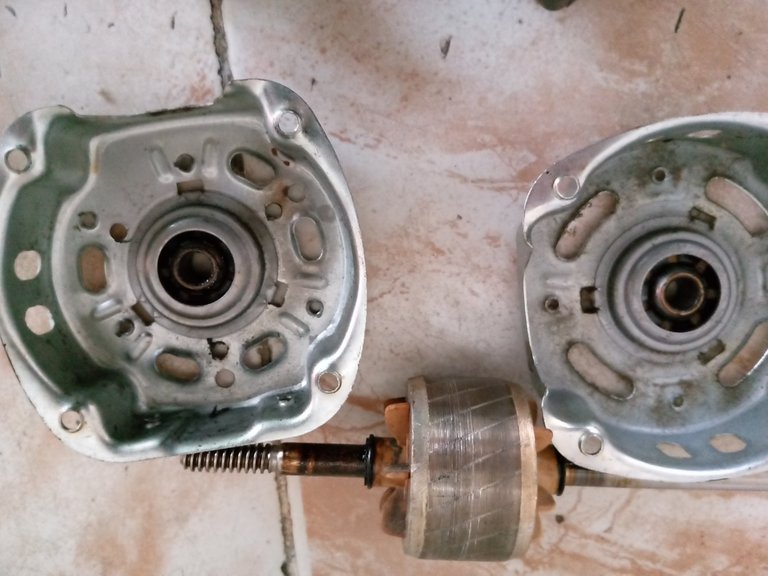
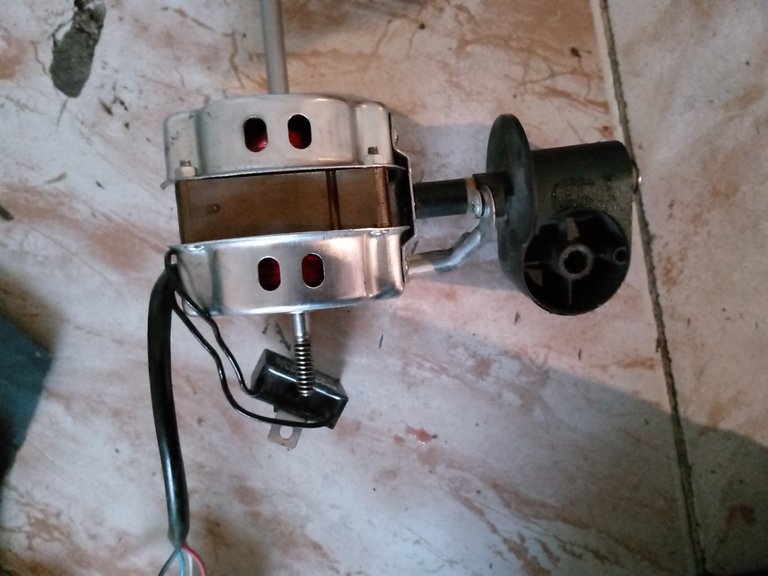
Para el paso siguiente lo que hice fue despegar del soporte el motor para trabajarlo más cómodo,luego retiramos los tornillos para así poder ver en qué estado estaban las bocinas,como podrán tenían un color negro y estaban con un aceite quemado alrededor
PASO 3
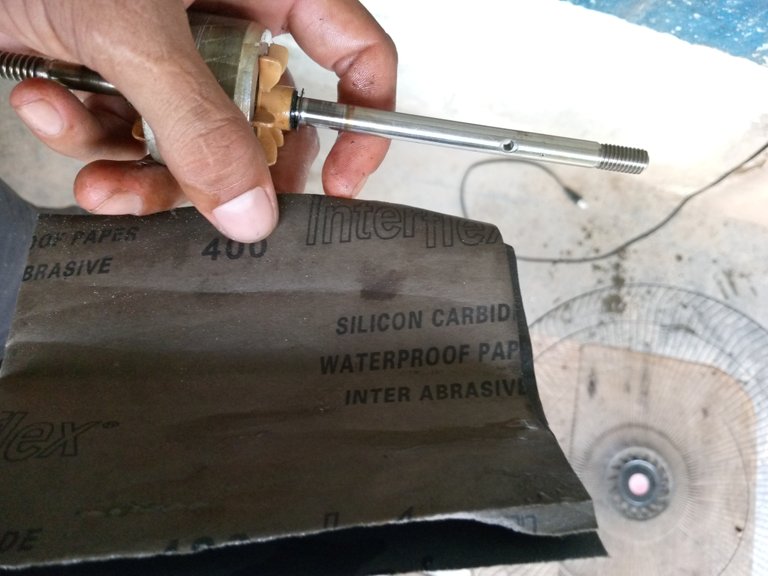
Lo siguiente que hicimos fue retirar el protector de las bocinas,sacarlas para así reemplazarlas por las nuevas,pero antes de eso tomamos un pedazo de lija y comenzamos a pasarlas por el eje del ventilador,con la finalidad de eliminar cualquier residuo de de aceite u otra cosa que impida el funcionamiento del ventilador de pie
PASO 4
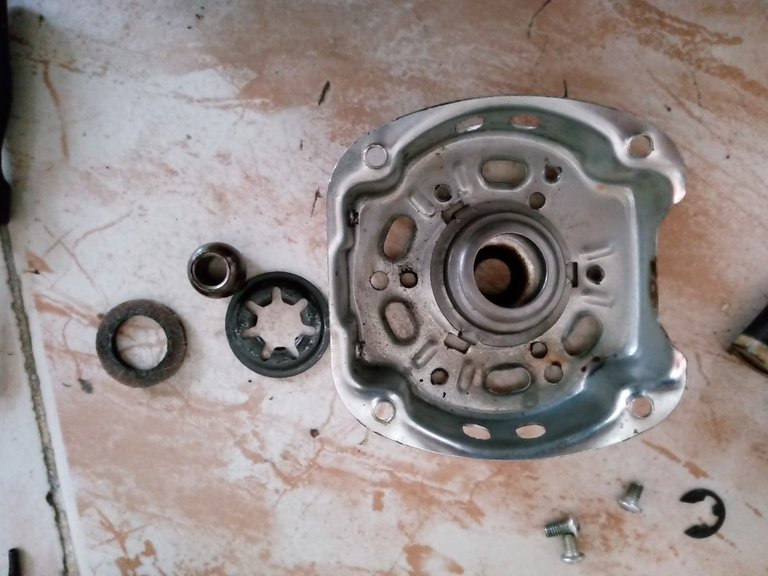
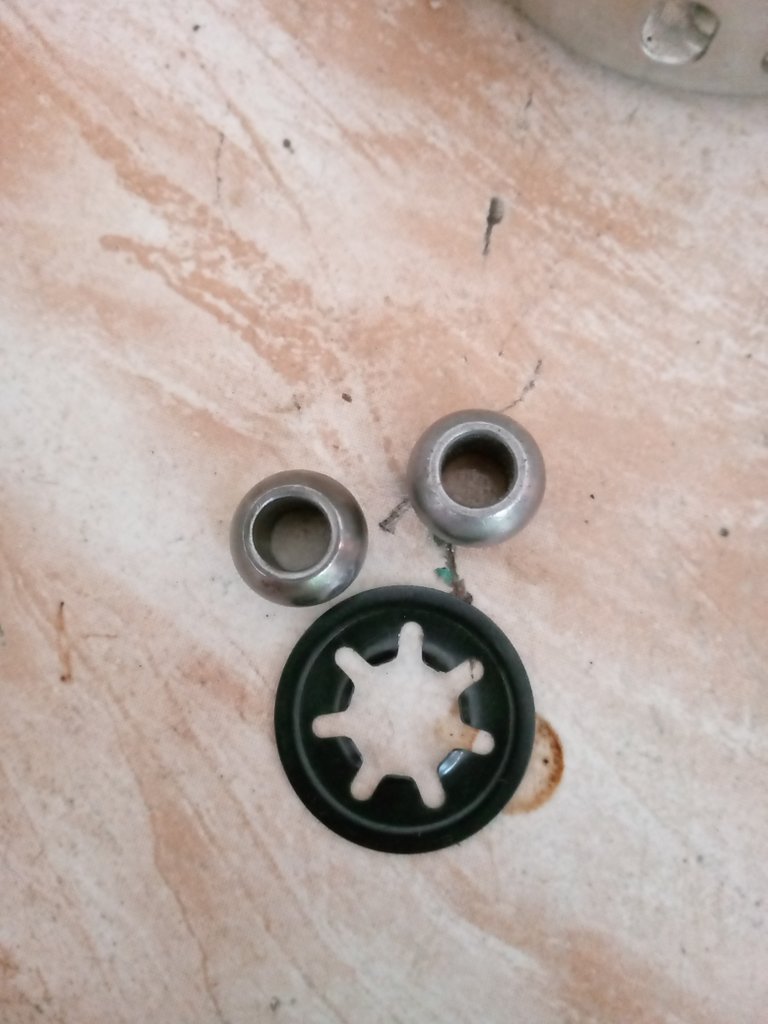
Lo que hicimos luego fue quitar el seguro de las bocinas para remplazarlas,para quitar este seguro,vamos a la parte de atrás y nos damos cuenta que tiene una especie de sorporte,con la ayuda del destornillador de pala levantamos el soporte y sacamos las bocinas,al quitar el seguro limpiamos toda la grasa que habia alrededor y reemplazamos las bocinas.
PASO 5
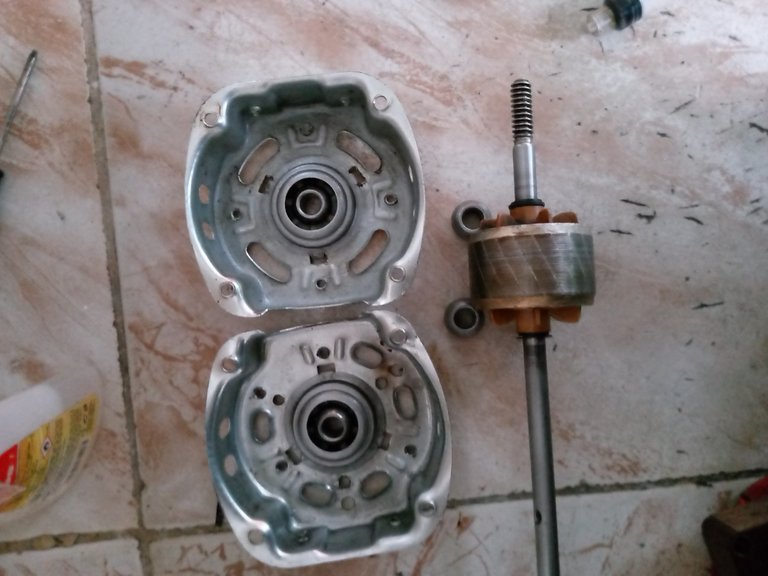
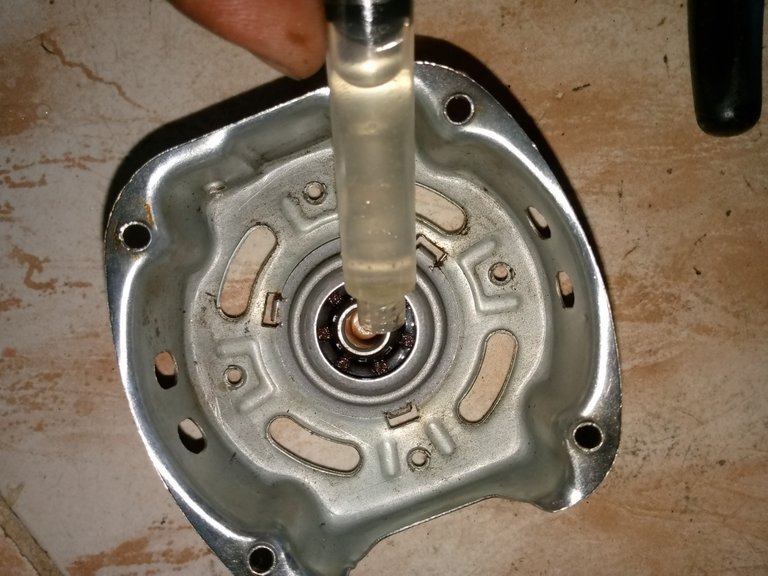
habiendo colocado las nuevas bocinas lo haremos sera,con la ayuda de una jeringa tomaremos un poco de aceite en este caso 3en1 y le echamos en el medio de las bocinas y alrededor ellas,que el tiene una especie de filtro que es lo que mantiene lubricado el eje y hace que el ventilador no se recaliente.
PASO 6
Para asegurarme que el motor funcione y lo probamos antes de armarlo, después de haberlo probado y funcionó como habia de esperarse.y ahora si volvemos a armar el ventilador para darle un buen uso.
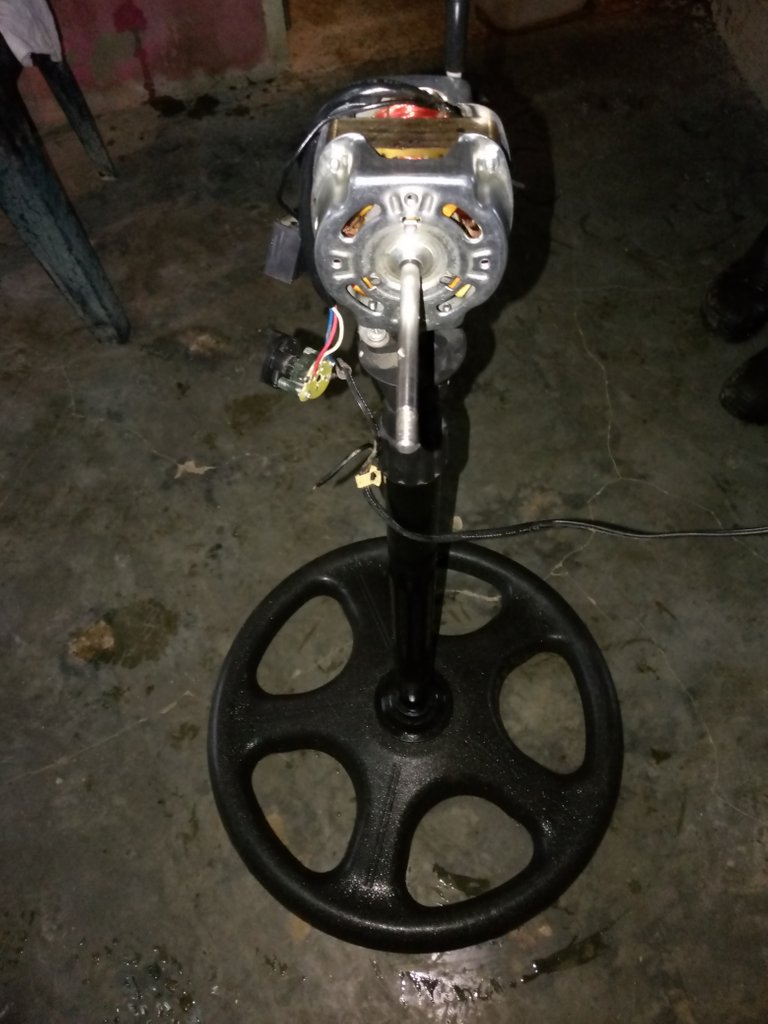
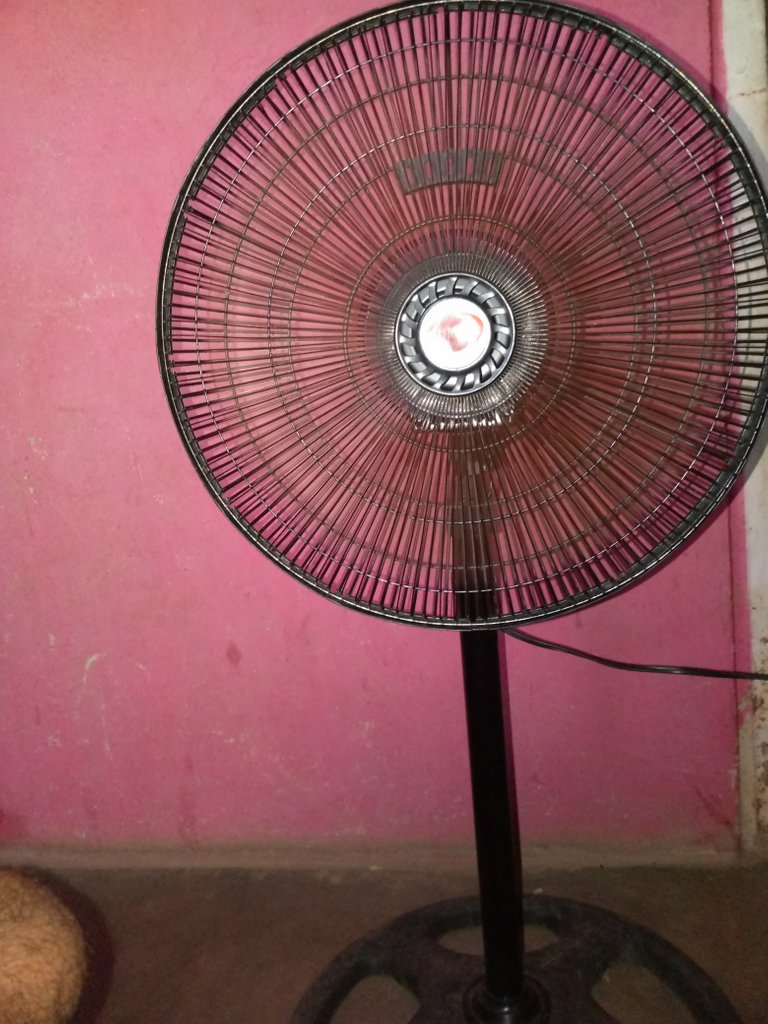
Este fue el paso a paso del mantenimiento y cambio de bocinas de un ventilador de pie,muchas gracias por su atención espero les sirva de ayuda a la hora de hacerle mantenimiento y cambio de bocinas
Muchas gracias por su atención
- Las fotos son de mi autoria y fueron tomadas por mi teléfono tenco spark go 2023.
- Traductor utilizado Deelp traductor
- Las imágenes son editadas mediante la aplicación editor de fotos polish y los separadores fueron editados mediante la aplicación editor de fotos canva.

Happy and blessed day have all the members of this great family of hive,today I want to thank you for the support and reception I had in this beautiful community of @hivemotors,I hope to continue working and bringing quality content for all of you,well with God's help it will be so.
With all this today I want to talk a little about a fan that I had bought about 6 months ago and that some time ago had been presenting failures to start, it sounded a little strange and had to help him to start, some time ago a small fan that I had bought my daughter had given the same failure,I said to myself that I was going to check it, when I disassembled it completely I realized that it was the horns that were dirty and needed to be changed or serviced, I remembered that I had 2 spare horns that I had kept some time ago and I decided to replace them.
Now I will be presenting the step by step and the materials I used for the CHANGE AND MAINTENANCE OF THE FAN which are as follows:
🪛 SPLINE SCREWDRIVER
🪛 BLADE PLUNGER
🪛 NR. 400 FIXER
🛢️ACEITE 3 IN 1
🪛 SPARE HORNS

Here is the step by step procedure used to repair the fan.
STEP 1
The first thing I did was to gradually disassemble the device, first remove the mask or the protector, then we removed the blade and then the cover, we went little by little until only the shell was left.


STEP 2
For the next step what I did was to detach the motor from the support to work it more comfortably, then we removed the screws so we could see in what state were the horns, as you can see they had a black color and were with a burnt oil around them.


STEP 3
The next thing we did was to remove the speaker guard, take them out and replace them with the new ones, but before that we took a piece of sandpaper and began to pass them through the fan shaft, in order to remove any oil residue or anything else that would prevent the operation of the standing fan.

STEP 4
What we did next was to remove the latch of the horns to replace them, to remove this latch, we go to the back and we realize that has a kind of sorporte, with the help of the screwdriver shovel lift the bracket and remove the horns, to remove the insurance clean all the grease that was around and replace the horns.


STEP 5

having placed the new horns we will do it will be, with the help of a syringe we will take a little oil in this case 3in1 and we throw it in the middle of the horns and around them, that he has a kind of filter that is what maintains lubricated the axis and makes that the fan does not overheat.

STEP 6
To make sure the motor works and we tested it before we put it back together, after we tested it and it worked as expected, and now we put the fan back together to put it to good use.


This was the step by step of the maintenance and change of horns of a standing fan, thank you very much for your attention I hope it will be helpful when it comes to maintenance and change of horns.
Thank you very much for your attention
- The photos are my authorship and were taken by my tenco spark go 2023 phone.
- Translator used Deelp translator.
- The images are edited using polish photo editor application and the separators were edited using canva photo editor application.
Muy útil su post amigo sin lugar a dudas, gracias por compartirlo con nosotros. Saludos y bendiciones.
Muchas gracias es un gusto para mí poder ayudar con este tutorial
Congratulations @afrofat1! You have completed the following achievement on the Hive blockchain And have been rewarded with New badge(s)
Your next target is to reach 2750 upvotes.
You can view your badges on your board and compare yourself to others in the Ranking
If you no longer want to receive notifications, reply to this comment with the word
STOPCuan importante es este cambio de bocinas, una de las principales razones por las cuales los ventiladores sufren y se queman sus motores, me parece que hizo un buen trabajo, felicidades.
Muchas gracias por su valiosa opinión