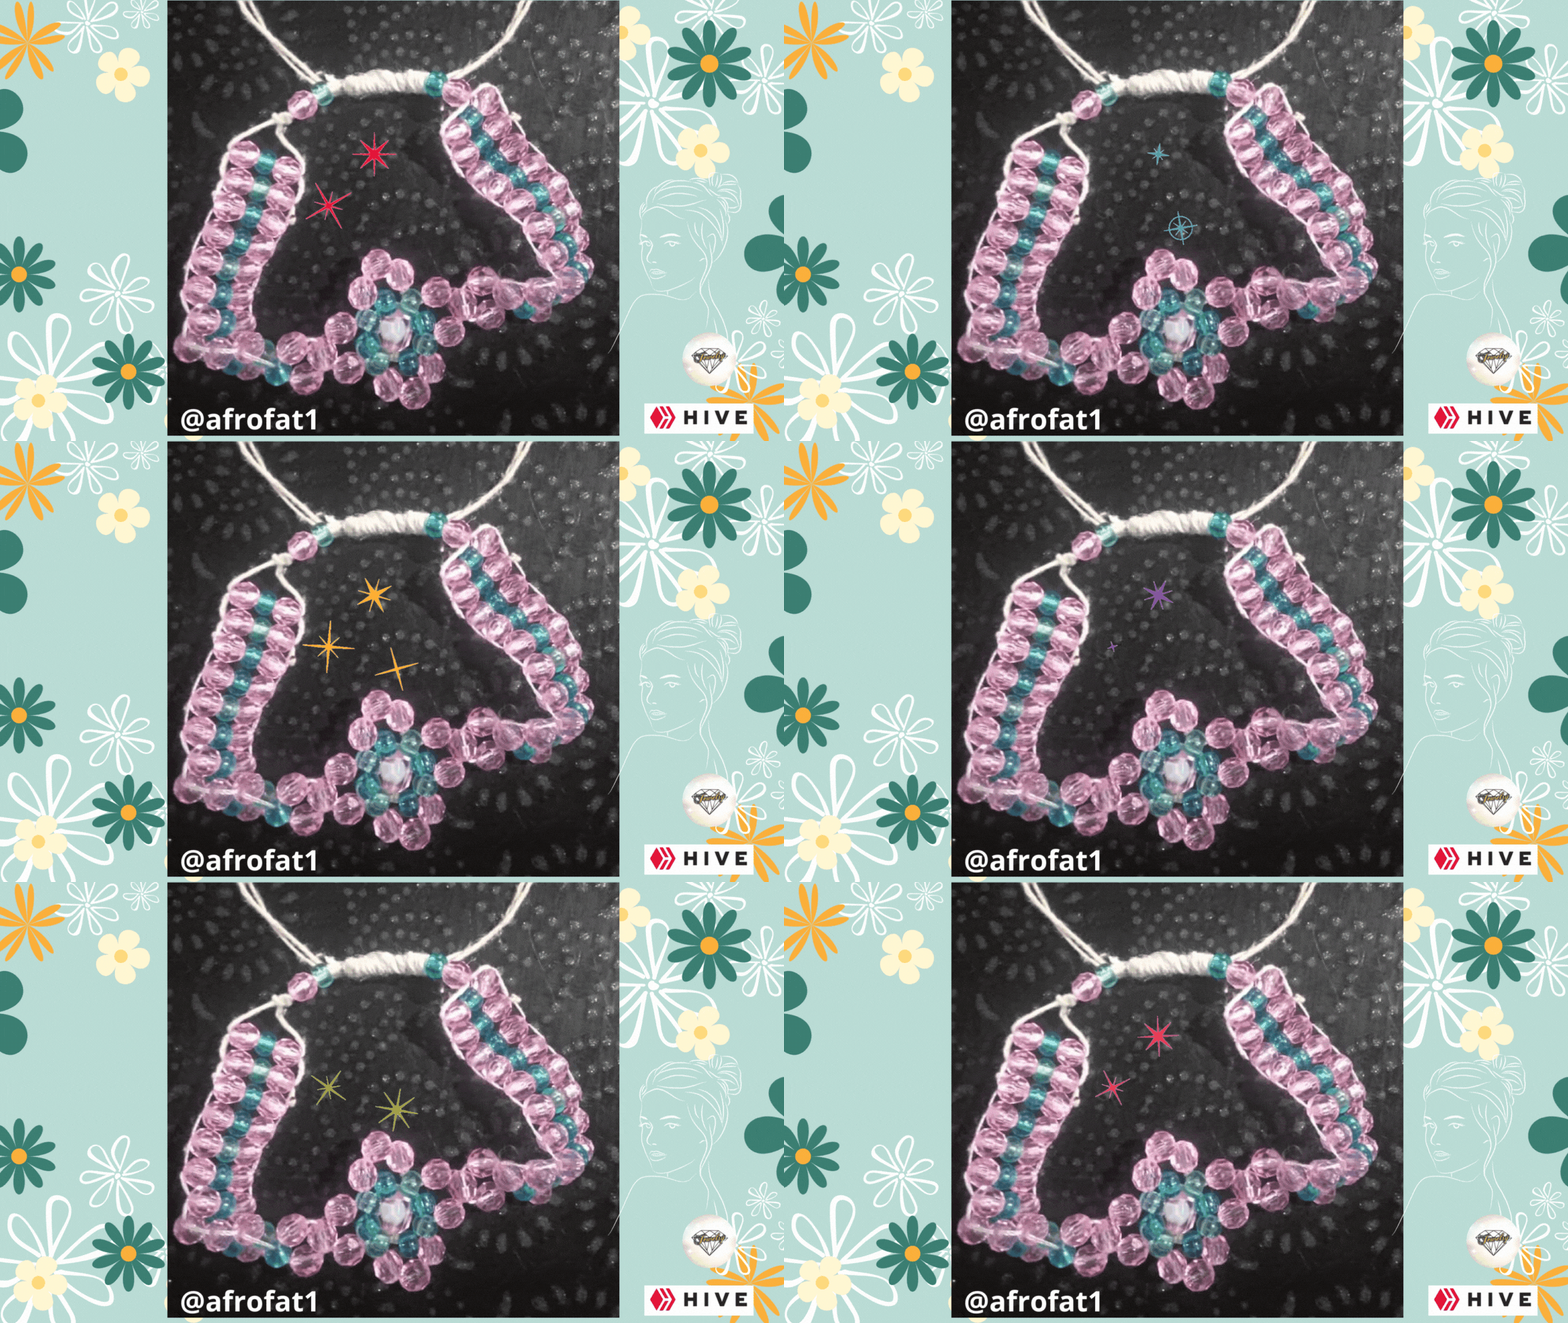
💎💎💫HERMOSO Y DELICADO BRAZALETE PARA TODO TIPO DE OCASIÓN💫💎💎 // 💎💎💎💫BEAUTIFUL AND DELICATE BRACELET FOR EVERY OCCASION💫💎💎💎.
Hola amigos de hive y @jewerly, es un placer estar nuevamente con ustedes deseándole muchas bendiciones y éxitos en sus vidas.
Estoy agradecido primeramente con Dios y con todos ustedes por la gran aceptación que me han brindado en esta hermosa comunidad de @jewerly en especial a las personas que me han apoyado y guiado a la hora de hacer mis publicaciones,@divergente1 gracias por estar siempre orientándome en cada paso q voy a dar,como todo novato necesita alguien que lo aconseje y lo oriente, tu has sido ese maestro que constantemente me ha ayudado,gracias por eso😘
A mi esposa @yanetzi1 por incentivarme a unirme a este medio,gracias por enseñarme a crear y diseñar estos accesorios que he traído y seguiré diseñando para todos ustedes con mucho cariño🥰😍
Mis queridos amigos los que no tuvieron la oportunidad de regalarle algo a su pareja este pasado 14 de febrero tienen la oportunidad de ver y disfrutar esta hermosa creación muy fácil de hacer y obsequiarlo para poder reivindicarse con su pareja👩❤️💋👨

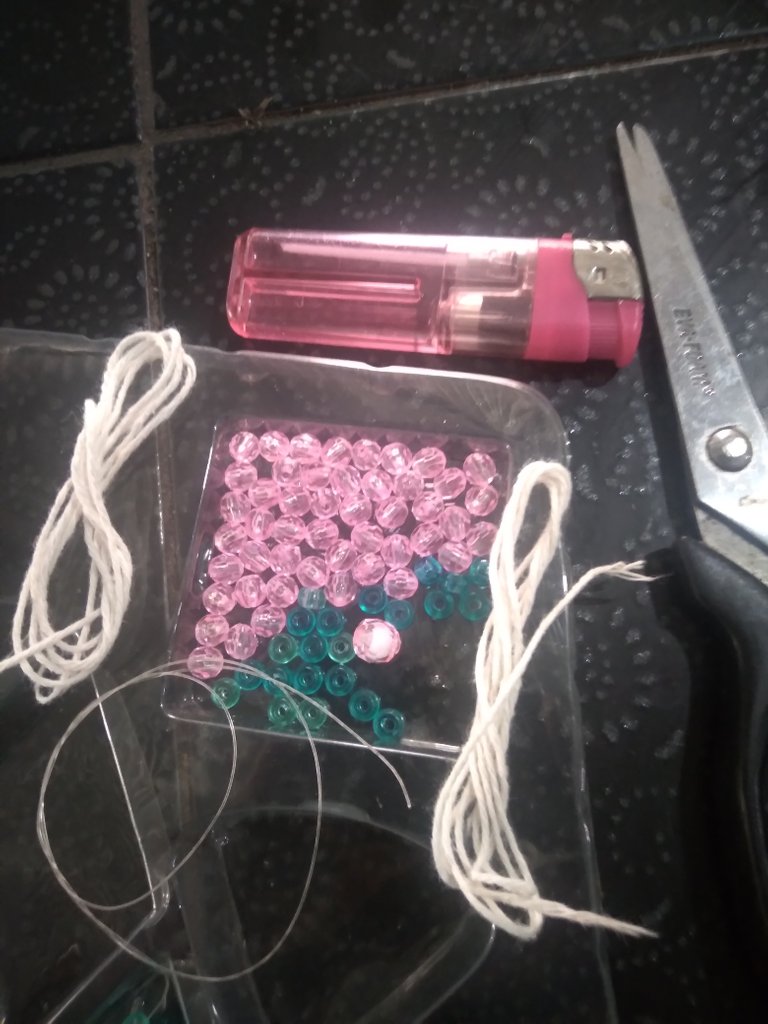
Materiales Utilizados:
💫56 perlas de color Rosado
💫32 mostacillas de color azul
💫1 perlas grande de color rosado
💫30cm de Nylon transparente
💫2 pedazos de hilo blanco de 70cm de largo
💫1 Tijera
💫1 encendedor
💫2 agujas
Los pasos a seguir se los presento a continuación y son los siguientes
Paso 1
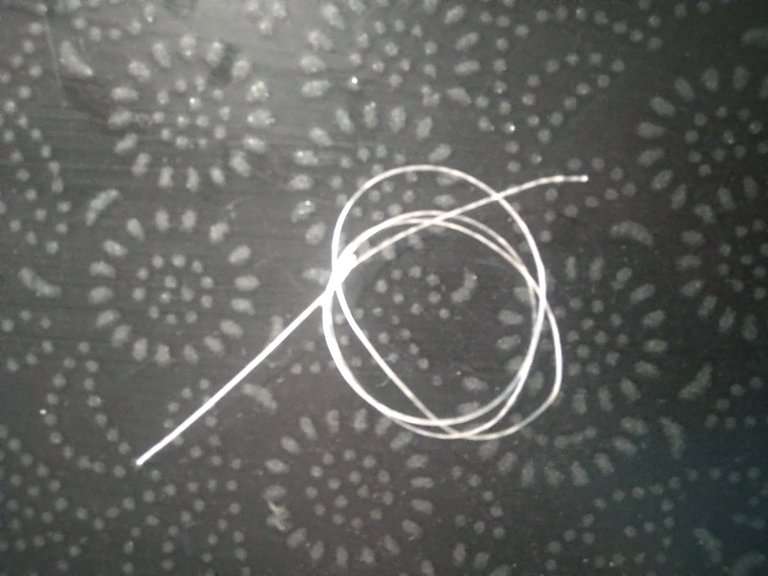
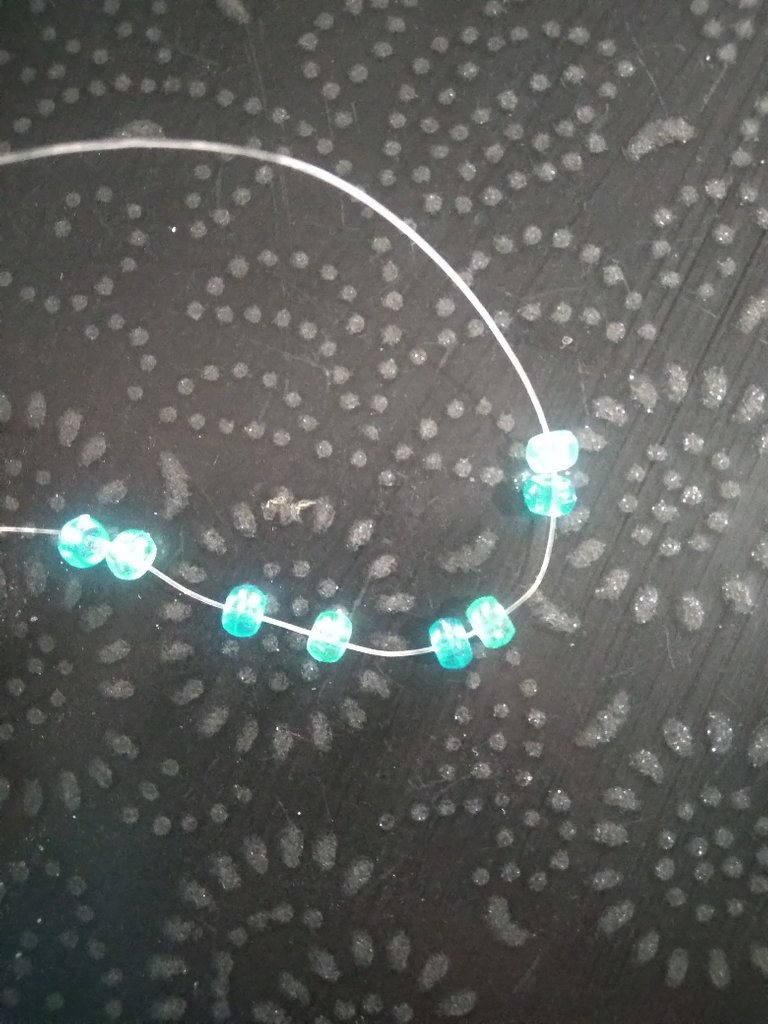
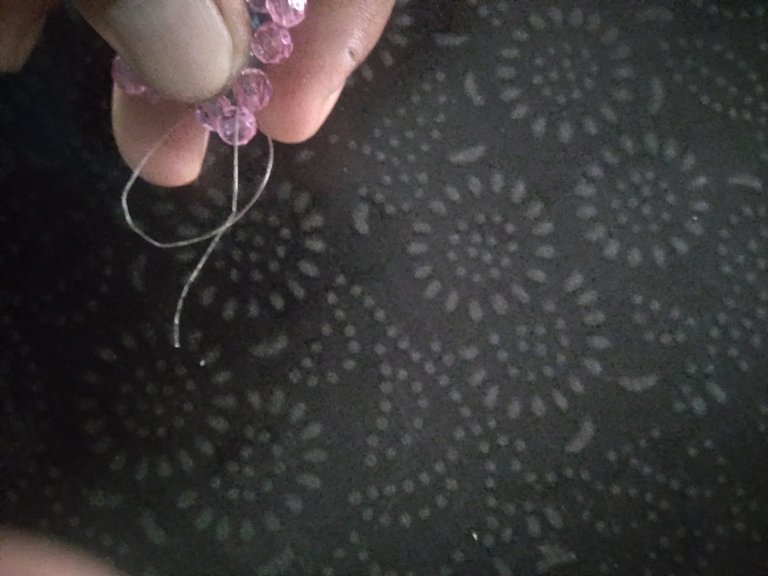
Lo primero q hacer será estirar el nylon,luego introduciremos 8 mostacillas de color azul
Paso 2
Lo siguiente será unir las mostacillas para hacer un circulo.
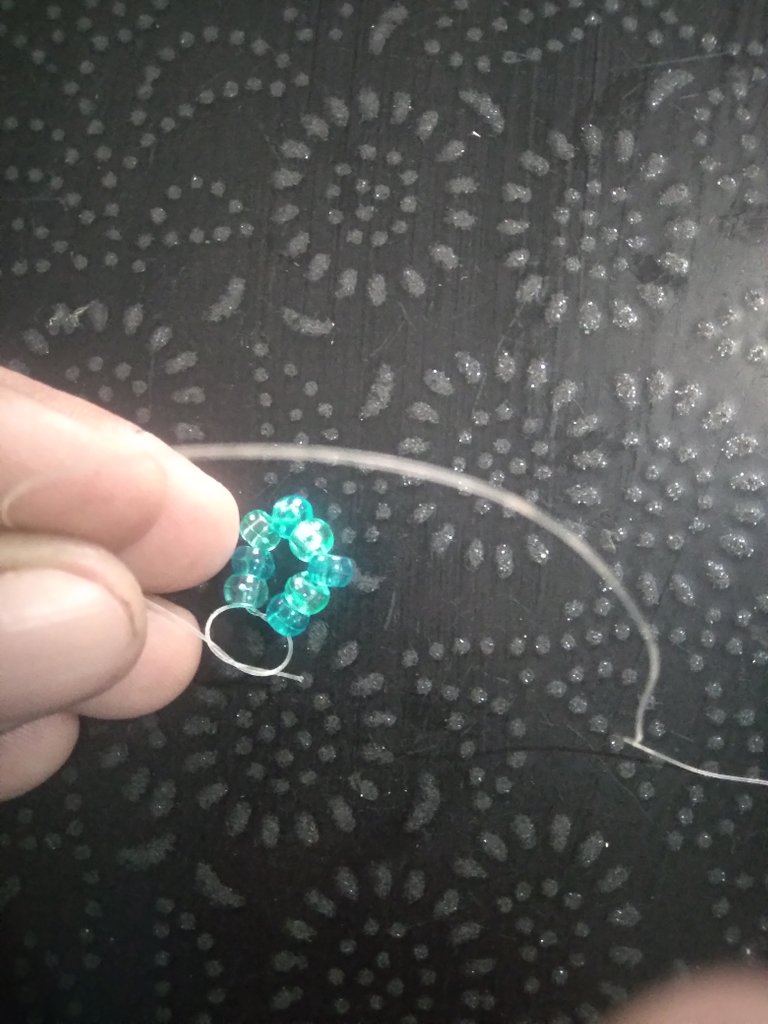
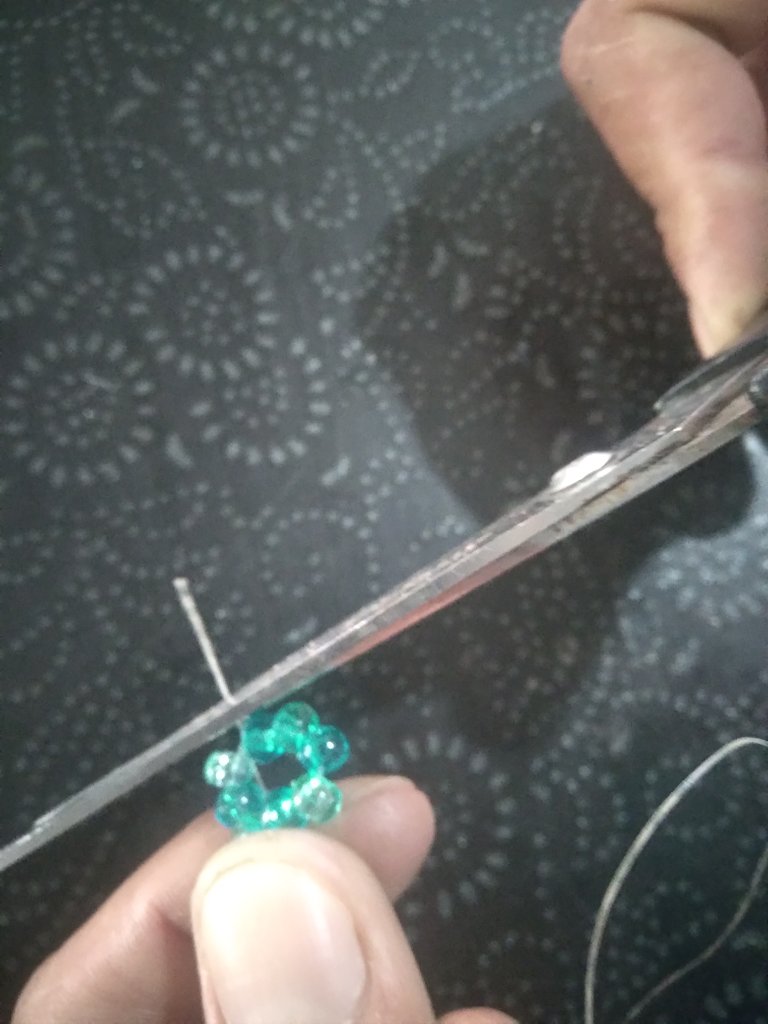
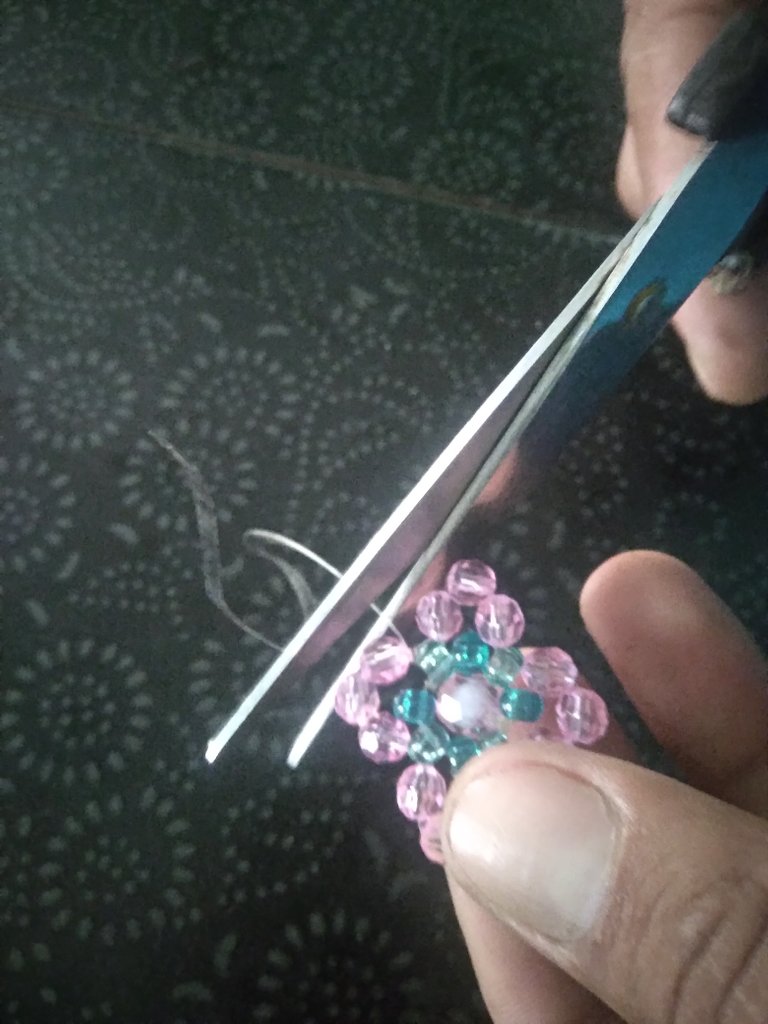
Luego vamos hacer un nudo simple y el sobrante lo cortamos con la Tijera.
Paso 3
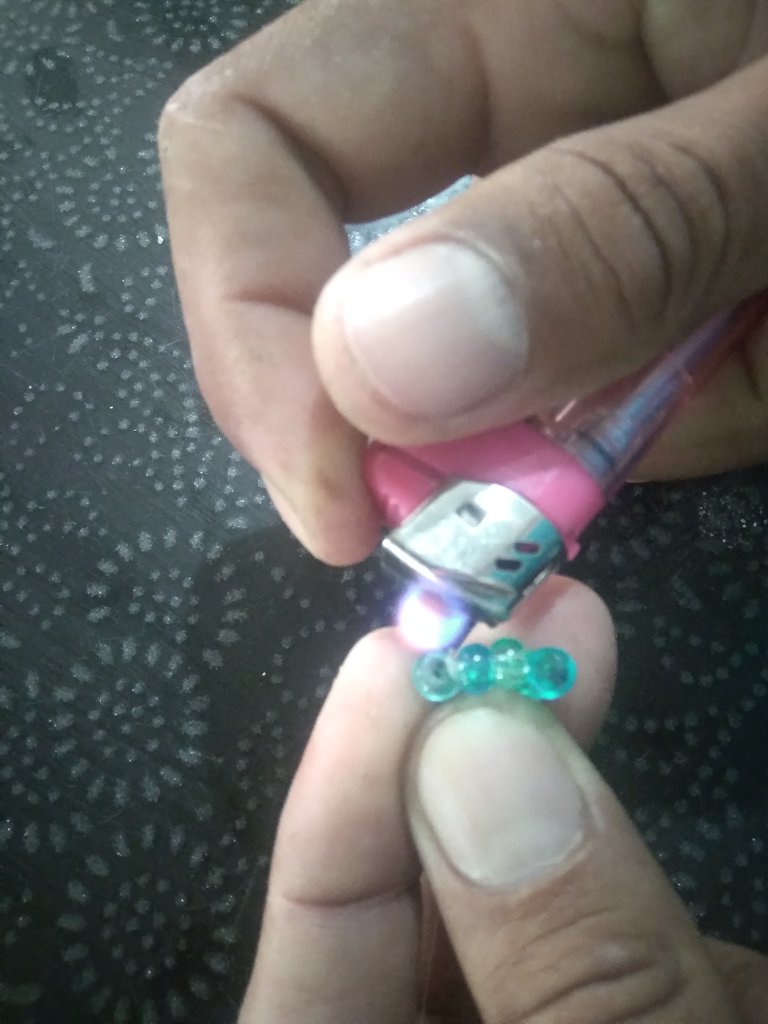
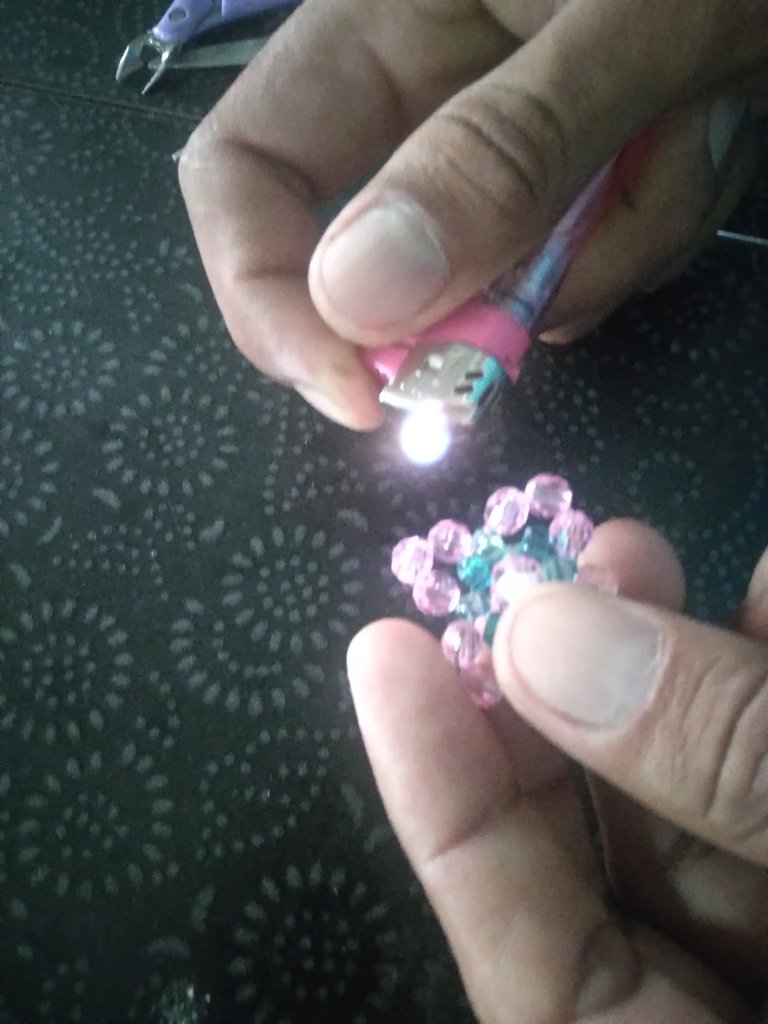
Posteriormente con el encendedor quemamos el excedente del nylon,con mucho cuidado porque este nylon se consume rápidamente.
Paso 4
Tomaremos la piedra Rosa mas grande y la colocaremos en el centro
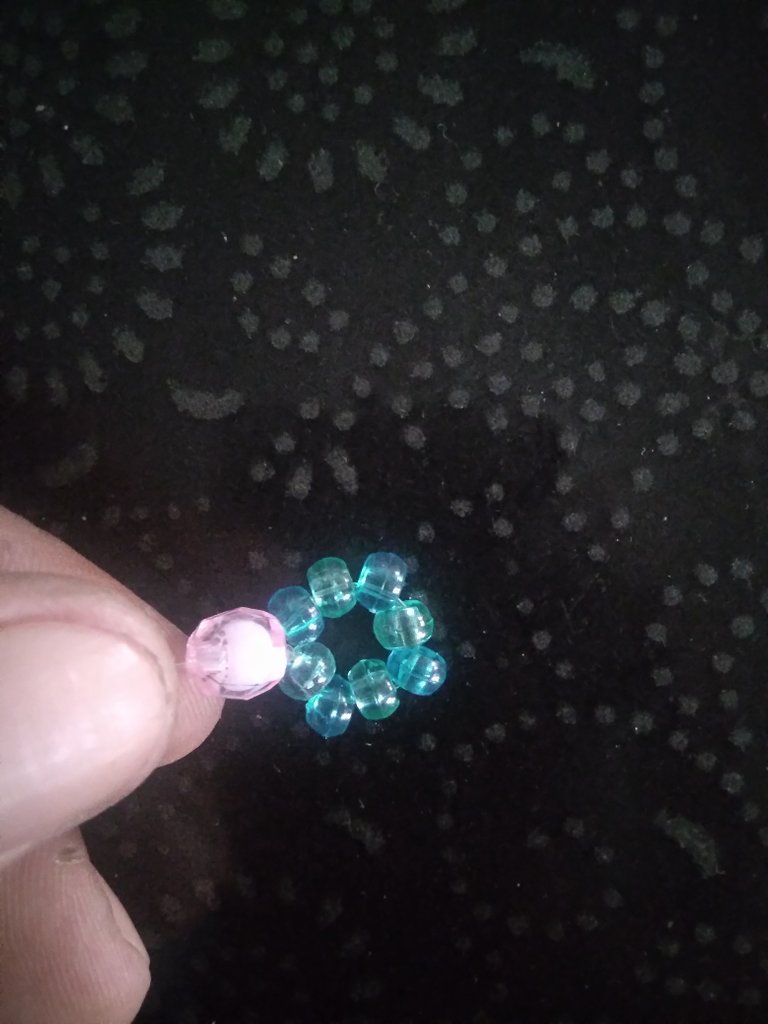
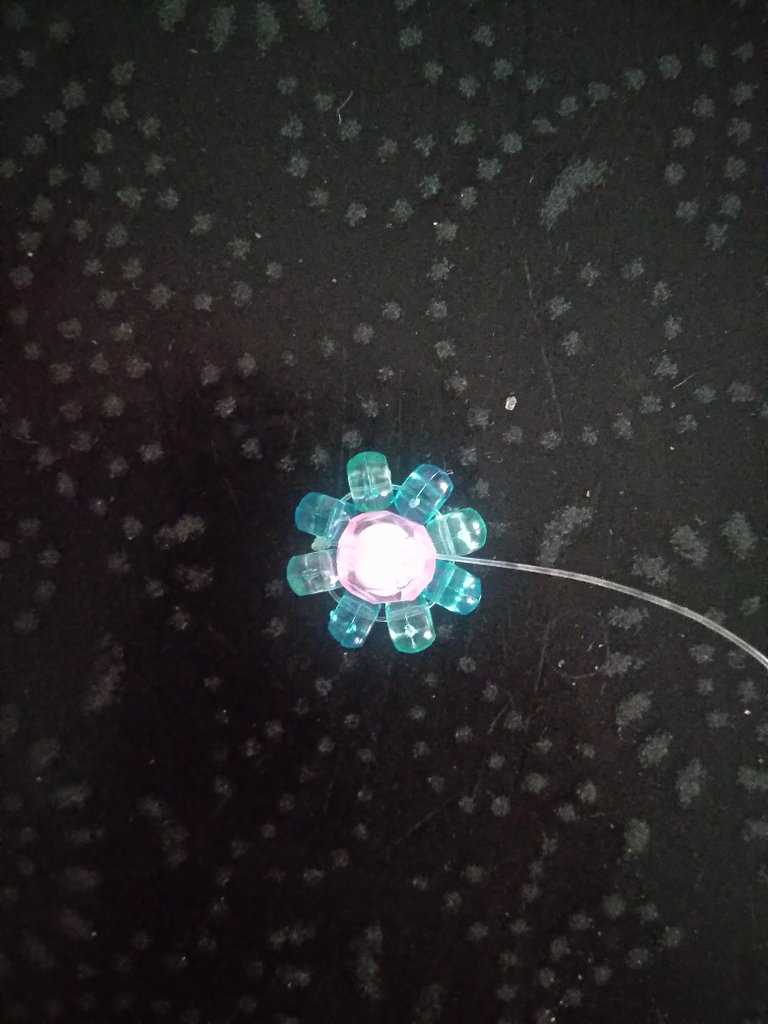
Lo siguiente que haremos es introducir el nylon por una mostacilla azul y con un nudo simple fijamos la piedra para que no se salga.
Paso 5
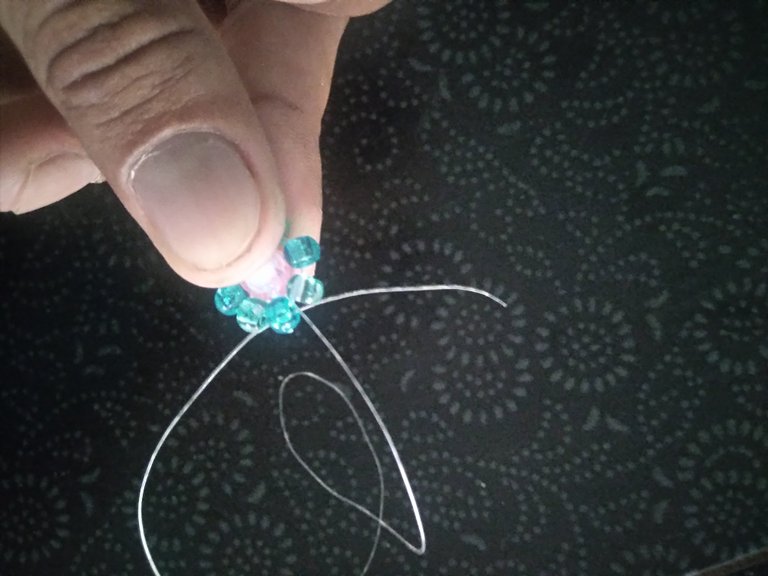
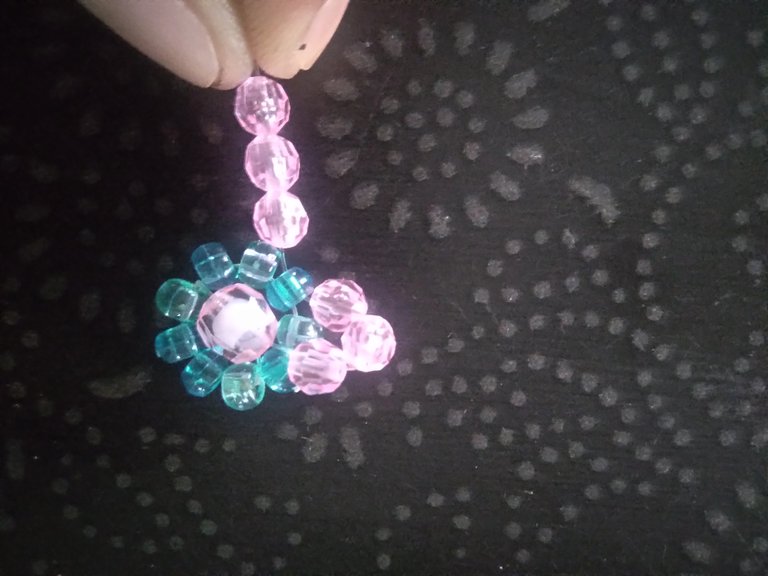
Tomaremos el nylon y lo introduciremos por 3 perlas rosadas
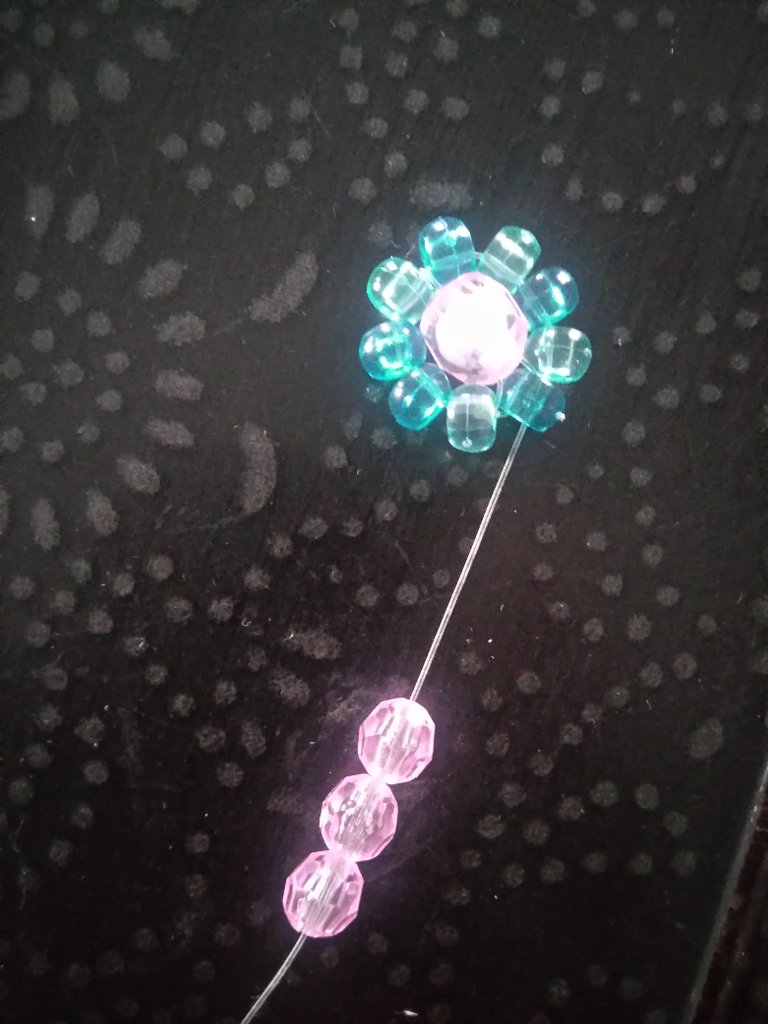
Tiramos de nuestro Nylon y irá quedando de esta manera.
Paso 6
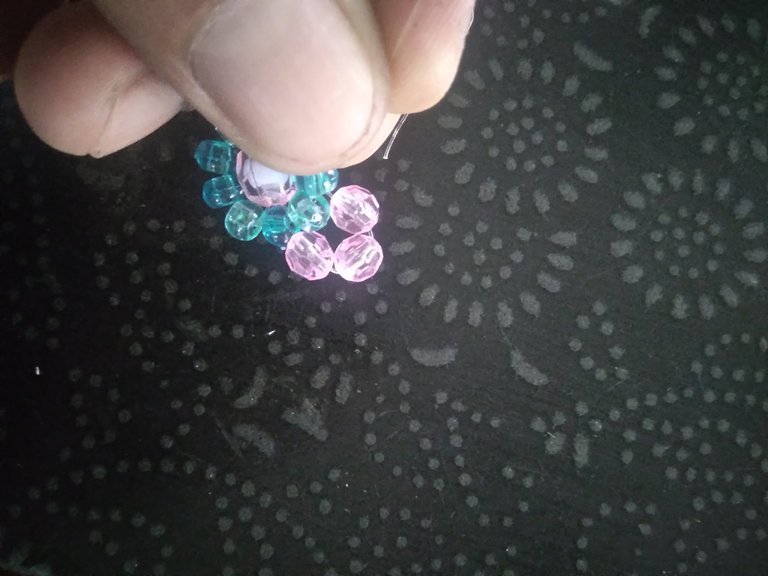
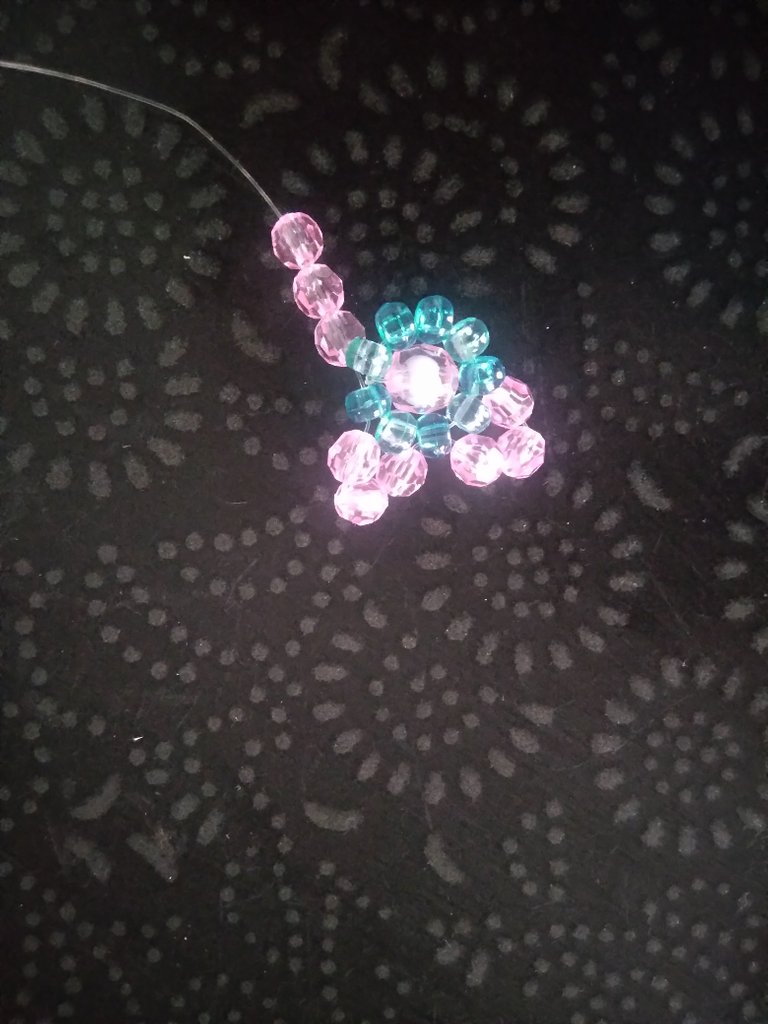
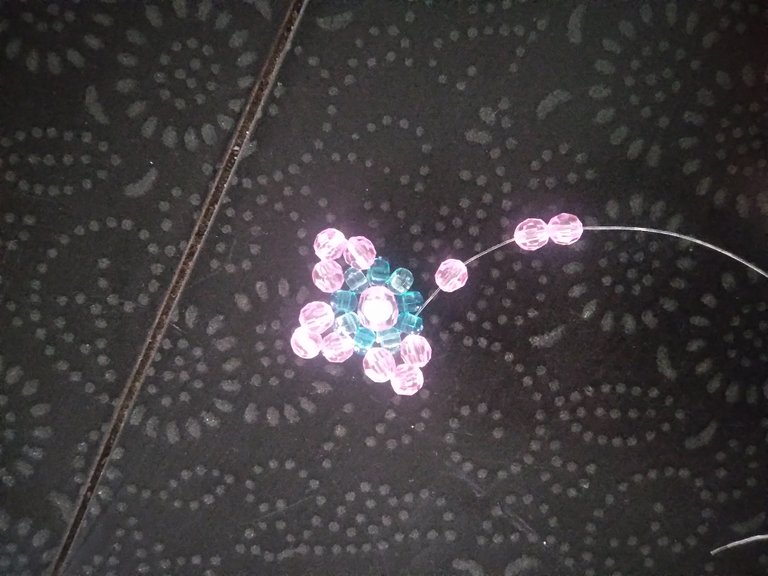
Seguiremos el mismo procedimiento tomando 3 piedras rosadas y la colocaremos de la misma manera que la anterior .
Paso 7
Al completar los 4 lados de nuestro dije,tiraremos un poco para que quede apretado y no se nos vayan a salir nuestras piedras.
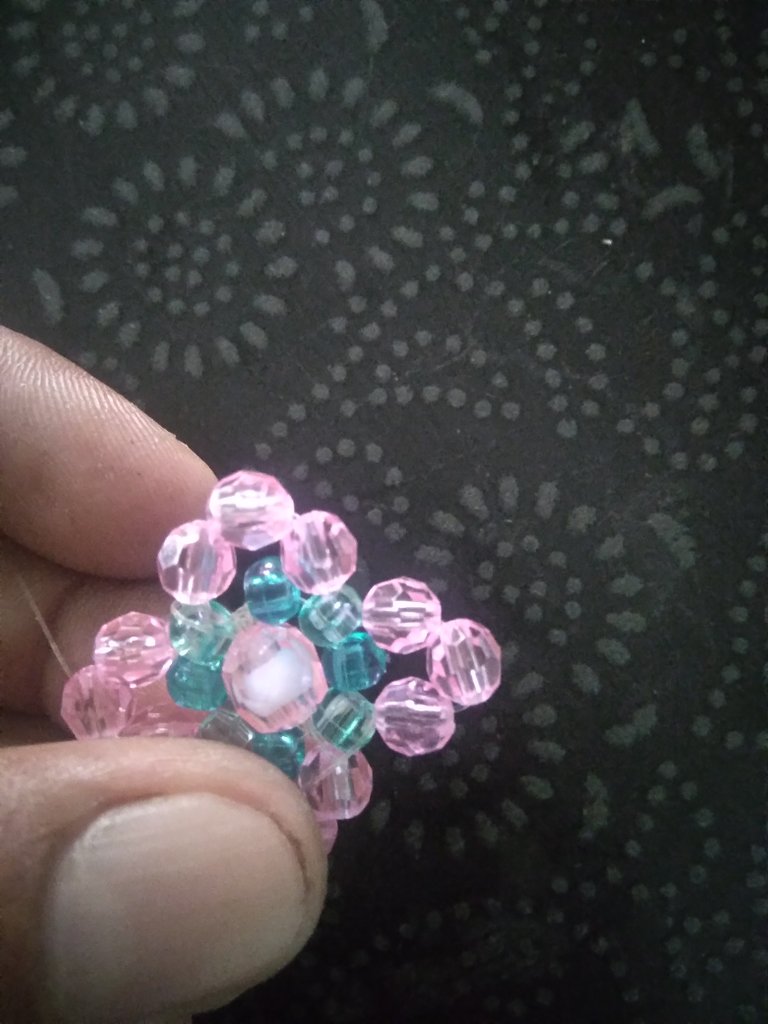
Haremos 2 nudos simples,cortaremos lo restante y quemaremos para sellar nuestro dije.
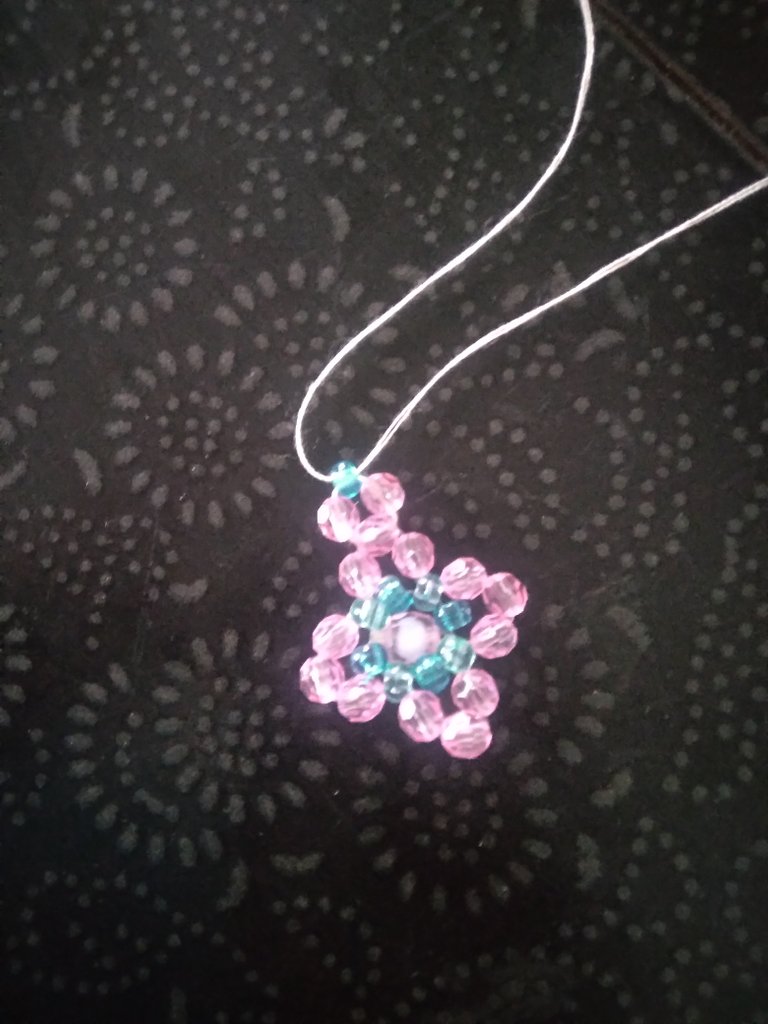
Y ya tenemos nuestro delicado dije para nuestro hermoso brazalete.
Paso 8
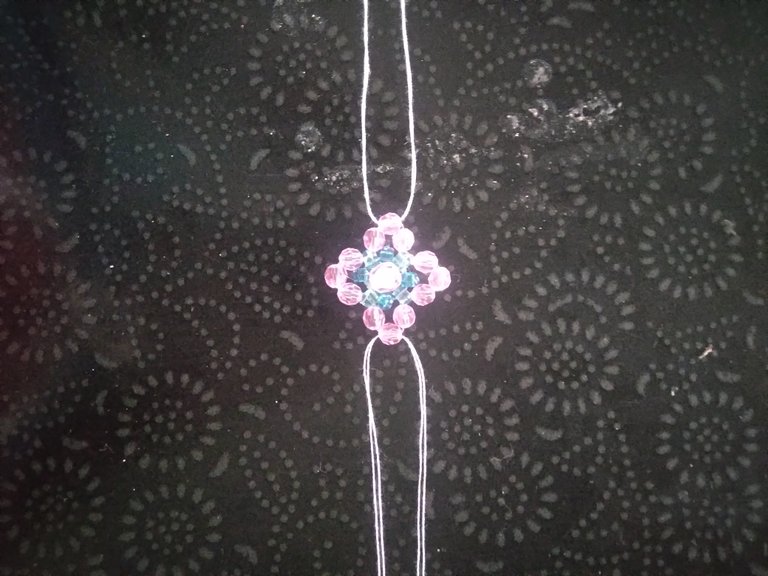
Para continuar con la creación de nuestro brazalete lo que debemos hacer es,tomar los 70cm de hilo blanco y pasarlo por una esquina de nuestro dije.
De igual manera los otros 70 cm de hilo por otro extremo de nuestro dije.
Paso 9
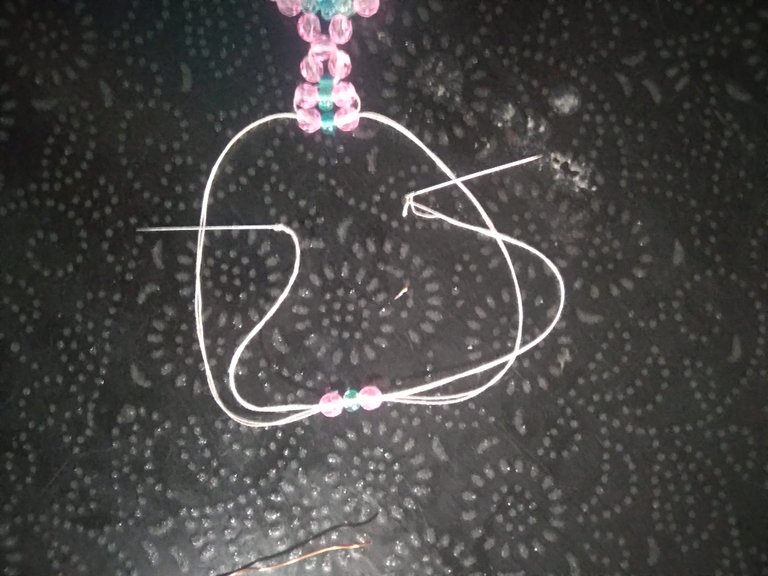
Tomaremos las 2 agujas,introduciremos el hilo en ellas,luego 2 perlas y una mostacilla introduciremos una perla luego la mostacilla y la otra perla
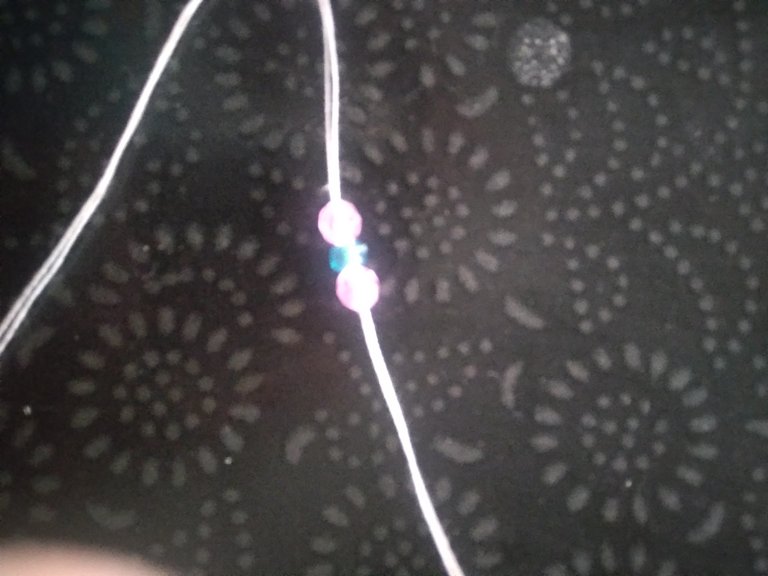
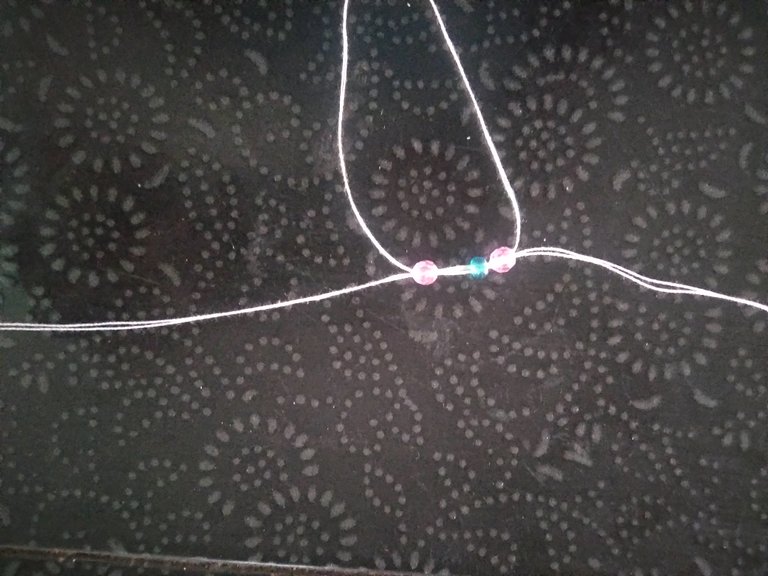
Introduciremos el otro extremo del hilo de derecha a izquierda y tiraremos de el,el cual nos quedará de esta manera
Paso 10
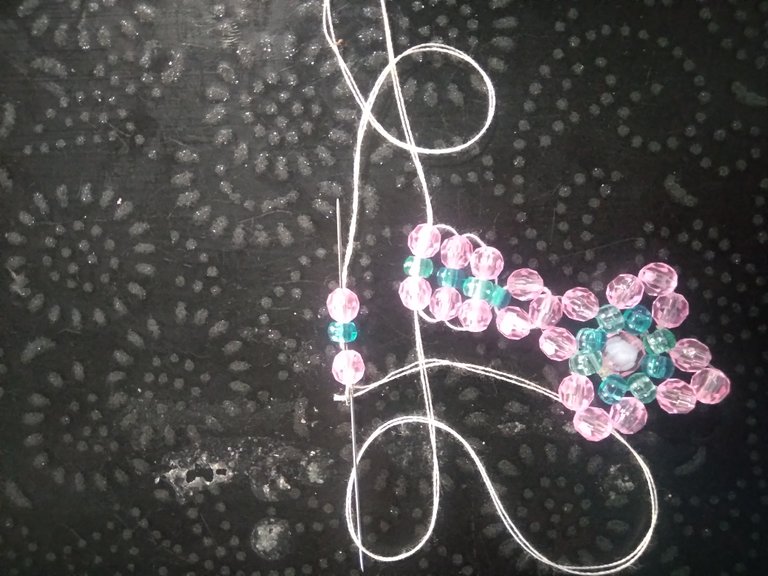
Haremos el mismo procedimiento que el anterior
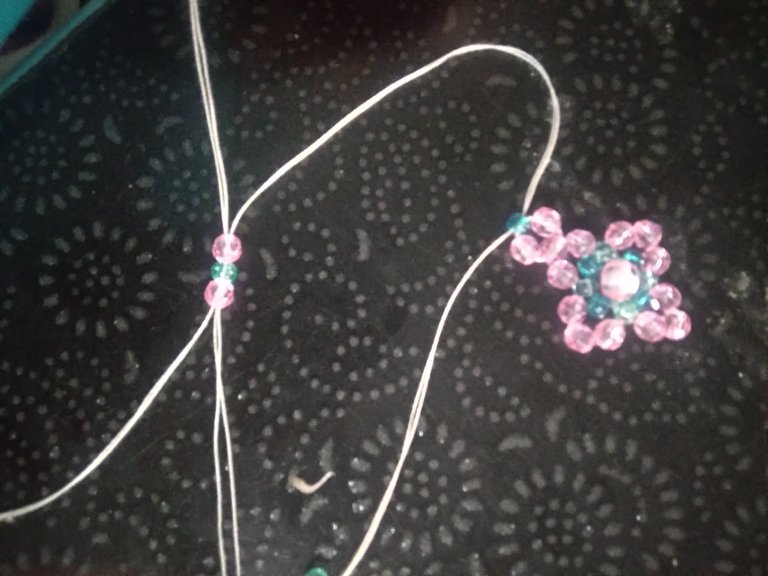
Tomamos 2 perlas y una mostacilla y la introduciremos de izquierda a derecha para q la mostacillas vallan quendo centrada y debajo de la anterior y luego pasamos el otro extremo de derecha a izquierda,tomemos en cuenta que no debemos apretar mucho porque las perlas se irán hacia arriba y no queremos eso!
Paso 11
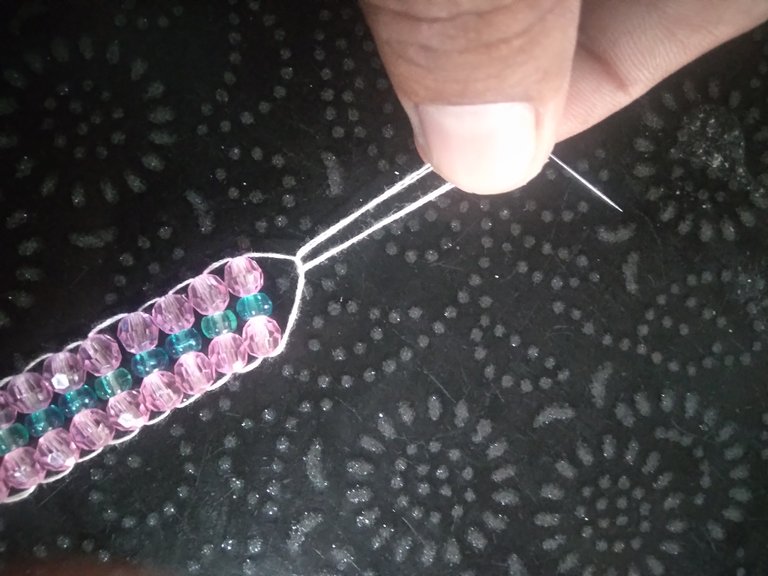
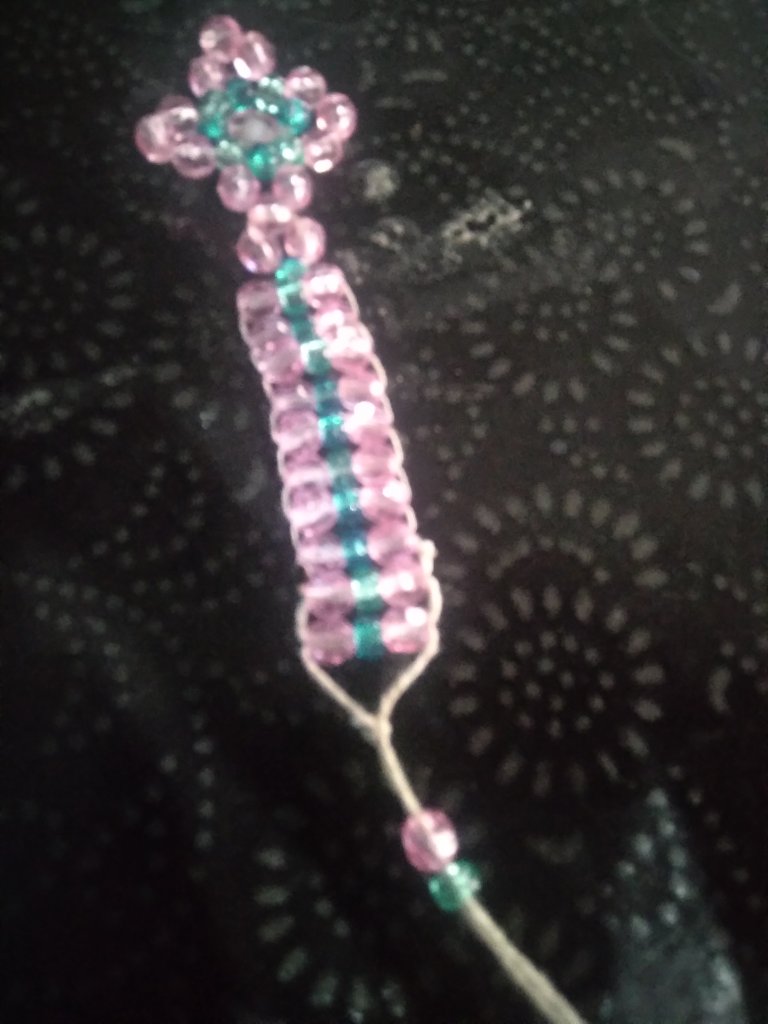
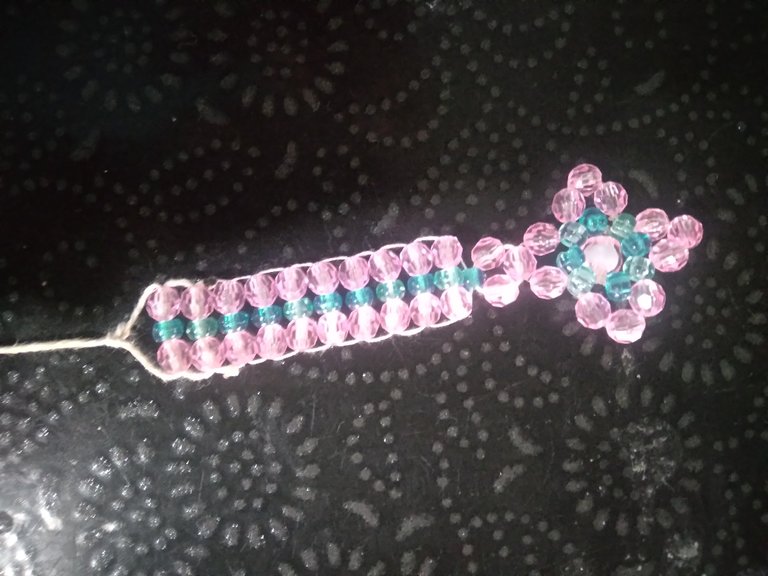
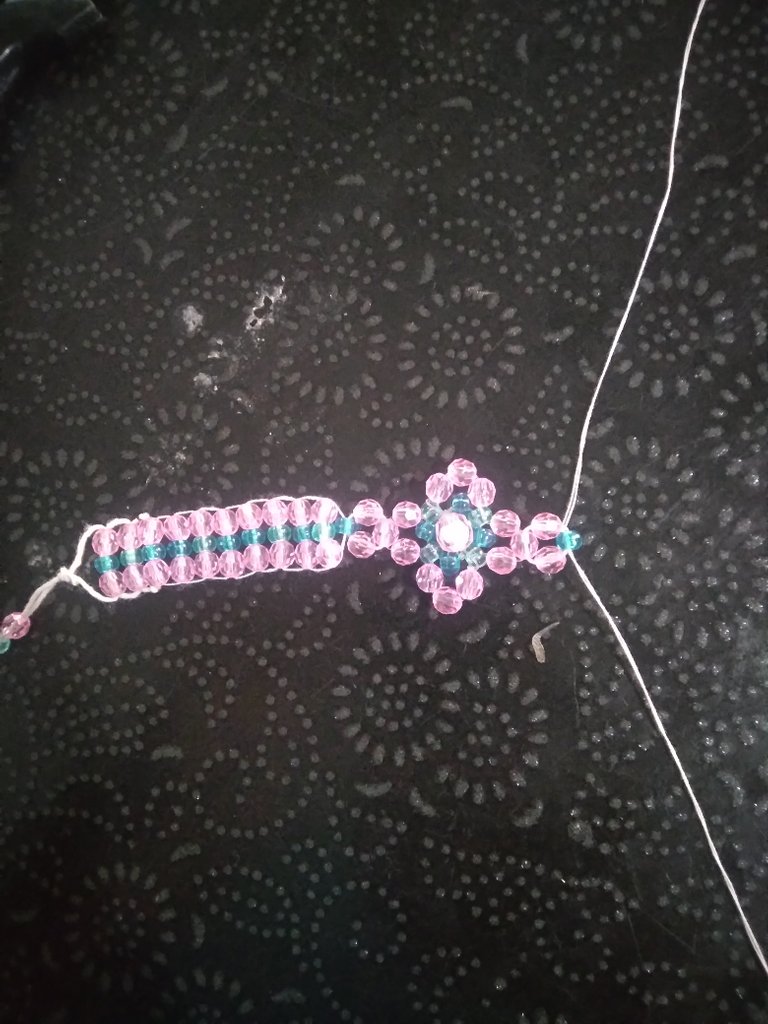
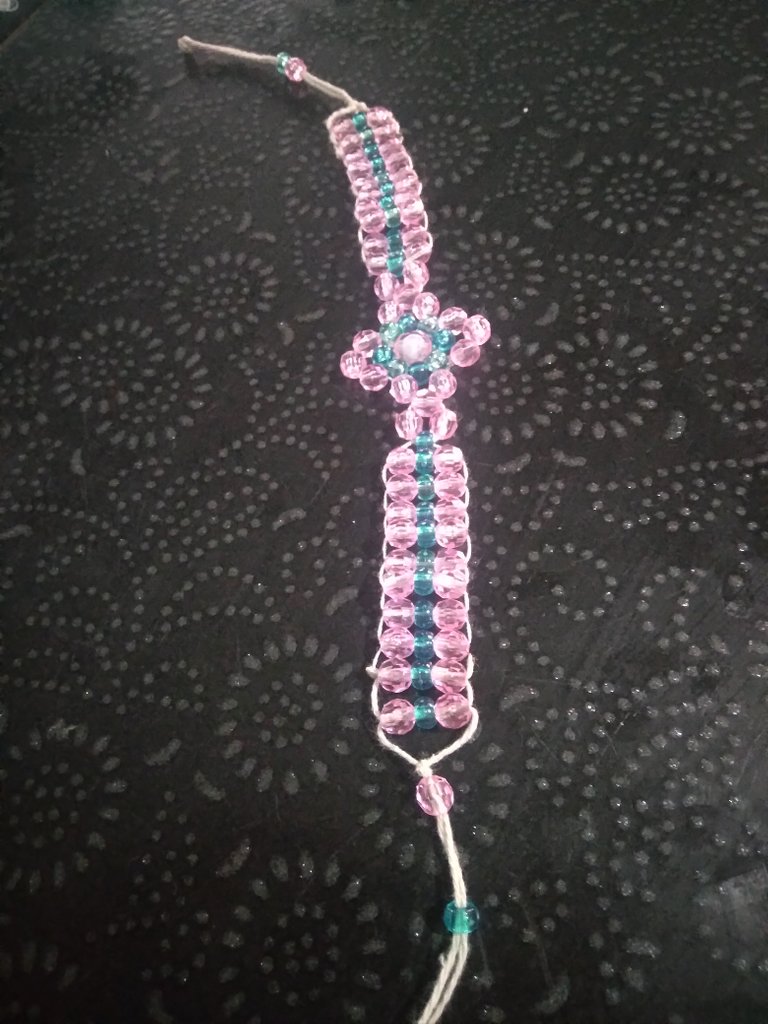
Siguiendo con la misma frecuencia y bastante adelantado cón el proceso de elaboración de nuestro brazalete,ya cuando tengamos el largo que buscamos lo q haremos será hacer un nudo simple al final
Paso 12
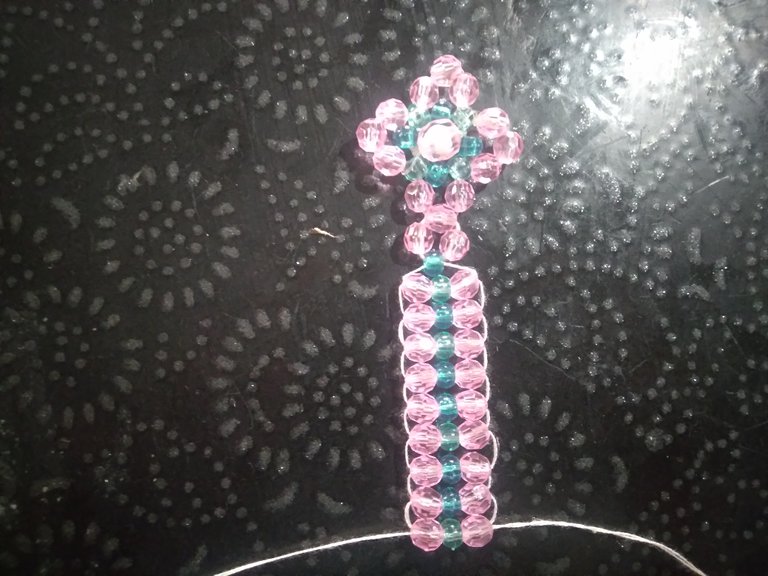
Ahora vamos a colocar en las puntas 1 perla y una mostacilla para darle color a las puntas y que llamen la atención,muy importante colocarle cualquier detalle adicional para que el brazalete resalte
Paso 13
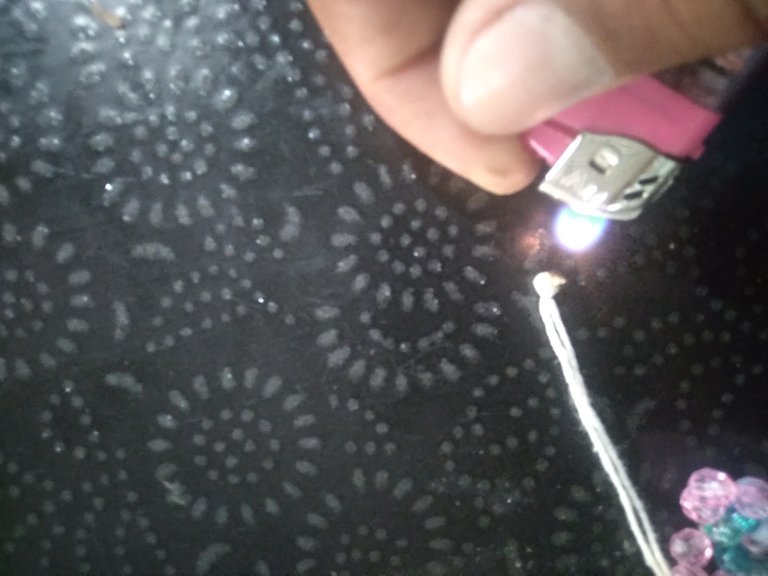
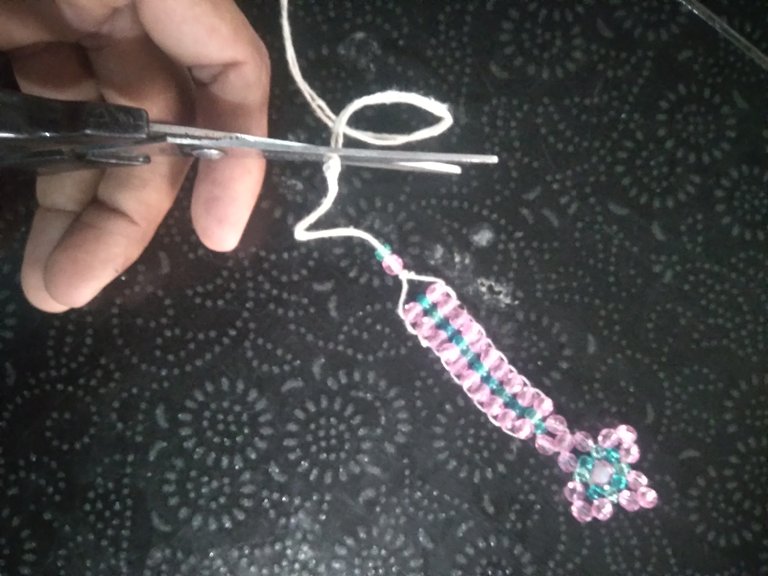
Luego le hacemos un Nudo simple en este caso doble,debemos dejar 6cm de largo para la corrediza,cortamos lo que nos sobre y luego utilizamos el encendedor para quemar las puntas y quede limpio nuestro trabajo,recordándonos que utilizamos hilo blanco y hay que trabajar con mucho cuidado el encendedor para que no se manche nuestro hilo
*Paso 14
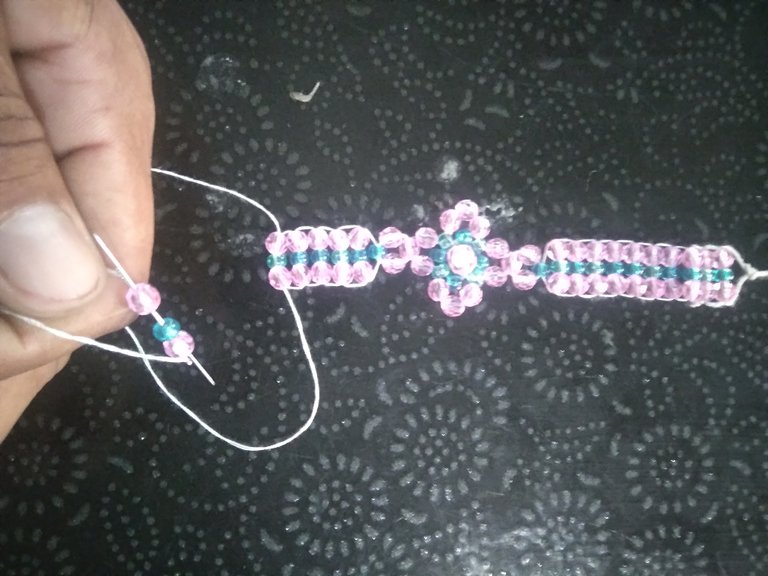
Ya terminada nuestra primera parte del brazalete,comenzamos el mismo proceso del otro lado colocando 2 piedras de color rosado y 1 mostacilla azul,introduciremos la primera perla color rosa luego la mostacilla y la siguiente perla,Tiramos del hilo y tenemos la primera línea lista
Luego hacemos el mismo procedimiento,hasta terminar y nos quede el mismo largo que la anterior 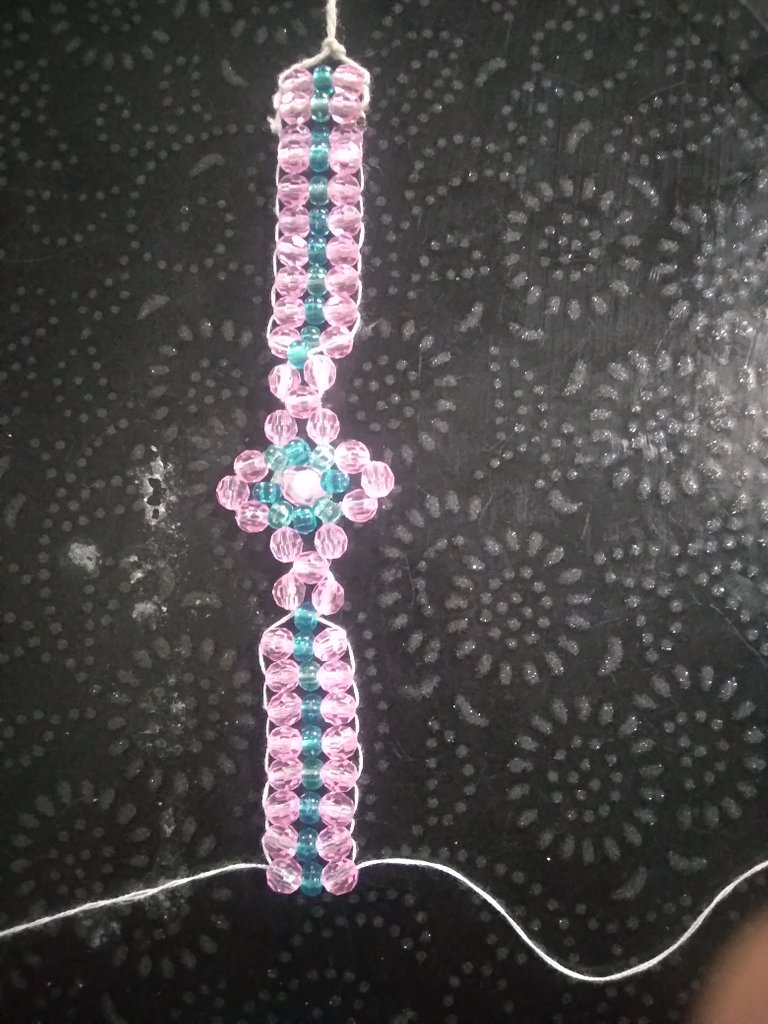
Paso 15
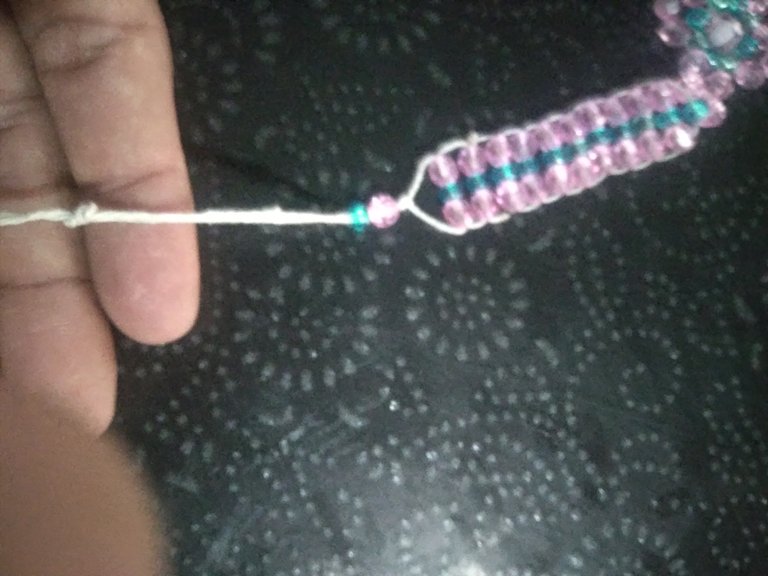
El próximo paso es hacerle un nudo simple a nuestro brazalete y colocarle una perla y una mostacilla para darle nuestro toque final,no olvidar dejarle un aproximado de 6 cm de hilo
Paso 16
Ya para culminar porque se me alargo la explicación,😊
Pero es importante que sigan el paso a paso para que les quede muy bien el hermoso y delicado brazalete
Seguimos:tomaremos un hilo de aproximadamente 15cm y cruzaremos las puntas de nuestro brazalete
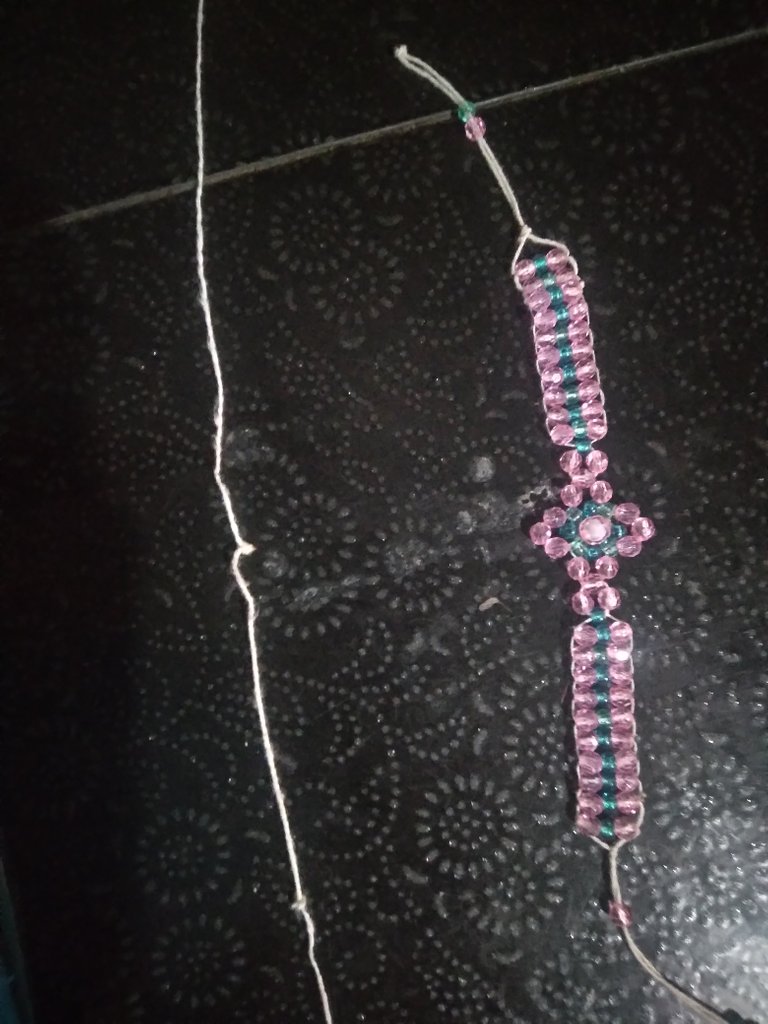
Comenzaremos a darles vuelta hasta que quede un cilindro,recuerda miestras más vueltas mejor va quedar
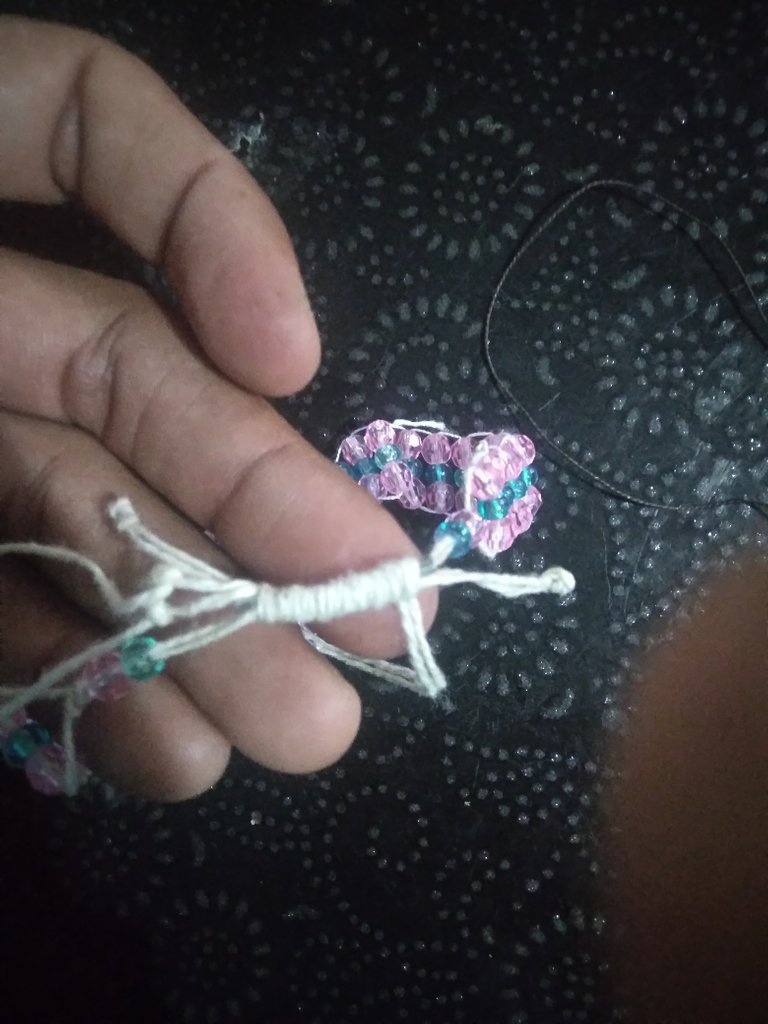
Y listo ya tenemos nuestro HERMOSO Y DELICADO BRAZALETE PARA TODO TIPO DE OCASIÓN.
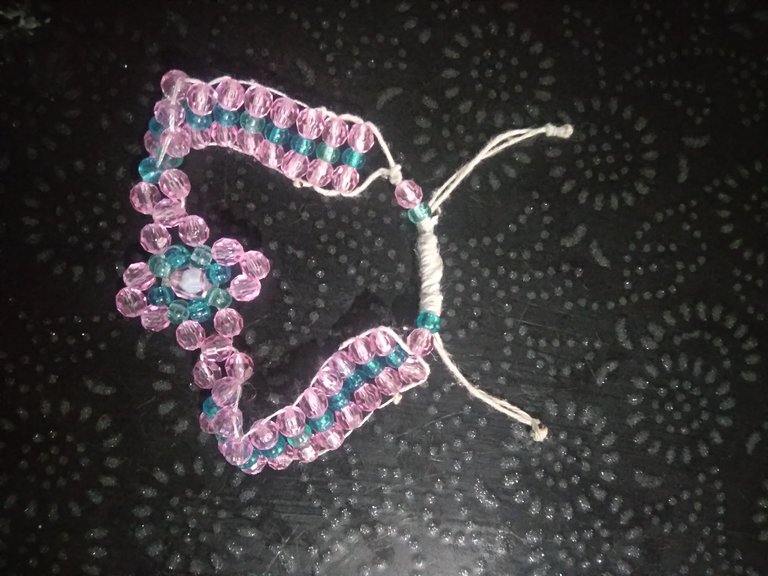
Muchas gracias por su atención, espero les guste,espero sus comentarios.
ÉXITOS Y BENDICIONES .
Las fotos las tomé de mi teléfono Samsung A01.
Traductor utilizado:Deelp
Las fotos las edite mediante la Aplicación editor de fotos polish y los sepadores mediante la aplicación canva .

Hello hive and @jewerly friends, it is a pleasure to be with you again wishing you many blessings and success in your lives.
I am grateful first of all to God and to all of you for the great acceptance that you have given me in this beautiful community @jewerly especially to the people who have supported me and guided me when making my publications, @divergente1 thanks for always being guiding me in every step q I will take, as every novice needs someone to advise and guide him, you have been that teacher who has constantly helped me, thanks for that😘
To my wife @yanetzi1 for encouraging me to join this medium,thank you for teaching me to create and design these accessories that I have brought and will continue to design for all of you with much affection🥰😍.
My dear friends those who did not have the opportunity to give something to your partner this past February 14 have the opportunity to see and enjoy this beautiful creation very easy to make and give it as a gift to be able to vindicate yourself with your pareja👩❤️💋👨

Materials Used:
💫56 Pink pearls.
💫32 blue colored beads
💫1 large pink beads.
💫30cm of transparent Nylon
💫2 pieces of white thread 70cm long.
💫1 scissors
💫1 lighter
💫2 needles

The steps to follow are presented below and are as follows.
Step 1

The first thing to do will be to stretch the nylon, then we will introduce 8 blue beads.

Step 2
The next thing to do is to join the beads to make a circle.

Then we will make a simple knot and cut the excess with the scissors.

Step 3
Then we burn the excess nylon with the lighter, being very careful because this nylon is consumed quickly.

Step 4
We will take the biggest pink stone and place it in the center.


The next thing we will do is to introduce the nylon through a blue bead and with a simple knot we will fix the stone so that it does not come out.

Step 5
We will take the nylon and we will introduce it through 3 pink beads.

We pull our Nylon and it will look like this.

Step 6
We will follow the same procedure taking 3 pink stones and we will place them in the same way as the previous one.


Step 7
Once we have completed the 4 sides of our pendant, we will pull it a little bit so that it is tight and our stones will not come off.

We will make 2 simple knots, cut the rest and burn to seal our pendant.


And now we have our delicate pendant for our beautiful bracelet.
Step 8
To continue with the creation of our bracelet what we must do is, take the 70cm of white thread and pass it through a corner of our pendant.
In the same way the other 70cm of thread through the other end of our pendant.

Step 9
We will take the 2 needles, we will introduce the thread in them, then 2 beads and a bead, we will introduce a bead, then the bead and the other bead.

We will introduce the other end of the thread from right to left and we will pull it, which will look like this


Step 10
We will do the same procedure as the previous one
We take 2 beads and a bead and we will introduce it from left to right so that the beads go centered and below the previous one and then we pass the other end from right to left, we take into account that we should not tighten too much because the beads will go up and we don't want that!


Step 11
Continuing with the same frequency and quite advanced with the process of elaboration of our bracelet, when we have the length we are looking for we will make a simple knot at the end


Step 12
Now we are going to place in the ends 1 pearl and a bead to give color to the ends and to call the attention, very important to place any additional detail so that the bracelet stands out.


Step 13
Then we make a simple knot in this case double,we must leave 6cm long for the slider,we cut what is left over and then we use the lighter to burn the ends and our work is clean,remembering that we use white thread and we must work very carefully with the lighter so that our thread does not get stained.


Step 14
Already finished our first part of the bracelet, we begin the same process on the other side by placing 2 pink stones and 1 blue bead, we will introduce the first pink bead then the bead and the next bead, we pull the thread and we have the first line ready.

Then we do the same procedure, until we finish and we have the same length as the previous 

Step 15
The next step is to make a simple knot to our bracelet and place a pearl and a bead to give it our final touch, do not forget to leave an approximate of 6 cm of thread.


Step 16
Now to finish because the explanation is getting long,😊
But it is important that you follow the step by step so that you get a beautiful and delicate bracelet.
Next: we will take a thread of approximately 15cm and cross the ends of our bracelet.

We will begin to turn them until we get a cylinder, remember the more turns the better it will look.

And ready we have our BEAUTIFUL AND DELICATE BREASTBAND FOR ALL KINDS OF OCCASIONS.

Thank you very much for your attention, I hope you like it, I look forward to your comments.
SUCCESS AND BLESSINGS.
The photos were taken from my Samsung A01 phone.
Translator used:Deelp
The photos were edited using the polish photo editor application and the separators using the canva application.
Congratulations @afrofat1! You have completed the following achievement on the Hive blockchain And have been rewarded with New badge(s)
Your next target is to reach 700 upvotes.
You can view your badges on your board and compare yourself to others in the Ranking
If you no longer want to receive notifications, reply to this comment with the word
STOPCheck out our last posts:
Support the HiveBuzz project. Vote for our proposal!
Thank you for sharing this post on HIVE!
Your content got selected by our fellow curator rezoanulvibes & you just received a little thank you upvote from us for your great work! Your post will be featured in one of our recurring compilations which are aiming to offer you a stage to widen your audience within the DIY scene of Hive. Stay creative & HIVE ON!
Please vote for our hive witness <3
Ha quedado muy hermoso el brazalete. Muchos éxitos 👍
Gracias amiga igual para ti
Te ha quedado muy hermoso el brazalate. PD: Es facil ayudarte porque eres muy capaz y creativo. 💓
Muchas gracias de verdad éxitos para ti