💐🌸HERMOSA PULSERA DE FLORES COLORIDA🌸💐 // 💐🌸BEAUTIFUL COLORFUL FLOWER BRACELET🌸💐.
Hola amigos de hive y @jewerly, es un placer estar nuevamente con ustedes deseándole muchas bendiciones,que Dios me los bendiga y los guíe siempre por el camino del bien.

Agradecido con todos ustedes por la aceptación que tuve en mi primera publicación en esta hermosa comunidad. Cabe destacar algunos errores de principiante 😂 ,pero somos humanos y todos cometemos errores y gracias a la colaboración de muchas personas y la misma administración de la comunidad de @Jewelry me ayudaron a resolver el problema.
Solo quería hacerles este comentario para así traerles esta hermosa creación q hoy les tengo para ustedes,
Ya les había comentado que al ayudar a mi esposa @yanetzi1 a realizar sus creaciones,descubrí este talento que tengo de crear estas delicadas obras de bisuteria.
UNA HERMOSA PULSERA DE FLORES COLORIDAS que hice con mucho cariño y dedicación para todos ustedes
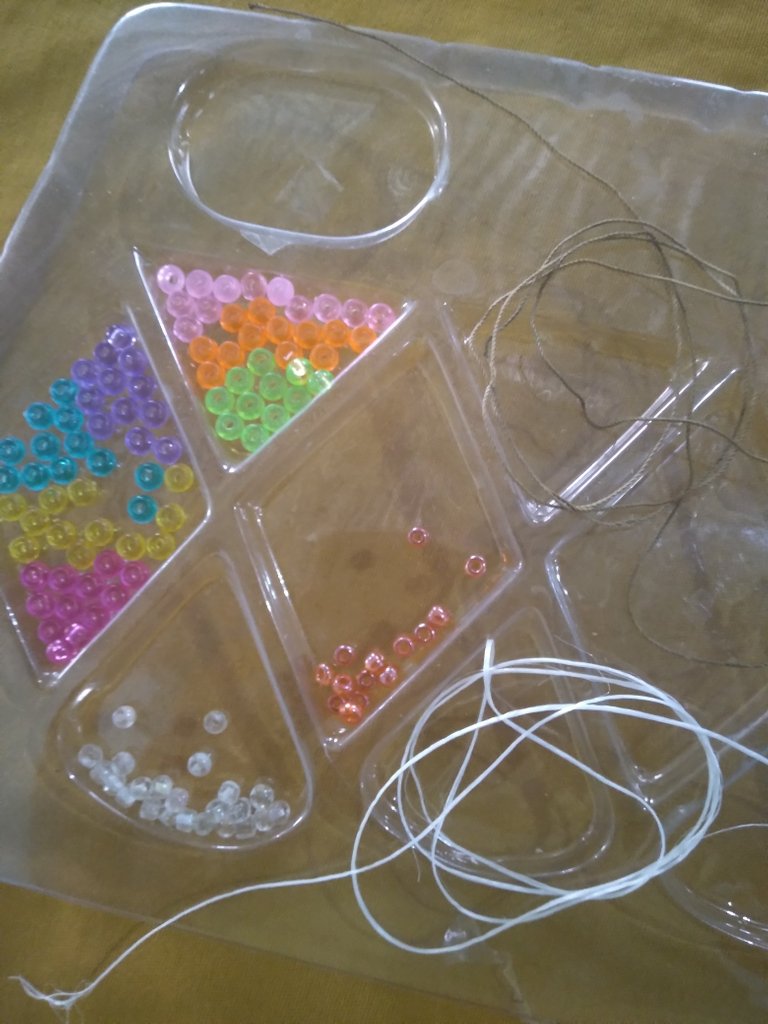
Estos fueron mis materiales a UTILIZAR:
🌸12 MOSTACILLAS DE COLOR FUCSIA
🌸12 MOSTACILLAS ANARANJADAS
🌸9 MOSTACILLAS DE COLOR AZUL
🌸9 MOSTACILLAS DE COLOR ROSADO
🌸8 MOSTACILLAS DE COLOR VERDE
🌸8 MOSTACILLAS DE COLOR MORADO
🌸8 MOSTACILLAS DE COLOR AMARILLO
🌸8 MOSTACILLAS ANARANJADAS PEQUEÑAS
🌸22 MOSTACILLAS TRANSPARENTES
🌸100CM HILO PARA TEJIDOS RECICLADO
🌸LOS PASOS A SEGUIR FUERON LOS SIGUIENTES🌸
Paso 1
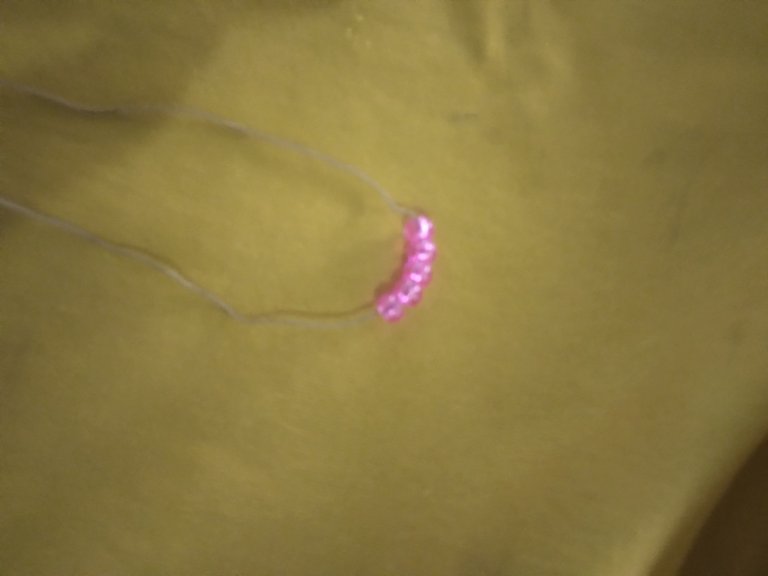
Lo primero q haremos será introducir 5 mostacillas de color fucsia en un hilo de un metro de largo para ir creando la delicada flor,cada mostacillas de colores irá siendo el petalo de cada flor
Paso 2
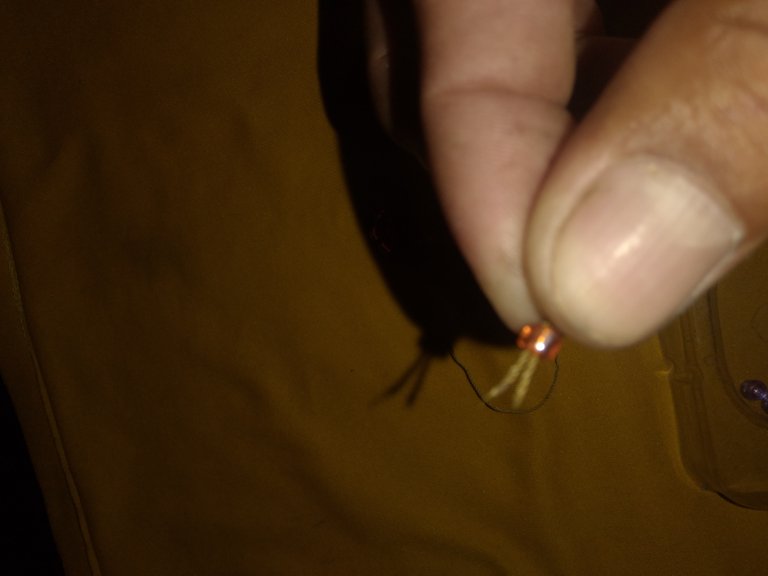
Lo siguiente es estirar el hilo e introducir las 2 puntas del hilo por el medio de la mostacillas anaranjadas pequeñas. La cual quedará de esta manera:
Paso 3
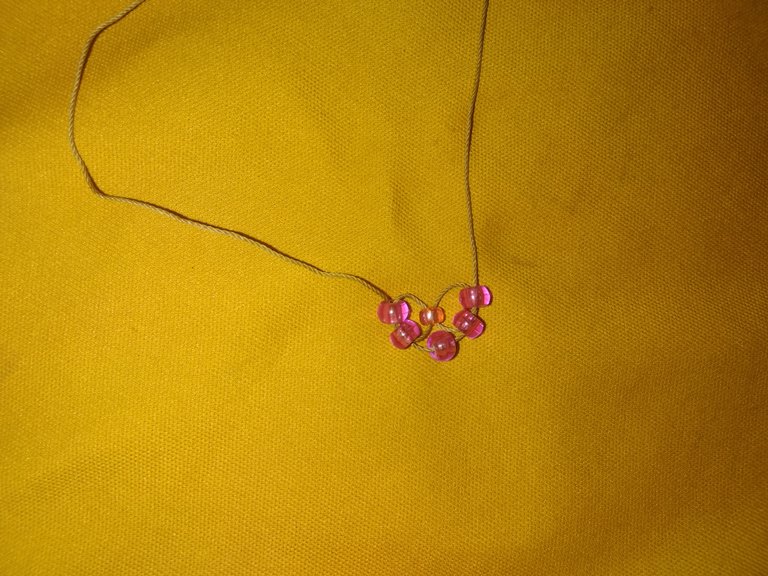
Luego vamos a girarlo hacia dentro de esta manera para q vaya dándole forma a nuestra colorida flor.
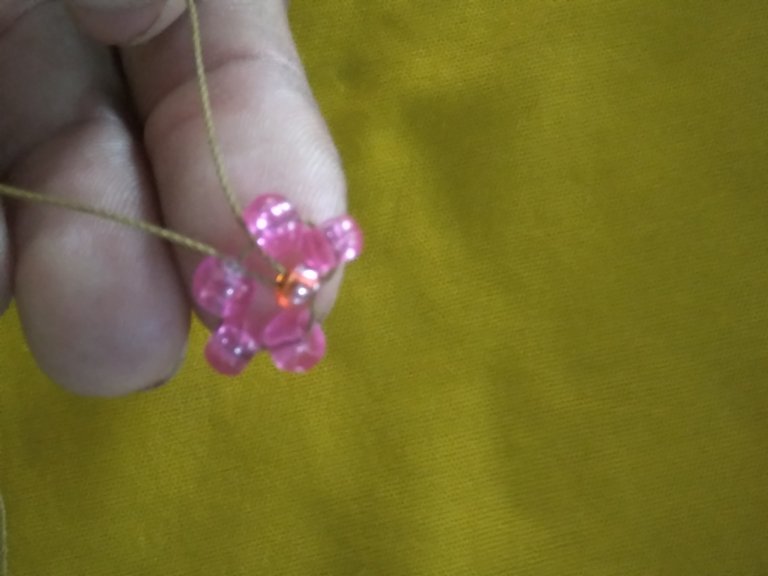
Paso 4
Luego lo q vamos hacer es ingresar los 2 extremos por cada petalo del lado derecho y el lado izquierdo el cual quedará de esta manera:
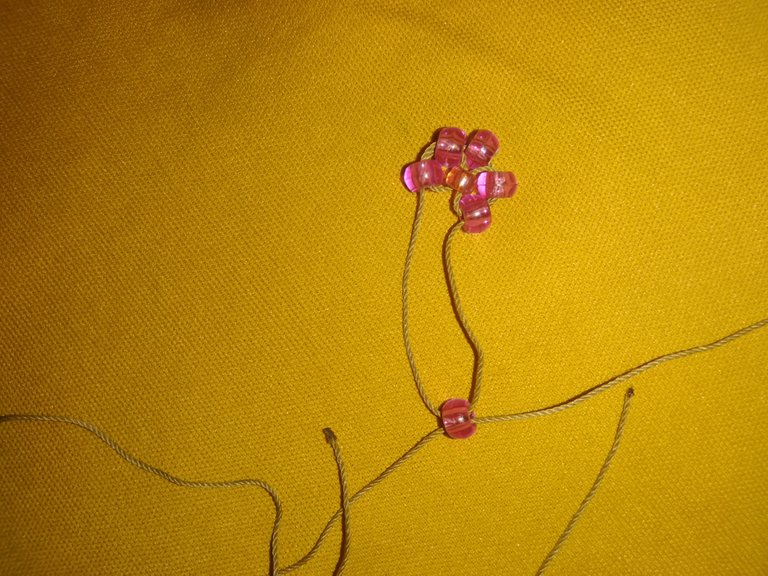
Paso 5
Lo próximo q haremos será completar los 6 pétalos de color rosa,esta la ingresaremos de esta manera:
Tomamos los 2 extremos y de un lado hacia el otro, de derecha a izquierda y de izquierda a derecha lo introduciremos.
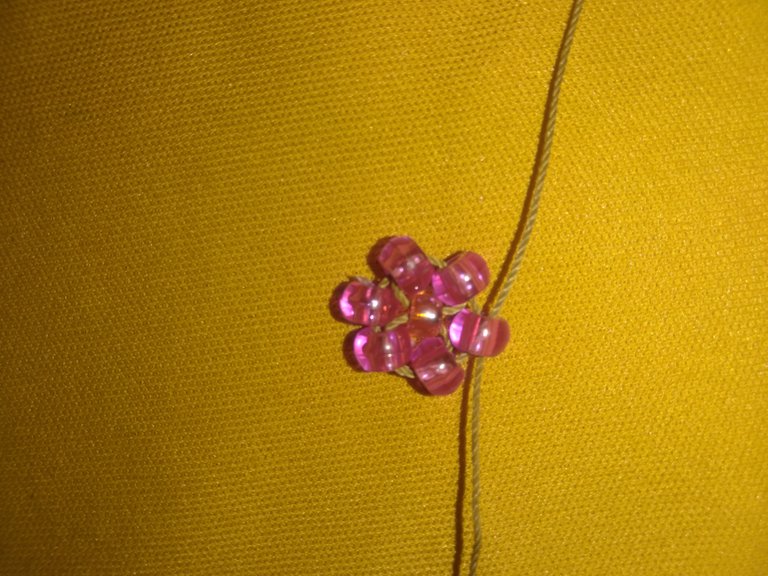
Paso 6
Lo siguiente es colocar nuestras hojas de mostacillas la cuales no son verdes pero son transparente,me gustaron mucho porque le hace resaltar los colores a nuestra flor.
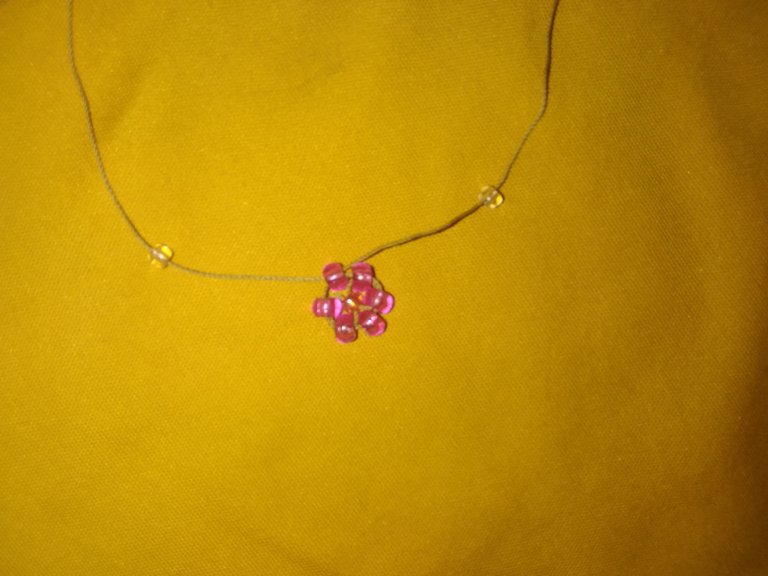
Paso 7
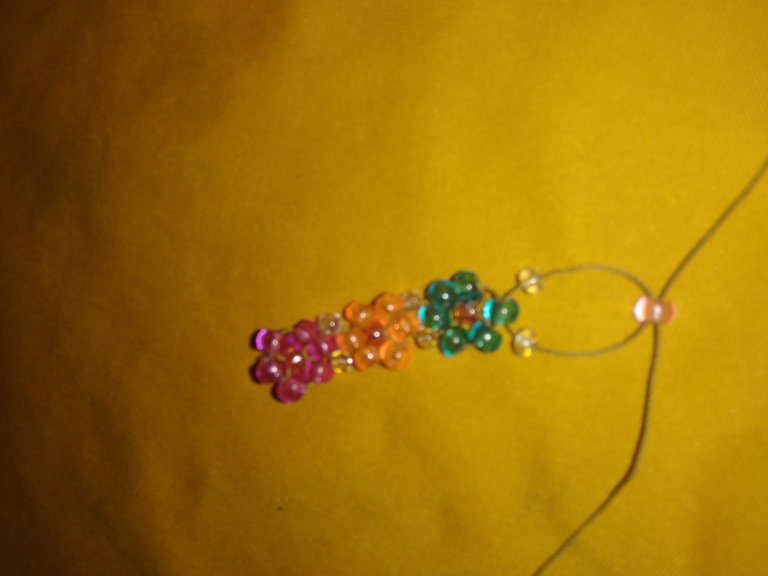
Ahora vamos con la siguiente flor,simplemente lo q haremos será como el primer paso pero esta vez tomamos la mostacilla y la atravesamos de derecha a izquierda y de izquierda a derecha.
Paso 8
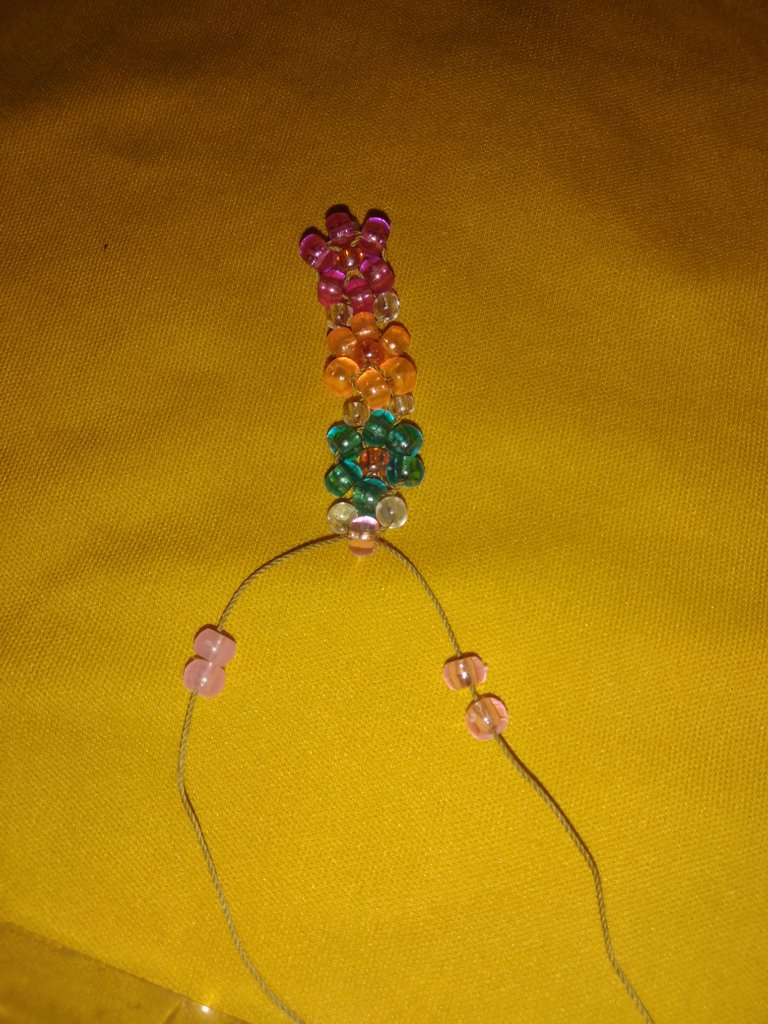
Continuado con el paso a paso vamos a colocar 2 mostacillas de lado a lado para seguir dándole forma a nuestra flor
Paso 9
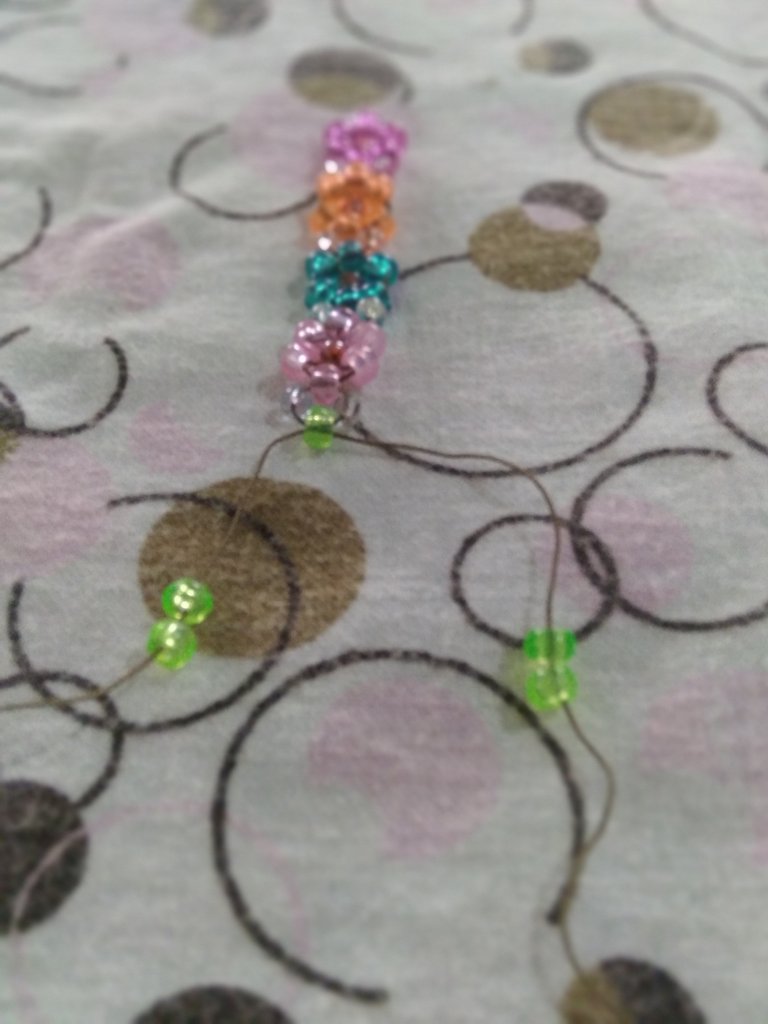
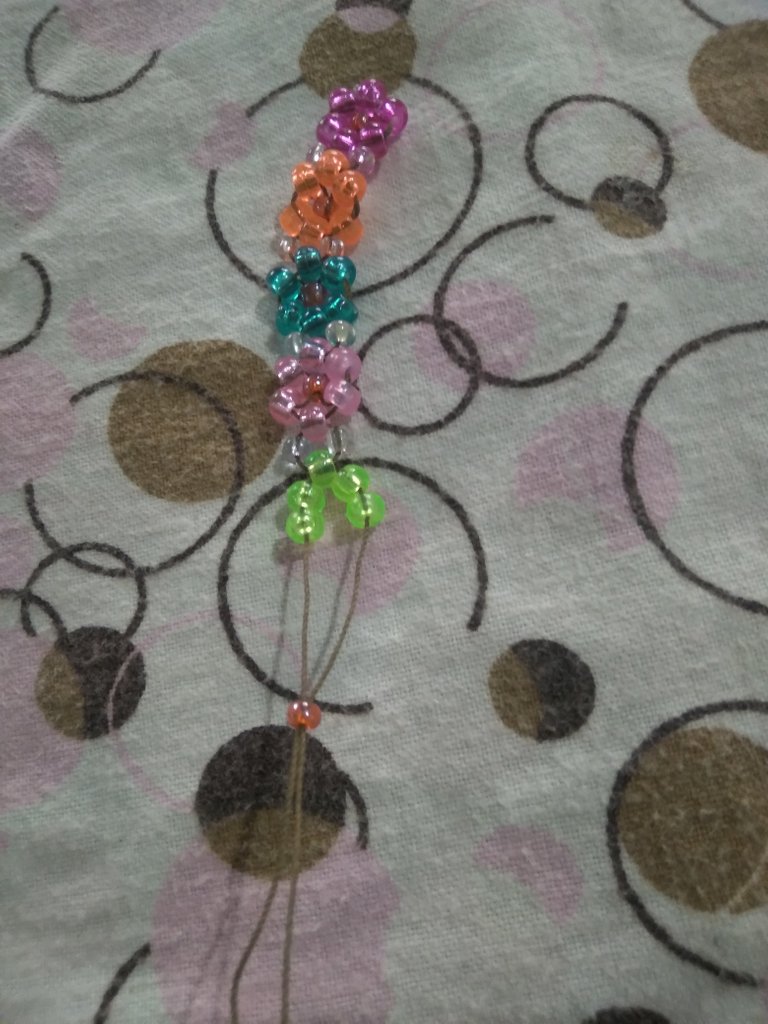
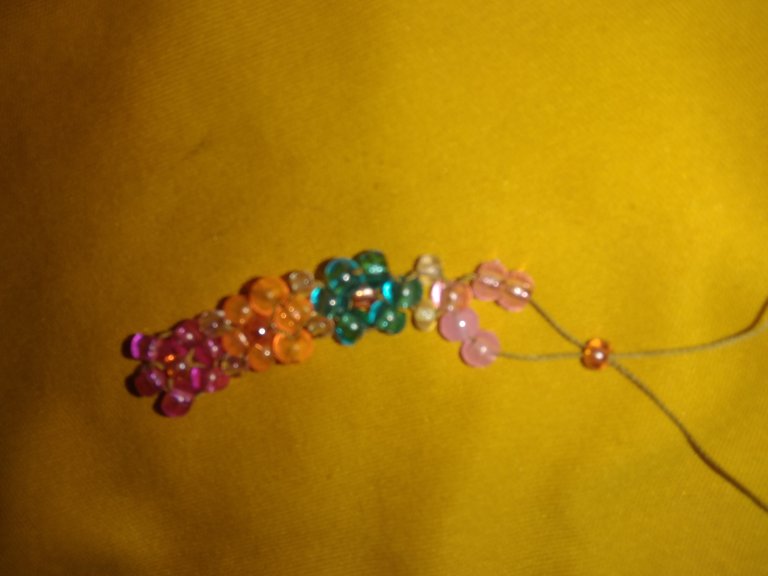
Agarraremos las 2 puntas del hilo y las introduciremos por las mostacillas pequeñas para poder girar y darle forma y seguir con la secuencia de nuestra flor colocándole sus hojas transparentes q va quedando de esta manera
Paso 10
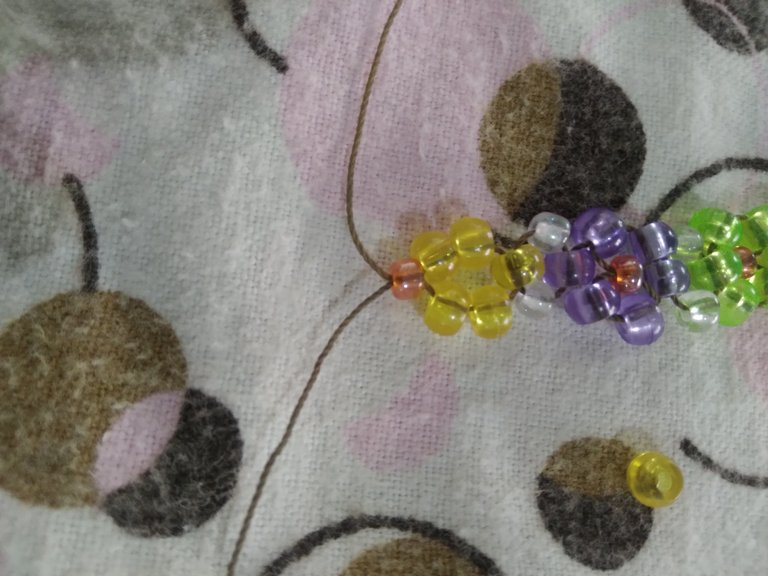
Ya un poco adelantado seguiremos la secuencia de cada flor.
Tirando fuerte del hilo para que quede ajustada y no se desarme nuestra pulsera de flores colorida.
Cabe destacar q mientras más largo el hilo mucho mejor para así no queda corta la pulsera (Mejor que Sobre antes q Falte 😂).
Paso 11
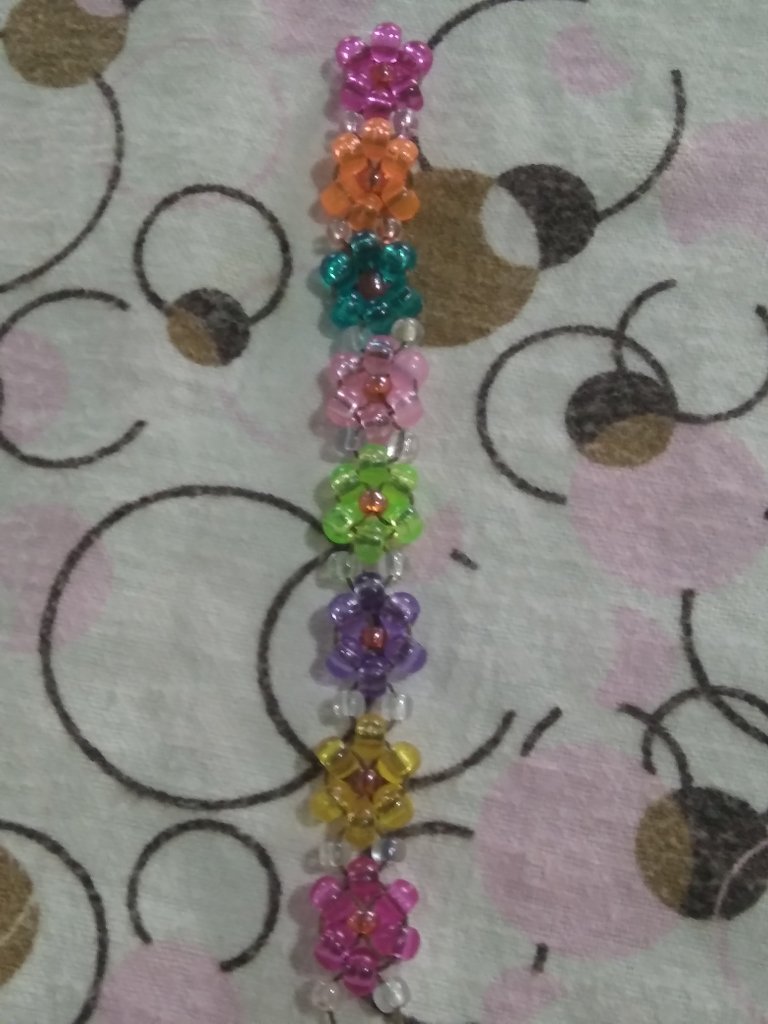
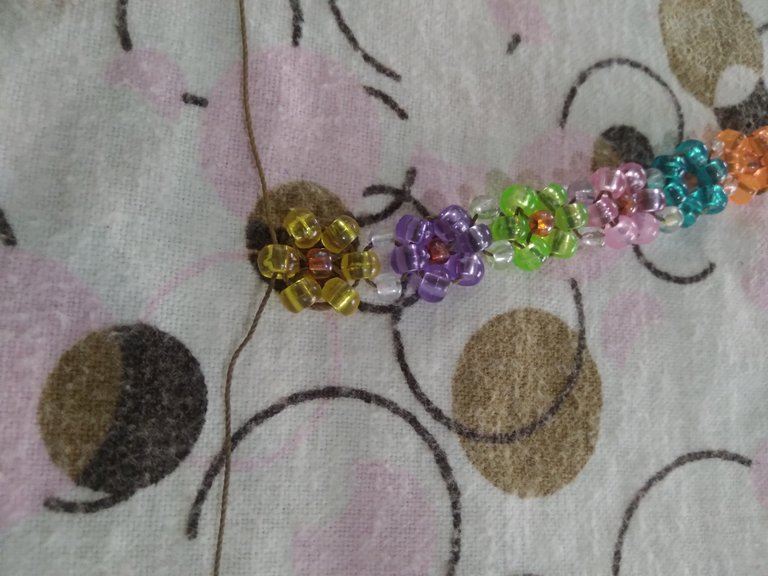
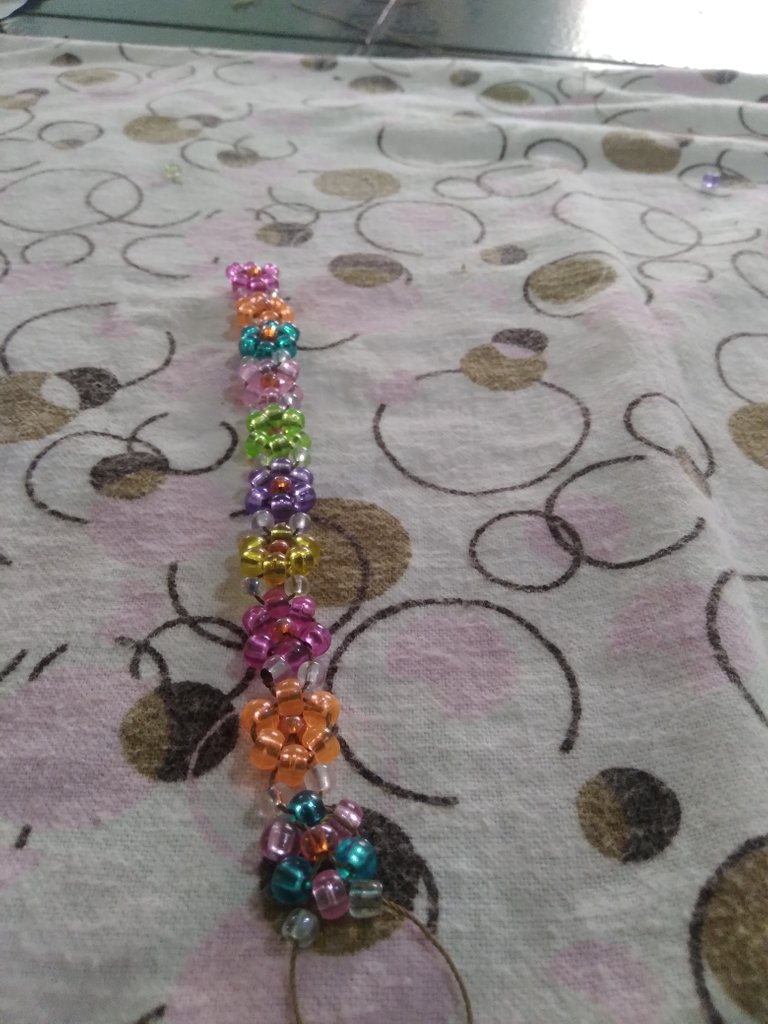
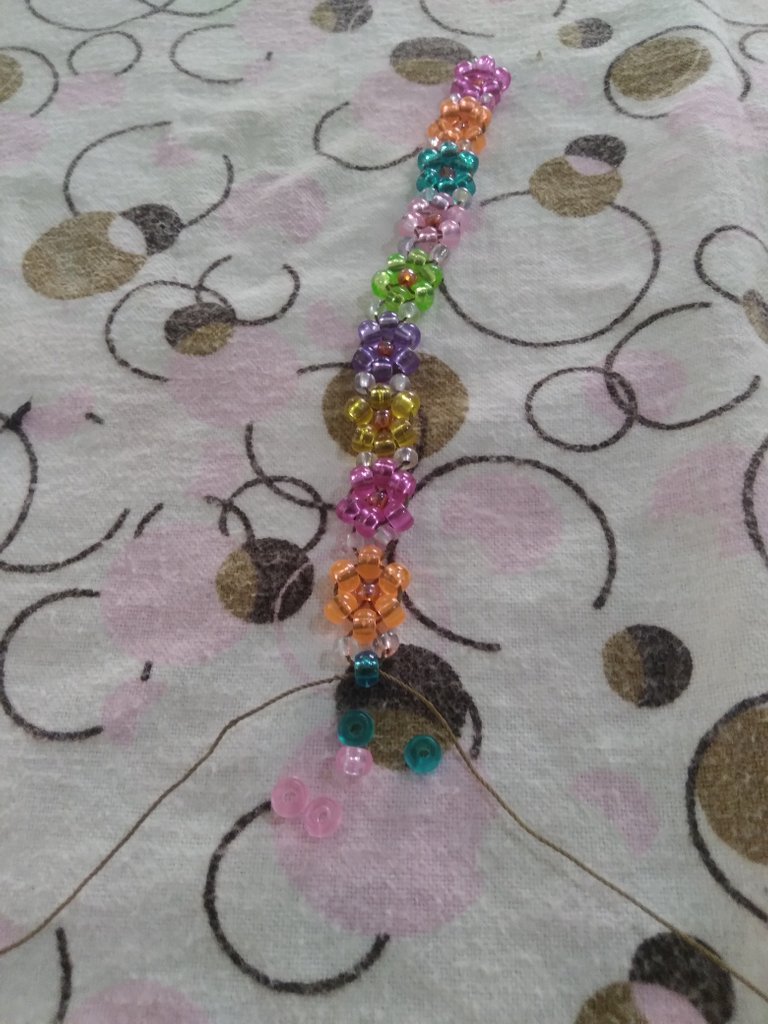
Ya terminando le agregamos una combinación de colores en esta caso 3 azules y 3 rosadas q le dan un toque delicado a la flor
Paso 12
Para culminar uniremos nuestras flores coloridas de la siguiente forma
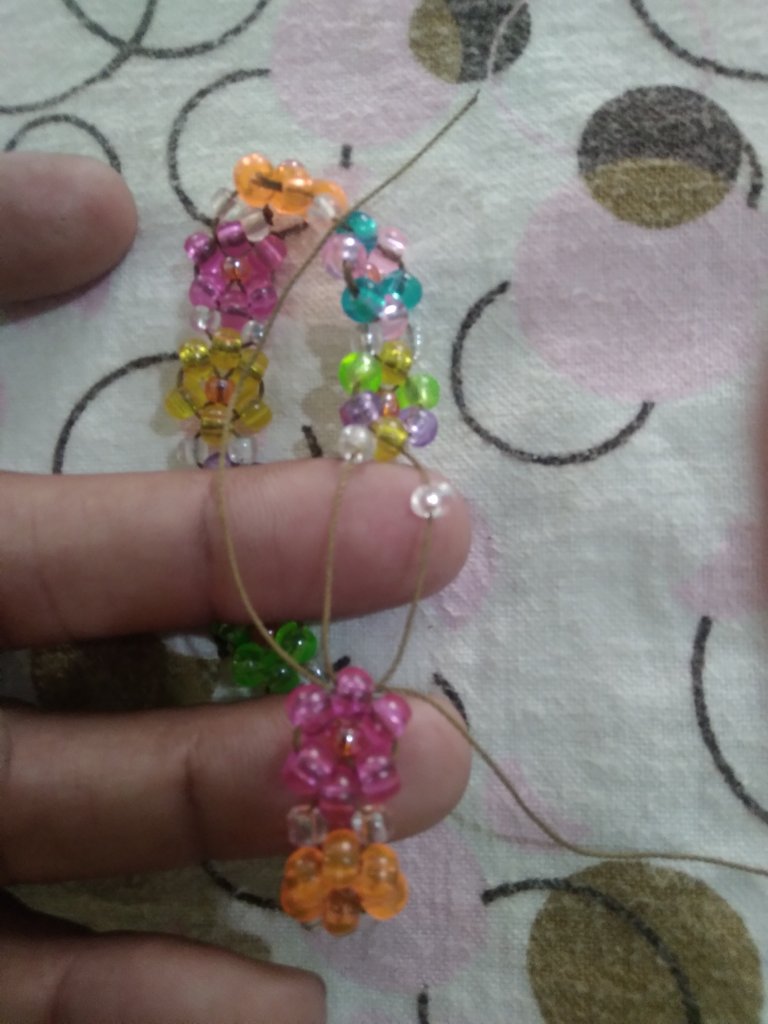
Agarramos un extremo y lo introduciremos en el petalo fucsia y así haremos un nudo fuerte dándole varias vuelta para q quede fija y no se suelte.
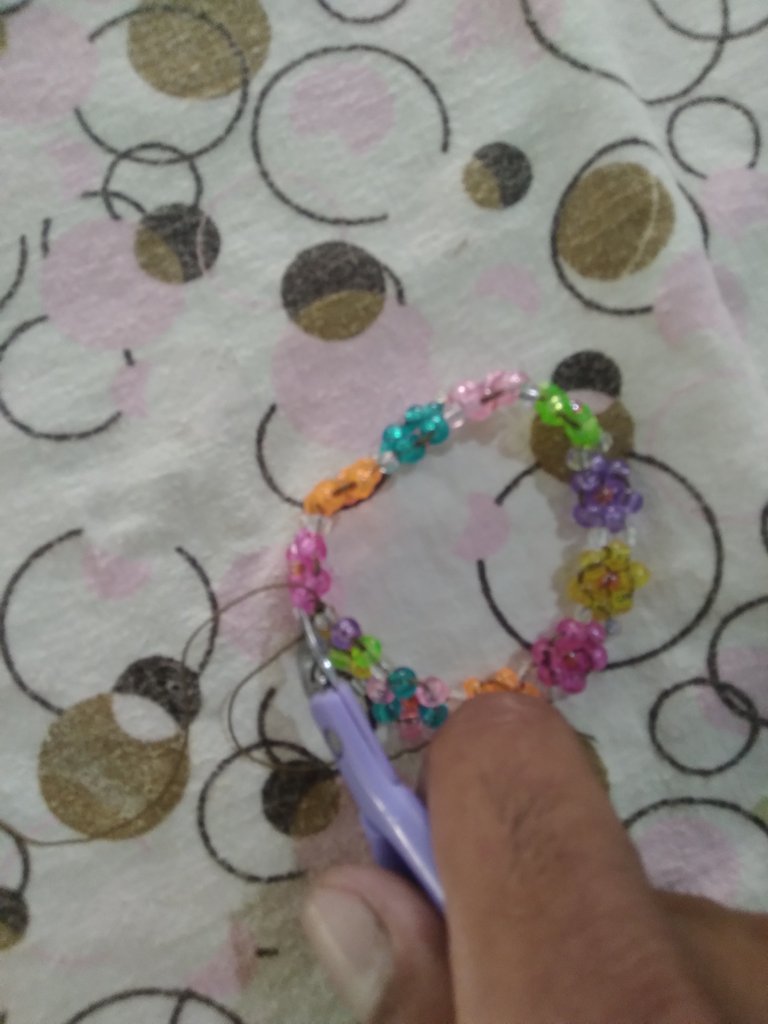
De esta manera damos por terminada nuestra HERMOSA PULSERA DE FLORES COLORIDA.


Espero les haya gustado, agradezco sus comentarios y recomendaciones.
Muchas gracias!
Éxitos.
Las fotos las tomé de mi teléfono Samsung A01.
Traductor utilizado:Deelp
Las fotos las edite mediante la Aplicación editor de fotos polish y los sepadores mediante la aplicación canva .
Hello hive and @jewerly friends,a pleasure to be with you again wishing you many blessings,may God bless you and guide you always on the path of good.

Grateful to all of you for the acceptance I had in my first publication in this beautiful community. It is worth noting some beginner mistakes 😂 ,but we are human and we all make mistakes and thanks to the collaboration of many people and the same @Jewelry community administration helped me to solve the problem.
I just wanted to make this comment to bring you this beautiful creation that I have for you today,
I had already told you that when I helped my wife @yanetzi1 to make her creations, I discovered this talent I have to create these delicate works of jewelry.
A BEAUTIFUL COLORFLOWER BRACELET that I made with love and dedication for all of you.
These were my materials to USE:
🌸12 FUCHSIA COLORED BEADS.
🌸12 ORANGE BEADS
🌸9 BLUE BEADS
🌸9 PINK COLORED BEADS
🌸8 GREEN COLORED BEADS
🌸8 PURPLE BEADS
🌸8 YELLOW COLORED BEADS
🌸8 SMALL ORANGE BEADS
🌸22 CLEAR BEADS
🌸100CM RECYCLED FABRIC THREAD

🌸THE STEPS TO FOLLOW WERE AS FOLLOWS🌸.
Step 1
The first thing we will do is to introduce 5 fuchsia beads in a meter long thread to create the delicate flower, each colored bead will be the petal of each flower.

Step 2

The next step is to stretch the thread and insert the 2 ends of the thread through the middle of the small orange beads and the small orange beads.
Which will look like this

Step 3
Then we are going to turn it inwards in this way to give shape to our colorful flower.

Step 4
Then what we are going to do is to insert the 2 ends for each petal on the right side and the left side which will look like this

Step 5
The next thing we will do is to complete the 6 petals of pink color, this we will enter it this way, we take the 2 ends and from one side to the other, from right to left and from left to right we will introduce them.

Step 6
The following is to place our leaves of beads which are not green but are transparent, I liked them very much because it highlights the colors of our flower.

Step 7
Now let's go with the next flower, just like the first step but this time we take the beads and go through them from right to left and left to right.

Step 8
Continuing with the step by step we are going to place 2 beads from side to side to continue giving shape to our flower.


Step 9
We will take the 2 ends of the thread and we will introduce them through the small beads to be able to turn and give it shape and continue with the sequence of our flower placing its transparent leaves like this


Step 10
Already a little ahead we will follow the sequence of each flower.
Pulling the thread tightly so that it is tight and does not disassemble our colorful flower bracelet.
It should be noted that the longer the thread the better so that the bracelet is not too short (better to have too much than too little 😂).


Step 11
Now finishing we add a combination of colors in this case 3 blue and 3 pink colors that give a delicate touch to the flower.


Step 12
To finish we will join our colorful flowers in the following way

Take one end and insert it into the fuchsia petal and make a strong knot, turning it several times so that it is fixed and does not come loose.

This way we finish our BEAUTIFUL COLORFLOWER BRACELET.

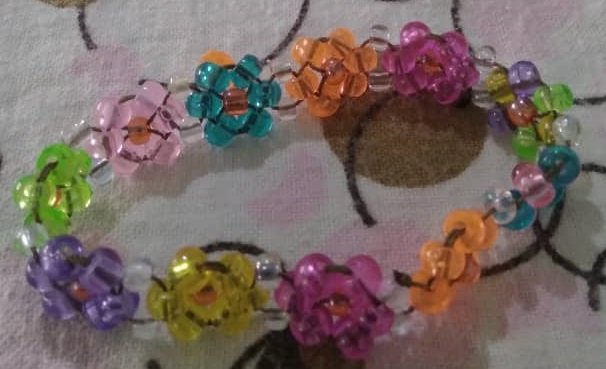
I hope you liked it, I appreciate your comments and recommendations!
Thank you very much!
The photos were taken from my Samsung A01 phone.
Translator used:Deelp
I edited the photos using the polish photo editor application and the separators using the canva application.

Que bonita te ha quedado esa pulsera de flores! me gusto muchicmo el resultado y sobre todo la forma tan detallada en la cual explicaste todo el paso a paso. Felicidades! Mucho orden en tu post. Gracias por compartir, bienvendido a Hive
Gracias por tan buenos consejos,han sido de mucha ayuda y por tan buenos deseos 😘
Que bonita te ha quedado el brazalete. Me encanta tu diseño. Saludos y bendiciones infinitas.
Amen muchas gracias igual para ti bendiciones
Esta muy bonita esa pulsera! 😎 Tambien puede lucir para esta época de carnavla por su diferentes colores.
Muchas gracias,muy buena idea conbina con estas fechas carnavalesca.
Thank you for sharing this post on HIVE!
Your content got selected by our fellow curator semarekha & you just received a little thank you upvote from us for your great work! Your post will be featured in one of our recurring compilations which are aiming to offer you a stage to widen your audience within the DIY scene of Hive. Stay creative & HIVE ON!
Please vote for our hive witness <3
¡Felicidades! Esta publicación obtuvo upvote y fue compartido por @la-colmena, un proyecto de Curación Manual para la comunidad hispana de Hive que cuenta con el respaldo de @curie.
Si te gusta el trabajo que hacemos, te invitamos a darle tu voto a este comentario y a votar como testigo por La Colmena.
Si quieres saber más sobre nuestro proyecto, te invitamos a acompañarnos en nuestro servidor de Discord.
Muchas gracias por reconocer este trabajo que he realizado con mucho cariño para todos ustedes
Congratulations @afrofat1! You have completed the following achievement on the Hive blockchain And have been rewarded with New badge(s)
Your next target is to reach 600 upvotes.
You can view your badges on your board and compare yourself to others in the Ranking
If you no longer want to receive notifications, reply to this comment with the word
STOPCheck out our last posts:
Support the HiveBuzz project. Vote for our proposal!
Está muy bonita, me encantó la pulserita se ve bien delicada y colorida. Gracias por compartir tu proceso creativo. Éxitos @afrofat1 ✨
Gracias me alegro que le haya gustado esta bonita creación😊
https://leofinance.io/threads/@dayadam/re-leothreads-2tzbx8prn
The rewards earned on this comment will go directly to the people ( @dayadam ) sharing the post on LeoThreads.
https://twitter.com/1484281013413023756/status/1627400239320649731
The rewards earned on this comment will go directly to the people( @dayadam ) sharing the post on Twitter as long as they are registered with @poshtoken. Sign up at https://hiveposh.com.
Realmente tienes un gran talento y lo demuestras con esta hermosa creación, nos encanta el paso a paso que nos trajiste hoy, este tipo de pulseras esta muy de moda, excelente explicación 😉
Me alegro que les haya gustado el paso a paso,la idea es que puedan realizar con más facilidad,muchas gracias
Muy lindo trabajo, no debe ser fácil arma este tipo de pulseras, pero se ve que ustedes son ya expertos, los felicito, sin duda una hermosa pulsera, saludos.
Al principio se hace un poco difícil pero después de armar 1 o 2 flores ya se hace mucho más fácil,me alegro q les hay gustado muchas gracias