🌸Hermosa pulsera de biconos para toda ocasión🌸 | 🌸Beautiful bicone bracelet for any occasion🌸

Un maravilloso y bendecido dia tengan mis amigos de hive y comunidad de jewerly
Reciban un cordial saludo y las mejores energías de mi parte,agradecido primeramente con mi Dios por darme nuevamente la oportunidad de compartir mis creaciones con toda esta gran y hermosa familia,ya que por motivos personales me ausente un tiempo,pero ya nuevamente estoy con ustedes.
Bueno mi gente hermosa hoy quiero hablarles sobre una bonita y delicada pulsera que realicé con mucho cariño para mi esposa,me dijo que le hiciera algo, y bueno decidí hacerle está hermosa pulsera que hoy quiero compartir con todos ustedes,y mostrarles el paso a paso,este fue un proceso muy fácil de hacer ya que solo hay que seguir la misma secuencia y con un poco de dedicación se logrará el objetivo.
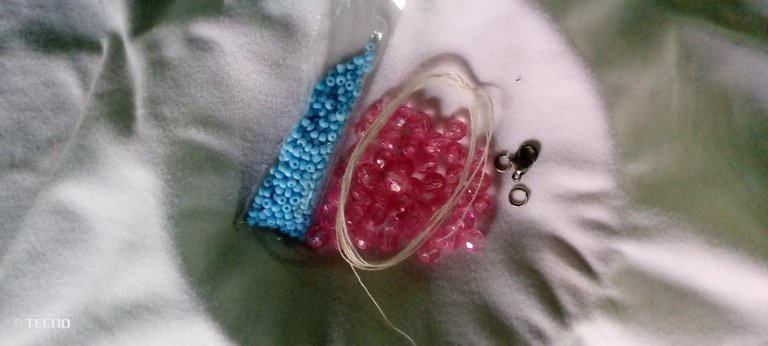
Los materiales utilizados para la elaboración de esta hermosa pulsera de biconos fueron los siguientes
🩷MOSTACILLAS DE COLOR AZUL
🩷BICONOS DE COLOR ROSADO
🩷2 METROS DE HILO
🩷TRANCADERO
🩷 2 ARGOLLAS
🩷AGUJA IMPROVISANDA
LOS SIGUIENTES SON LOS PASOS A SEGUIR
PASO 1
Lo primero que hicimos fue improvisar una aguja con un alambre super delgado que conseguí,ya que la aguja la rompí realizando un collar
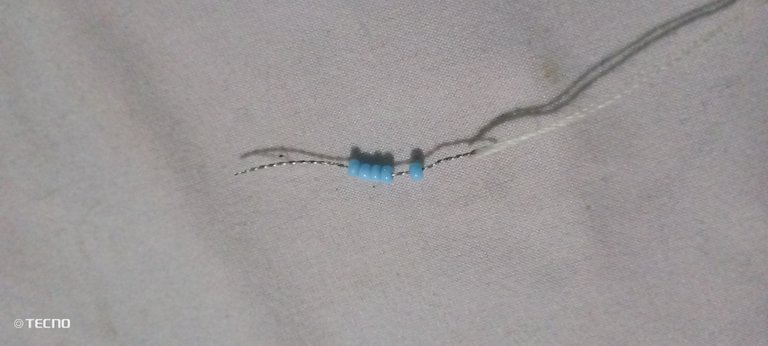
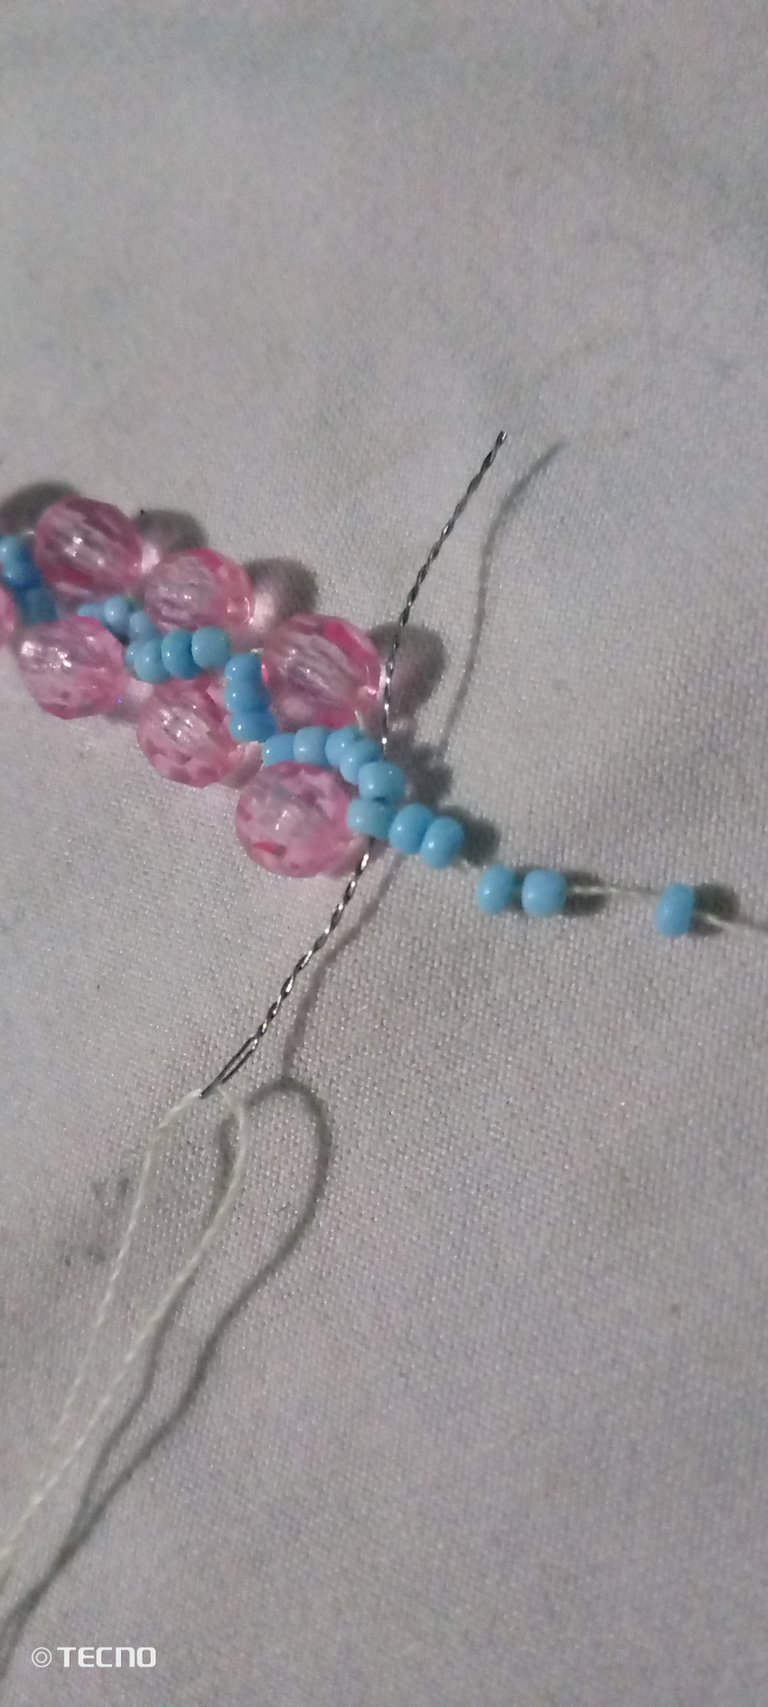
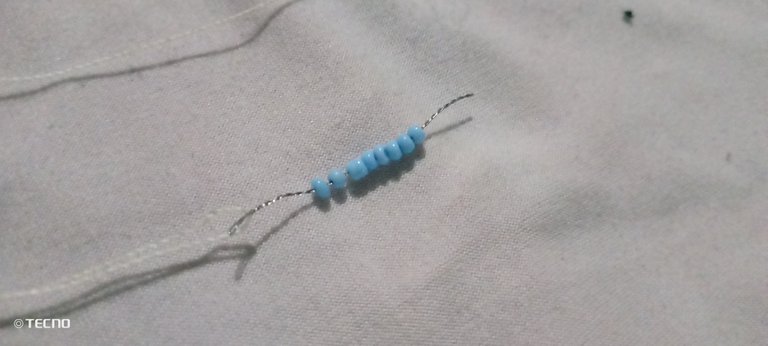
Luego de haber colocado el hilo en la aguja,tomaremos 6 mostacillas de color azul y hacemos un pequeño círculo
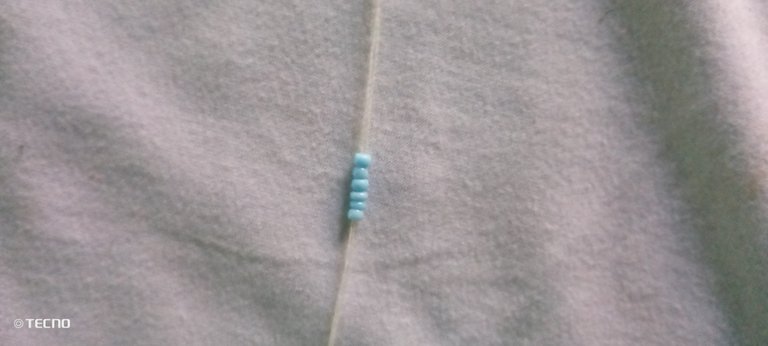
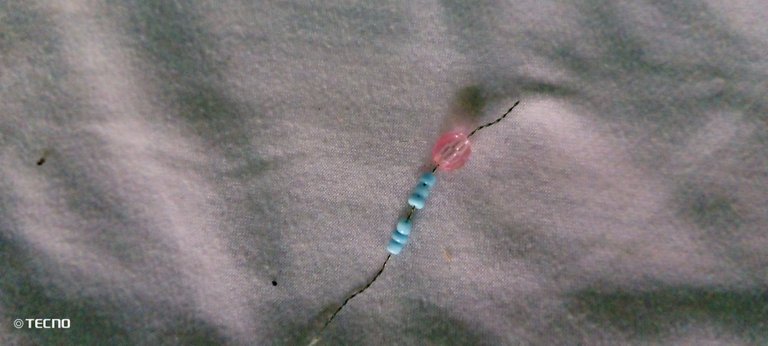
Luego tomaremos otras 6 mostacillas y las colocamos al final del hilo, posteriormente vamos a tomar 3 mostacillas de color azul y 1 bicono y lo llevaremos igualmente al final
PASO 2
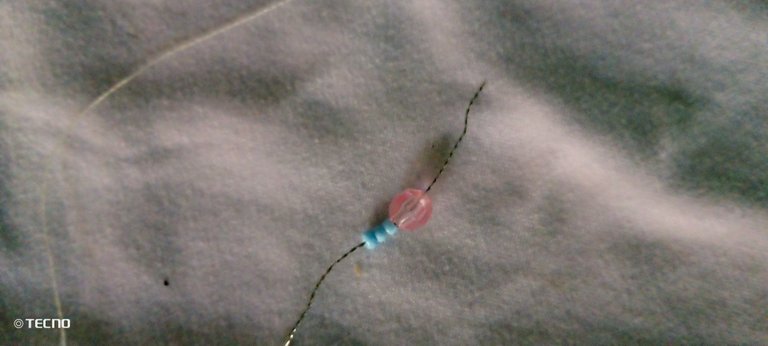
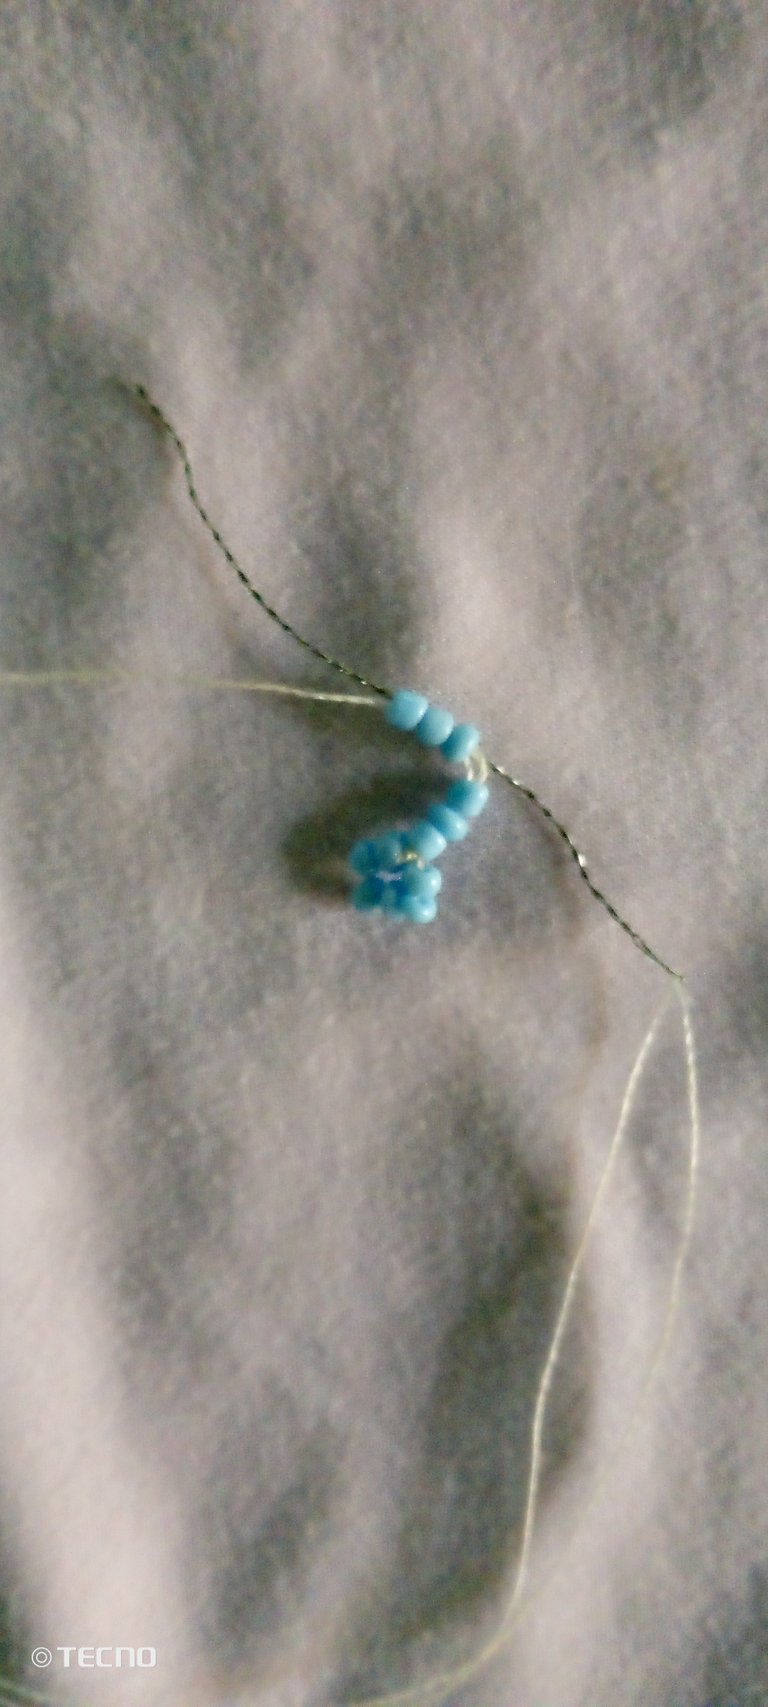
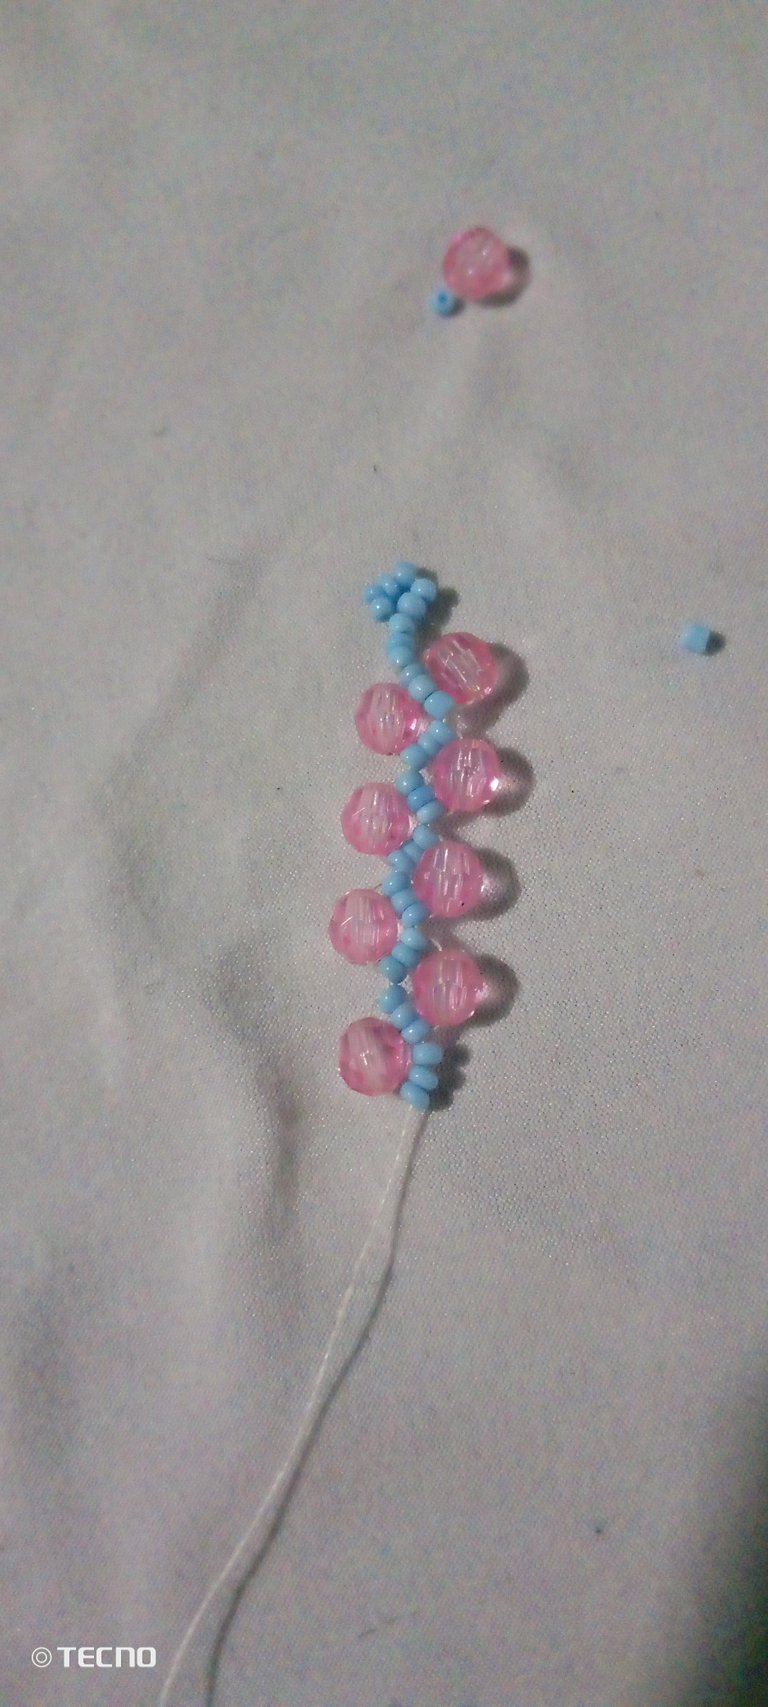
Tomaremos nuestra aguja y contamos 3 mostacillas,luego pasaremos nuestra aguja e hilo por la cuarta mostacilla de abajo hacia riba y tiraremos de el para que quede este resultado
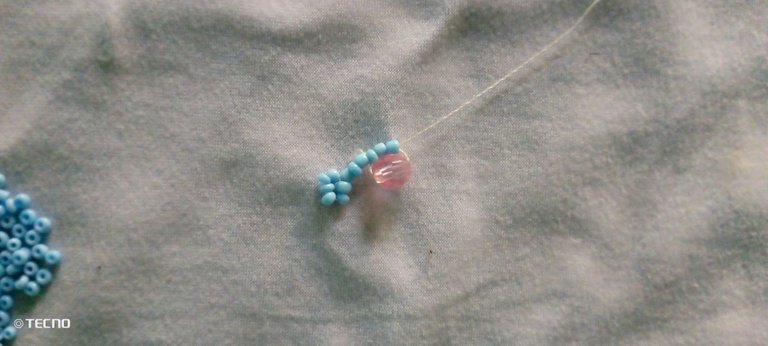
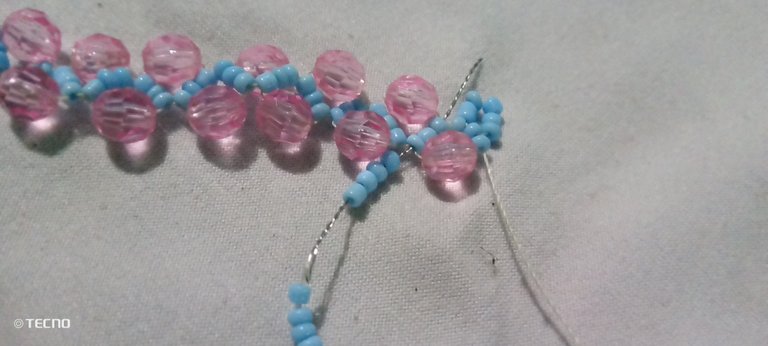
Después de haber tomado 3 mostacillas y 1 bicono introduciremos nuestra aguja e hilo igualmente por la cuarta mostacilla,tomando en cuenta que siempre hay que pasarla al contrario de dónde nos salga el hilo,si nos sale por arriba,la metemos por debajo,si nos sale abajo la metemos por arriba,jejeje
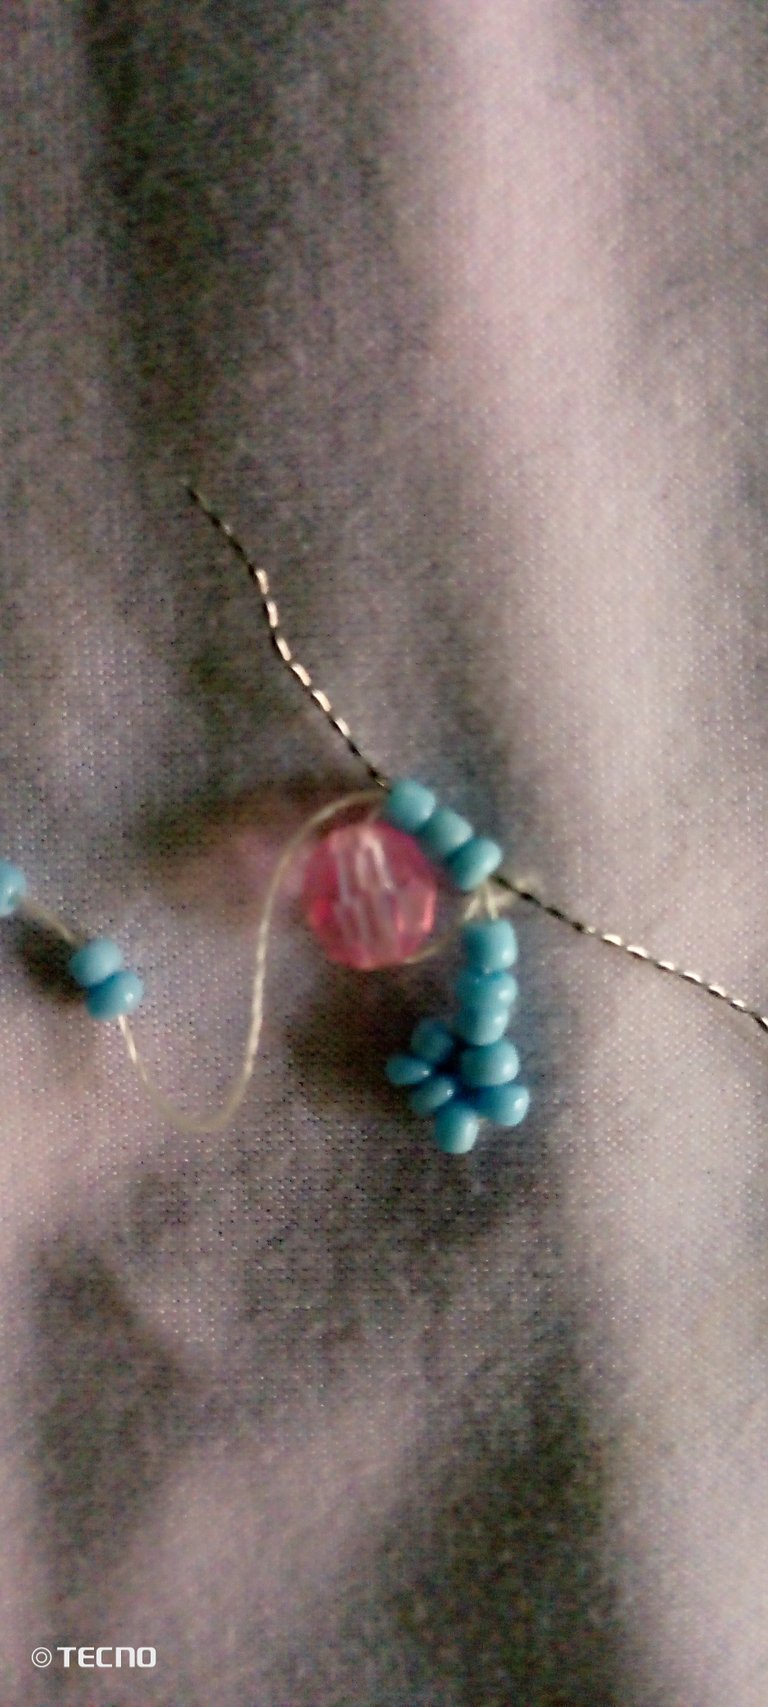
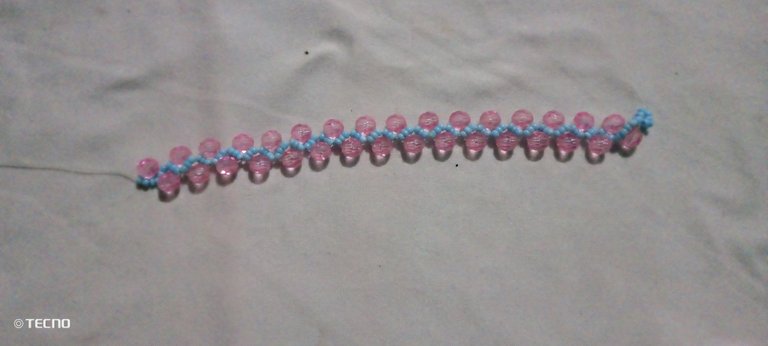
Este proceso lo vamos a repetir hasta que tengamos el largo que vallamos a necesitar
PASO 3
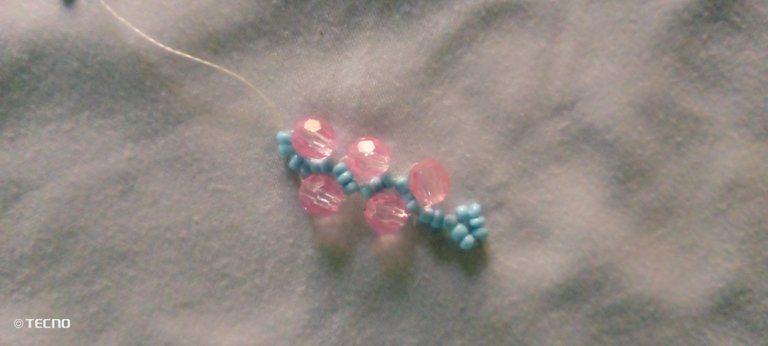
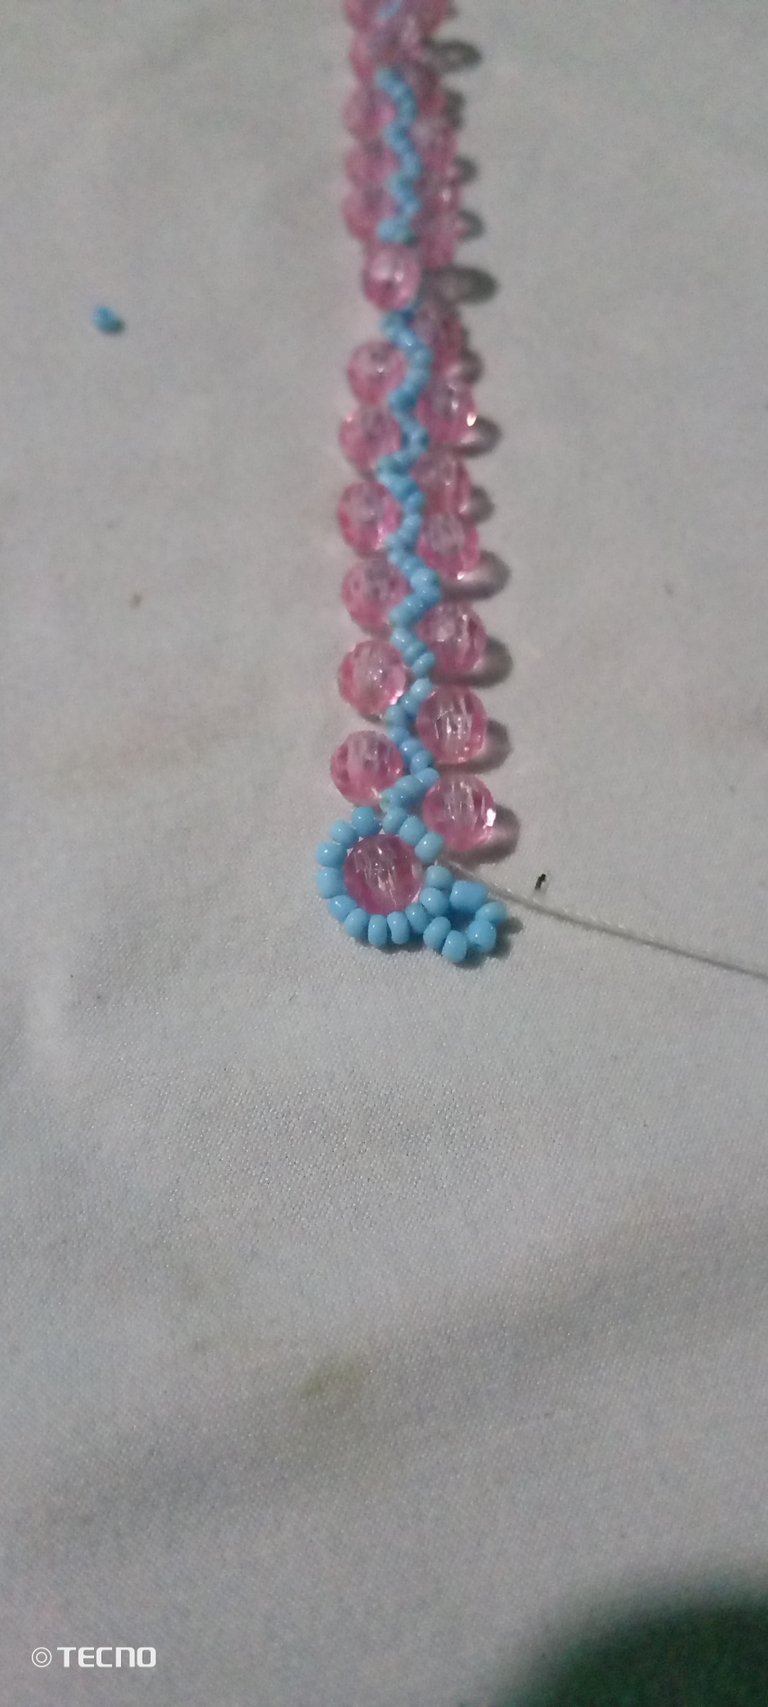
Lo que haremos después será regresarnos 1 mostacilla al final y tomaremos 5 mostacillas de color azul para completar las 6 del principio,las introduciremos por las 2 mostacillas que están al final haciendo un pequeño círculo que es donde va nuestro trancadero o seguro
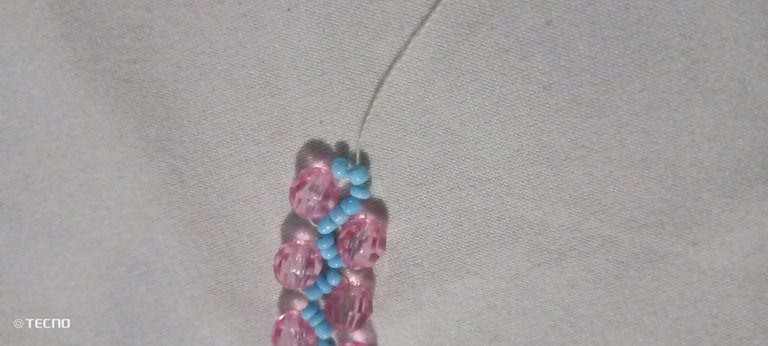
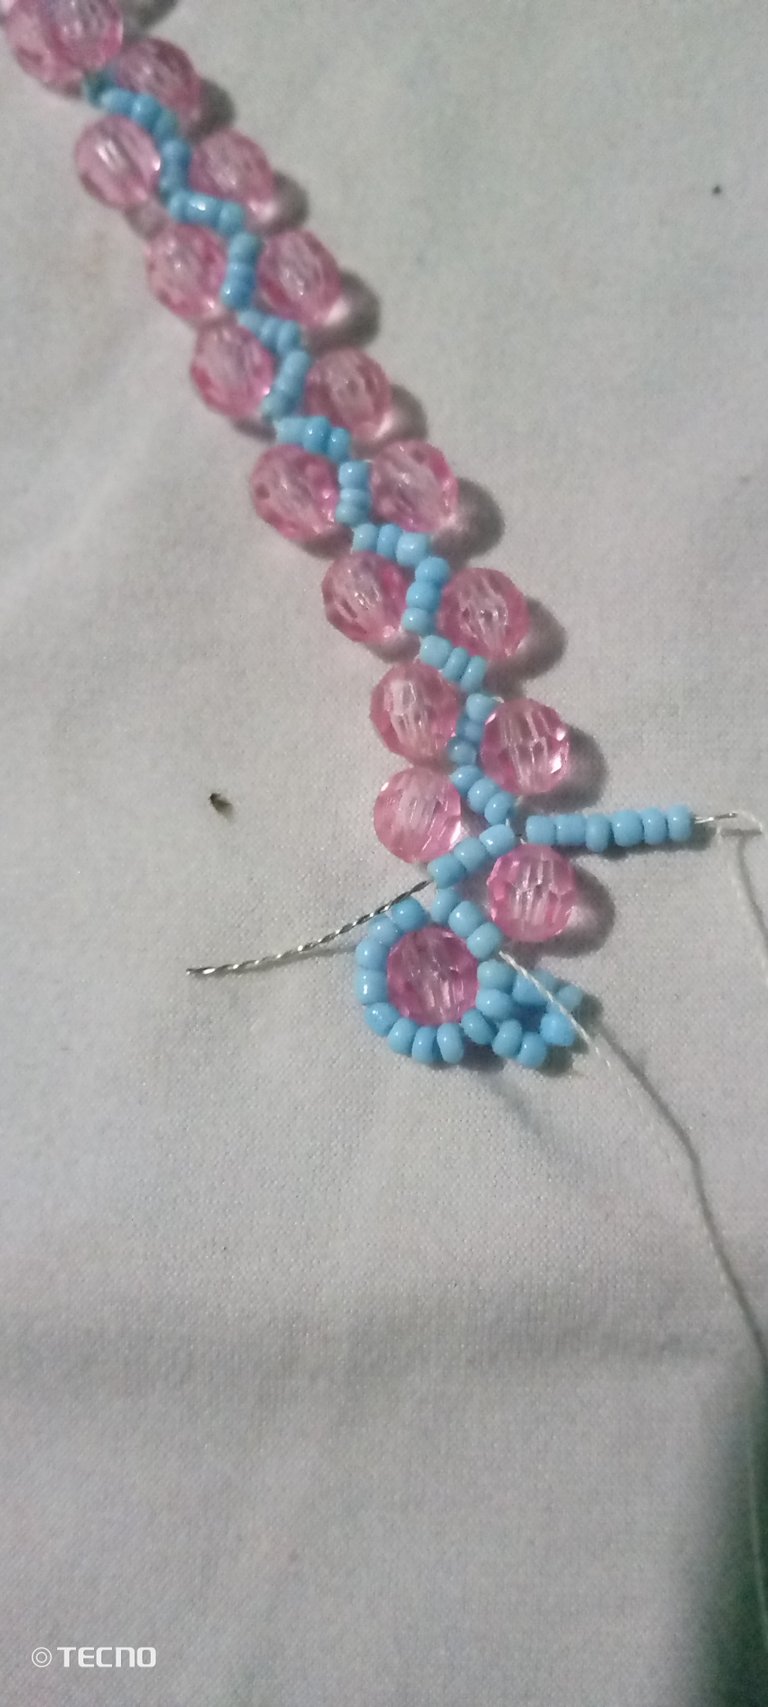
Luego tomaremos 8 mostacillas para rodear nuestro bicono y pasaremos la aguja por las 3 mostacillas que están en el medio,tiramos y nos queda de esta manera
PASO 4
Lo siguiente es tomar 6 mostacillas y vamos a rodear el bicono y de igual manera pasaremos por las 3 mostacillas que están en el centro,después pasaremos por 2 mostacillas del círculo anterior para que nuestro bicono quede totalmente cubierto
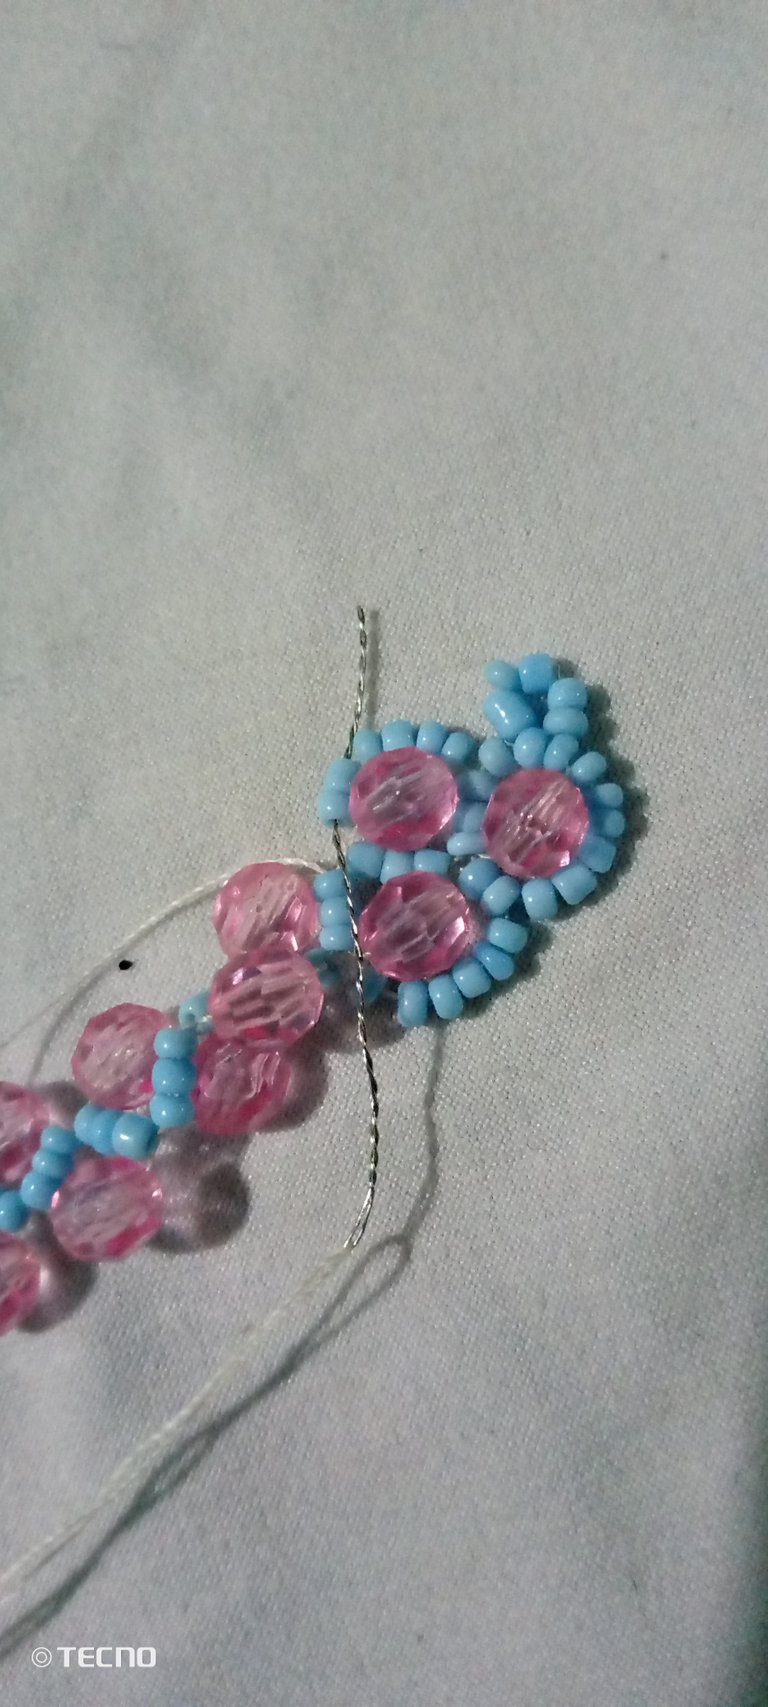
seguiremos la misma frecuencia colocando 6 mostacillas y rodeando el bicono las introduciremos por las 3 del centro hasta terminar de cubrir todos los biconos.
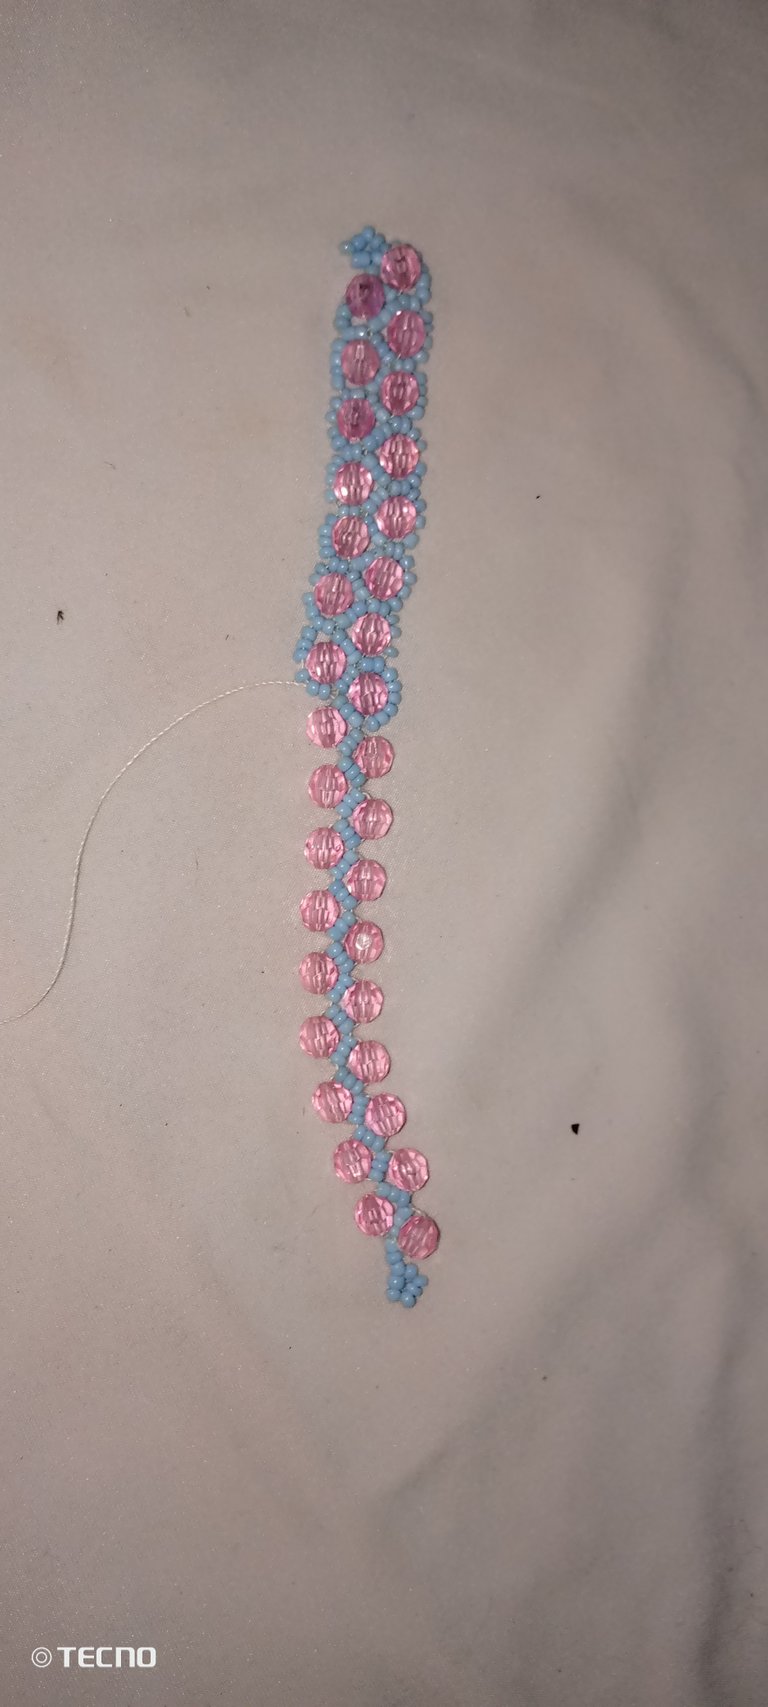
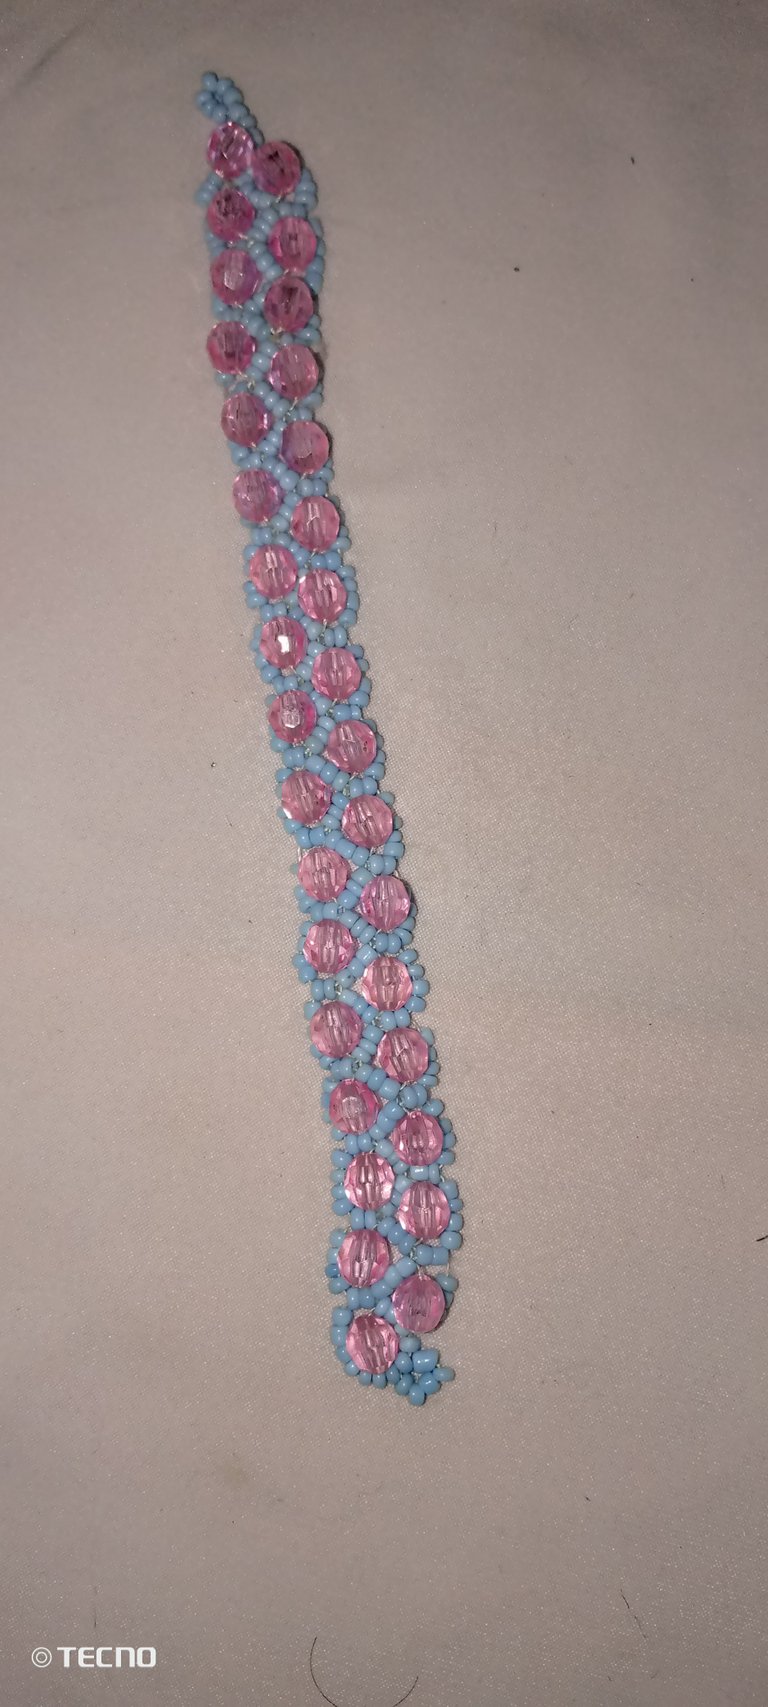
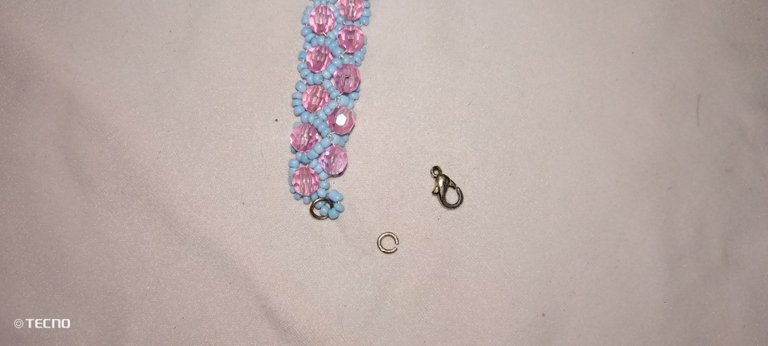
Ya por último con la ayuda de una alicate introduciremos las argollas en los extremos de la pulsera y colocamos nuestro trancadero,y ya tenemos nuestra hermosa pulsera.
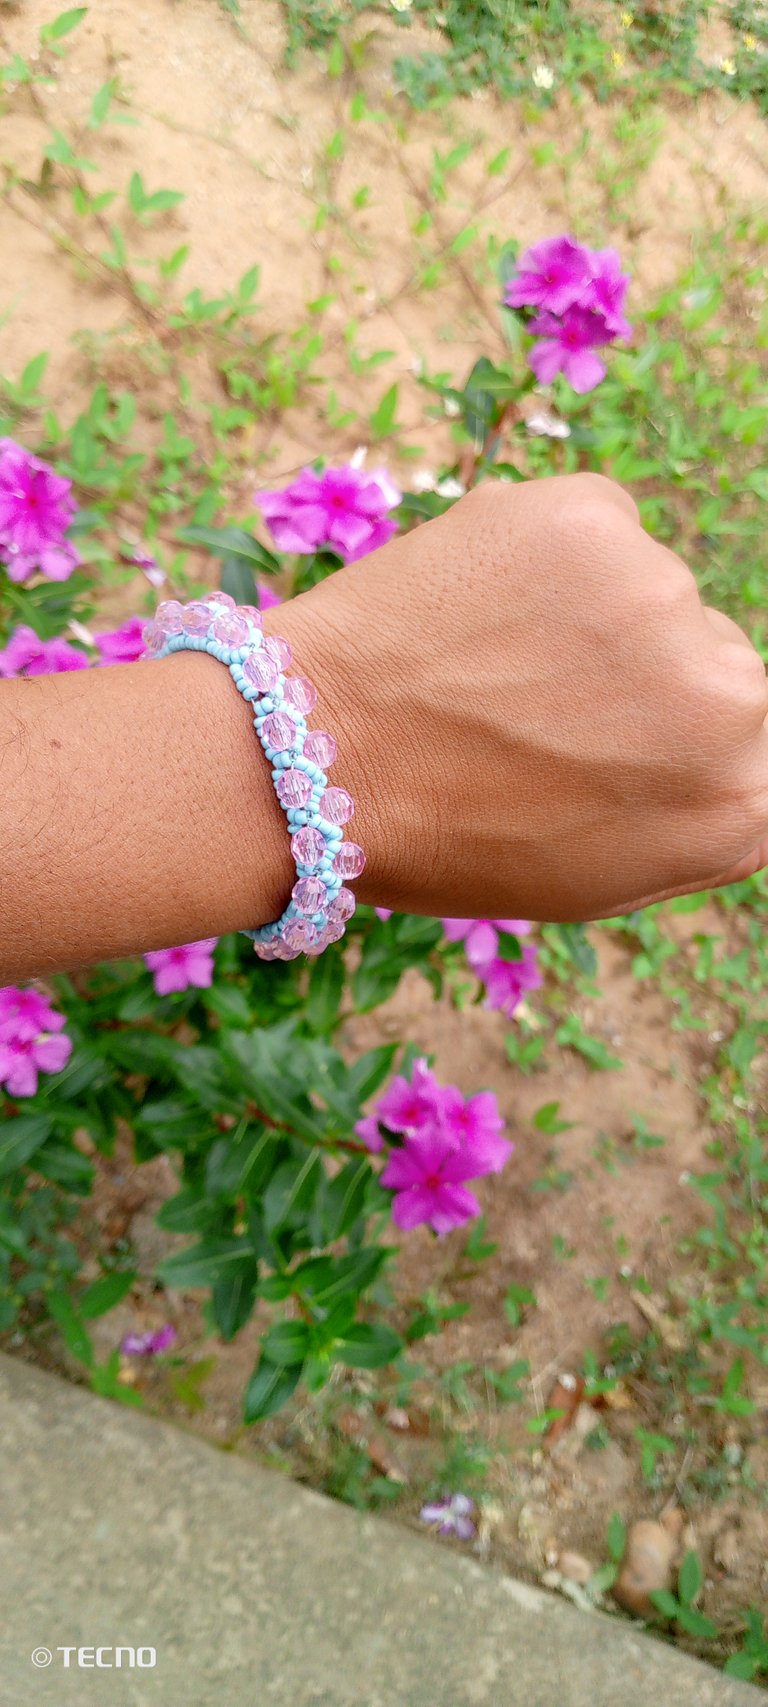
Como les dije es muy facil realizar este tipo de pulseras,lo puedes combinar con el color que les guste.
Muchas gracias por su atención espero que les haya gustado,muchos éxitos y bendiciones 😊.
Creditos
- Las fotos son de mi autoria y fueron tomadas por mi teléfono tenco spark go 2023.
- Traductor utilizado Deelp traductor
- Las imágenes son editadas mediante la aplicación editor de fotos polish y los separadores fueron editados mediante la aplicación editor de fotos canva.

A wonderful and blessed day to my friends of hive and jewerly community.
Receive a warm greeting and the best energies from me, grateful first of all to my God for giving me again the opportunity to share my creations with all this great and beautiful family, since for personal reasons I was absent for a while, but now I'm with you again.
Well my beautiful people today I want to talk about a beautiful and delicate bracelet that I made with much affection for my wife, she told me to do something for her, and well I decided to make this beautiful bracelet that today I want to share with all of you, and show you the step by step, this was a very easy process to do because you just have to follow the same sequence and with a little dedication you will achieve the goal.
The materials used to make this beautiful bicone bracelet were as follows
🩷BLUE COLORED BEADS
🩷PINK BICONES
🩷2 METERS OF THREAD
🩷TRAYER
🩷 2 RINGS
🩷IMPROVISED NEEDLE

THE FOLLOWING ARE THE STEPS TO FOLLOW
STEP 1
The first thing we did was to improvise a needle with a super thin wire that I got, since I broke the needle making a necklace.
After placing the wire on the needle, we will take 6 blue beads and make a small circle.

Then we will take another 6 beads and we will place them at the end of the thread, later we will take 3 blue beads and 1 bicone and we will take them at the end of the thread.


STEP 2
We will take our needle and count 3 beads, then we will pass our needle and thread through the fourth bead from the bottom to the top and we will pull it to get the following result


After having taken 3 beads and 1 bicone, we will introduce our needle and thread also through the fourth bead, taking into account that we always have to pass it in the opposite direction of where the thread comes out, if it comes out at the top, we put it underneath, if it comes out at the bottom we put it at the top, hehehehe

We are going to repeat this process until we have the length we are going to need.


STEP 3
What we will do next will be to return 1 bead at the end and take 5 blue beads to complete the 6 from the beginning, we will introduce them through the 2 beads that are at the end making a small circle that is where our lock or insurance goes.


Then we will take 8 beads to surround our bicone and we will pass the needle through the 3 beads that are in the middle, we pull and we have this way


STEP 4
The next step is to take 6 beads and we will surround the bicone and in the same way we will pass through the 3 beads that are in the center, then we will pass through 2 beads of the previous circle so that our bicone is completely covered.


we will follow the same frequency placing 6 beads and surrounding the bicone we will introduce them through the 3 in the center until we finish covering all the bicones.


And finally with the help of pliers we will introduce the rings at the ends of the bracelet and we place our trancadero, and we have our beautiful bracelet.


As I said it is very easy to make this type of bracelets, you can combine it with the color that you like.
Thank you very much for your attention,I hope you liked it,many successes and blessings 😊
Credits
- The photos are of my authorship and were taken by my tenco spark go 2023 phone.
- Translator used Deelp translator
- The images are edited using polish photo editor application and the separators were edited using canva photo editor application.
https://twitter.com/2774723569/status/1649651451872804866
The rewards earned on this comment will go directly to the people( @kristal24 ) sharing the post on Twitter as long as they are registered with @poshtoken. Sign up at https://hiveposh.com.
You are such a darling. Your wife will be happy 😁 to have you as a darling.
Congratulations @afrofat1! You have completed the following achievement on the Hive blockchain And have been rewarded with New badge(s)
Your next target is to reach 20 posts.
You can view your badges on your board and compare yourself to others in the Ranking
If you no longer want to receive notifications, reply to this comment with the word
STOPTo support your work, I also upvoted your post!
Check out our last posts:
Support the HiveBuzz project. Vote for our proposal!
Muy bonito la verdad, me gusta la combinación de colores, esos colores son hermosos, muy bien explicado el paso a paso, me alegro verte de vuelta, espero seguir viendo más de tu hermoso trabajo, saludos.
Amigo, te quedó muy hermosa la pulsera, luce muy delicada y juvenil... Muchas gracias por compartir el proceso, un saludo.
Que bonita.. me gusta como lo explicas..! Los colores combinan muy bien..! Gracias por compartir!
Me parece super lindaa me gusta bastante el efecto de zig zag 💗