💐Hermosa Pulsera con Centros de Flores Coloridas💐Beautiful Bracelet with Colorful Flower Centerpieces💐
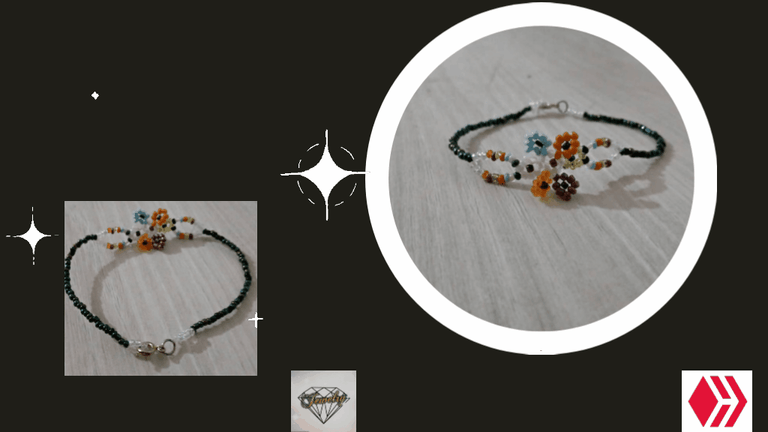
A continuación les estaré presentando los materiales utilizados para la elaboración de esta bonita pulsera :
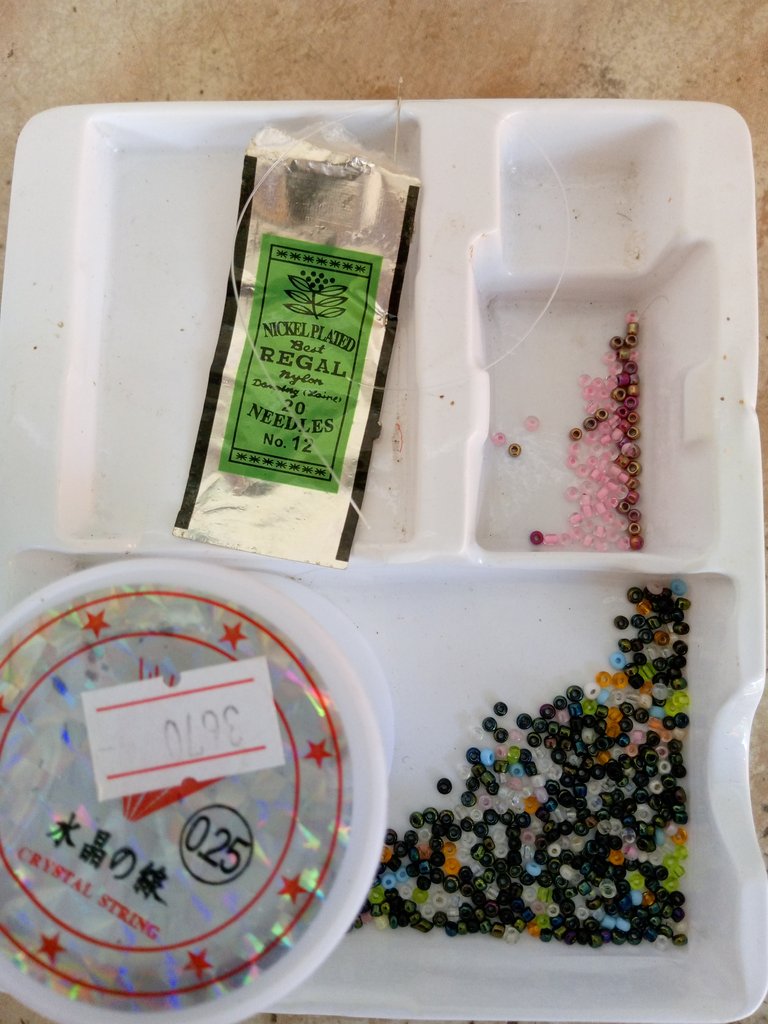
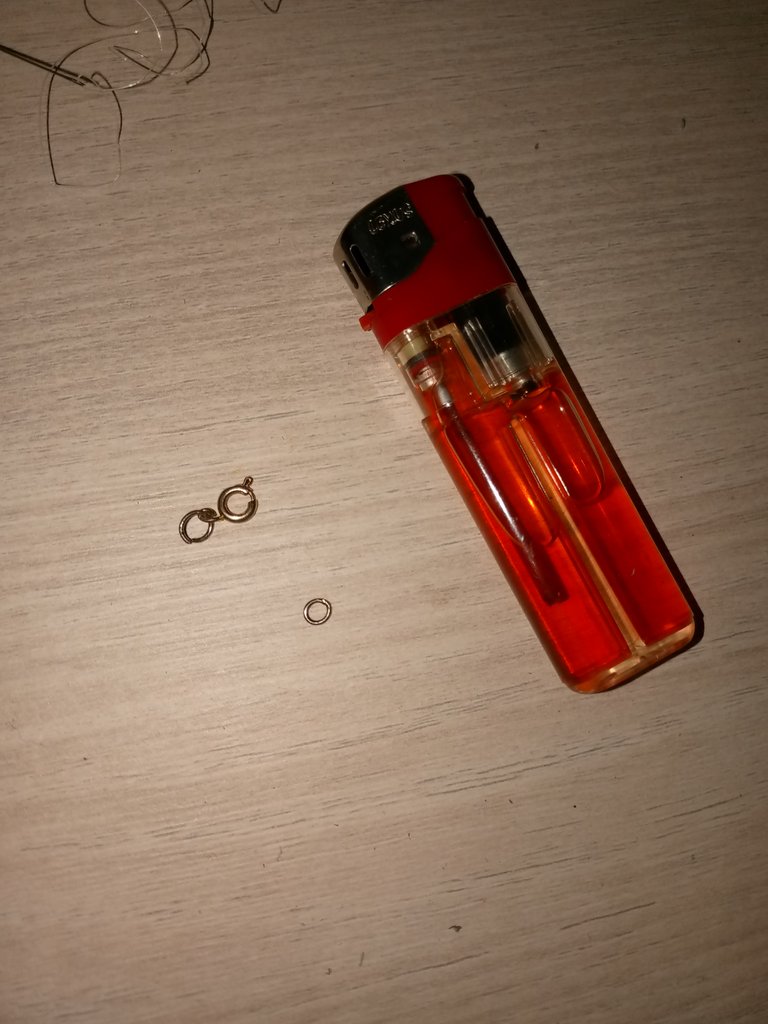
MATERIALES:
Hilo Nylon Transparente 0.25 🧵
Aguja nro 12🪡
Mostacillas de Diferentes Colores🎨
Negras, Transparente, Rosadas, Amarillas, Azules, Verdes, Anaranjadas y Color violeta rojiso🌈Yesquero o encendedor🕯️
Argollas, seguro o trancadero.🔗
A continuación les estare presentando el paso a paso utilizado:
Paso 1
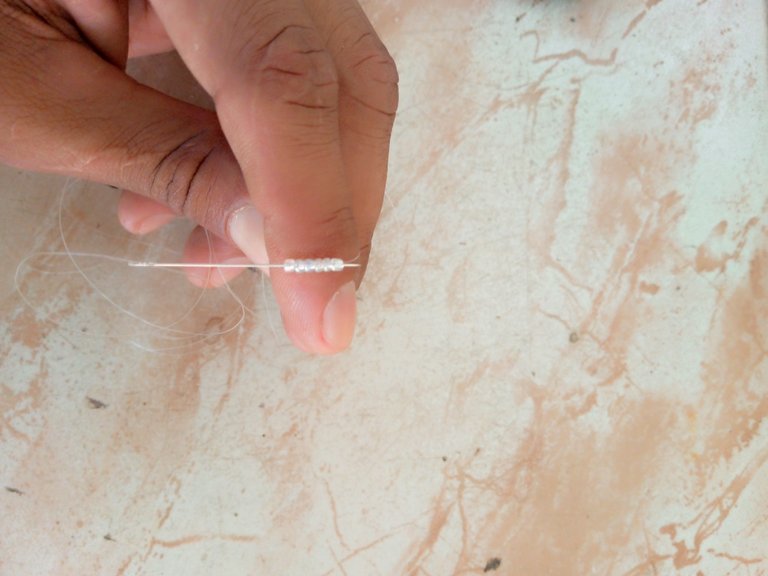
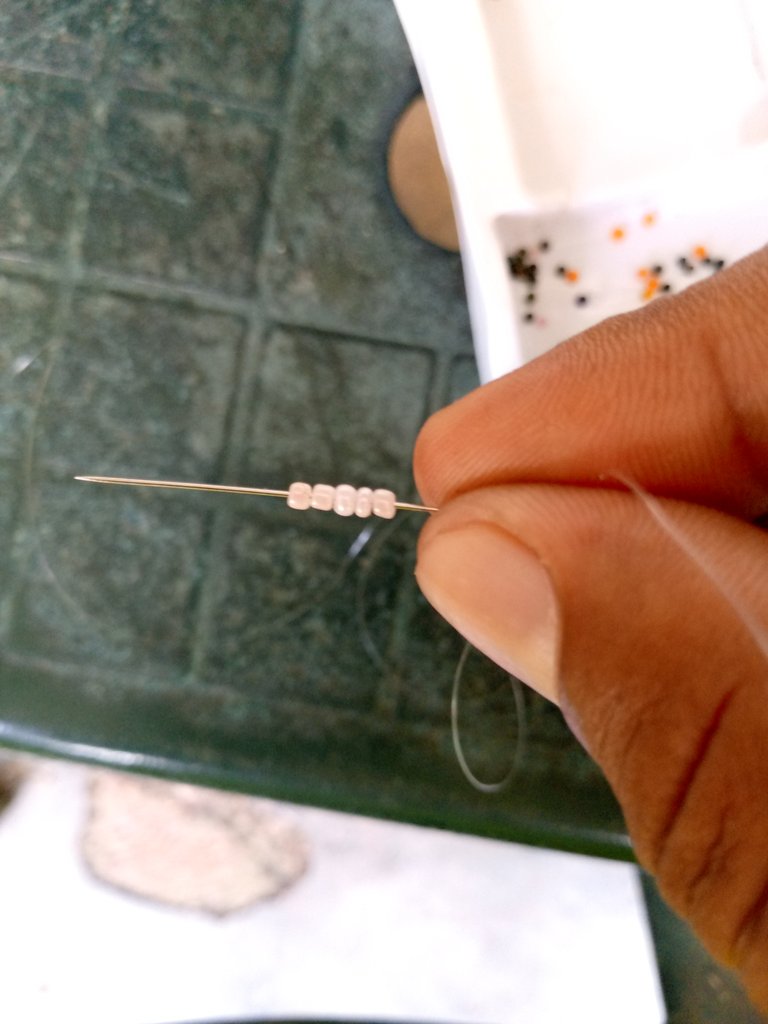
Lo primero que hicimos fue tomar un aproximado de 70cm de nylon, luego tomaremos 6 mostacillas transparentes
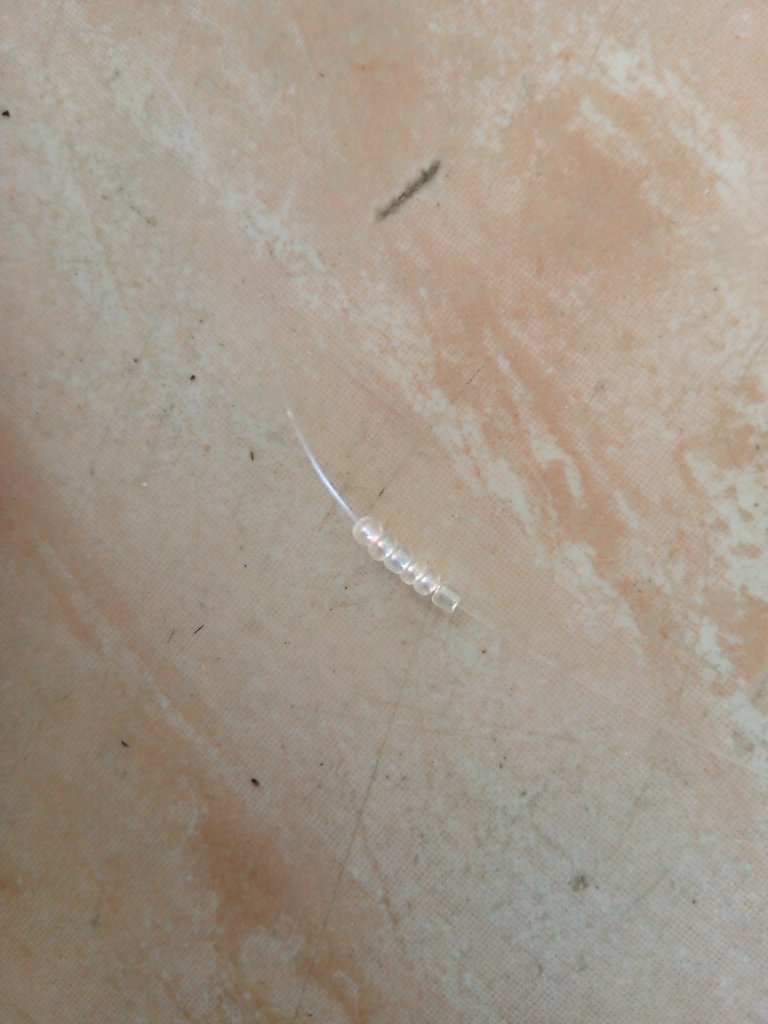
Luego las llevaremos hasta el final de nuestro nylon, dejaremos unos 5cm sobrante del hilo y asi pasaremos nuestra aguja por las mostacillas de la siguiente manera, para que nos quede un pequeño círculo
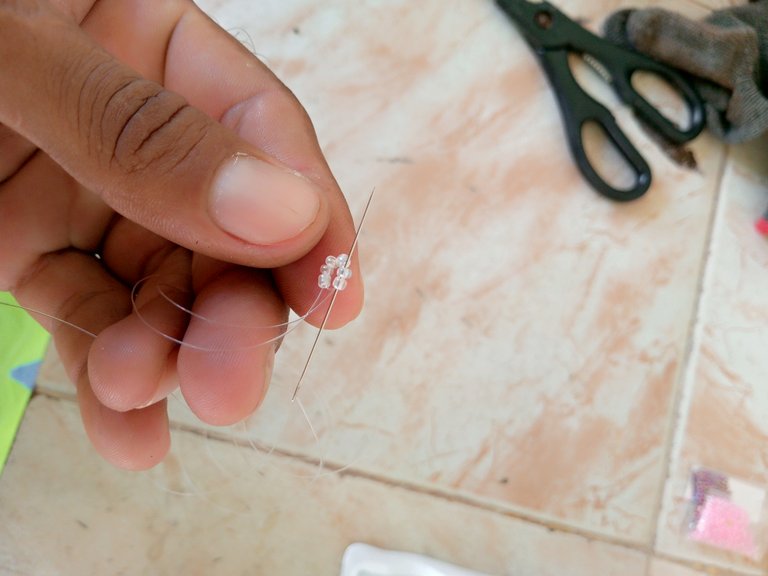
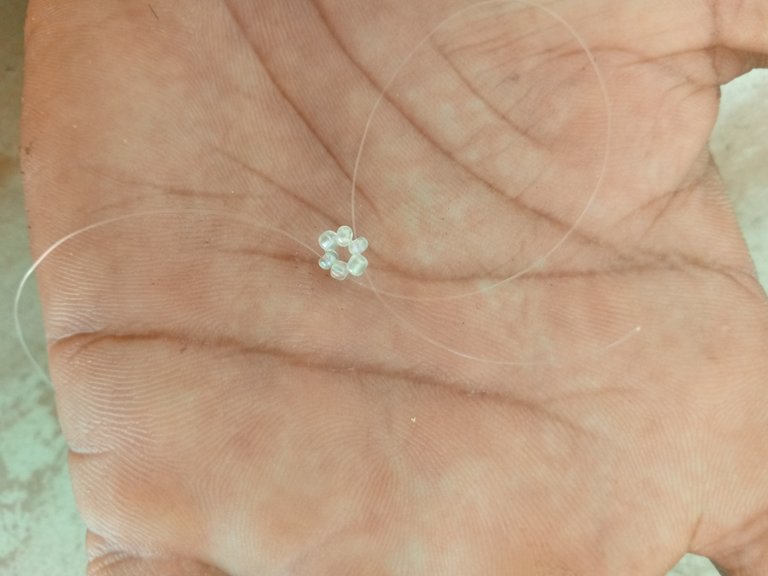
Después de tener nuestro pequeño círculo, reforzaremos pasando por 2 mostacillas, para asi introducir una mostacilla de color violeta
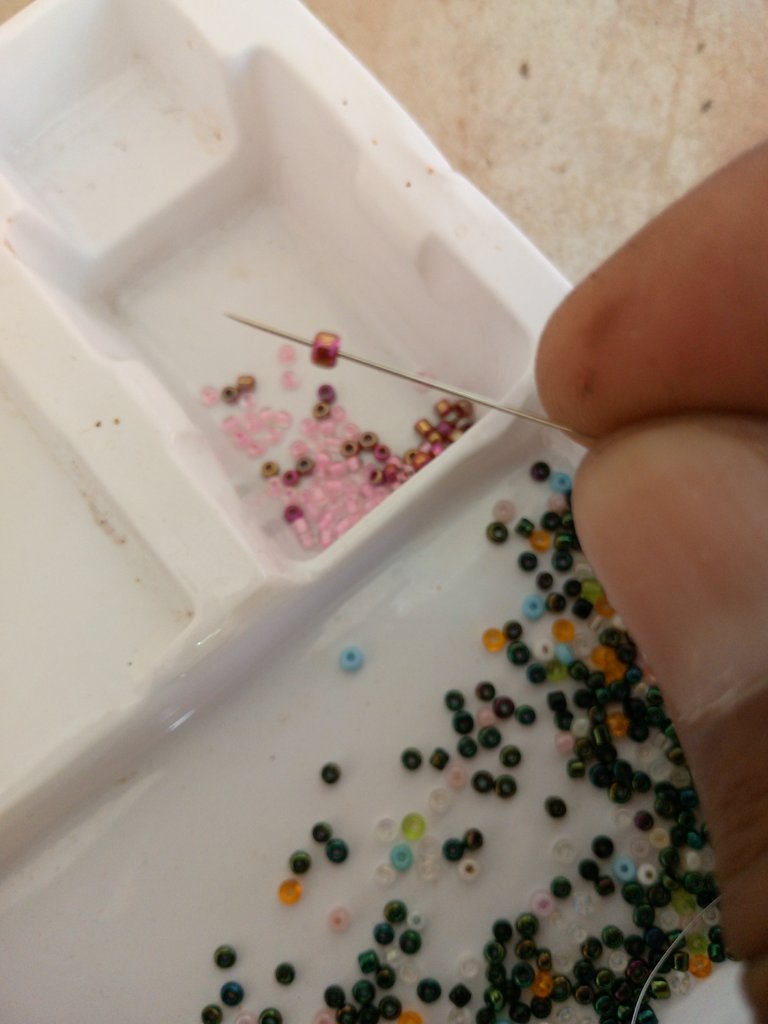
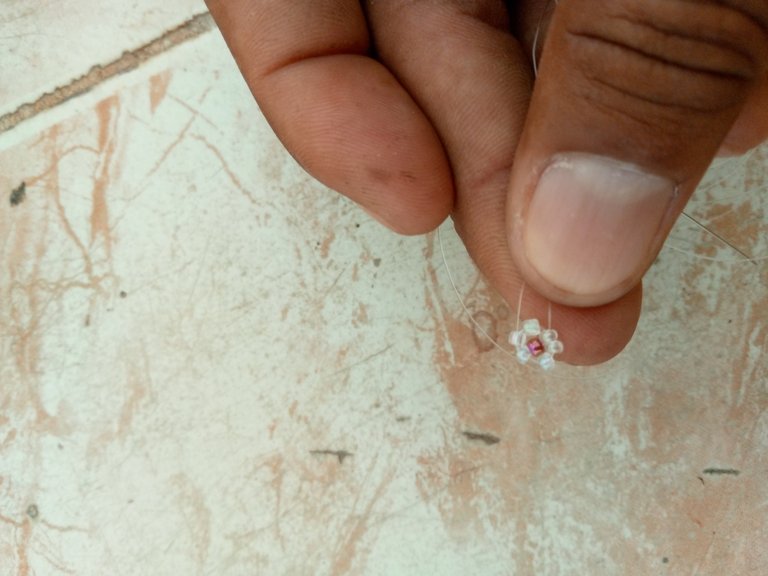
Para que quede en el centro, subiremos a la mostacilla de arriba y introduciremos la aguja para que ajuste y quede centrada.
Paso 2
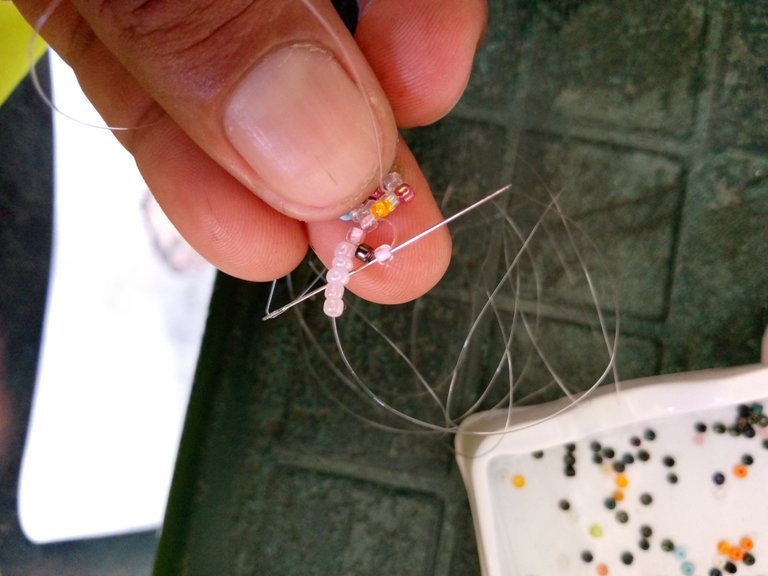
Para el siguiente paso, tomaremos 1 mostacilla de color rosado, introduciendo la aguja por la siguiente mostacilla quedara de esta manera
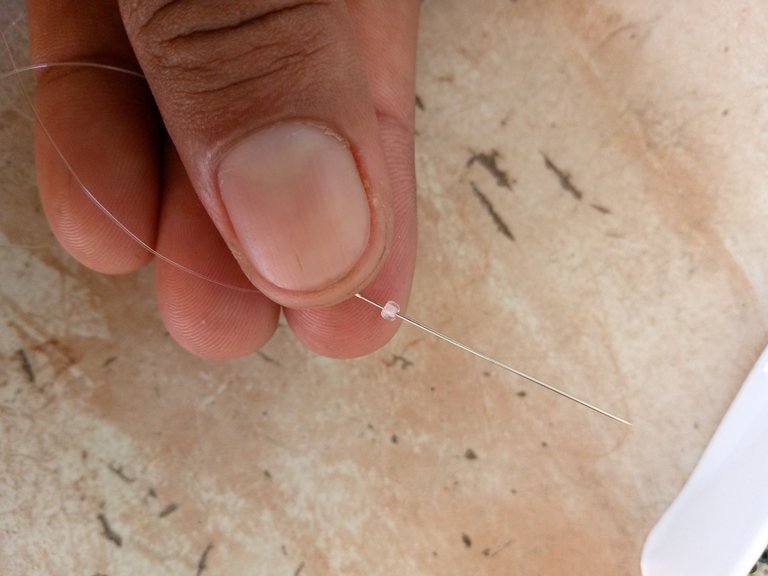
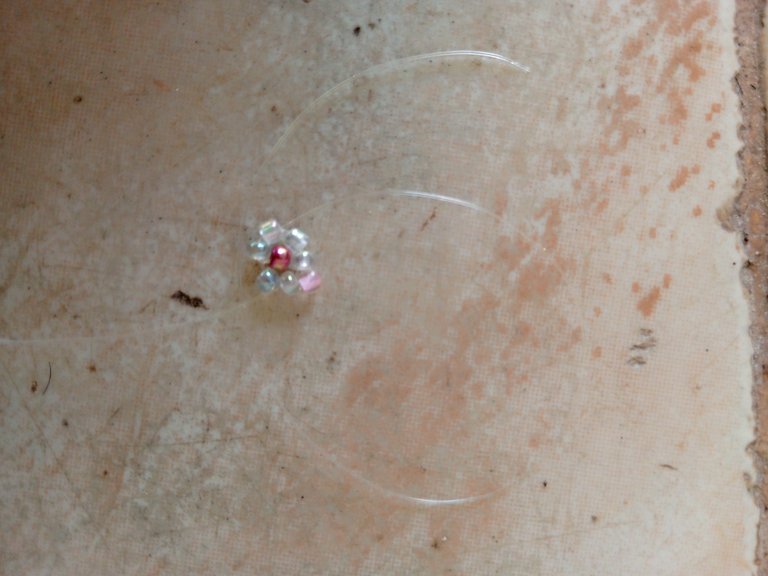
Luego tomaremos una mostacilla de color azul, para asi introducir por la siguiente mostacilla transparente
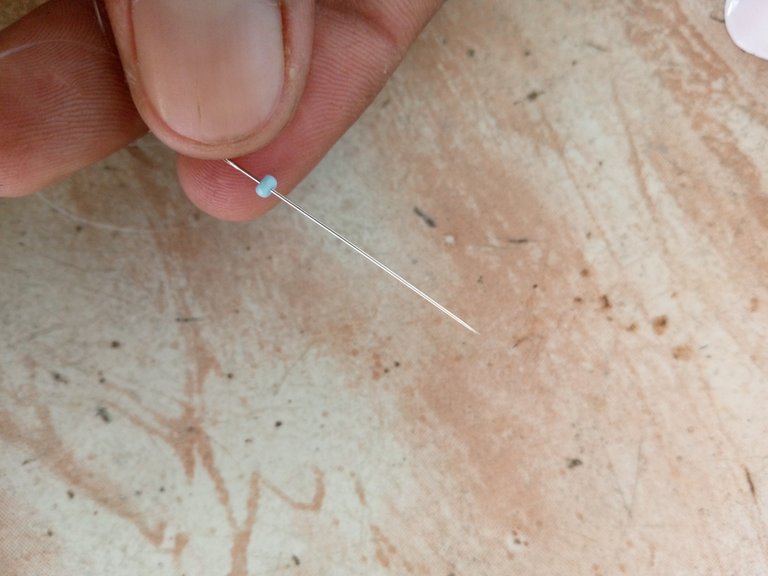
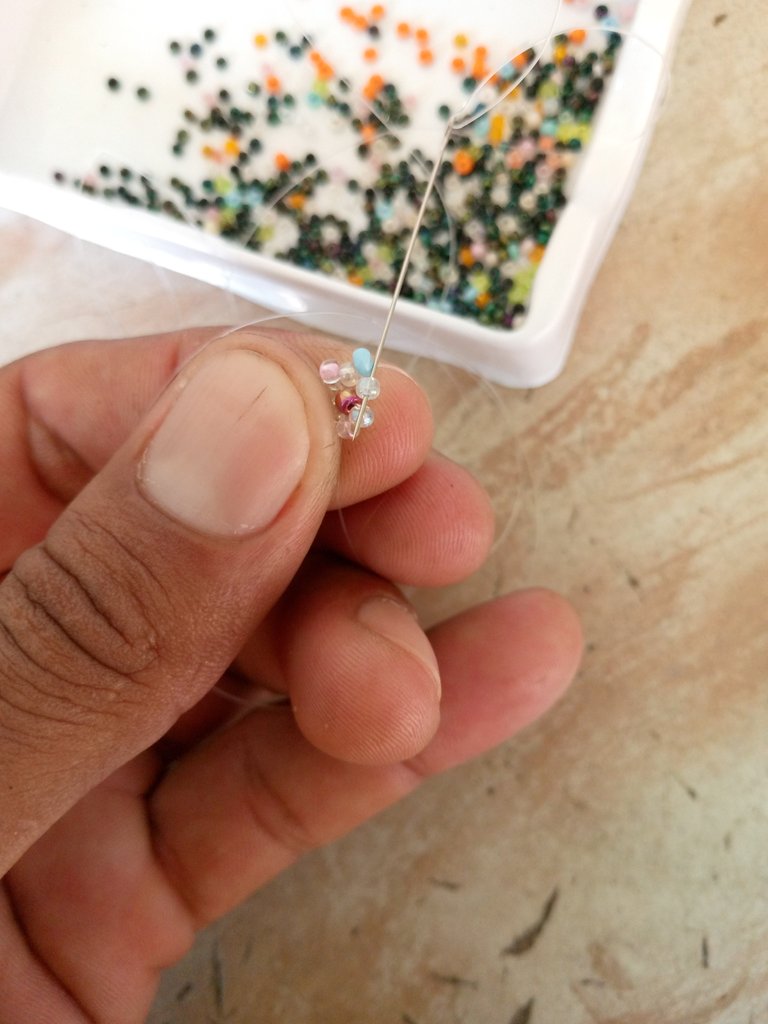
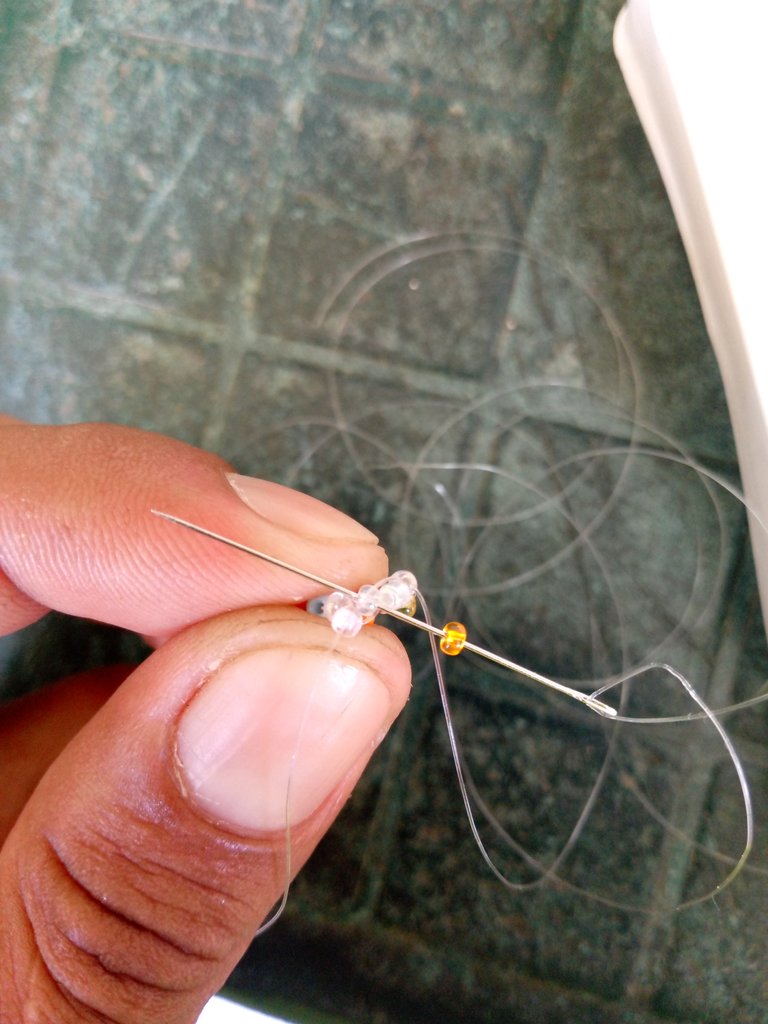
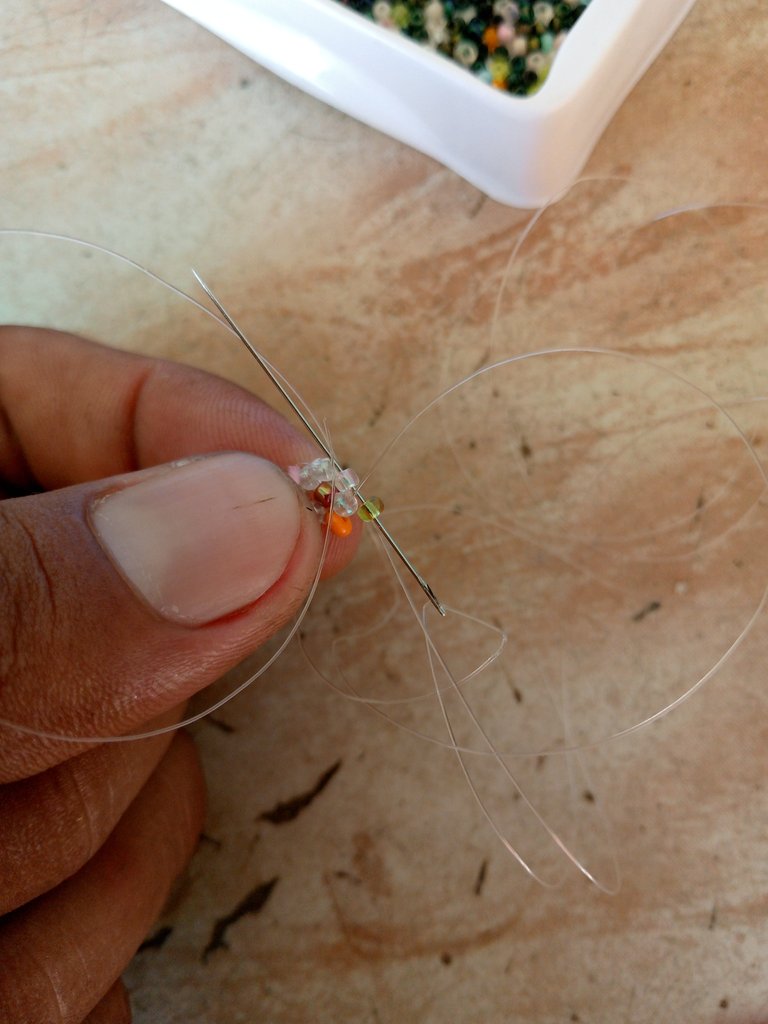
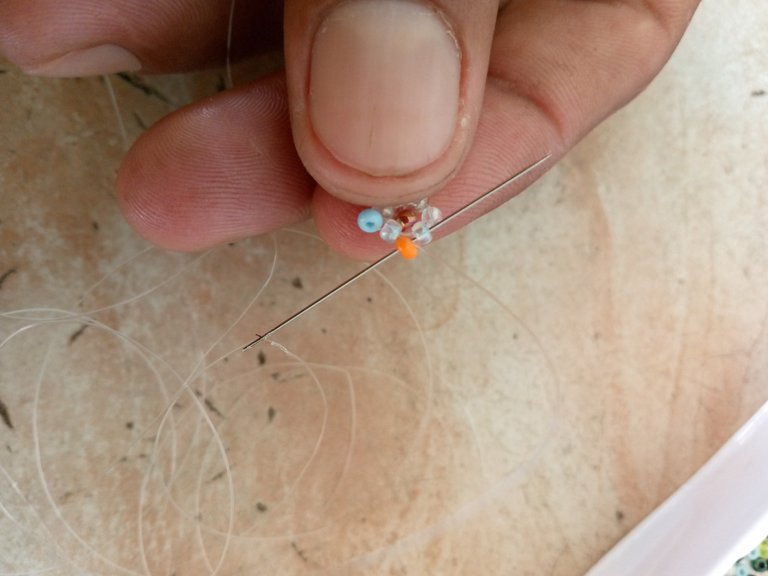
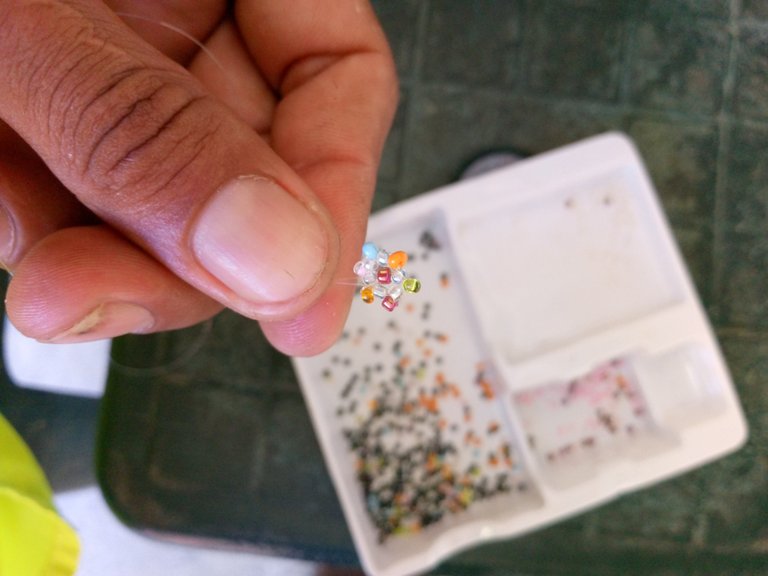
De igual manera seguiremos introduciendo una mostacilla de cada color hasta completar 6 colores esta quedara de la siguiente manera
Paso 3
Seguidamente tomaremos 1 mostacilla rosada una mostacilla negra y otra rosada
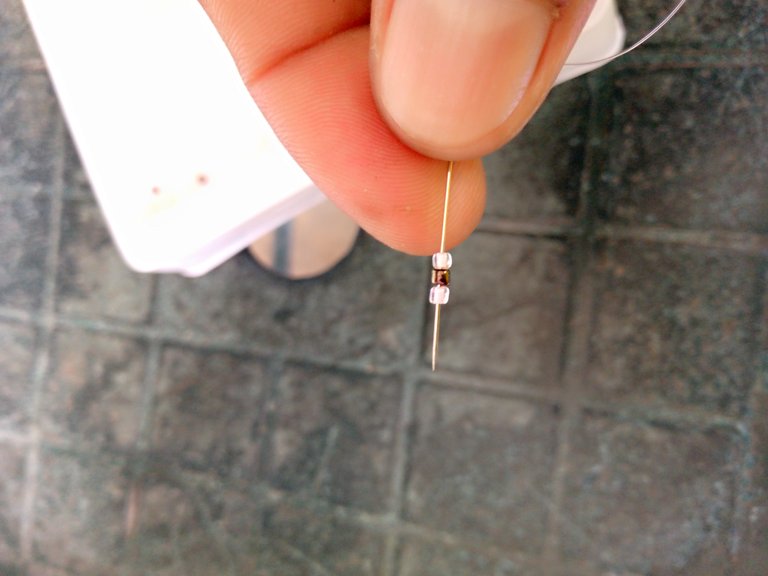
Vamos a introducir la aguja al contrario de donde salio nuestro hilo,tiramos de el y subiremos una mostacilla, posteriormente tomaremos 5 mostacillas del mismo color, introducimos por la siguiente mostacilla rosada, tiramos de el nylon y tendremos nuestro primer petalo.
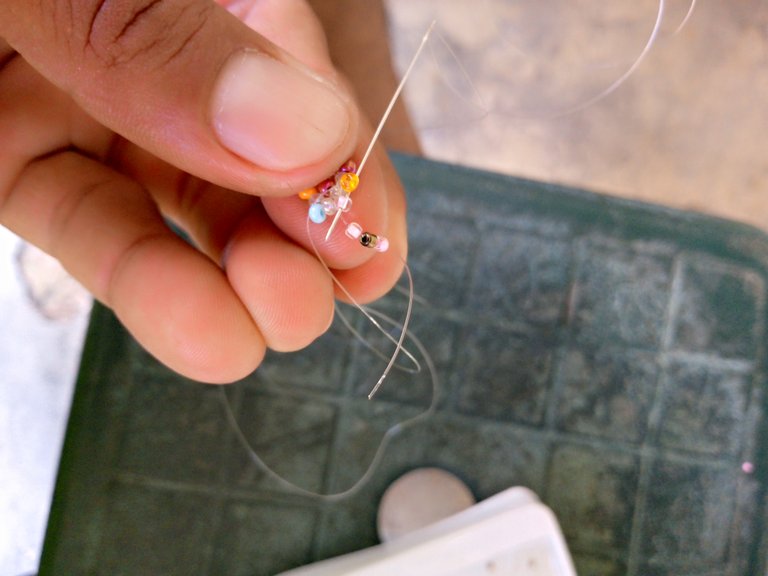
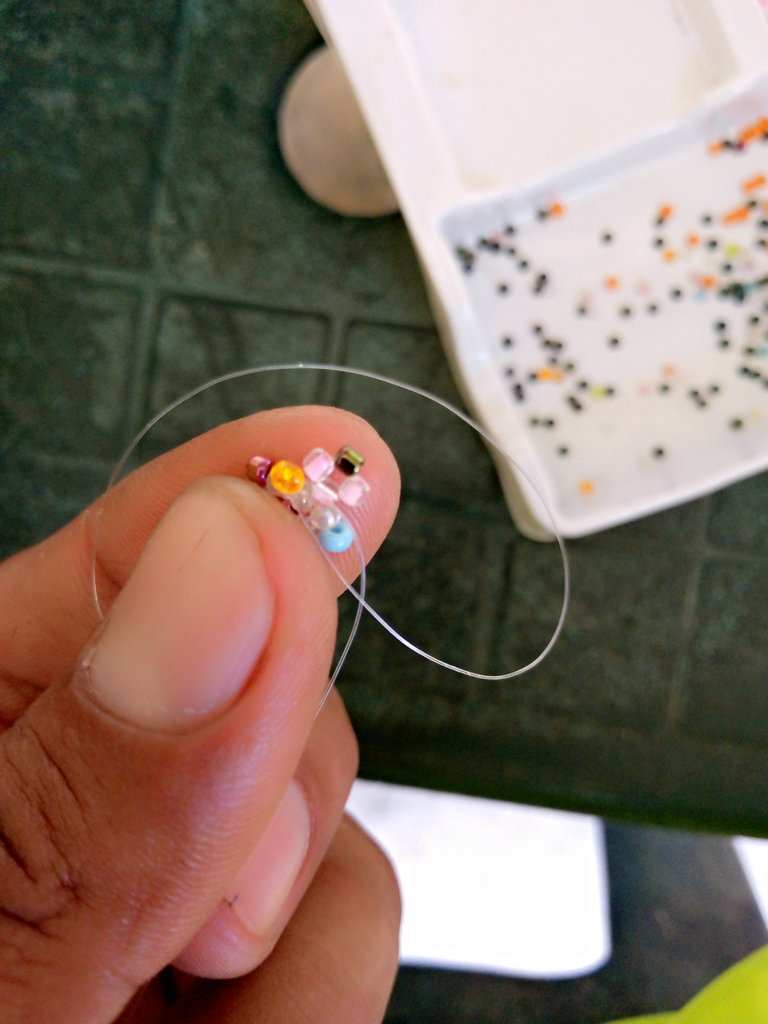
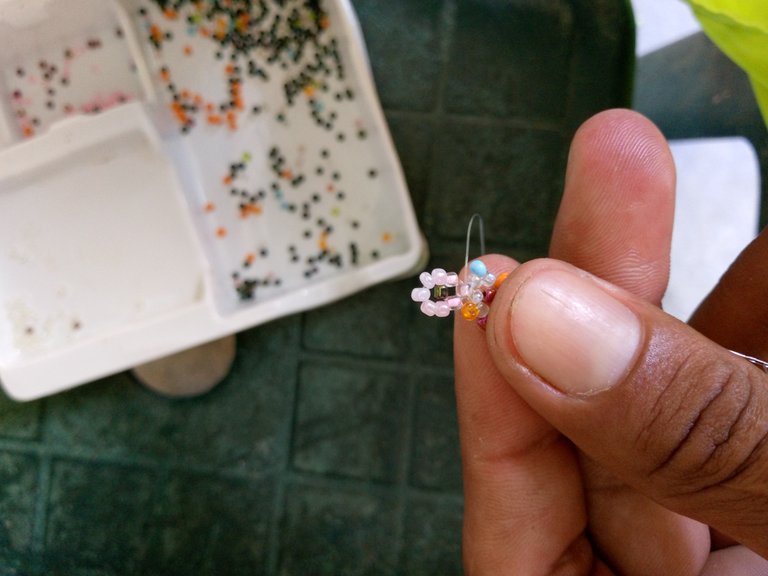
Luego repetiremos el mismo proceso, tomaremos una mostacilla azul, una negra y otra mostacilla de color azul, Vamos a introducir la aguja al contrario de donde salio nuestro hilo,subiremos una mostacilla, luego tomaremos 5 mostacillas de color azul, subimos una mostacilla, inteoducimos nuestra aguja, tiramos de el nylon y tendremos nuestro segundo petalo
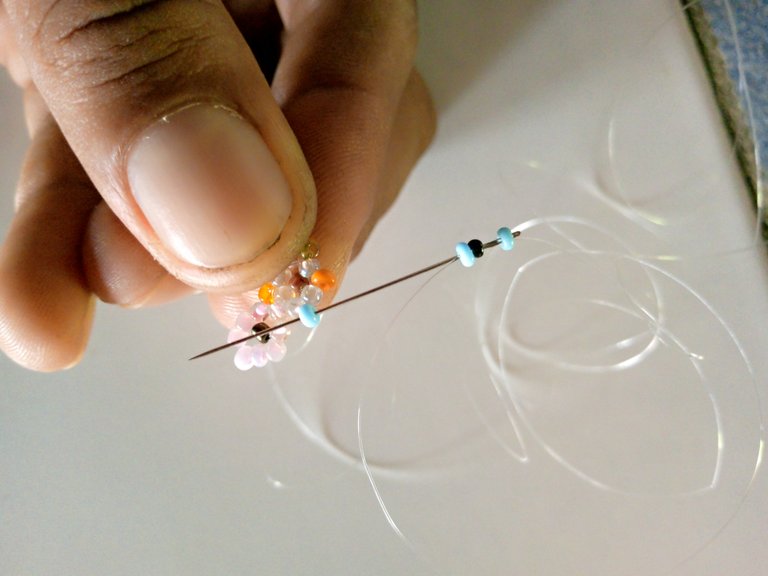
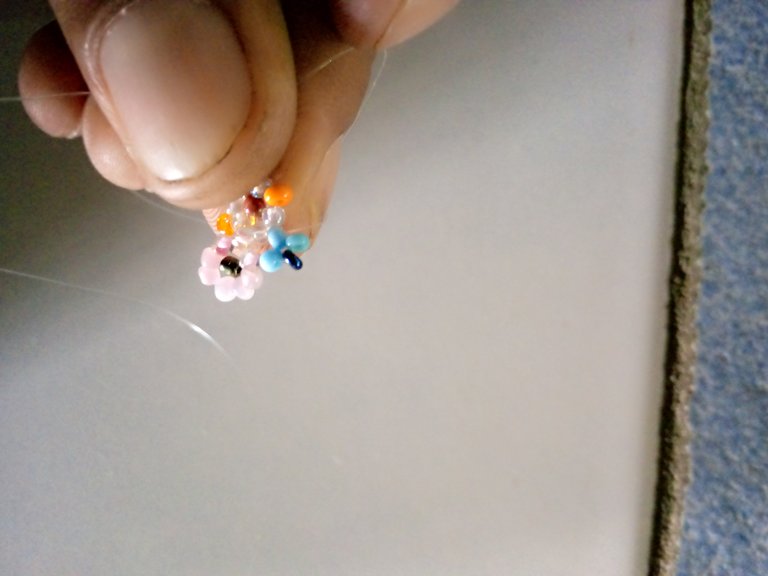
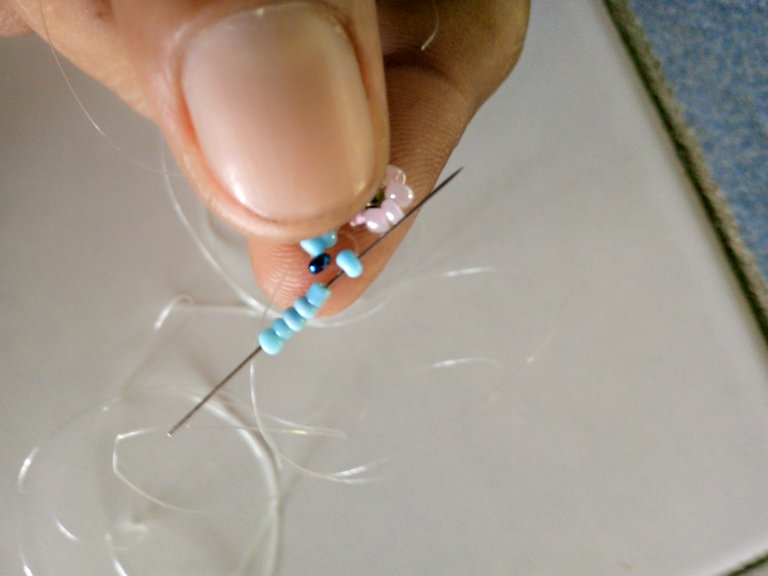
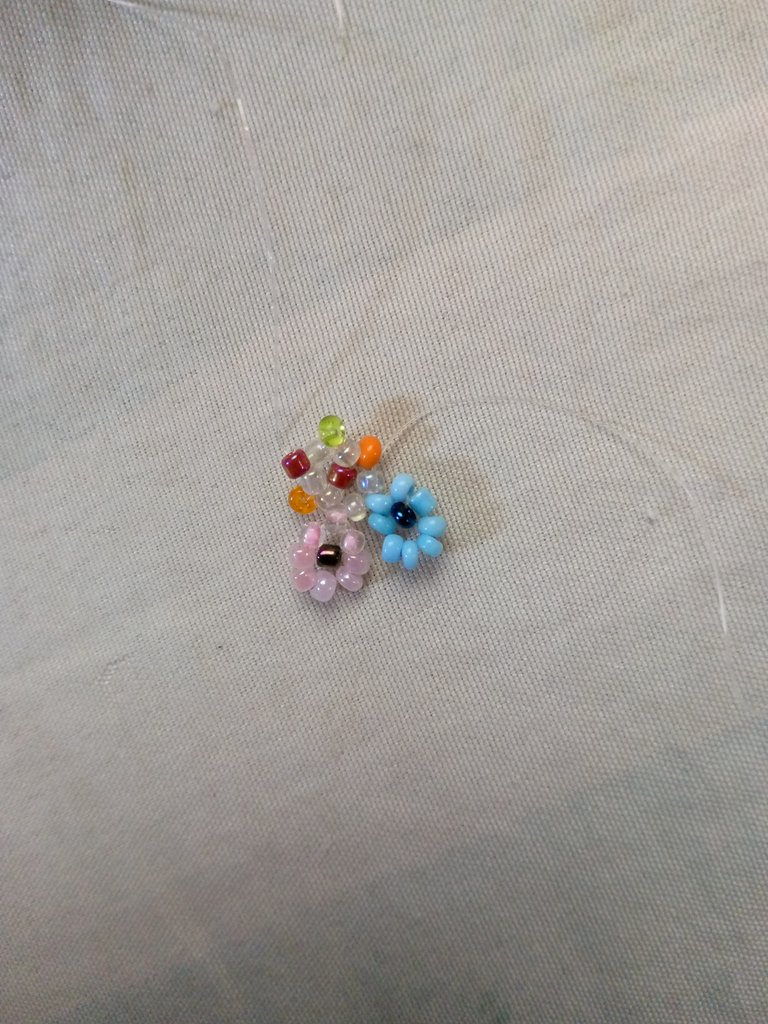
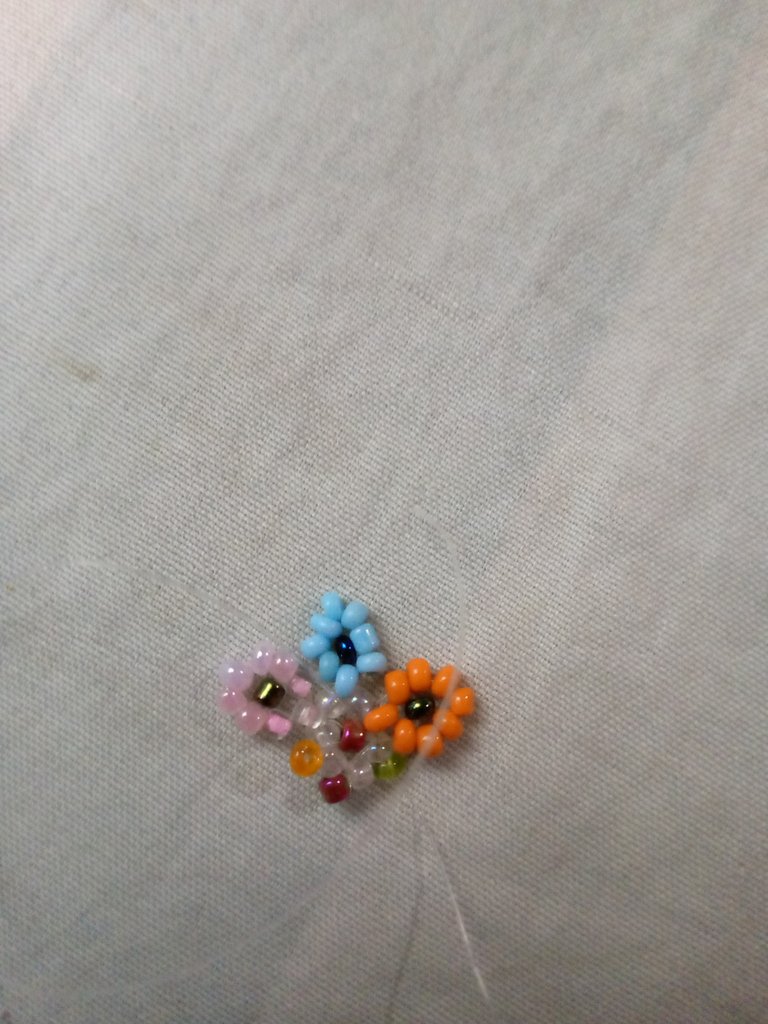
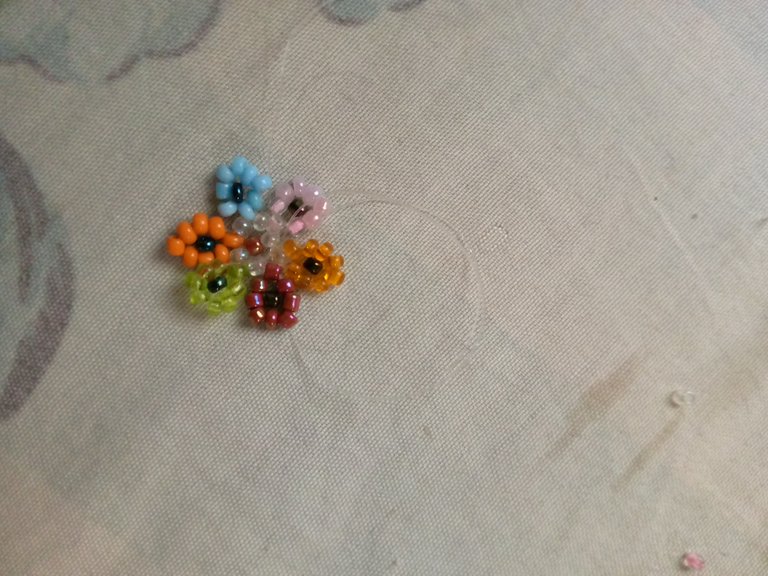
Vamos a repetir este paso hasta tener los 6 petalos de nuestra flor, esta se vera de la siguiente manera:
Paso 4
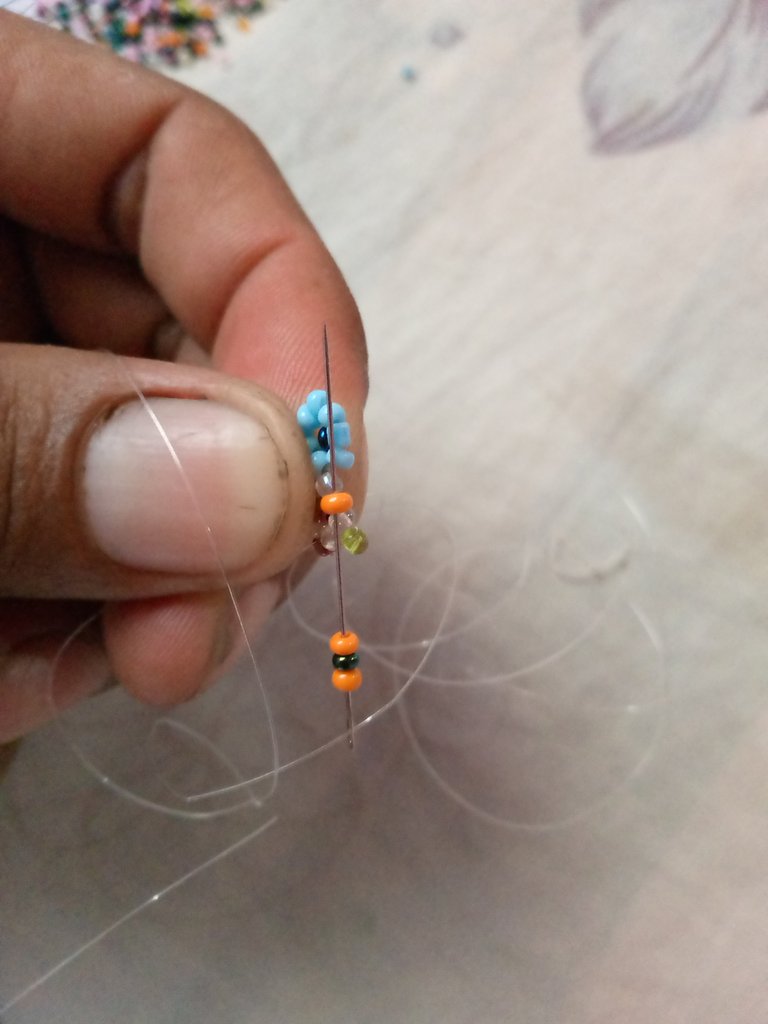
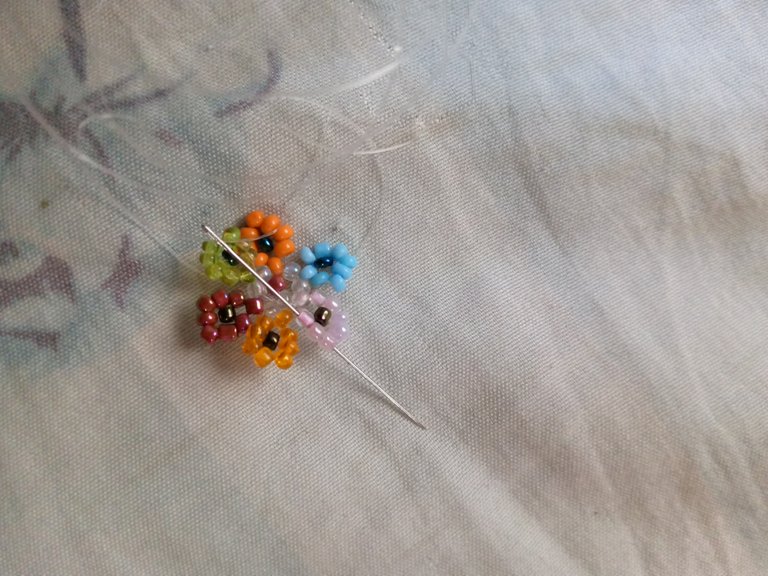
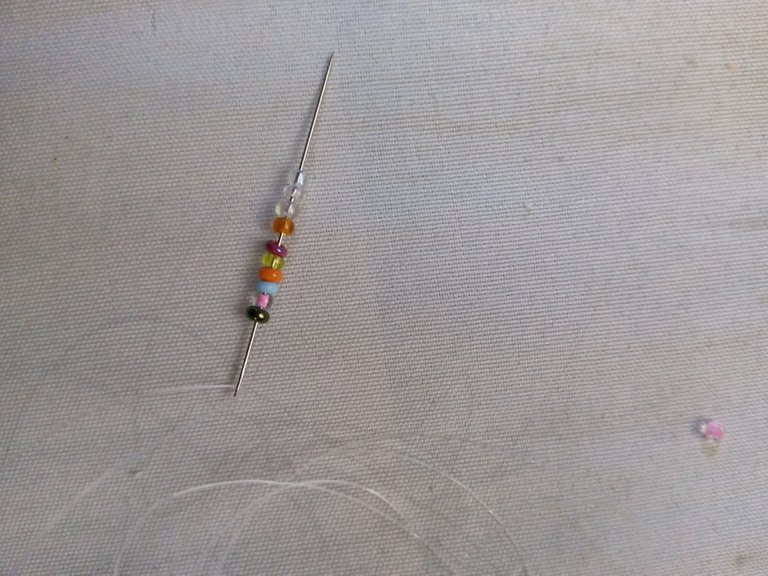
Después de haber culminado nuestra hermosa flor, reforzamos y subiremos 4 mostacillas, para asi introducir una mostacilla de cada color, comenzando con una negra, rosada, azul, anaranjada, verde, violeta, amarilla y 3 mostacillas transparentes.
Después tomaremos 40 mostacillas de las negras, este color es muy bonito, es un negro como perlado, me disculpan si no es el nombre correcto, pero es muy bonito, yo utilice 40 para el largo que queria, luego colocaremos 7 mostacillas transparentes.
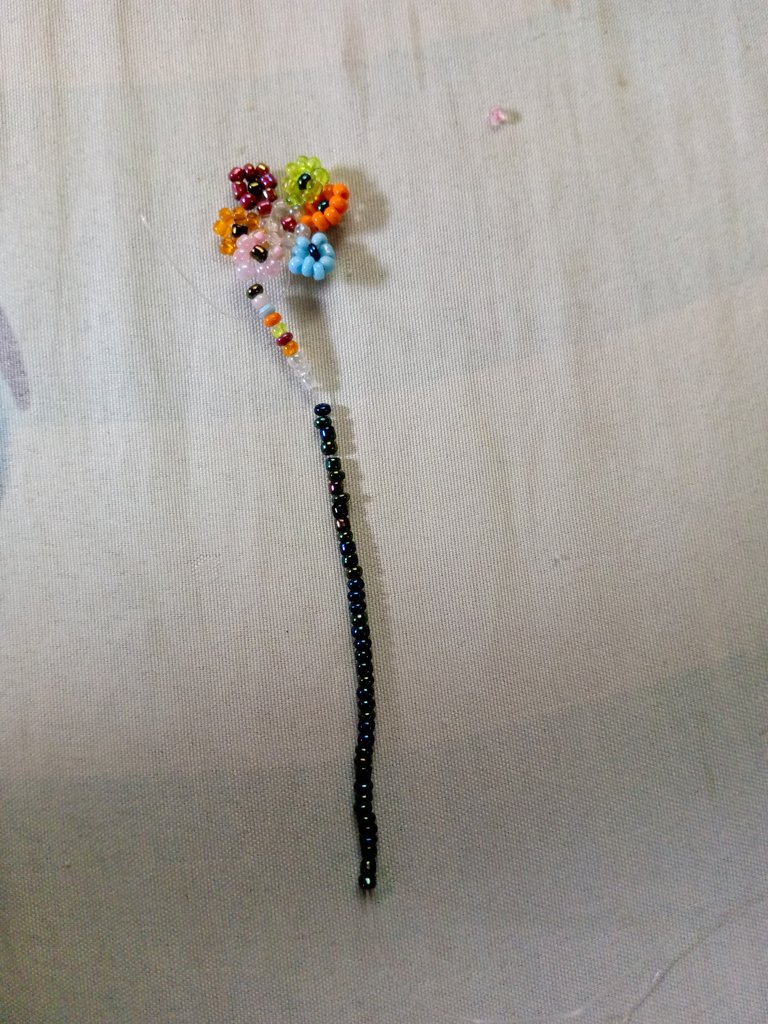
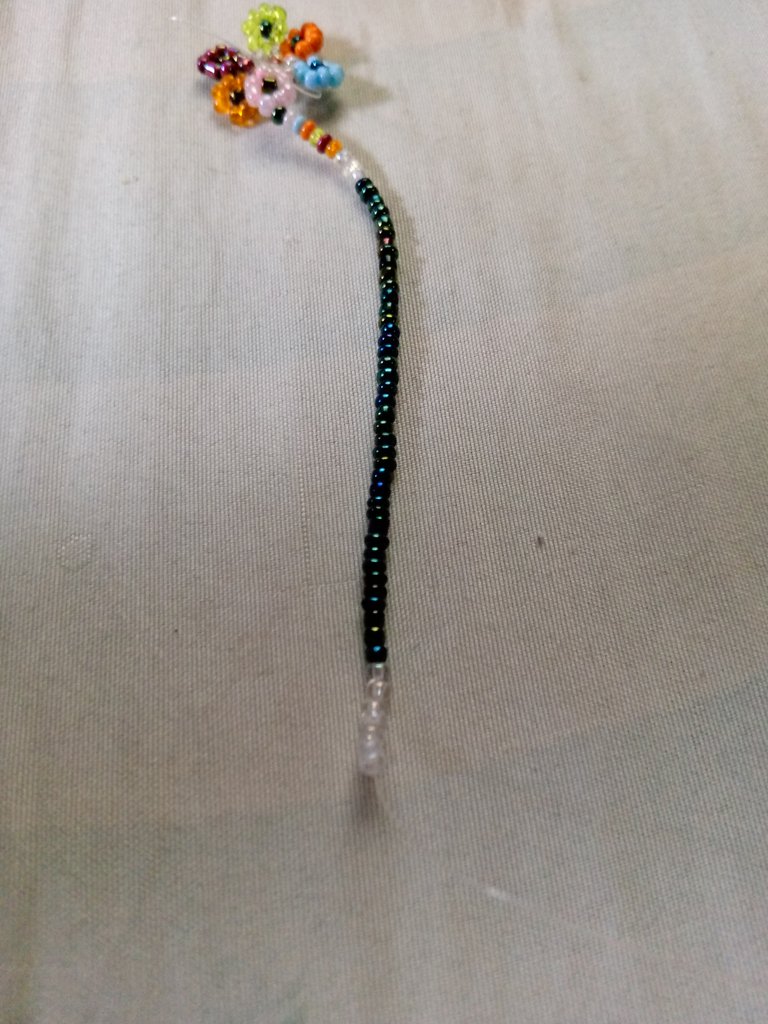
Luego vamos a introducir la aguja por las mostacillas negras para que con las transparentes se forme un círculo donde ira nuestro seguro o trancadero.
Despues de haber introducido la aguja con el nylon por las 40 mostacillas negras, nuevamente colocaremos 3 mostacillas transparentes, luego una mostacillas de cada color, comenzando con una amarilla, una violeta, verde, anaranjada, azul, rosada y por último una de color negro
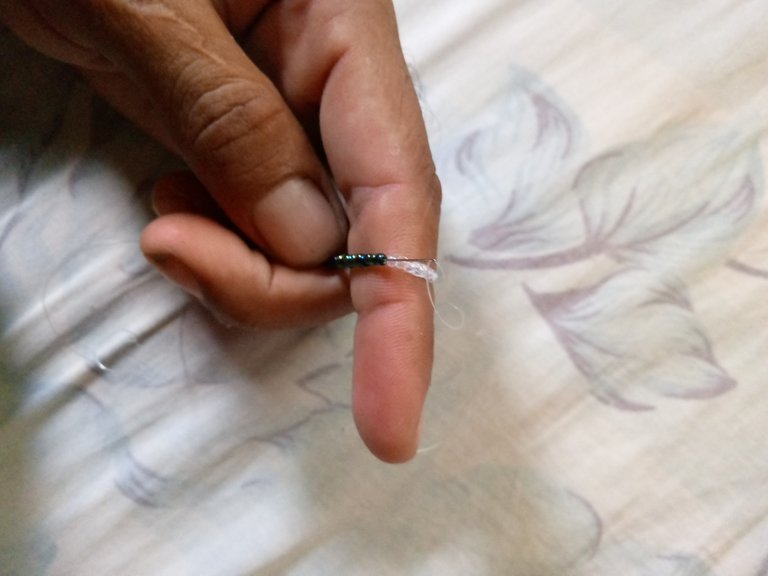
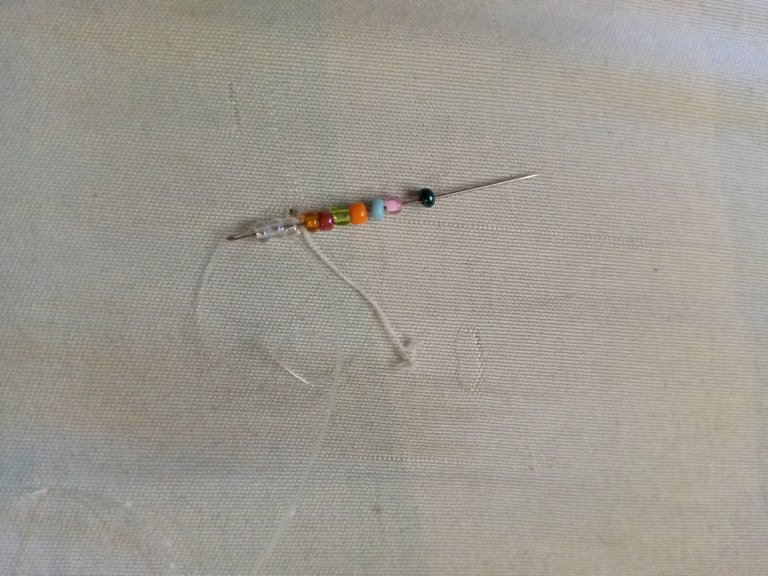
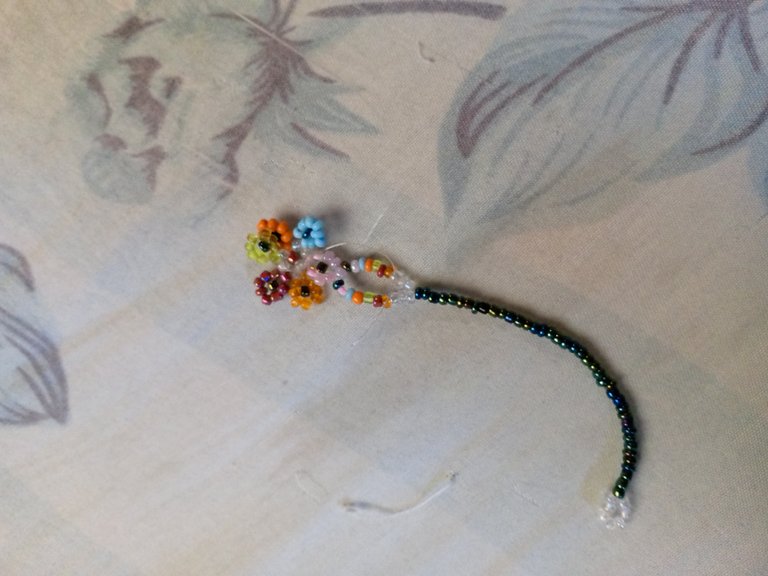
Ya para culminar este paso, introduciremos nuestra aguja por la mostacilla rosada, al otro lado de donde esta saliendo el nylon la cual quedará de la siguiente manera
Paso 5
Para completar nuestra bonita pulseras, posicionaremos el nylon en el otro extremo del los pétalos, introduciendo la aguja por las mostacillas hasta llegar al petalo verde, esto también reforzara nuestra flor.
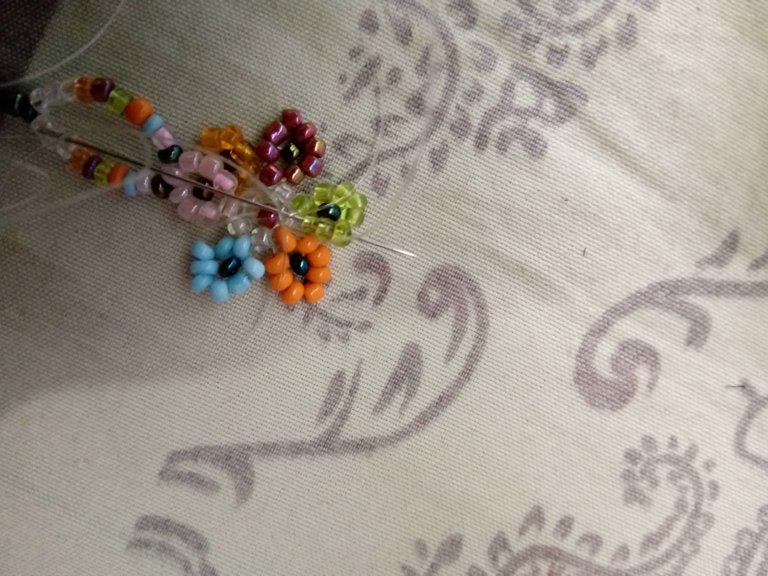
Repetimos el paso anterior para asi tener lista nuestro hermoso diseño, lo que nos quedaría sera colocar nuestras argollas y trancadero para finalizarla.
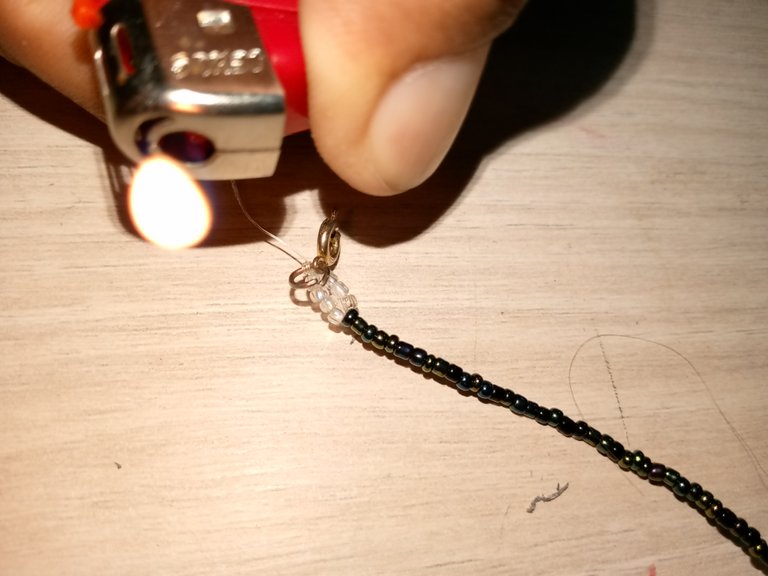
Con la ayuda de una pinza coloaremos nuestra argolla y trancadero, con la ayuda de un encendedor quemaremos y sellaremos nuestra pulsera, para tener este hermoso resultado
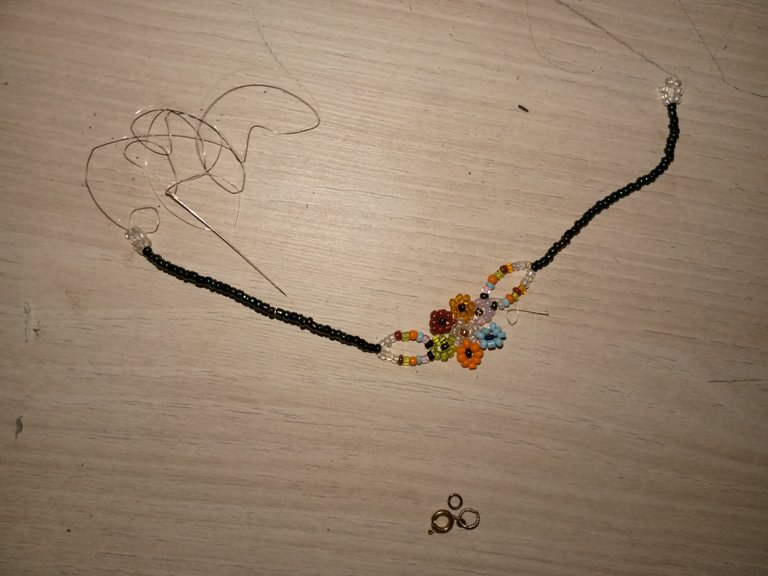
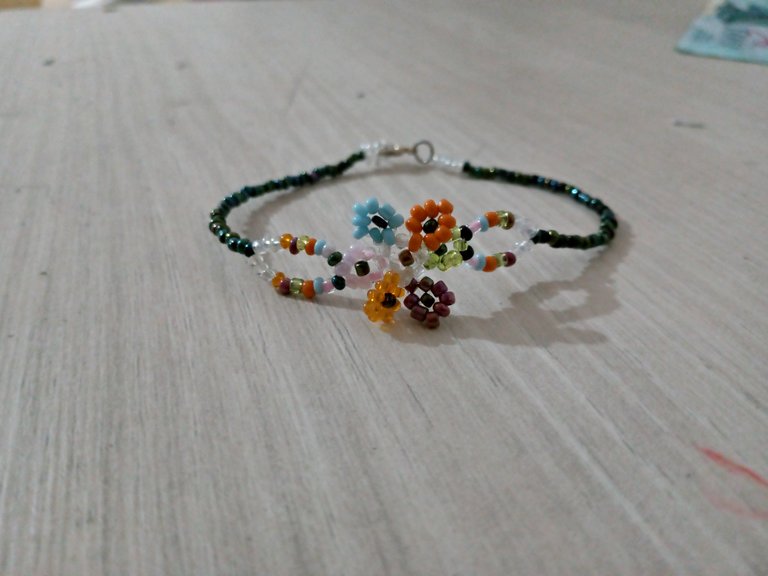
Este fue el resultado de la perseverancia, ya que en horas de descanso me dedique a crear esta hermosa pulsera, tengo un trabajo que requiere mucha actividad física y tiempo completo, las pocas horas las quise dedicar a la elaboración de tan bonito accesorio de bisutería.
Espero sea de su agrado y les sirva de ayuda este tutorial, muchas bendiciones para todos mis queridos lectores.
Éxitos!
Las imágenes son de mi propiedad y fueron tomadas por mi teléfono tecno spark Go 2023.
Traductor Utilizado:Delph traslater.
Las imágenes son editadas mediante la aplicación editor de fotos canva .

Next I will be presenting the materials used for the elaboration of this beautiful bracelet:


MATERIALS:
Transparent Nylon Thread 0.25 🧵
Needle no. 12🪡
Beads of Different Colors🎨
Black, Transparent, Pink, Yellow, Blue, Green, Orange and Reddish violet color🌈Tinder or encendedor🕯️
Rings, safety or lock.🔗
I will now be presenting the step by step procedure used:
Step 1
The first thing we did was to take an approximate of 70cm of nylon, then we will take 6 transparent beads.

Then we will take them to the end of our nylon, we will leave about 5cm left over of the thread and then we will pass our needle through the beads in the following way, so that we have a small circle


After we have our small circle, we will reinforce it by passing through 2 beads, in order to introduce a violet bead


To keep the needle in the center, we will go up to the top fly and insert the needle to adjust it and keep it centered.
Step 2
For the next step, we will take 1 pink stitch, introducing the needle through the next stitch, it will look like this


Then we will take a blue bead, to introduce the needle through the following transparent bead


In the same way we will continue introducing a bead of each color until completing 6 colors this will be as follows


Step 3
Next we take 1 pink mustard, 1 black mustard and 1 pink mustard.

We are going to introduce the needle to the contrary of where our thread came out, we pull it and we will raise a bead, later we will take 5 beads of the same color, we introduce by the following pink bead, we pull the nylon and we will have our first petal.


Then we will repeat the same process, we will take a blue bead, a black bead and another blue bead, we will introduce the needle to the opposite of where our thread came out, we will raise a bead, then we will take 5 blue beads, we will raise a bead, we will insert our needle, we will pull the nylon and we will have our second petal.


Let's repeat this step until we have all 6 petals of our flower, it will look like this:


Step 4
After we have finished our beautiful flower, we reinforce and bring up 4 beads, to introduce one bead of each color, starting with a black, pink, blue, orange, orange, green, violet, yellow and 3 transparent beads.


Then we will take 40 black beads, this color is very nice, it is a black like pearl, excuse me if it is not the correct name, but it is very nice, I used 40 for the length I wanted, then we will place 7 transparent beads.


Then we are going to introduce the needle through the black beads so that with the transparent beads we form a circle where our safety catch will go.
After having introduced the needle with the nylon through the 40 black beads, we will again place 3 transparent beads, then one bead of each color, starting with a yellow, a violet, green, orange, blue, pink and finally a black one.


Now to finish this step, we will introduce our needle through the pink bead, on the other side of where the nylon is coming out, which will look like this

Step 5
To complete our beautiful bracelet, we will position the nylon on the other end of the petals, introducing the needle through the beads until it reaches the green petal, this will also reinforce our flower.

We repeat the previous step to have our beautiful design ready, what we have left is to place our rings and the locking ring to finish it.
With the help of a tweezers we will place our ring and trancadero, with the help of a lighter we will burn and seal our bracelet, to have this beautiful result.


This was the result of perseverance, since in hours of rest I dedicated myself to create this beautiful bracelet, I have a job that requires a lot of physical activity and full time, the few hours I wanted to devote to the development of such a beautiful jewelry accessory.
I hope you like this tutorial and I hope you find it helpful, many blessings to all my dear readers.
Success!
Images are my property and were taken by my tecno spark Go 2023 phone.
Translator Used:Delph traslater.
The images are edited using canva photo editor application.
Eso te quedó bella . Felicidades amigo
Muchas gracias amiga, exitos y bendiciones 🤗
Te quedó muy linda amigo .. éxitos!
Muchas gracias amiga, éxitos para ti🤗
Great job with the bracelet. Looks like hard work paid off.
Thank you very much, with dedication everything is possible, success.
Te quedó muy bonita mano. Saludos !
Las flores siempre son un toque especial en los accesorios, sin duda has realizado un trabajo hermoso, nos encanta el paso a paso que nos muestras hoy.
Muchas gracias, seguiré trabajando para mejorar cada día, éxitos
Congratulations @afrofat1! You have completed the following achievement on the Hive blockchain And have been rewarded with New badge(s)
Your next target is to reach 300 replies.
You can view your badges on your board and compare yourself to others in the Ranking
If you no longer want to receive notifications, reply to this comment with the word
STOPMuy bonitas y delicada pulsera! la diversidad de colores la hace ver muy bonita
Gracias amiga, bendiciones
Amigo gran trabajo excelente 👍
Que bella te quedó amigo.
Gracias amiga, bendiciones
Excelente trabajo amigo felicidades 👍
Muchas gracias amiga🤗